There used to be a little daycare on Maple Street, run by a woman named Gloria who wore floral aprons and smelled like cinnamon. When she retired and the place turned into a co-working space, a small piece of my parenting sanity vanished with her. Gloria had this magical way of feeding a dozen toddlers without breaking a sweat, and her secret weapon was the simplest thing you could imagine. After my son came home asking for “Gloria’s snack cups” for the third week in a row, I knew I had to figure it out.
After six attempts — including one where I used fancy aged cheddar that my kid refused to touch — I finally got it. The perfect easy preschool snack cups: cheese, grapes, and crackers. Honestly, it took me longer to type this sentence than it does to assemble these things. You know that feeling when you overcomplicate something that was never meant to be complicated? That was me, buying artisan crackers and organic cheese plates. Gloria would have laughed.
The beauty of these snack cups is that they aren’t a recipe so much as a system. A reliable, repeatable, sanity-saving system that makes mornings smoother and afternoons happier. I keep making them because they work when nothing else does — when the bus is coming in ten minutes, when you need to bribe a toddler into the car seat, when you just need five minutes of quiet. And honestly? They taste pretty good to adults too. I may or may not have eaten my son’s snack cup more than once.
Why You’ll Love These Easy Preschool Snack Cups
Let me tell you why these little cups have become my most-requested item from the preschool crowd. I’ve tested this combo on picky eaters, hangry toddlers, and even a few skeptical dads at a playdate. The verdict is unanimous.
- Quick & Easy: These come together in under five minutes. I’m not kidding — if you have the ingredients prepped, you can assemble a week’s worth in less time than it takes to find matching socks.
- Simple Ingredients: No fancy grocery trips needed. You likely already have cheese, grapes, and crackers in your kitchen right now. That’s the whole point.
- Perfect for Preschool: Great for lunchboxes, afternoon snacks, car rides, or those moments when you need a quick win with a hungry child.
- Crowd-Pleaser: Always gets rave reviews from kids and adults alike. I’ve seen children who “don’t like cheese” devour these.
- Unbelievably Satisfying: The combination of creamy cheese, sweet grapes, and crunchy crackers hits every texture and flavor note a kid could want.
What makes these different from just throwing snacks in a bag? It’s the presentation, honestly. Something about having everything in its own little compartment makes kids feel special. It’s like a bento box for beginners. Plus, the portion control is built right in — no more guessing if they ate enough or too much.
This isn’t just another snack idea. It’s the kind that makes you close the lunchbox with a satisfied smile. It’s parenting reimagined — simpler, faster, but with the same love and care. Perfect for busy mornings without stress, or turning a simple snack into something your child looks forward to.
What Ingredients You Will Need
This recipe uses three simple ingredients to deliver a snack that’s both satisfying and nutritious. No complicated shopping list here — just pantry and fridge staples that work together beautifully.
- Cheese: Cubed cheddar, colby jack, or mozzarella work best. I prefer sharp cheddar for flavor (Cabot or Tillamook are my go-to brands). For younger toddlers, consider soft mozzarella pearls that are easier to chew. Avoid pre-shredded cheese — it doesn’t hold up as well in snack cups.
- Red Seedless Grapes: Always go seedless. Red grapes are sweeter and more kid-friendly than green, but either works. Look for firm grapes without wrinkles. Halve them lengthwise for children under four to prevent choking hazards. Pro tip: wash and dry them thoroughly before adding to cups, or they’ll make the crackers soggy.
- Crackers: Goldfish, animal crackers, whole wheat squares, or simple saltines all work. I recommend Annie’s Bunny Crackers or classic Goldfish for the preschool crowd. Avoid crackers with sharp edges that could break in a lunchbox. The key is choosing something sturdy enough to survive transport.
Optional Add-Ins: Sometimes I throw in a few blueberries or a small cookie for variety. If your kid loves ranch, a tiny container of dip can turn this into an afternoon event. Just keep the portions small — the beauty of this snack is its simplicity.
Ingredient Selection Tips: Buy block cheese and cube it yourself — it’s cheaper and tastes better. Grapes should be firm but not hard. Crackers should be fresh; stale crackers ruin the whole experience. I learned that the hard way after a disappointing Tuesday afternoon.
Substitution Guidance: Use dairy-free cheese alternatives if needed. Swap grapes for apple slices or cucumber rounds. Gluten-free crackers work perfectly for kids with sensitivities. The formula is flexible — keep the three-component structure but swap in what your child will actually eat.
Equipment Needed
You don’t need much for these snack cups, and that’s part of the appeal. Here’s what I use:
- Small Containers with Lids: Look for 4-ounce or 6-ounce containers with snap-on lids. I use the reusable plastic ones from IKEA — they’re cheap and dishwasher safe. Glass works too but isn’t great for preschool backpacks.
- Cutting Board: Any standard cutting board works. I prefer a plastic one for fruit and cheese since it’s easier to sanitize.
- Sharp Knife: A paring knife or small chef’s knife for cubing cheese and halving grapes. Nothing fancy needed.
- Measuring Cups: Optional, but helpful for portion control. I use a 1/4 cup measure as a scoop for crackers.
- Colander: For washing grapes. Any colander or strainer will do.
Budget-Friendly Tip: You don’t need special snack containers. Wash and reuse small yogurt cups or applesauce containers. I’ve been using the same set for two years — they’ve survived countless trips through the dishwasher and still seal perfectly.
Alternative Options: If you don’t have small containers, use silicone muffin cups placed inside a lunchbox. Or simply pack the components in separate sections of a bento-style lunchbox. The key is keeping the crackers away from the grapes to prevent sogginess.
Preparation Method
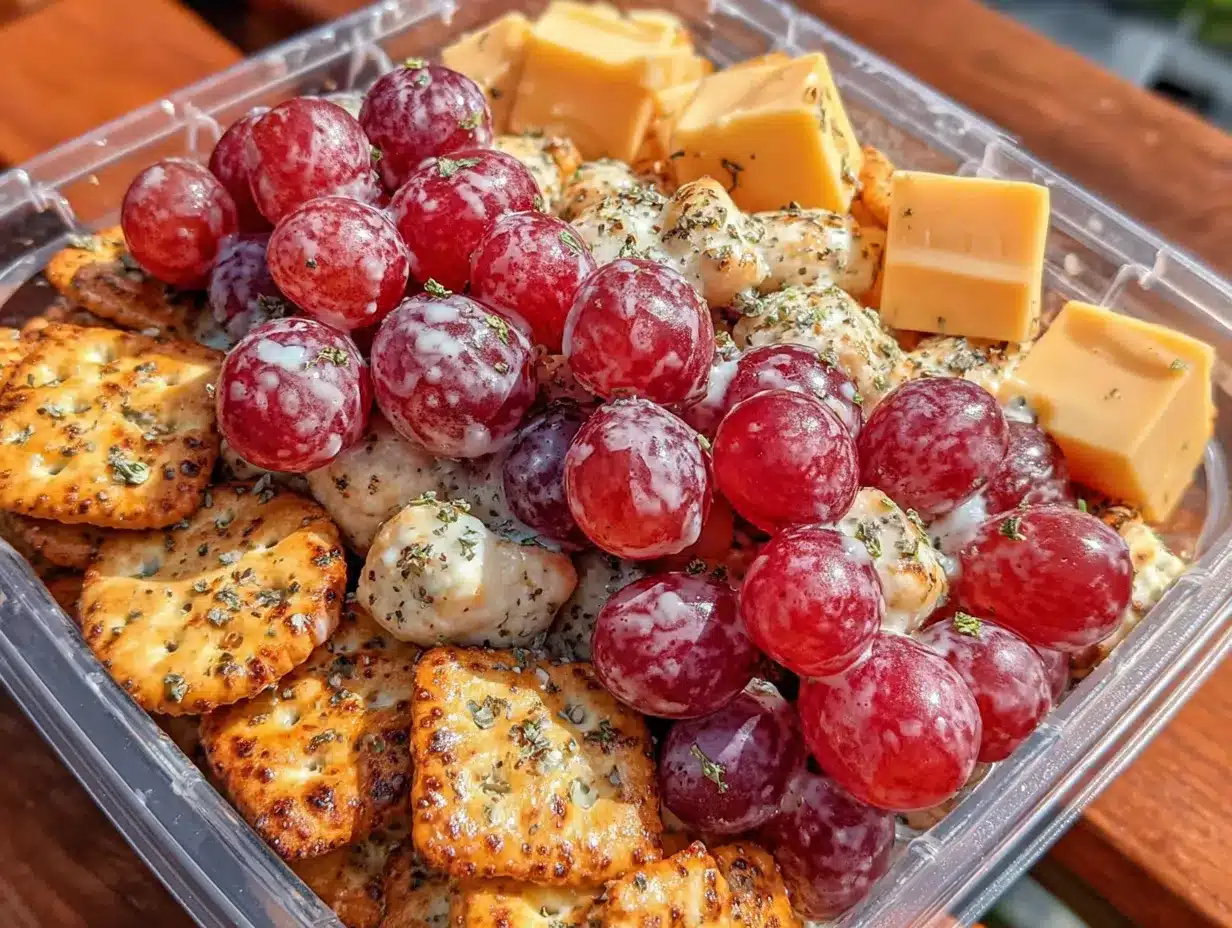
These snack cups come together so fast, you’ll wonder why you ever bought pre-packaged snack packs. Here’s exactly how I do it:
- Wash and Prep Grapes (2 minutes): Rinse grapes under cold water in a colander. Pat them completely dry with a clean kitchen towel — this step matters more than you think. Wet grapes make crackers soggy. Remove any stems. For children under four, halve each grape lengthwise. For older kids, leave them whole.
- Cube the Cheese (2 minutes): Cut block cheese into 1/2-inch cubes. Aim for uniform size so each cup gets roughly the same amount. If using cheese sticks, slice them into rounds. I usually cube enough for the whole week at once — about 2 cups of cheese cubes.
- Portion the Crackers (1 minute): Measure about 1/4 cup of crackers per snack cup. Goldfish crackers are my go-to because they’re the right size and don’t break easily. If using larger crackers, break them into bite-sized pieces.
- Assemble the Cups (2 minutes): Grab your clean containers. Add a layer of crackers to one side, cheese cubes to another, and grapes to the remaining space. Don’t overfill — leave a little room so the lid closes easily. The goal is a balanced mix, not a stuffed cup.
- Seal and Store (30 seconds): Snap the lids on firmly. If packing for later, refrigerate immediately. These cups stay fresh for up to three days in the fridge, though the crackers will soften slightly after day one.
Visual Cues: The cheese should be bright and not sweating. Grapes should look plump and juicy. Crackers should be intact — if you see crumbs at the bottom of the cup, you’re overfilling or using too-fragile crackers.
Time-Saving Tip: Prep ingredients in bulk on Sunday. Wash and halve grapes, cube cheese, and portion crackers into separate containers. Then assembly takes exactly 30 seconds per cup during the week. I do this while my coffee brews.
Warning: Don’t mix the crackers with the grapes if you’re prepping more than a day ahead. The moisture from the grapes will turn your crackers into sad, limp pieces. Keep components separate until serving.
Cooking Tips & Techniques
I’ve made more of these snack cups than I can count, and I’ve learned a few things the hard way. Here’s what I wish someone had told me:
The Grape Drying Rule: This is non-negotiable. Wet grapes ruin everything. After washing, spread them on a clean dish towel and roll them gently to absorb all moisture. I learned this after opening a snack cup that smelled like wet cardboard. Never again.
Cheese Temperature Matters: Cold cheese straight from the fridge doesn’t taste as good. Let your cheese cubes sit at room temperature for 10 minutes before assembling. It makes a noticeable difference in flavor and texture. Your kid might not notice, but you will when you sneak a cube.
Cracker Placement Strategy: Put crackers on top if you’re stacking ingredients. This prevents them from getting crushed by heavier items. In a lunchbox situation, place the cup right-side up so crackers stay crunchy. I learned this after my son complained about “squishy crackers” for a week straight.
The Boredom Buster: Kids get bored with the same snack every day. Rotate the cracker type weekly — goldfish one week, animal crackers the next, cheese crackers the week after. Same three ingredients, totally different experience. It’s like magic.
Portion Control Hack: Use a muffin tin as a assembly station. Put all your ingredients in separate bowls, then fill each muffin cup with one serving of each component. It keeps everything organized and prevents overfilling. Plus, it looks cute.
Variations & Adaptations
One of the best things about this snack concept is how adaptable it is. Here are some variations I’ve tried and loved:
Dairy-Free Version: Swap cheese for dairy-free cheese cubes or hummus. I’ve used Kite Hill brand cream cheese-style spread in a tiny container on the side. My dairy-sensitive nephew devoured it.
Fruit Swap: Replace grapes with apple slices (toss in lemon juice to prevent browning), strawberries, or blueberries. In summer, I use diced mango or melon. The key is keeping the fruit firm enough to hold up in a lunchbox.
Savory Twist: Swap crackers for pretzel sticks or mini rice cakes. Add a few cherry tomatoes or cucumber slices. This turns snack time into a mini charcuterie experience for kids. My daughter calls these her “fancy cups.”
Protein Boost: Add a few cubes of cooked chicken or turkey. Rolled-up slices of ham work too. This turns a snack into a mini meal for hungry growing bodies. I do this on days when I know dinner will be late.
Seasonal Variation: In fall, swap grapes for apple chunks and add a few dried cranberries. In winter, use clementine segments. Spring calls for strawberries. Summer is all about berries and melon. The three-component formula stays the same — just change the fruit.
Serving & Storage Suggestions
These snack cups are designed for real life, not perfect food photography. Here’s how to serve and store them:
Serving Temperature: Serve cold or at room temperature. If packing for lunch, the cheese will come to room temperature naturally by lunchtime, which actually improves the flavor. For afternoon snacks, pull them from the fridge 10 minutes before serving.
Presentation Ideas: Arrange the components in a pattern — crackers on one side, cheese in the middle, grapes on the other. Kids eat with their eyes first, and a tidy arrangement feels more special than a jumbled mess. I sometimes add a small silicone cupcake liner for extra visual appeal.
Storage Instructions: Refrigerate assembled cups for up to three days. Do not freeze — the grapes will turn mushy and the cheese texture will suffer. Keep lids on tight to prevent fridge odors from affecting the crackers.
Reheating: No reheating needed! That’s the beauty of this snack. If your cheese cubes are too cold, let them sit out for a few minutes. Everything else is ready to eat straight from the fridge.
Flavor Development: These are best within the first 24 hours. After that, the crackers start absorbing moisture from the other ingredients. Day-old cups are still fine, but the texture won’t be as good. I only prep three days’ worth at a time.
Packing for Outings: Pack the cup in an insulated lunch bag with an ice pack if it will be out of the fridge for more than two hours. The cheese needs to stay cold. Crackers and grapes are fine at room temperature.
Nutritional Information & Benefits
These snack cups pack surprising nutritional value into a small package. Here’s a rough estimate per serving (based on 1/4 cup each of cheese, grapes, and crackers):
- Calories: Approximately 200-250 calories per cup
- Protein: 7-10 grams from cheese
- Carbohydrates: 20-25 grams from grapes and crackers
- Fat: 10-12 grams from cheese and crackers
- Calcium: 200-250 mg from cheese
- Vitamin C: Small amount from grapes
Health Benefits: Cheese provides calcium and protein for growing bones and muscles. Grapes offer antioxidants and natural sweetness without added sugar. Crackers provide quick energy for active preschoolers. This combination hits the balance of protein, carbs, and fat that keeps kids satisfied between meals.
Dietary Considerations: This recipe is naturally vegetarian. For gluten-free diets, use gluten-free crackers. For dairy-free, swap cheese as mentioned above. The grapes are Whole30 and paleo-friendly on their own. Always check cracker labels for hidden allergens.
Allergen Note: Contains dairy and gluten in the standard version. Check cracker ingredients for potential soy or nut contamination. Grapes are generally safe but always verify for individual allergies.
My Wellness Perspective: I love that these snack cups feel like a treat but actually provide real nutrition. My kids think they’re getting something special, and I know they’re getting protein, fruit, and whole grains. It’s a win-win that makes me feel good about snack time.
Conclusion
These easy preschool snack cups have genuinely changed my mornings. What started as a mission to recreate Gloria’s daycare magic turned into a staple that saves me time, money, and sanity. Three ingredients, five minutes, and you have a snack that your kids will actually eat without complaint. That’s not nothing in the world of parenting.
I love that this recipe is more of a formula than a strict set of rules. You can customize it based on what your kids like, what’s in season, or what you have on hand. It’s forgiving, flexible, and foolproof — exactly what busy parents need. The cheese, grapes, and crackers combo is just the starting point. Make it your own.
I’d love to hear how these work for your family. Do your kids have a favorite cracker? Do you swap in different fruits? Drop a comment below and share your version. And if you found this helpful, share it with another parent who could use a little snack-time sanity. Happy snacking!
Frequently Asked Questions
Can I make these snack cups the night before?
Absolutely. Assemble them the night before and store in the fridge. Just be aware that crackers will start to soften after 24 hours. For best texture, pack crackers separately and add them in the morning.
What if my child doesn’t like cheese?
Swap the cheese for something else! Try hummus, nut butter (if allowed at school), or yogurt in a small container on the side. The three-component formula still works — just replace cheese with another protein source.
How long do these stay fresh in the fridge?
They stay good for up to three days in an airtight container. After day one, the crackers will lose some crunch. I recommend making only what you’ll use within 48 hours for best quality.
Can I freeze these snack cups?
I don’t recommend freezing. Grapes turn mushy when thawed, and cheese texture changes. Crackers become stale. These are best made fresh and stored in the refrigerator only.
What are the best containers for preschool snack cups?
Look for small, leakproof containers with snap-on lids. I use 4-ounce reusable plastic containers from IKEA. You can also use silicone cups inside a lunchbox, or wash and reuse small store-bought containers. The key is a tight seal to keep everything fresh.
Pin This Recipe!
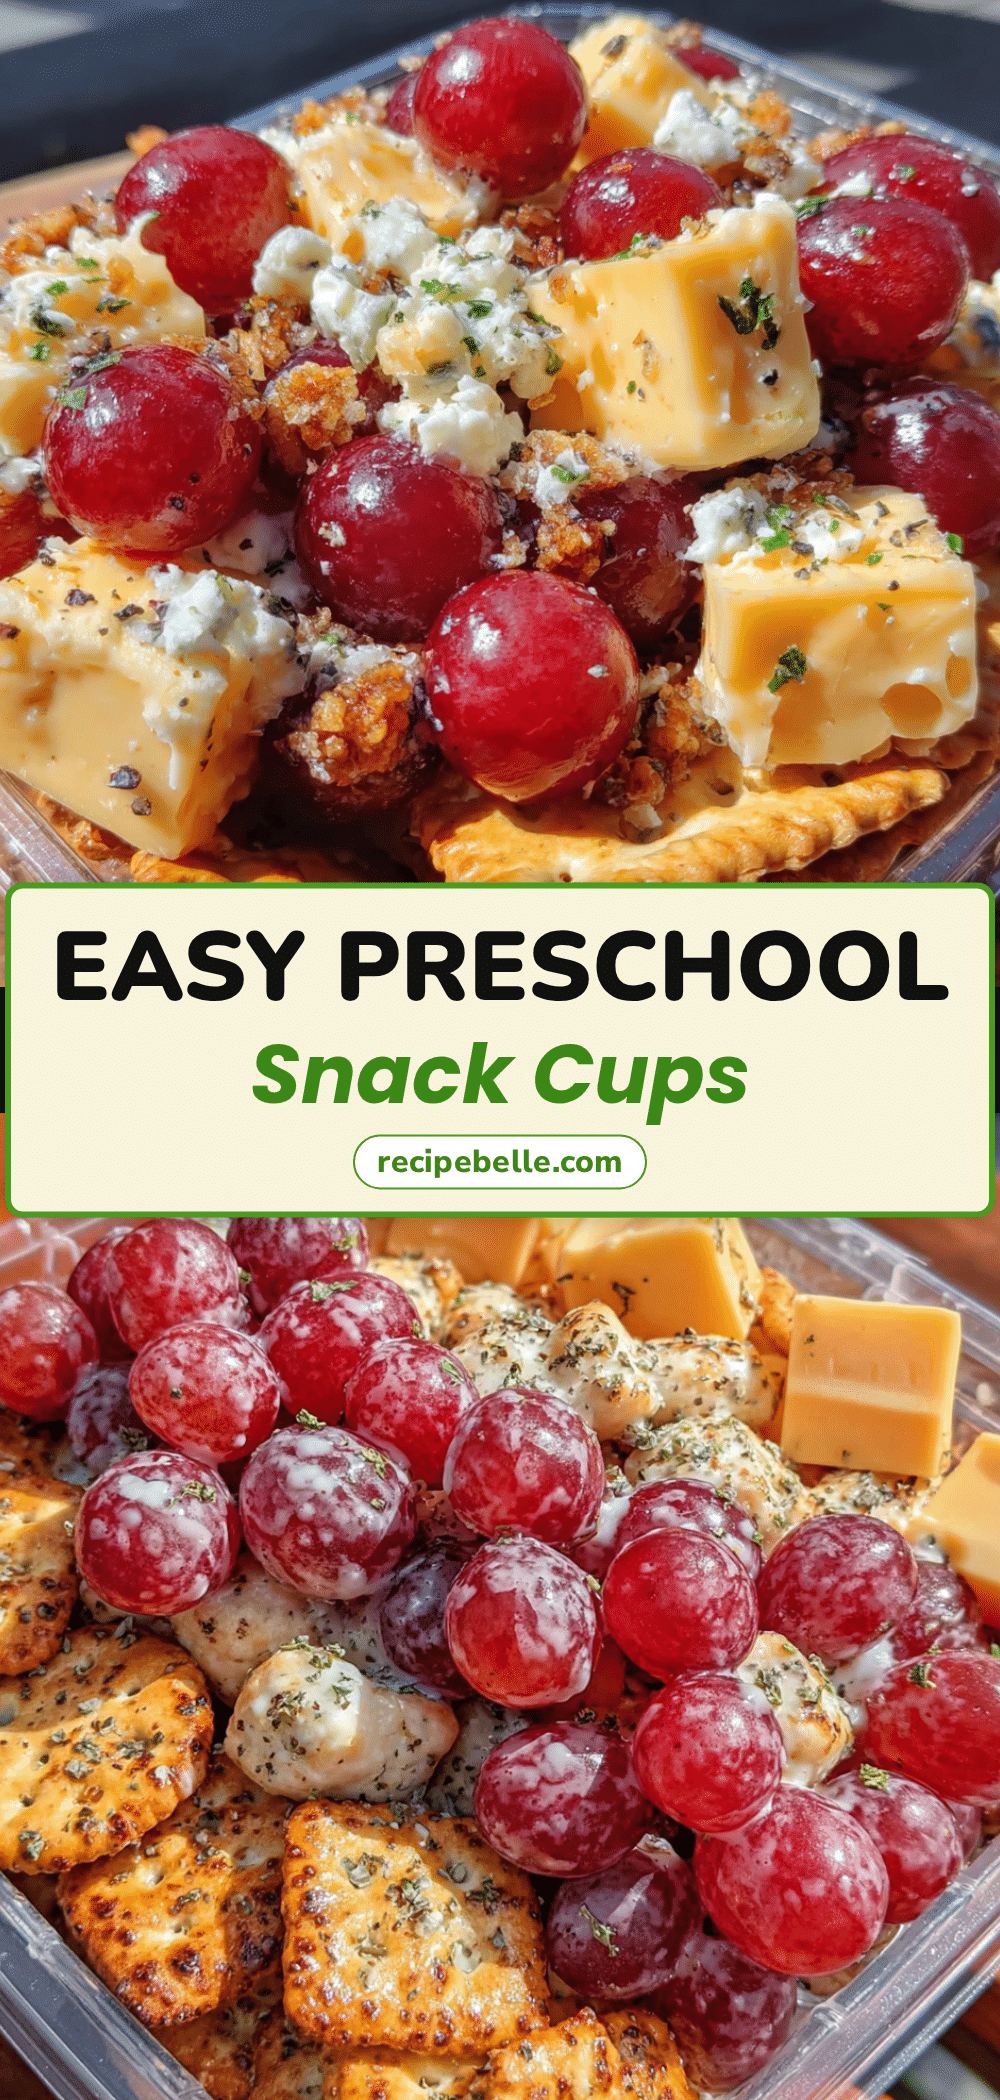
Easy Preschool Snack Cups: The Best 3-Ingredient Combo
These easy preschool snack cups combine cheese, grapes, and crackers for a quick, satisfying snack that kids love. Ready in under five minutes, they’re perfect for lunchboxes, afternoon snacks, or busy mornings.
- Prep Time: 5 minutes
- Cook Time: 0 minutes
- Total Time: 5 minutes
- Yield: 1 serving 1x
- Category: Snack
- Cuisine: American
Ingredients
- 1/4 cup cubed cheddar cheese (or colby jack, mozzarella)
- 1/4 cup red seedless grapes (halved lengthwise for children under 4)
- 1/4 cup crackers (Goldfish, animal crackers, or whole wheat squares)
Instructions
- Wash grapes under cold water in a colander. Pat them completely dry with a clean kitchen towel to prevent soggy crackers. Remove stems. For children under four, halve each grape lengthwise.
- Cut block cheese into 1/2-inch cubes. Aim for uniform size.
- Measure about 1/4 cup of crackers per snack cup.
- Add a layer of crackers to one side of a small container, cheese cubes to another, and grapes to the remaining space. Don’t overfill.
- Snap the lids on firmly. Refrigerate immediately if packing for later.
Notes
Prep ingredients in bulk on Sunday for quick assembly during the week. Keep crackers separate from grapes if prepping more than a day ahead to prevent sogginess. Let cheese cubes sit at room temperature for 10 minutes before assembling for better flavor. Use a muffin tin as an assembly station for portion control. Rotate cracker types weekly to prevent boredom.
Nutrition
- Serving Size: 1 snack cup
- Calories: 225
- Sugar: 12
- Sodium: 350
- Fat: 11
- Saturated Fat: 6
- Carbohydrates: 22
- Fiber: 1
- Protein: 8
Keywords: preschool snack, easy snack, kid-friendly snack, cheese grapes crackers, lunchbox idea, quick snack, healthy snack for kids



