My aunt swore she hated vinegar. For forty years, she said it. Salad dressings were suspect, pickles were a necessary evil, and the very idea of drinking something sour made her face scrunch up like she’d bitten a lemon. Then I found her last January, standing in my kitchen, holding a tiny shot glass of my homemade fire cider. She wasn’t just sipping it—she was chasing a second one. I didn’t say a word. I just leaned against the counter and watched as she poured another round, trying to look casual about it. “It’s not bad,” she muttered, not meeting my eyes. “It’s got a kick.” That was the moment I knew this recipe was something special. Honestly, I’d been making fire cider for years by then, experimenting with different ratios and ingredients, trying to find that perfect balance between medicinal potency and actual drinkability. This version—the one that finally cracked my vinegar-hating aunt—is the one I’m sharing with you today. It’s not just tolerable. It’s genuinely good. The kind of good that makes you look forward to your daily immunity shot, even when you’re not feeling under the weather.
Maybe you’ve been there too. Maybe you’ve bought those expensive bottles of immunity shots at the health food store, winced at the price tag, and wondered if there was a better way. Or maybe the idea of making your own fermented vinegar tonic feels a little intimidating. Let me tell you, it’s not. This is one of those rare recipes where the homemade version is actually easier, cheaper, and way more customizable than anything you can buy. Plus, you get to control exactly what goes into it. No weird additives, no unnecessary sugars, just real ingredients doing what real ingredients do best.
The first batch I ever made was a disaster. I used way too much horseradish, not enough honey, and I forgot to burp the jar for three days. The resulting explosion was… memorable. But that’s the thing about learning to make fire cider—every mistake teaches you something. Now, after years of tweaking and tasting, I’ve got a version that’s bold without being punishing, warming without being overwhelming, and so packed with immune-supporting goodness that it’s become my go-to during cold and flu season. This is the recipe that stayed with me, the one I keep coming back to year after year.
Why You’ll Love This Recipe
Let’s be real for a second. There are a lot of fire cider recipes out there. What makes this one different? Well, for starters, I’ve tested this specific ratio of ingredients more times than I can count. I’m not a scientist or a professional herbalist—I’m just someone who got tired of getting sick every winter and decided to do something about it. Over the years, I’ve learned what works and what doesn’t, and this recipe represents the sweet spot between effectiveness and flavor.
- Quick & Easy: The active prep time is about 20 minutes. After that, your jar does all the work. Steep it for 2-4 weeks, strain it, and you’re done. That’s it.
- Simple Ingredients: You probably already have most of these in your kitchen. Onion, garlic, ginger, horseradish, turmeric, cayenne, honey, and apple cider vinegar. Nothing fancy, nothing hard to find.
- Perfect for Cold and Flu Season: When everyone around you is sniffling and sneezing, a daily shot of this stuff can make a real difference. It’s become a non-negotiable part of my winter routine.
- Crowd-Pleaser: I know, I know—vinegar shots don’t sound like crowd-pleasers. But I’ve given bottles of this to friends and family, and they always come back asking for more. Even the skeptics.
- Unbelievably Delicious: Okay, “delicious” might be a strong word for something this pungent. But it’s genuinely satisfying—spicy, tangy, sweet, and warming all at once. It wakes you up in a way that coffee never could.
What really sets this recipe apart is the honey-to-vinegar ratio. Most recipes go heavy on the vinegar and light on the honey, which makes for a harsh, almost medicinal taste. I found that bumping up the honey just a little creates a smoother, more balanced shot that actually tastes good enough to look forward to. It’s still potent—don’t get me wrong—but it won’t make you recoil. That’s the difference between a recipe you force yourself to take and one you genuinely enjoy.
This is comfort food for your immune system. It’s the kind of thing that makes you feel like you’re taking care of yourself, even when life is chaotic. And honestly? That feeling matters just as much as the ingredients themselves.
What Ingredients You Will Need
This recipe uses simple, whole ingredients to create a potent immune-supporting tonic. Each one plays a specific role, both in terms of flavor and function. Here’s what you’ll need:
For the Base
- 1 medium onion, roughly chopped (adds a pungent, savory base note—don’t skip it)
- 10 cloves garlic, crushed or sliced (garlic is the star here for immune support; I like using fresh, firm cloves)
- 1-2 inches fresh ginger, thinly sliced (warming and anti-inflammatory; no need to peel it)
- 1-2 inches fresh turmeric, thinly sliced (adds that beautiful golden color and serious anti-inflammatory benefits; you can substitute 1 teaspoon dried turmeric if fresh isn’t available)
- 1-2 tablespoons fresh horseradish, grated (this is what gives fire cider its signature kick; look for fresh horseradish root in the produce section during fall and winter)
- 1 jalapeño or habanero pepper, sliced (for heat; remove seeds if you want it milder, leave them in if you want it fiery)
- 1 lemon, sliced (adds brightness and vitamin C)
- 1 orange, sliced (adds natural sweetness and more vitamin C)
- 1 cinnamon stick (warming and aromatic)
- 1 teaspoon black peppercorns (helps your body absorb the turmeric better)
- 1 sprig fresh rosemary (optional, but I love the earthy, piney note it adds)
For the Liquid
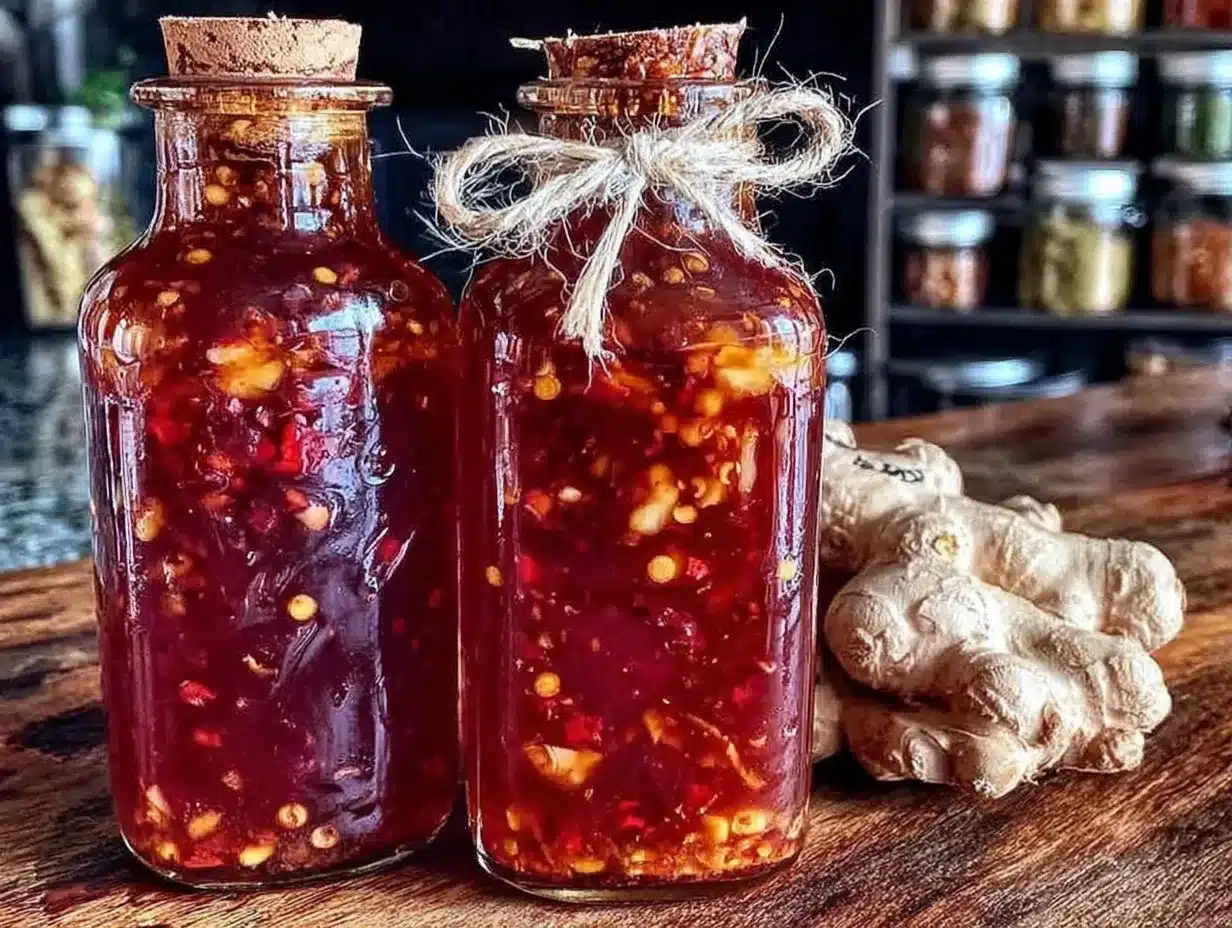
- 2 cups raw, unfiltered apple cider vinegar (I recommend Bragg’s or another brand with the “mother”—that cloudy stuff is full of beneficial bacteria)
- 1/4 cup raw honey (local honey is ideal if you can find it; it adds sweetness and its own immune-supporting properties)
A few notes on ingredient selection: When it comes to garlic, bigger isn’t always better. Look for firm, tight-skinned cloves without any green sprouts in the center. For ginger, fresh is non-negotiable—the dried stuff just doesn’t have the same punch. And please, please use raw apple cider vinegar with the mother. The pasteurized stuff won’t ferment properly, and you’ll miss out on all those gut-friendly probiotics.
If you’re sensitive to heat, start with half a jalapeño and taste as you go. You can always add more heat in your next batch. Similarly, if horseradish isn’t your thing, start with a tablespoon instead of two. This recipe is forgiving—it’s more of a template than a rigid formula.
Equipment Needed
You don’t need much to make fire cider, which is part of its charm. Here’s what you’ll need:
- A 1-quart glass jar with a tight-fitting lid (a wide-mouth mason jar works perfectly; avoid plastic, as the vinegar can leach chemicals)
- A cutting board and sharp knife (for prepping your ingredients)
- A grater (for the horseradish and turmeric)
- A fine-mesh strainer or cheesecloth (for straining the finished cider)
- A funnel (for transferring the strained liquid into storage bottles)
- Dark glass bottles or swing-top bottles (for storing your finished fire cider; dark glass protects the mixture from light degradation)
- A wooden spoon or chopstick (for stirring and pressing down ingredients)
If you don’t have a fine-mesh strainer, you can use a clean kitchen towel or even an old, well-washed T-shirt. I’ve done it in a pinch, and it works fine. For the storage bottles, recycled hot sauce bottles or empty kombucha bottles work great. Just make sure they’re thoroughly cleaned and dried before use.
One tip I learned the hard way: label your jar with the date you started steeping. It’s easy to lose track of time, and you want to make sure you’re letting it steep for at least 2 weeks. I use a piece of masking tape and a permanent marker—simple but effective.
Preparation Method
Making fire cider is more about patience than skill. The actual hands-on time is minimal, but the waiting is where the magic happens. Here’s how to do it:
- Prep your ingredients. Roughly chop the onion, crush or slice the garlic, thinly slice the ginger and turmeric, grate the horseradish, and slice the jalapeño, lemon, and orange. Don’t worry about being precise—these ingredients are going to steep for weeks, so rough cuts are perfectly fine. I actually prefer them, as they release more flavor into the vinegar.
- Layer everything in your jar. Start with the onion and garlic at the bottom, then add the ginger, turmeric, horseradish, and pepper. Tuck the lemon and orange slices in around the edges, then add the cinnamon stick, peppercorns, and rosemary sprig. The goal is to pack the jar fairly full—about three-quarters of the way up—without crushing anything.
- Add the apple cider vinegar. Pour the vinegar over the ingredients until they’re completely submerged. You want about an inch of vinegar above the solids. If you need a little more, that’s fine—just make sure everything is covered. Use a wooden spoon or chopstick to gently press down the ingredients and release any air bubbles.
- Add the honey. If your honey is solid, warm it slightly by placing the jar in a bowl of warm water for a few minutes. Then drizzle it into the jar. Screw the lid on tightly and shake the jar vigorously to combine the honey with the vinegar. The honey will settle at the bottom at first, but it’ll dissolve over the next day or two.
- Label and store. Write the date on your jar and place it in a cool, dark place—a kitchen cabinet or pantry works perfectly. Shake the jar once a day for the first week to redistribute the ingredients and help the honey dissolve. After that, you can shake it every few days if you remember.
- Steep for 2-4 weeks. The longer you let it steep, the more potent it becomes. I usually go for 3 weeks, which gives a good balance of flavor and intensity. Taste it after 2 weeks and see what you think. If it’s strong enough for you, strain it. If you want more kick, let it go another week.
- Strain and bottle. When you’re happy with the flavor, set a fine-mesh strainer over a large bowl or measuring cup. Pour the contents of the jar through the strainer. Use the back of a spoon to press down on the solids and extract as much liquid as possible. Discard the solids (or compost them).
- Transfer to storage bottles. Use a funnel to pour the strained fire cider into your dark glass bottles. Seal tightly and store in the refrigerator. It will keep for up to 6 months, though honestly, it never lasts that long in my house.
A few things to watch for: If you see any mold on the surface during steeping, don’t panic. It’s rare, but it can happen if ingredients are floating above the vinegar line. Just skim it off and make sure everything is submerged. Also, don’t worry if the mixture looks cloudy or separates—that’s normal. Give it a shake before each use.
Cooking Tips & Techniques
After years of making fire cider, I’ve picked up a few tricks that make the process smoother and the results more consistent. Here are my best tips:
Don’t skip the daily shake. I know it seems like a small thing, but shaking the jar daily during the first week helps the honey dissolve evenly and ensures all the ingredients are fully exposed to the vinegar. It also prevents any ingredients from drying out at the top of the jar. Set a reminder on your phone if you need to—it’s worth it.
Use a chopstick to release air bubbles. When you first add the vinegar, you’ll see bubbles trapped between the ingredients. Gently poke around with a chopstick or wooden skewer to release them. This ensures the vinegar reaches every surface and prevents pockets of air where mold could form.
Taste as you go. After two weeks, start tasting your fire cider every few days. The flavor evolves over time—it starts harsh and sharp, then mellows and deepens. You’re looking for a balance where the heat from the horseradish and pepper is present but not overwhelming, and the honey has rounded out the vinegar’s acidity.
Save the solids. Don’t throw away the strained ingredients! They’re still packed with flavor. I like to spread them on a baking sheet and dehydrate them in a low oven (200°F for about 2 hours), then grind them into a powder. This “fire cider seasoning” is incredible on roasted vegetables, popcorn, or even stirred into soup broth.
Scale up or down easily. This recipe is super flexible. If you only have a pint jar, halve the ingredients. If you want to make a gallon, just multiply everything by four. The ratio of vinegar to honey stays the same—about 8:1—and that’s the only thing you really need to maintain.
One mistake I made early on: using too much honey. I thought it would make the fire cider more palatable, but it actually masked the medicinal qualities and made it taste more like a sweet vinegar dressing than a health tonic. Trust the ratio—it works.
Variations & Adaptations
One of the best things about fire cider is how customizable it is. Here are a few variations I’ve tried and loved:
Spicy Turmeric Version: Add an extra inch of fresh turmeric and a teaspoon of cayenne pepper for an anti-inflammatory powerhouse. This version is especially good during allergy season. I made a batch last spring and it helped my seasonal allergies more than any over-the-counter medication ever did.
Milder Family-Friendly Version: Skip the jalapeño and use only one tablespoon of horseradish. Add an extra tablespoon of honey for sweetness. This version is gentle enough for kids (diluted in water or juice, of course) and for anyone with a sensitive stomach.
Herbal Infusion Version: Add dried herbs like echinacea, elderberry, or astragalus root to the jar along with the fresh ingredients. These herbs are known for their immune-supporting properties and add another layer of complexity to the flavor. I like to add a tablespoon of dried echinacea root and a teaspoon of dried elderberries.
Smoky Chipotle Version: Replace the jalapeño with a dried chipotle pepper and add a teaspoon of smoked paprika. The smoky heat pairs beautifully with the honey and vinegar, creating a fire cider that’s almost barbecue-like in flavor. This one is my husband’s favorite.
Gut-Healing Version: Add a tablespoon of raw sauerkraut juice or a probiotic capsule (opened and emptied into the jar) after straining. This adds even more beneficial bacteria to support gut health. Just keep this version refrigerated and use it within a month.
Remember, fire cider is more of a tradition than a strict recipe. Feel free to experiment with what you have on hand. I’ve made versions with fennel seeds, star anise, even a little bit of miso paste. Some worked, some didn’t—but that’s part of the fun.
Serving & Storage Suggestions
Fire cider is typically taken as a daily wellness shot—about 1 tablespoon for maintenance, or up to 1 ounce if you’re already feeling under the weather. Here’s how I like to serve it:
Straight up: Pour a tablespoon into a small shot glass and knock it back. Chase it with a sip of water if needed. This is the most common way to take it, and it’s what I do most mornings during cold and flu season.
Diluted in warm water: Add a tablespoon to a mug of hot water with a squeeze of lemon. It makes a soothing, tea-like drink that’s perfect for sore throats. I do this on chilly mornings when I want something warming.
In salad dressing: Whisk a tablespoon of fire cider with olive oil, a little extra honey, and some Dijon mustard for a zesty vinaigrette. It’s amazing on bitter greens like arugula or kale.
As a marinade: Use fire cider as a base for marinades for chicken, pork, or tofu. The vinegar tenderizes the meat while the spices add incredible depth of flavor.
Storage: Keep your fire cider in the refrigerator in dark glass bottles. It will stay fresh for up to 6 months, though the flavor will mellow over time. If you notice any sediment settling at the bottom, that’s normal—just shake it before using. If you see any mold or off smells, toss it and start fresh.
Freezing: You can freeze fire cider in ice cube trays for individual portions. Pop out a cube and thaw it in the refrigerator overnight. This is a great way to have it on hand without worrying about it going bad.
One thing I love about this recipe is how the flavors continue to develop even after bottling. The first week after straining, it’s at its most intense. After a month, it mellows into something smoother and more complex. Both versions are wonderful—just different.
Nutritional Information & Benefits
While I’m not a nutritionist or a doctor, I can tell you what the research says about the key ingredients in this fire cider. The benefits are backed by both traditional use and modern science.
Estimated per 1-tablespoon serving:
- Calories: 15-20
- Carbohydrates: 4g
- Sugars: 3g (from honey)
- Vitamin C: 2% DV
- Iron: 1% DV
Key benefits by ingredient:
- Garlic: Contains allicin, a compound with antimicrobial and immune-boosting properties. Studies suggest regular garlic consumption may reduce the severity and duration of colds.
- Ginger: Anti-inflammatory and antioxidant-rich. It’s also great for nausea and digestive health.
- Turmeric: Curcumin, the active compound, is a powerful anti-inflammatory. Pairing it with black pepper (which we do in this recipe) increases absorption by up to 2000%.
- Horseradish: Contains glucosinolates, which have antimicrobial properties. It’s also a natural decongestant—you’ll feel it clear your sinuses immediately.
- Apple cider vinegar: Supports gut health with probiotics (from the mother) and may help regulate blood sugar levels.
- Honey: Raw honey has antibacterial properties and soothes sore throats. Local honey may also help with seasonal allergies.
Dietary considerations: This recipe is gluten-free, dairy-free, and vegan-friendly if you substitute the honey with maple syrup or agave (though the flavor will change slightly). It’s also paleo and Whole30-compliant with the honey substitution.
Potential allergens: This recipe is free of the top eight allergens, but if you’re sensitive to any of the ingredients, please adjust accordingly. The horseradish and pepper can be irritating to those with sensitive stomachs, so start with a small amount and see how you feel.
From a personal perspective, I’ve found that taking a daily shot of this fire cider during winter has made a noticeable difference in how often I get sick. I used to catch every cold that went around the office. Now? I might get one mild cold per season, if that. Coincidence? Maybe. But I’m not about to stop and find out.
Conclusion
Look, I get it. Making your own immunity shots sounds like one of those things you see on Pinterest and think, “That’s nice, but I’ll never actually do it.” I felt the same way for years. But then I tried it, and honestly? It changed my winter routine forever.
This fire cider is worth making because it works, it’s affordable, and it tastes genuinely good. Not “good for a health tonic” good. Just… good. The kind of good that makes you look forward to your daily shot. The kind of good that converts vinegar-hating aunts and skeptical friends. The kind of good that makes you feel like you’re taking care of yourself in a real, tangible way.
I hope you’ll give it a try. Customize it, make it your own, and let me know how it turns out. Did you add something unexpected? Did you find a new favorite variation? I’d love to hear about it in the comments below. And if you share your fire cider on social media, tag me—I want to see your beautiful jars of golden goodness.
Here’s to staying healthy, one fiery shot at a time. You’ve got this.
Frequently Asked Questions
Can I drink fire cider every day?
Yes, most people can safely take 1 tablespoon of fire cider daily for immune support. Start with a smaller amount if you’re new to it, especially if you have a sensitive stomach. If you have any medical conditions or are taking medications, check with your healthcare provider first.
How long does homemade fire cider last?
When stored in the refrigerator in a dark glass bottle, homemade fire cider will stay fresh for up to 6 months. The flavor will mellow over time, but it’s still effective. If you notice any off smells, mold, or changes in color, it’s best to make a fresh batch.
Can I use dried herbs instead of fresh?
Absolutely. Dried herbs like echinacea, elderberry, or astragalus can be added along with the fresh ingredients. Use about half the amount of dried herbs as you would fresh, since dried herbs are more concentrated. Just make sure they’re fully submerged in the vinegar.
Why is my fire cider cloudy?
Cloudiness is completely normal and nothing to worry about. It’s usually caused by the honey, the “mother” in the apple cider vinegar, or tiny particles from the fresh ingredients. Give the bottle a shake before each use, and you’re good to go.
Can I make fire cider without honey?
Yes, you can substitute honey with maple syrup, agave nectar, or even a few pitted dates for natural sweetness. Keep in mind that the flavor will change slightly, and you may need to adjust the amount to get the right balance. Maple syrup gives it a lovely, earthy sweetness that pairs well with the spices.
Pin This Recipe!
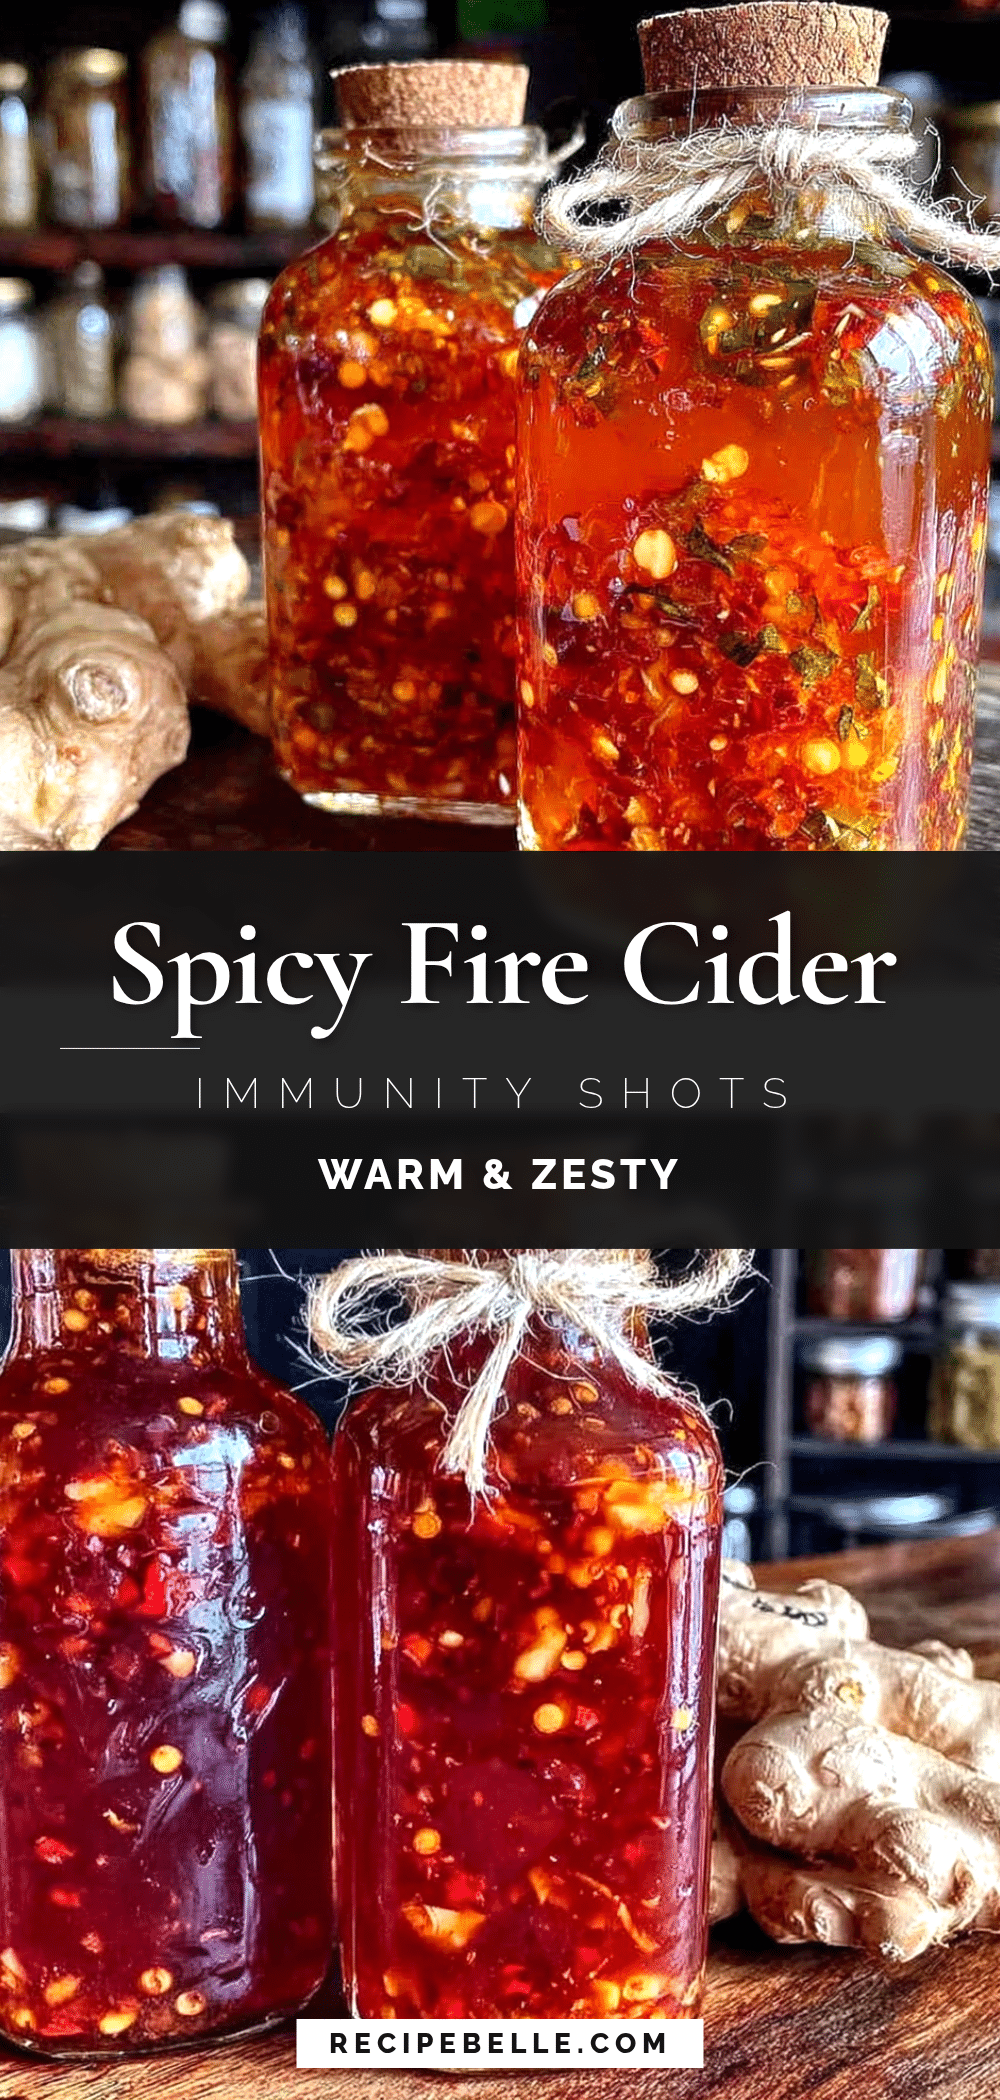
Homemade Fire Cider Immunity Shots: Easy DIY Recipe
This homemade fire cider is a potent, immune-supporting tonic made with simple ingredients like garlic, ginger, turmeric, horseradish, and apple cider vinegar. It’s easy to make, customizable, and tastes genuinely good—even for vinegar skeptics.
- Prep Time: 20 minutes
- Cook Time: 0 minutes
- Total Time: 2-4 weeks (steeping time)
- Yield: Approximately 2 cups (32 servings of 1 tablespoon each) 1x
- Category: Wellness Tonic
- Cuisine: American
Ingredients
- 1 medium onion, roughly chopped
- 10 cloves garlic, crushed or sliced
- 1–2 inches fresh ginger, thinly sliced
- 1–2 inches fresh turmeric, thinly sliced
- 1–2 tablespoons fresh horseradish, grated
- 1 jalapeño or habanero pepper, sliced
- 1 lemon, sliced
- 1 orange, sliced
- 1 cinnamon stick
- 1 teaspoon black peppercorns
- 1 sprig fresh rosemary (optional)
- 2 cups raw, unfiltered apple cider vinegar
- 1/4 cup raw honey
Instructions
- Prep your ingredients: Roughly chop the onion, crush or slice the garlic, thinly slice the ginger and turmeric, grate the horseradish, and slice the jalapeño, lemon, and orange.
- Layer everything in your jar: Start with the onion and garlic at the bottom, then add the ginger, turmeric, horseradish, and pepper. Tuck the lemon and orange slices in around the edges, then add the cinnamon stick, peppercorns, and rosemary sprig. Pack the jar about three-quarters full.
- Add the apple cider vinegar: Pour the vinegar over the ingredients until they’re completely submerged, leaving about an inch of vinegar above the solids. Use a wooden spoon or chopstick to press down and release air bubbles.
- Add the honey: If solid, warm the honey slightly by placing the jar in warm water. Drizzle it into the jar, screw the lid on tightly, and shake vigorously to combine.
- Label and store: Write the date on the jar and place it in a cool, dark place. Shake the jar once daily for the first week, then every few days.
- Steep for 2-4 weeks: Taste after 2 weeks; if strong enough, strain. For more potency, let it steep longer.
- Strain and bottle: Set a fine-mesh strainer over a bowl. Pour the contents through, pressing on solids to extract liquid. Discard solids.
- Transfer to storage bottles: Use a funnel to pour the strained fire cider into dark glass bottles. Seal tightly and refrigerate.
Notes
Shake the jar daily during the first week to help honey dissolve. Use a chopstick to release air bubbles. Taste after 2 weeks and adjust steeping time. Save the strained solids to dehydrate and grind into a seasoning powder. The honey-to-vinegar ratio is key: about 8:1. If you see mold on the surface, skim it off and ensure ingredients are submerged.
Nutrition
- Serving Size: 1 tablespoon
- Calories: 1520
- Sugar: 3
- Carbohydrates: 4
Keywords: fire cider, immunity shots, homemade, DIY, wellness tonic, apple cider vinegar, garlic, ginger, turmeric, horseradish, cold and flu, natural remedy



