I was at my local hardware store last spring, of all places, buying a new hose nozzle when the guy behind the counter, an older fella named Jerry who I’d only ever exchanged nods with, started talking about chicken. Not the weather or the price of lumber—chicken. “You got an air fryer?” he asked, and before I could answer, he launched into a full monologue about how he makes chicken thighs that “put the restaurants to shame.” I was holding a hose nozzle, standing between a display of lightbulbs and a stack of paint cans, and honestly, I was skeptical. But Jerry had this quiet confidence, you know? Like he’d been holding onto this secret for years and figured I looked like someone who needed it.
He scribbled the method on the back of a receipt, and I stuffed it in my pocket, not thinking much of it. But that night, I had a pack of chicken thighs in the fridge and nothing else going on, so I gave it a shot. And let me tell you, the first bite was one of those moments where you just stop and stare at your plate. The skin was shatteringly crisp—like, actual crunch-you-can-hear-from-across-the-table crisp—and the meat was so juicy it practically fell apart. I texted Jerry a photo the next day, and he replied with a thumbs-up emoji and “told ya.”
This crispy air fryer chicken thighs with garlic butter recipe became my go-to that spring. I’ve tweaked it a bit since that first attempt—added more garlic, played with the timing, figured out a trick for getting the seasoning to stick just right—but the heart of it is pure Jerry. It’s the kind of dinner that makes you feel like you pulled off something fancy when really, you just let the air fryer do the heavy lifting. Maybe you’ve been there, staring at a pack of chicken thighs wondering how to make them exciting again. This is your answer.
Why You’ll Love This Recipe
I’ve tested this recipe more times than I care to admit, and every single time, it delivers. It’s one of those rare dishes that checks every box—fast, easy, ridiculously flavorful, and made with ingredients you probably already have. Let me break down why this one is different.
- Quick & Easy: From fridge to table in under 30 minutes. No marinating overnight, no complicated steps. Just simple, honest cooking that fits into a busy weeknight.
- Simple Ingredients: Chicken thighs, butter, garlic, and a handful of pantry spices. No trips to a specialty store required.
- Perfect for Weeknight Dinners: It’s fancy enough to serve guests but fast enough for a Tuesday when you’re exhausted.
- Crowd-Pleaser: I’ve made this for my picky nephew, my in-laws, and a friend who “doesn’t really like chicken.” Every single person went back for seconds.
- Unbelievably Delicious: The contrast between the crispy, golden skin and the tender, garlic-butter-infused meat is next-level comfort food.
What sets this version apart is the technique. Most air fryer chicken recipes tell you to just toss the thighs in and hope for the best. Not here. I’ve figured out the exact temperature, the perfect timing, and a little trick with the garlic butter that makes all the difference. It’s not just another recipe—it’s the one I keep coming back to, the one I’ve texted to friends, the one that made Jerry proud. Honestly, this is the kind of meal that makes you close your eyes after the first bite. It’s comfort food at its finest, and it’s yours in under half an hour.
What Ingredients You Will Need
This recipe uses simple, everyday ingredients to create something truly special. Most of these are pantry staples, which is exactly why this recipe works so well for last-minute dinners. Here’s what you’ll need:
For the Chicken
- 4 bone-in, skin-on chicken thighs (about 1.5 lbs total) — look for thighs with the skin still attached, as that’s what gets beautifully crispy
- 1 tablespoon olive oil — helps the seasoning stick and promotes browning
- 1 teaspoon salt — I prefer kosher salt for its clean flavor
- 1/2 teaspoon black pepper — freshly ground if possible
- 1 teaspoon garlic powder — not the same as fresh garlic, but it adds a nice base layer of flavor
- 1 teaspoon paprika — adds color and a subtle sweetness
- 1/2 teaspoon onion powder — rounds out the savory notes
- 1/4 teaspoon cayenne pepper — optional, but I love the tiny kick it adds
For the Garlic Butter
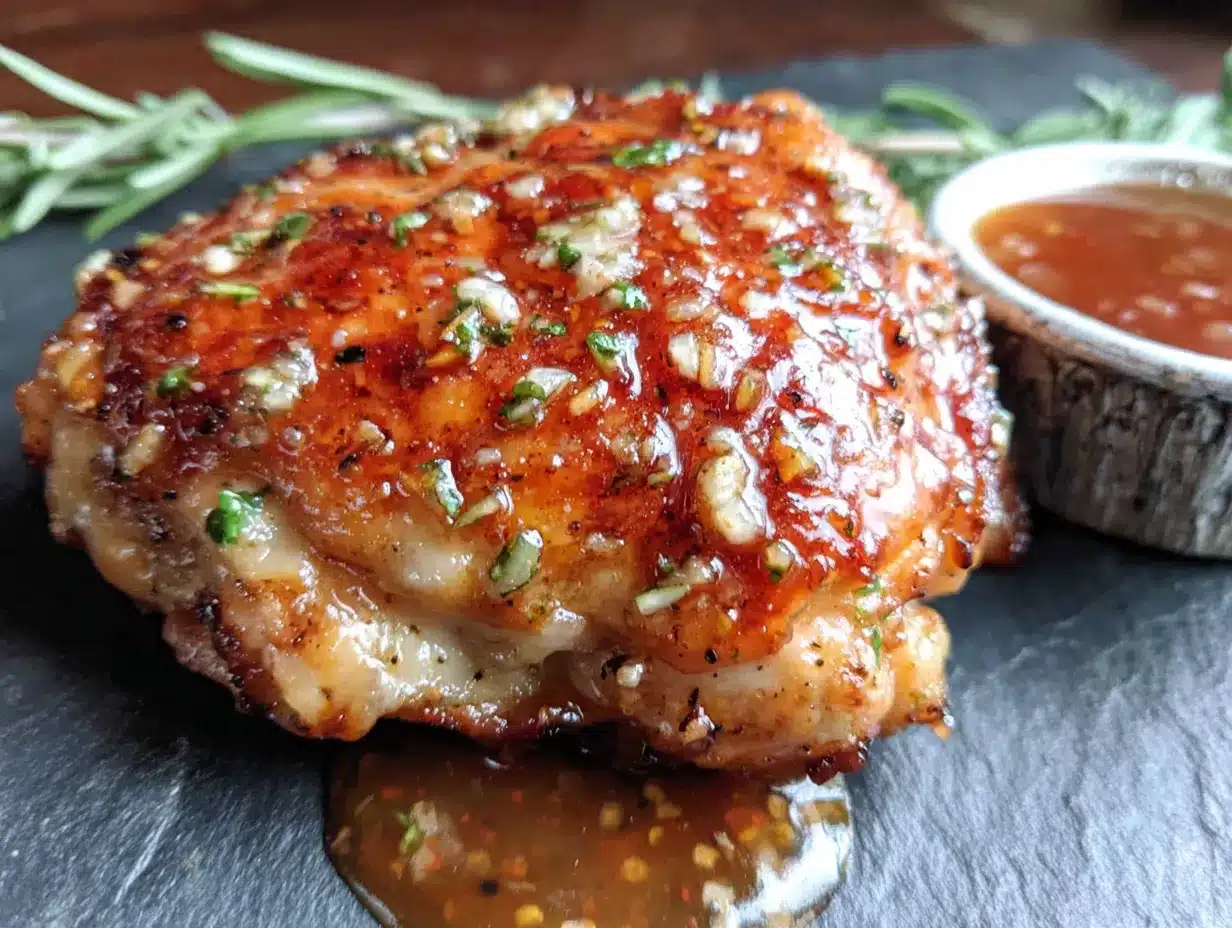
- 3 tablespoons unsalted butter — melted; I use Kerrygold for its rich flavor
- 4 cloves garlic — minced finely; don’t skimp here, this is the star
- 1 tablespoon fresh parsley — chopped; adds freshness and color
- 1/2 teaspoon lemon zest — brightens up the richness of the butter
Ingredient Tips & Substitutions
If you don’t have bone-in thighs, boneless skinless will work, but you’ll lose some crispiness and the cook time will be shorter. For a dairy-free version, use vegan butter or ghee. I’ve also made this with chicken drumsticks, and it works great—just add a few minutes to the cook time. The key is always the same: pat the chicken dry before seasoning. That’s non-negotiable for crispy skin.
Equipment Needed
You don’t need a fancy kitchen to pull this off, but having the right tools makes everything easier. Here’s what I use:
- Air fryer — any basket-style or oven-style works; I have a 5.8-quart Cosori and it’s perfect for 4 thighs
- Tongs — for flipping the chicken without tearing the skin; silicone-tipped ones are great
- Small bowl — for mixing the garlic butter
- Measuring spoons — for the spices
- Paper towels — for patting the chicken dry (this step matters more than you think)
- Instant-read thermometer — optional but highly recommended; takes the guesswork out of doneness
If you don’t have an air fryer, you can use a convection oven at 400°F, but the timing will be different. I’ve tried both, and the air fryer gives a noticeably crispier skin. Budget tip: you don’t need an expensive air fryer. My first one was a $40 model from a discount store, and it worked just fine for years.
Preparation Method
Let’s get cooking. Follow these steps carefully, and you’ll have the crispiest, juiciest chicken thighs of your life.
- Prep the chicken. Start by patting the chicken thighs dry with paper towels. This is the single most important step for crispy skin. Don’t rush it—really get them dry, both sides. Let them sit on a plate for 5 minutes to air-dry a bit more.
- Season the thighs. In a small bowl, mix the salt, pepper, garlic powder, paprika, onion powder, and cayenne. Drizzle the olive oil over the chicken and rub it in evenly. Then sprinkle the spice mixture over both sides, pressing gently to adhere. I like to do this on a cutting board so I can see that every inch is covered.
- Preheat the air fryer. Set your air fryer to 400°F and let it preheat for 3 minutes. Some models don’t require preheating, but I find it gives a better initial sear.
- Arrange the chicken. Place the thighs in the air fryer basket, skin side down, in a single layer. Don’t overcrowd—if your basket is small, cook in batches. I’ve made that mistake before, and the skin comes out soggy. Leave a little space between each piece for air to circulate.
- Cook the first side. Air fry at 400°F for 12 minutes. At this point, the skin should be starting to turn golden and crisp. Don’t open the basket to check too early; let the heat do its work.
- Flip and continue. Using tongs, carefully flip the chicken so the skin side is up. Air fry for another 10-12 minutes. The total cook time should be 22-24 minutes, but start checking at 20 minutes if your thighs are on the smaller side. The internal temperature should reach 175°F for bone-in thighs—that’s the sweet spot for tender, fall-apart meat.
- Make the garlic butter. While the chicken finishes cooking, melt the butter in a small bowl in the microwave (about 20 seconds). Stir in the minced garlic, parsley, and lemon zest. Let it sit so the flavors meld together.
- Rest and brush. Once the chicken is done, let it rest in the basket for 2 minutes. Then transfer to a plate and brush each thigh generously with the garlic butter. The heat from the chicken will melt the butter into every crevice. Let it sit for another minute before serving.
Pro tip: If you want extra-crispy skin, after flipping, spray the skin lightly with cooking spray. I learned this trick from a chef friend, and it makes a noticeable difference.
Cooking Tips & Techniques
Over the dozens of times I’ve made this recipe, I’ve learned a few things the hard way. Let me save you the trouble.
Don’t skip drying the chicken. I know it seems like a small step, but moisture is the enemy of crispiness. If the skin is even slightly damp, it will steam instead of crisp. I once rushed through this step on a busy night, and the skin came out rubbery. Never again.
Let the chicken come to room temperature. Take the thighs out of the fridge 15-20 minutes before cooking. This helps them cook more evenly. I forgot this step once, and the outside was done while the inside near the bone was still undercooked.
Use an instant-read thermometer. Chicken thighs are forgiving, but nailing the temperature makes a big difference. I aim for 175°F for bone-in thighs. At 165°F, they’re safe to eat but can be a bit tough near the bone. At 175°F, the connective tissue breaks down and the meat becomes incredibly tender.
Don’t overcrowd the basket. This is the most common mistake I see. If the thighs are touching, the steam gets trapped and the skin won’t crisp. Cook in batches if you need to—it’s worth the extra few minutes.
Let it rest. I know it’s tempting to dig in immediately, but letting the chicken rest for 2-3 minutes after cooking allows the juices to redistribute. Cut into it too soon, and all that goodness ends up on the plate instead of in your mouth.
Variations & Adaptations
One of the things I love about this recipe is how versatile it is. Here are a few ways I’ve changed it up over the years:
Spicy Honey Garlic: Add 1 tablespoon of honey and 1/2 teaspoon of red pepper flakes to the garlic butter. It creates this amazing sweet-heat glaze that caramelizes slightly on the skin. I made this for a game day party, and it disappeared in minutes.
Lemon Herb: Swap the garlic butter for a mixture of melted butter, lemon juice, fresh thyme, and rosemary. It’s lighter and brighter, perfect for spring or summer dinners. I serve it with a simple arugula salad.
Asian-Inspired: Replace the spice rub with a mix of soy sauce, ginger, and sesame oil. Brush with a garlic-sesame butter at the end. The umami flavor is incredible, and it pairs beautifully with steamed rice and bok choy.
Dairy-Free: Use olive oil or avocado oil instead of butter. Add an extra clove of garlic and a squeeze of lemon juice for brightness. It’s still delicious, just a little different in texture.
Air Fryer Chicken Thighs with Garlic Butter and Parmesan: After brushing with garlic butter, sprinkle each thigh with 1 tablespoon of grated Parmesan cheese. Return to the air fryer for 1-2 minutes until the cheese melts. It adds a salty, nutty crust that’s absolutely addictive.
Serving & Storage Suggestions
These crispy air fryer chicken thighs with garlic butter are best served immediately, while the skin is still crackling and the butter is warm. I like to serve them on a large platter with the extra garlic butter drizzled over the top and a sprinkle of fresh parsley for color.
What to serve with them: I usually pair these with something light to balance the richness. A crisp green salad with lemon vinaigrette, roasted asparagus, or garlic green beans all work beautifully. For a heartier meal, serve with mashed potatoes or crusty bread to soak up every drop of that garlic butter. I’ve also served them over rice pilaf, and it’s a match made in heaven.
Storage: Leftover chicken can be stored in an airtight container in the refrigerator for up to 3 days. The skin will lose its crispiness, but the flavor will still be amazing. I’ve even chopped up leftovers and used them in salads or wraps.
Reheating: To bring back some of that crispiness, reheat in the air fryer at 350°F for 3-4 minutes. The microwave will make the skin soggy, so avoid it if you can. I’ve found that reheating in a hot skillet with a tiny bit of butter also works well.
Freezing: Cooked chicken thighs freeze well for up to 2 months. Wrap each thigh individually in plastic wrap, then place in a freezer bag. Thaw overnight in the fridge and reheat in the air fryer. The texture won’t be quite as perfect as fresh, but it’s still a fantastic quick meal.
Nutritional Information & Benefits
This recipe is surprisingly balanced for how indulgent it tastes. Here’s the approximate nutritional breakdown per serving (one thigh with garlic butter):
- Calories: 380
- Protein: 28g
- Fat: 28g
- Carbohydrates: 3g
- Fiber: 0g
- Sugar: 0g
Chicken thighs are a great source of high-quality protein, iron, and B vitamins, especially B12 and niacin, which support energy metabolism. The skin provides healthy fats, and garlic is known for its anti-inflammatory and immune-boosting properties. This recipe is naturally low-carb and gluten-free, making it suitable for keto and paleo diets. If you’re watching your sodium, you can reduce the salt to 1/2 teaspoon without sacrificing too much flavor. I personally love that this meal feels indulgent but is actually quite wholesome—it’s the kind of food that nourishes both body and soul.
Conclusion
This crispy air fryer chicken thighs with garlic butter recipe has become a staple in my kitchen for good reason. It’s fast, foolproof, and delivers restaurant-quality results with minimal effort. Whether you’re cooking for a busy weeknight, a casual dinner with friends, or just treating yourself to something special, this recipe never disappoints. The combination of shatteringly crisp skin, juicy meat, and that rich, garlicky butter is pure magic.
I hope you give it a try and make it your own. Maybe you’ll add extra garlic, or swap in your favorite herbs, or find a new way to serve it. That’s the beauty of cooking—it’s always evolving. I’d love to hear how it turns out for you. Drop a comment below and let me know if you tried any variations, or tag me in your photos. Happy cooking, and remember: sometimes the best recipes come from the most unexpected places.
Frequently Asked Questions
Can I use boneless, skinless chicken thighs for this recipe?
Yes, you can, but the results will be different. Boneless thighs cook faster (about 15-18 minutes total) and won’t have the same crispy skin. They’ll still be juicy and flavorful, just not as crunchy. If you use boneless, reduce the cook time and check for doneness at 165°F.
Why isn’t my chicken skin getting crispy?
The most common reason is moisture. Make sure you pat the chicken completely dry with paper towels before seasoning. Also, don’t overcrowd the air fryer basket—the thighs need space for hot air to circulate. Finally, make sure your air fryer is preheated to 400°F before adding the chicken.
Can I make this recipe without an air fryer?
Absolutely. You can bake the chicken in a convection oven at 400°F for 30-35 minutes, flipping halfway through. For a regular oven, use a wire rack set inside a baking sheet to allow air to circulate underneath. The skin won’t be quite as crispy, but it will still be delicious.
How do I know when the chicken is fully cooked?
The safest way is to use an instant-read thermometer inserted into the thickest part of the thigh, avoiding the bone. For bone-in thighs, aim for 175°F. For boneless, 165°F is sufficient. The juices should run clear when you pierce the meat, and the skin should be golden brown and crispy.
Can I prep the chicken ahead of time?
Yes! You can season the chicken up to 24 hours in advance and keep it covered in the refrigerator. This actually helps the flavors penetrate deeper. Just let it sit at room temperature for 15 minutes before air frying to ensure even cooking. The garlic butter is best made fresh, but you can prep the garlic and parsley ahead of time.
Pin This Recipe!
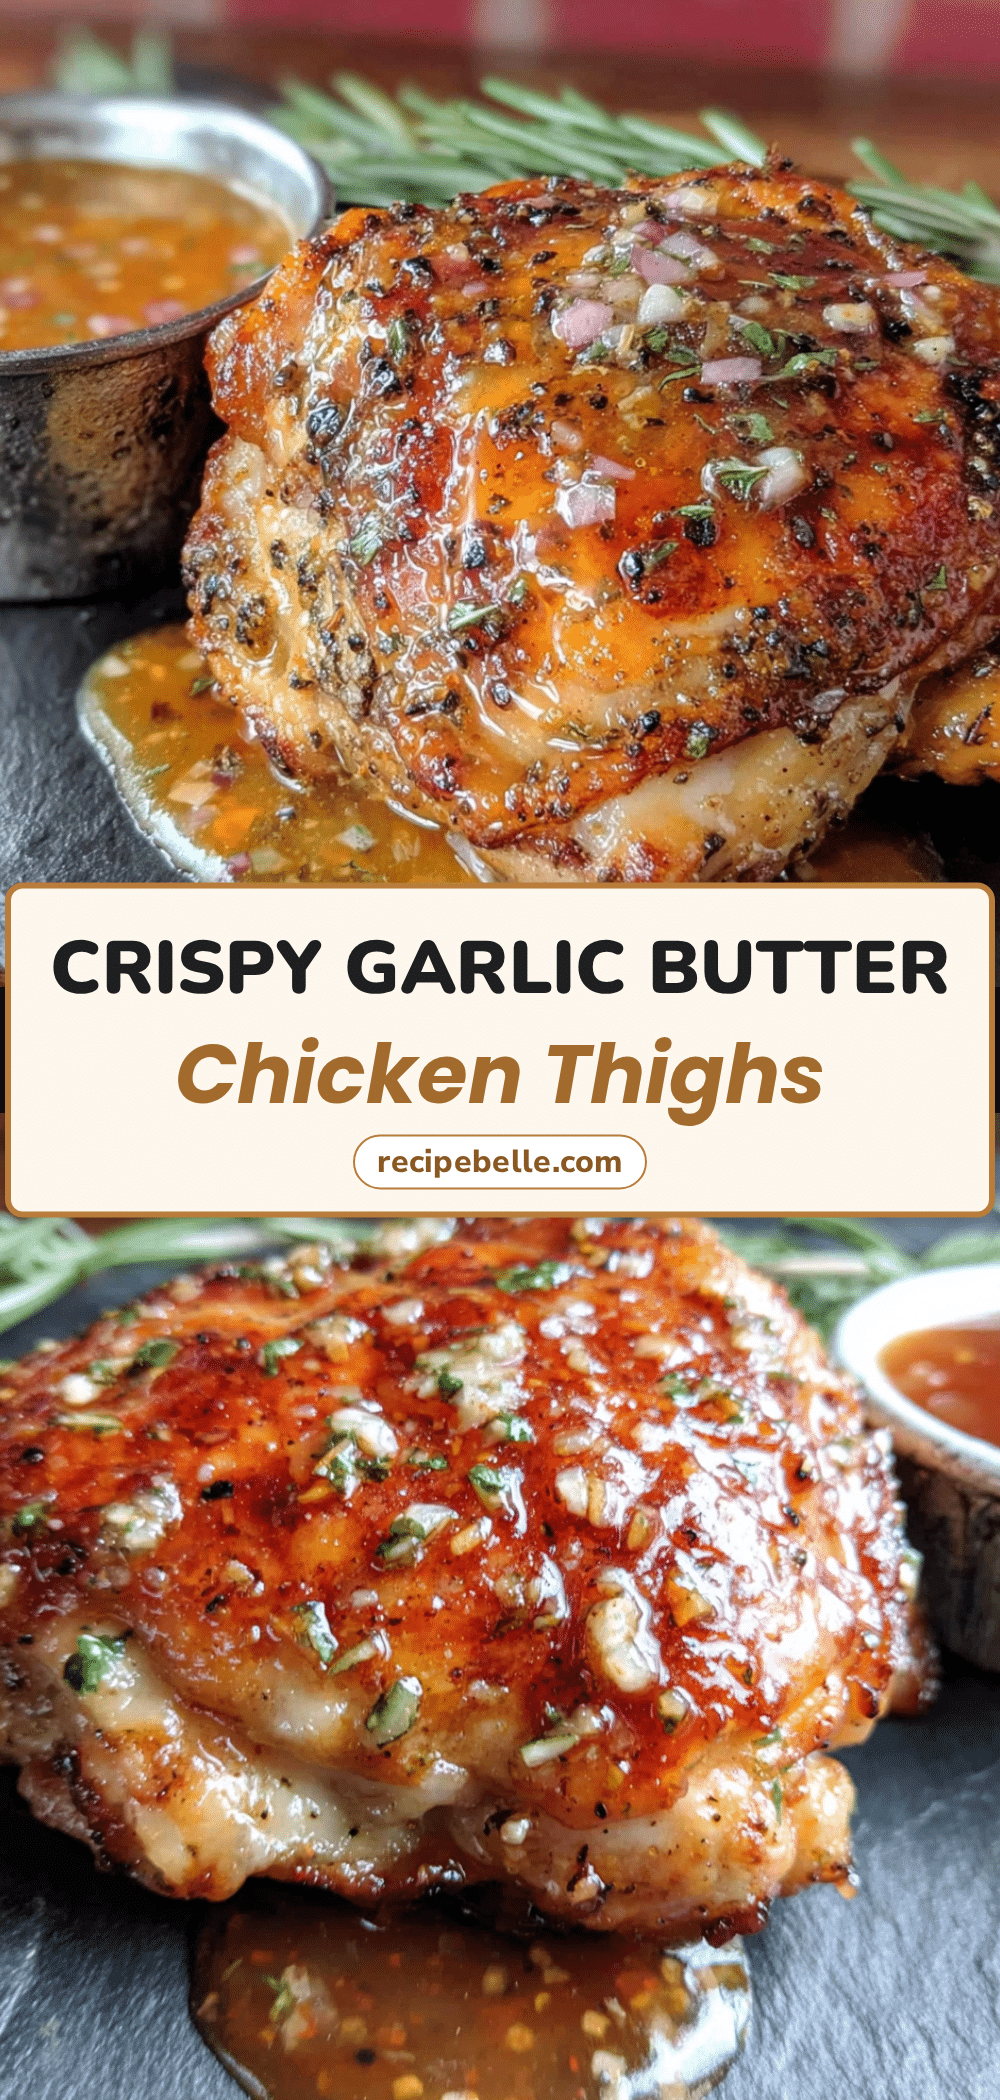
Crispy Air Fryer Chicken Thighs with Garlic Butter

Shatteringly crisp skin and juicy, tender meat come together in under 30 minutes with this easy air fryer chicken thighs recipe. A simple garlic butter finish takes it over the top.
- Prep Time: 10 minutes
- Cook Time: 22 minutes
- Total Time: 32 minutes
- Yield: 4 servings 1x
- Category: Main Course
- Cuisine: American
Ingredients
- 4 bone-in, skin-on chicken thighs (about 1.5 lbs total)
- 1 tablespoon olive oil
- 1 teaspoon salt
- 1/2 teaspoon black pepper
- 1 teaspoon garlic powder
- 1 teaspoon paprika
- 1/2 teaspoon onion powder
- 1/4 teaspoon cayenne pepper (optional)
- 3 tablespoons unsalted butter
- 4 cloves garlic, minced
- 1 tablespoon fresh parsley, chopped
- 1/2 teaspoon lemon zest
Instructions
- Pat the chicken thighs dry with paper towels and let them sit for 5 minutes to air-dry.
- In a small bowl, mix salt, pepper, garlic powder, paprika, onion powder, and cayenne. Drizzle olive oil over the chicken and rub it in, then sprinkle the spice mixture over both sides, pressing gently to adhere.
- Preheat the air fryer to 400°F for 3 minutes.
- Place the thighs in the air fryer basket, skin side down, in a single layer without overcrowding.
- Air fry at 400°F for 12 minutes.
- Flip the chicken so the skin side is up and air fry for another 10-12 minutes, until the internal temperature reaches 175°F.
- While the chicken cooks, melt the butter in a small bowl. Stir in minced garlic, parsley, and lemon zest.
- Let the chicken rest in the basket for 2 minutes, then transfer to a plate and brush each thigh generously with the garlic butter. Let sit for 1 minute before serving.
Notes
Pat the chicken completely dry for crispy skin. Do not overcrowd the air fryer basket. Let the chicken rest before serving. For extra-crispy skin, spray lightly with cooking spray after flipping.
Nutrition
- Serving Size: 1 chicken thigh with
- Calories: 380
- Sodium: 600
- Fat: 28
- Saturated Fat: 10
- Carbohydrates: 3
- Protein: 28
Keywords: air fryer chicken thighs, crispy chicken thighs, garlic butter chicken, easy chicken recipe, weeknight dinner



