My college roommate asked why I couldn’t just mix peanut butter, oats, and chocolate chips together and call it a meal. I started to explain why that wouldn’t work — then stopped. Honestly, I had no good reason. I was deep in my “real food only” phase, convinced that anything that came together in under ten minutes couldn’t possibly be worth eating. But she was hungry, we were broke, and the pantry was looking pretty sad that Tuesday afternoon.
So I handed her the jar of peanut butter and watched her dump, stir, and roll. No food processor. No fancy protein powder. Just three ingredients and two hands. I stood there, spatula in hand, ready to rescue the situation when it inevitably went wrong. Except it didn’t. She popped one in her mouth, shrugged, and said “See? Easy.” I grabbed one myself, and I mean it when I tell you I felt a little embarrassed. They were genuinely good — chewy, chocolatey, and satisfying in a way that my complicated energy bars never were.
That was the moment I stopped overcomplicating snacks. Maybe you’ve been there — convinced that something so simple couldn’t possibly work, only to be proven completely wrong by a friend who didn’t know any better. These easy no-bake chocolate peanut butter protein balls became my go-to that semester. I made them between classes, before workouts, and late at night when studying got intense. They stuck around because they’re not just easy — they’re the kind of recipe that makes you wonder why you ever bought pre-packaged protein snacks in the first place.
Why You’ll Love This Recipe
Let me tell you why these little bites of chocolate-peanut butter goodness deserve a permanent spot in your kitchen. As someone who has tested about a dozen different protein ball recipes over the years — some that crumbled, some that were too sticky, and a few that just tasted like cardboard — I can confidently say this version is the one. It’s the recipe I come back to again and again, and here’s why you will too:
- Quick & Easy: Comes together in under 10 minutes with zero baking required. Perfect for those days when you need a snack now.
- Simple Ingredients: No fancy grocery trips needed. You likely already have peanut butter, oats, and chocolate chips in your pantry.
- Perfect for Meal Prep: Make a batch on Sunday and grab one on your way out the door all week long.
- Crowd-Pleaser: Kids devour them, adults sneak them, and nobody guesses they’re actually good for you.
- Unbelievably Delicious: The texture is perfectly chewy, the chocolate hits that sweet spot, and the peanut butter makes everything better.
What sets this recipe apart from the hundreds of protein ball recipes floating around the internet? It’s the ratio. I spent way too many afternoons tweaking measurements — too dry, too wet, too crumbly, too sticky — until I landed on the perfect balance. These balls hold together without being dense, taste indulgent without being loaded with sugar, and use ingredients that actually fuel your body. They’re not just another version; they’re my best version after years of trial and error.
This recipe is the kind that makes you close your eyes after the first bite. It’s comfort food reimagined — faster, healthier, but with the same soul-soothing satisfaction. Perfect for impressing yourself on a busy Tuesday, or turning a handful of pantry staples into something genuinely memorable.
What Ingredients You Will Need
This recipe uses simple, wholesome ingredients to deliver bold flavor and satisfying texture without the fuss. Everything here is a pantry staple, which means you can whip up a batch anytime the craving hits without a special trip to the store.
- 1 cup creamy peanut butter (natural or regular works — just make sure it’s well-stirred if using natural; I prefer Skippy for consistent texture, but any brand you love will do)
- 1 cup rolled oats (old-fashioned oats give the best chewy texture; quick oats work in a pinch but yield a softer ball)
- 1/2 cup mini chocolate chips (semi-sweet or dark — I use Ghirardelli mini chips because they distribute evenly; regular chips work too, just chop them roughly first)
- 1-2 tablespoons honey or maple syrup (optional, for extra sweetness; skip if your peanut butter is already sweetened)
- Pinch of sea salt (trust me on this — it makes the chocolate and peanut butter sing)
A few notes on ingredients before we get started. For the peanut butter, avoid the super oily natural brands that separate completely — they can make the balls too greasy. Look for a creamy peanut butter that holds together at room temperature. If you’re using natural peanut butter, refrigerate it first so it firms up, then stir really well before measuring.
For the oats, I’ve tried this recipe with gluten-free rolled oats and they work beautifully. Bob’s Red Mill makes a great option if you need certified gluten-free. Steel-cut oats won’t work here — they’re too hard and won’t soften enough to create the right texture.
The chocolate chips are where you can really customize. Mini chips are ideal because they spread throughout the mixture without overwhelming any single bite. But I’ve also used chopped dark chocolate bars, white chocolate chips, and even cacao nibs for a less sweet version. If you’re watching sugar, Lily’s stevia-sweetened chocolate chips are a solid swap.
And that optional honey or maple syrup? I usually add it when I’m using unsweetened peanut butter or when I want a slightly sweeter ball. But honestly, if you’re using a standard peanut butter and semi-sweet chocolate chips, you probably won’t miss it. Taste the mixture before rolling — your preference is what matters here.
Equipment Needed
One of the best things about this recipe is how little equipment it requires. You don’t need a food processor, stand mixer, or any fancy gadget. Here’s what you’ll actually use:
- Large mixing bowl — any medium-to-large bowl works; I use my favorite ceramic one because nothing sticks to it
- Rubber spatula or wooden spoon — for mixing everything together; a spatula makes scraping the sides easier
- Measuring cups and spoons — 1 cup measure for peanut butter and oats, 1/2 cup for chocolate chips
- Small cookie scoop or tablespoon — for portioning evenly; I use a 1-tablespoon scoop for consistent sizing
- Baking sheet or plate — lined with parchment paper or wax paper to hold the rolled balls
- Refrigerator — for chilling the balls so they firm up properly
If you don’t have a cookie scoop, just use a regular tablespoon and your hands. I actually prefer hand-rolling because I can feel when the mixture is compact enough. Pro tip: lightly wet your hands before rolling to prevent sticking. And if you’re making a double batch, clear some shelf space in your fridge beforehand — these take up more room than you’d think when chilling.
Preparation Method
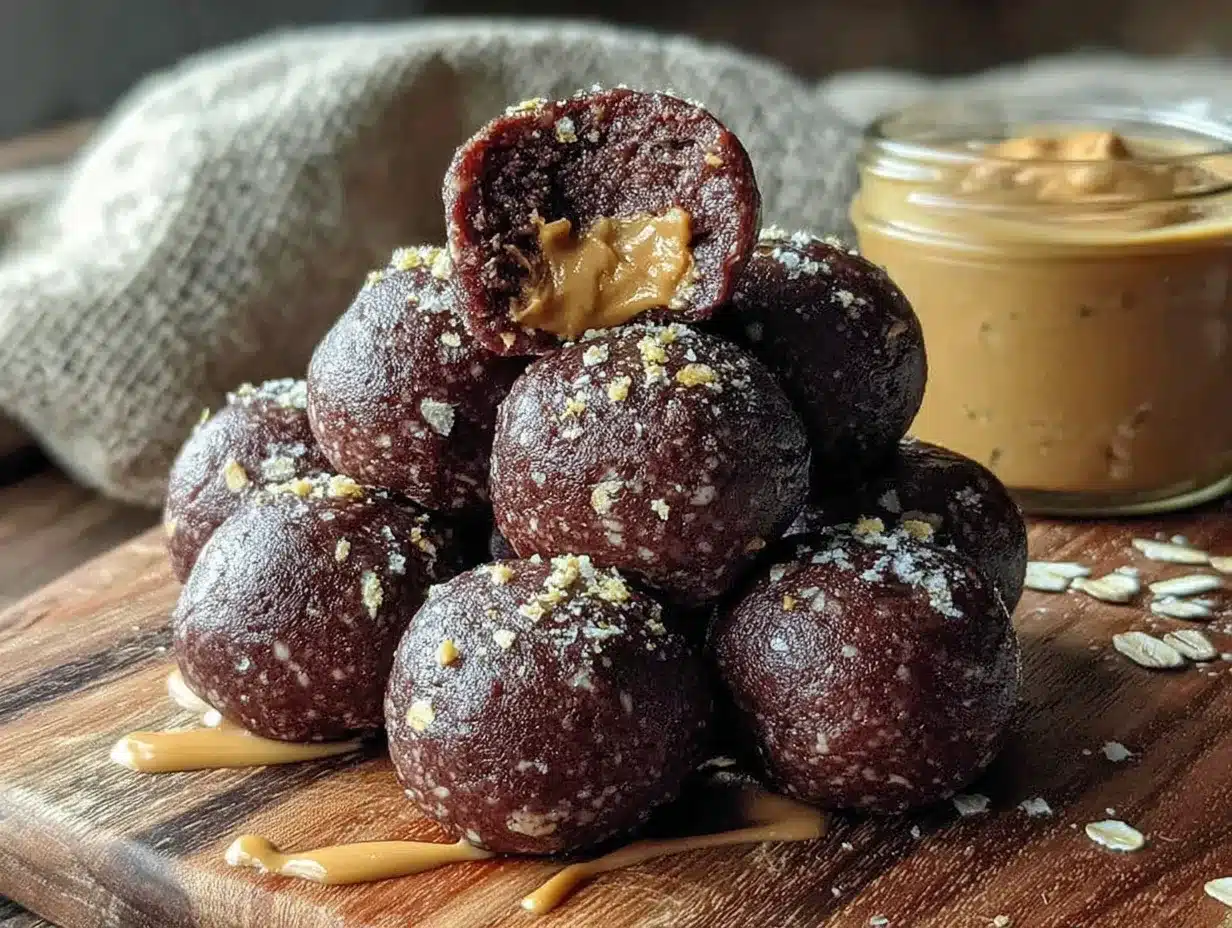
Alright, let’s make these easy no-bake chocolate peanut butter protein balls. I promise you can do this with your eyes half-closed on a Monday morning. Here’s how:
- Combine the peanut butter and oats. In your large mixing bowl, add 1 cup of peanut butter and 1 cup of rolled oats. Stir them together with your rubber spatula until fully combined. The mixture will look thick and a little sticky — that’s exactly what you want. If it seems too dry, add 1 tablespoon of honey or maple syrup. If it seems too wet, add another tablespoon of oats. This takes about 30 seconds.
- Fold in the chocolate chips. Add 1/2 cup of mini chocolate chips and that pinch of sea salt to the bowl. Fold everything together gently until the chips are evenly distributed throughout the mixture. Don’t overmix here — you want the chips to stay intact, not melt into the dough. The mixture should hold together when you press it between your fingers. If it crumbles, add a tiny bit more peanut butter.
- Chill the mixture (optional but helpful). If your kitchen is warm or your peanut butter was at room temperature, pop the bowl in the fridge for 10-15 minutes. This makes the mixture easier to handle and helps the balls hold their shape better. I skip this step when I’m in a hurry, but on hot summer days, it makes a noticeable difference.
- Portion the mixture. Using your cookie scoop or a tablespoon, scoop out even portions of the mixture. I aim for about 1 tablespoon per ball, which gives me roughly 16-18 balls from this batch. Place the scoops on your parchment-lined baking sheet as you go.
- Roll into balls. Take each portion and roll it firmly between your palms to form a smooth ball. Apply gentle but consistent pressure — you want them compact enough to hold together but not so tight that they become dense. If the mixture sticks to your hands, lightly wet your palms with water. This step takes about 2-3 minutes for the whole batch.
- Chill to set. Place the baking sheet with your rolled balls in the refrigerator for at least 30 minutes. This allows them to firm up and makes them easier to store. They’ll be slightly soft but should hold their shape when you pick them up.
- Transfer to storage container. Once chilled, move the balls to an airtight container. Layer them between sheets of parchment paper if stacking to prevent sticking. Store in the refrigerator for up to two weeks — though in my experience, they never last that long.
A quick note on timing: the active prep time here is about 8 minutes. The chilling time is where the magic happens, but you can absolutely eat one right after rolling if you’re impatient (I won’t judge — I’ve done it plenty of times). The texture improves after chilling, though — they become firmer and the flavors meld together beautifully.
Cooking Tips & Techniques
After making these protein balls more times than I can count, I’ve picked up a few tricks that make the process smoother and the results more consistent. Let me share what I’ve learned — including the mistakes I made so you don’t have to.
First, watch your peanut butter consistency. This is the number one variable that affects how your balls turn out. Natural peanut butter that’s too runny will make the mixture greasy and difficult to roll. On the flip side, peanut butter that’s too thick (like the bottom of a nearly-empty jar) will make the mixture dry and crumbly. Aim for that Goldilocks zone — smooth, creamy, and easy to stir. If your natural peanut butter has separated, stir it vigorously for a full minute before measuring.
Second, don’t skip the salt. I know it seems like a tiny detail, but that pinch of sea salt does something magical. It balances the sweetness of the chocolate, enhances the nuttiness of the peanut butter, and keeps these balls from tasting flat. I once made a batch without salt because I was out, and everyone noticed the difference. It was still good, but it wasn’t that good.
Third, use room temperature ingredients. Cold peanut butter straight from the fridge is harder to mix and won’t incorporate as evenly with the oats. Let it sit on the counter for 15 minutes before you start. Same goes for any honey or maple syrup — cold sweeteners seize up and make the mixture clumpy.
Fourth, taste as you go. This is something I learned from my early failures. Before you roll the entire batch, take a small spoonful and taste it. Is it sweet enough? Does it need more salt? Would you prefer extra chocolate chips? Adjust now, not after you’ve rolled all 18 balls. I’ve added more honey mid-batch more times than I’d like to admit.
Fifth, manage your expectations on texture. These balls are meant to be soft and chewy, not hard and crunchy. If you want a firmer texture, you can add 2 tablespoons of ground flaxseed or chia seeds to the mixture. This also boosts the nutritional profile. But honestly? I love them exactly as they are — tender, slightly sticky, and perfectly satisfying.
One last thing: if your mixture is too sticky to roll, you’ve probably added too much honey or your peanut butter was extra oily. Fix it by adding more oats, 1 tablespoon at a time, until the consistency feels right. If it’s too dry and crumbly, add a teaspoon of peanut butter or a splash of milk until it holds together. These adjustments are normal — humidity and ingredient brands vary, and your hands will learn to feel what’s right.
Variations & Adaptations
One of the best things about this recipe is how flexible it is. I’ve experimented with countless variations over the years, and here are some of my favorites:
Chocolate Peanut Butter Coconut Balls: Add 1/4 cup of unsweetened shredded coconut to the mixture before rolling. The coconut adds a subtle tropical flavor and a pleasant chewy texture. Roll the finished balls in additional coconut for a pretty presentation. This is my go-to variation when I want something that feels a little more special.
Vegan Protein Balls: Use maple syrup instead of honey, and make sure your chocolate chips are dairy-free. Enjoy Life brand makes excellent mini chocolate chips that are vegan-friendly. The maple syrup adds a lovely warmth that complements the peanut butter beautifully. I’ve served these to vegan friends who couldn’t tell the difference.
Almond Butter Variation: Swap the peanut butter for almond butter or cashew butter. The flavor becomes milder and more buttery, which pairs wonderfully with dark chocolate chips. Almond butter tends to be thinner than peanut butter, so you might need an extra tablespoon of oats to compensate. Sunflower seed butter works too if you need a nut-free option — just know the color will be a bit greenish (it’s the natural reaction of sunflower seeds baking, totally safe and delicious).
Add-In Adventures: This is where you can really make the recipe your own. Try adding 2 tablespoons of hemp hearts for extra protein and a nutty flavor. Toss in 1/4 cup of dried cranberries or chopped dried cherries for a tart contrast to the chocolate. Sprinkle in some cinnamon or a dash of cayenne for warmth. I once added crushed freeze-dried strawberries and it was unexpectedly amazing — like chocolate-covered strawberries in portable form.
Lower Sugar Option: Skip the honey or maple syrup entirely, and use unsweetened peanut butter and sugar-free chocolate chips. The natural sweetness from the oats and peanut butter is subtle but satisfying. I make this version when I’m being extra mindful about sugar intake, and honestly, I don’t miss the extra sweetness after the first few bites.
Crunchy Texture Version: Swap half the rolled oats for crispy rice cereal or puffed quinoa. This creates a lighter, crunchier texture that’s completely different from the original but equally addictive. Just be gentle when mixing to avoid crushing the cereal too much.
Serving & Storage Suggestions
These easy no-bake chocolate peanut butter protein balls are incredibly versatile when it comes to serving. Here’s how I recommend enjoying them:
Serving Temperature: I prefer them straight from the refrigerator — they’re firm, cool, and the chocolate chips have a satisfying snap. But they’re also delicious at room temperature if you let them sit for 5-10 minutes. The texture softens slightly, making them almost fudge-like. Try both ways and see which you prefer.
When to Eat Them: These are perfect for pre-workout fuel — eat one about 30 minutes before exercise for steady energy. They also make an excellent afternoon pick-me-up when that 3 PM slump hits. I’ve even packed them in lunchboxes for a healthier dessert alternative. And let’s be honest, they’re pretty great as a midnight snack too.
What to Pair Them With: Serve alongside a glass of cold milk (dairy or plant-based) for a classic combo. They’re also lovely crumbled over Greek yogurt with fresh berries for a quick breakfast parfait. For a dessert board, arrange them with fresh apple slices, strawberries, and a few squares of dark chocolate.
Storage Instructions: Keep these balls in an airtight container in the refrigerator. They’ll stay fresh for up to two weeks — though in my house, they rarely last more than three days. Layer them between sheets of parchment paper if you’re stacking them to prevent sticking. Do not store them at room temperature for more than a few hours, especially in warm weather, as the peanut butter can become oily and the texture suffers.
Freezer Instructions: These freeze beautifully! Place the rolled balls on a baking sheet and freeze until solid (about 1 hour). Transfer to a freezer-safe bag or container, separating layers with parchment paper. They’ll keep for up to 3 months. To enjoy, let them thaw in the refrigerator for about 30 minutes, or eat them straight from the freezer for a firmer, almost ice-cream-like texture. I always keep a stash in my freezer for emergency snacking.
Flavor Development: Here’s something interesting — these balls actually taste better after a day or two in the fridge. The flavors meld together, the oats soften slightly, and everything becomes more cohesive. So if you can resist eating them all on day one, you’ll be rewarded on day two.
Nutritional Information & Benefits
Let’s talk about what makes these little bites not just delicious but genuinely good for you. Here’s the approximate nutritional breakdown per ball (based on 18 balls using standard ingredients):
- Calories: 145-160
- Protein: 6-7 grams
- Fat: 9-10 grams (mostly heart-healthy unsaturated fats from peanut butter)
- Carbohydrates: 14-16 grams
- Fiber: 2-3 grams
- Sugar: 6-8 grams (depending on added sweetener and chocolate chips)
The real magic here is in the ingredients. Peanut butter provides plant-based protein and healthy fats that keep you full and satisfied. Rolled oats are a fantastic source of complex carbohydrates and soluble fiber, which supports steady energy levels and digestive health. Dark chocolate chips (especially if you use 70% or higher) offer antioxidants and a little magnesium boost.
These protein balls are naturally gluten-free if you use certified gluten-free oats, and they can easily be made vegan by swapping honey for maple syrup. They’re also dairy-free as written (double-check your chocolate chips). The only common allergen to watch for is peanuts, but as mentioned, you can substitute with sunflower seed butter or other nut butters.
I love that these are a snack I can feel genuinely good about — they fuel my body, satisfy my sweet tooth, and don’t leave me with that sluggish feeling that processed snacks often do. They’re proof that healthy eating doesn’t have to be complicated or boring.
Conclusion
These easy no-bake chocolate peanut butter protein balls are the kind of recipe that proves simple really can be best. Three ingredients, ten minutes, and you’ve got a batch of satisfying, protein-packed snacks that taste like a treat but fuel your body like a smart choice. Whether you’re new to making protein balls or you’ve tried a dozen recipes before, I genuinely believe this one will become your go-to.
What I love most about this recipe is how forgiving it is. You can tweak it based on what’s in your pantry, adjust the sweetness to your liking, and still end up with something delicious. Don’t be afraid to make it your own — add your favorite mix-ins, swap the nut butter, or experiment with different chocolate chips. The base is solid, and the possibilities are endless.
I’d love to hear how yours turn out! Drop a comment below and let me know what variations you tried, or tag me in your photos if you share them online. Did you add coconut? Swap in almond butter? Make them extra chocolatey? I want to know all about it. Happy rolling, friends — here’s to snacks that make life a little bit sweeter and a whole lot easier.
Frequently Asked Questions
Can I make these without a food processor?
Absolutely! This recipe doesn’t require a food processor at all. Simply mix everything together in a bowl with a spatula or wooden spoon. It’s one of the reasons I love this recipe — minimal equipment, maximum results.
How long do these protein balls last?
Stored in an airtight container in the refrigerator, they’ll stay fresh for up to two weeks. You can also freeze them for up to three months. Just make sure they’re in a sealed container to prevent them from absorbing other flavors in your fridge or freezer.
Can I use quick oats instead of rolled oats?
Yes, you can! Quick oats will work, but the texture will be softer and less chewy. Rolled oats give a better texture and hold up better over time. If you only have quick oats, reduce the chilling time slightly since they soften faster.
Why are my protein balls too dry or too sticky?
This usually comes down to the peanut butter consistency. If they’re too dry, add a teaspoon of peanut butter or a splash of milk. If they’re too sticky, add more oats, one tablespoon at a time. Remember that different brands of peanut butter have different moisture levels, so a little adjustment is normal.
Can I make these nut-free?
Definitely! Swap the peanut butter for sunflower seed butter, tahini, or WowButter (a soy-based peanut butter alternative). Just note that sunflower seed butter can turn slightly green when combined with other ingredients due to a natural reaction — it’s totally safe and tastes the same. Tahini will give a slightly different flavor but works beautifully.
Pin This Recipe!
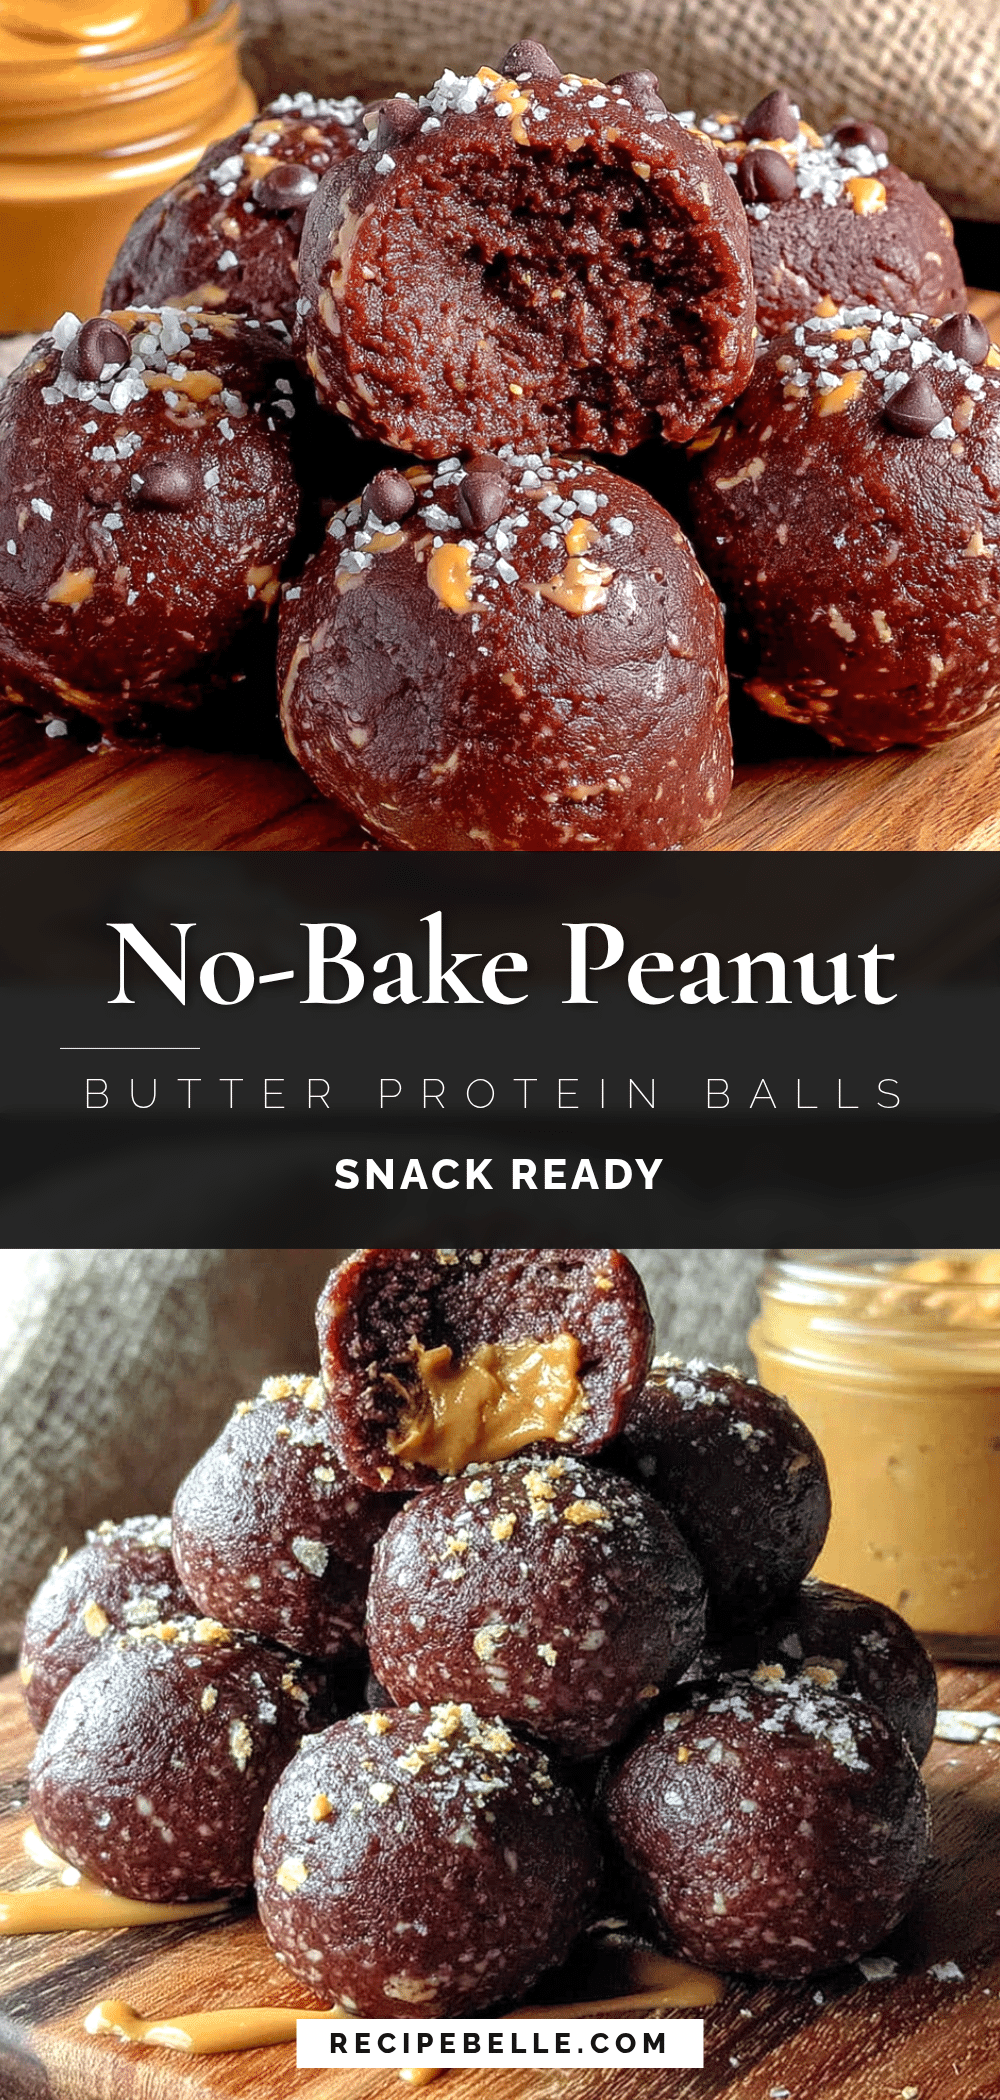
Easy No-Bake Chocolate Peanut Butter Protein Balls: Best 3-Ingredient Recipe

These easy no-bake chocolate peanut butter protein balls come together in under 10 minutes with just 3 simple ingredients. They’re chewy, chocolatey, and satisfying—perfect for a quick snack, pre-workout fuel, or meal prep.
- Prep Time: 8 minutes
- Cook Time: 0 minutes
- Total Time: 38 minutes (including 30 minutes chilling)
- Yield: 16-18 balls 1x
- Category: Snack
- Cuisine: American
Ingredients
- 1 cup creamy peanut butter (natural or regular; well-stirred if natural)
- 1 cup rolled oats (old-fashioned; quick oats work in a pinch)
- 1/2 cup mini chocolate chips (semi-sweet or dark)
- 1–2 tablespoons honey or maple syrup (optional, for extra sweetness)
- Pinch of sea salt
Instructions
- Combine the peanut butter and oats. In a large mixing bowl, add 1 cup of peanut butter and 1 cup of rolled oats. Stir together with a rubber spatula until fully combined. The mixture will be thick and slightly sticky. If too dry, add 1 tablespoon of honey or maple syrup; if too wet, add another tablespoon of oats.
- Fold in the chocolate chips. Add 1/2 cup of mini chocolate chips and a pinch of sea salt. Fold gently until evenly distributed. The mixture should hold together when pressed between fingers. If crumbly, add a tiny bit more peanut butter.
- Chill the mixture (optional but helpful). If your kitchen is warm or peanut butter is at room temperature, refrigerate the bowl for 10-15 minutes to make handling easier.
- Portion the mixture. Using a cookie scoop or tablespoon, scoop out even portions (about 1 tablespoon each), yielding roughly 16-18 balls. Place on a parchment-lined baking sheet.
- Roll into balls. Roll each portion firmly between your palms to form smooth balls. If sticky, lightly wet your hands with water. This takes about 2-3 minutes.
- Chill to set. Refrigerate the baking sheet for at least 30 minutes to firm up the balls.
- Transfer to storage container. Move chilled balls to an airtight container, layering with parchment paper if stacking. Store in the refrigerator for up to two weeks.
Notes
For best texture, use creamy peanut butter that holds together at room temperature. Avoid super oily natural brands. If using natural peanut butter, refrigerate first and stir well. Rolled oats give the best chewy texture; quick oats yield softer balls. Mini chocolate chips distribute evenly; regular chips can be roughly chopped. The optional honey or maple syrup can be skipped if using sweetened peanut butter. Taste the mixture before rolling to adjust sweetness. Lightly wet hands to prevent sticking when rolling. These balls taste even better after a day in the fridge as flavors meld.
Nutrition
- Serving Size: 1 ball
- Calories: 145160
- Sugar: 68
- Sodium: 80100
- Fat: 910
- Saturated Fat: 23
- Carbohydrates: 1416
- Fiber: 23
- Protein: 67
Keywords: no-bake protein balls, chocolate peanut butter protein balls, 3-ingredient protein balls, easy protein balls, healthy snack, meal prep snack, gluten-free protein balls, vegan protein balls



