There used to be a tiny general store on the coast of Maine, just past the Wiscasset bridge, that made the most incredible icebox cake every August. When they closed their doors for good back in 2019, I honestly felt a little lost. That cool, creamy, no-bake dessert had become our family’s unofficial end-of-summer tradition. After a solid seven attempts — including one that slid right off the plate in a sad puddle — I finally cracked the code. This easy red white and blue icebox cake for Labor Day is the exact recreation of that memory, and let me tell you, it was worth every single trial. The secret? Patience with the layering and the right kind of cookie. You know that feeling when you take a bite and everything just clicks? That’s this cake.
This isn’t just another layered dessert. It’s the kind of thing that looks like you spent hours fussing, but honestly comes together in about twenty minutes of active work. I mean, the hardest part is waiting for it to chill. The first time I made it for our neighborhood block party, I forgot to buy the strawberries until the last minute. I had to send my husband on a frantic run while I started stacking the graham crackers. That’s the thing about this recipe — it forgives your chaos. It’s sturdy, it’s forgiving, and it tastes like the best parts of summer. Whether you’re hosting a big barbecue or just want something patriotic for the long weekend, this easy red white and blue icebox cake for Labor Day delivers every single time.
Why You’ll Love This Recipe
Let me be honest with you — I’ve tested this cake on picky kids, skeptical in-laws, and neighbors who claim they “don’t do sweets.” Every single one of them went back for seconds. That’s not bragging, that’s just the power of a really good icebox cake. Here’s what makes this one stand out from the crowd:
- No Oven Required : It’s the middle of summer and nobody wants to turn on the oven. This cake sets up beautifully in the fridge with zero heat involved.
- Simple Ingredients : You probably already have most of what you need in your kitchen right now. No fancy extracts or hard-to-find items.
- Perfect for Labor Day : The red, white, and blue layers are made for patriotic celebrations. It’s the showstopper your end-of-summer party deserves.
- Crowd-Pleaser : Kids love the cookie layers, adults love the creamy texture, and everyone loves how impressive it looks.
- Make-Ahead Friendly : This cake actually gets better after a day in the fridge. You can make it the night before and relax on the day of your party.
What makes this version different from other icebox cakes is the layering technique and the specific ratio of cream to cookies. I spent a lot of time figuring out the sweet spot where the graham crackers soften just enough to taste like cake but still have a little structure. It’s not mushy and it’s not crunchy — it’s that perfect in-between texture that makes icebox cakes so addictive. Plus, the combination of fresh berries with the sweet cream filling is just unbeatable. This isn’t just another recipe; it’s the one you’ll come back to every single summer.
What Ingredients You Will Need
This recipe uses simple, wholesome ingredients to deliver bold flavor and satisfying texture without the fuss. Most of these are pantry staples or easy to find at any grocery store. I’ve tested this with different brands and combinations, so I’ll share what works best.
For the Cream Filling
- 3 cups heavy whipping cream (cold) — This is non-negotiable for the right texture. I’ve tried whipped topping and it just doesn’t hold up the same way. Look for cream with at least 36% milk fat.
- 1/2 cup powdered sugar — It dissolves more easily than granulated sugar and keeps the cream smooth. You can adjust this up or down depending on how sweet you like it.
- 2 teaspoons vanilla extract — Use pure vanilla if you have it, but imitation works fine too. I personally prefer Nielsen-Massey for the best flavor.
- 8 ounces cream cheese, softened — This is my secret ingredient. It gives the cream filling a little tang and helps stabilize the layers so the cake holds its shape when you slice it.
For the Layers
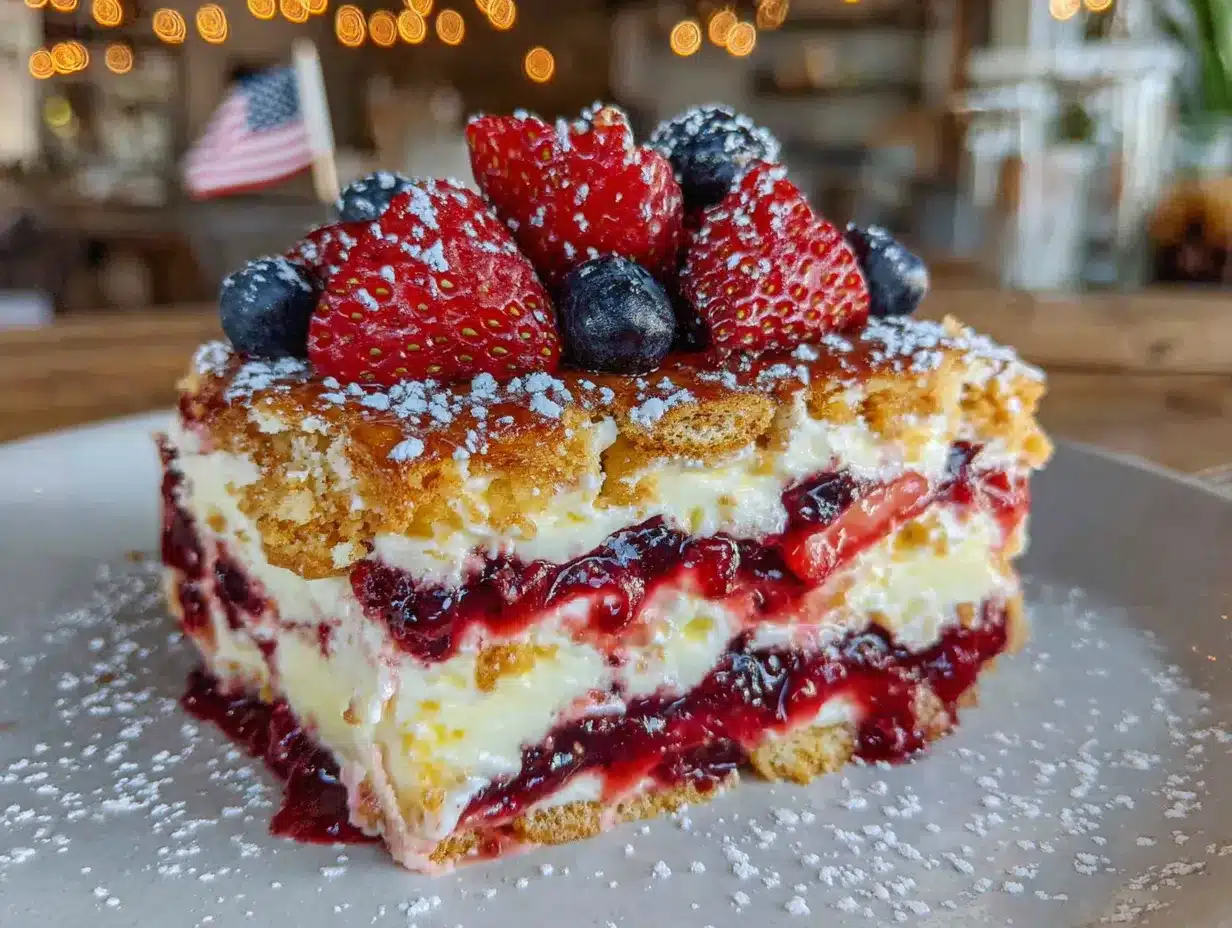
- 2 boxes (about 14 ounces each) graham crackers — Honey or original both work. I usually go with Nabisco Honey Maid because they’re sturdy and evenly sized. You’ll need about 36 full sheets.
- 2 cups fresh strawberries, washed, hulled, and thinly sliced — Look for bright red berries that are firm but fragrant. If strawberries aren’t in season, you can use frozen ones that have been thawed and patted dry.
- 2 cups fresh blueberries, washed and patted dry — Wild blueberries are smaller and distribute more evenly, but regular ones work great too. Make sure they’re completely dry so they don’t make the cream watery.
- 1 cup fresh raspberries (optional) — These add another layer of red and a little tartness. I add them when I want the cake to look extra fancy.
For the Topping
- Extra whipped cream — Reserve about 1 cup of the whipped cream mixture for the top layer.
- Fresh berries for garnish — A few whole strawberries, a handful of blueberries, and maybe a few mint leaves if you’re feeling fancy.
- White chocolate shavings (optional) — These add a nice visual touch and a little extra sweetness.
Substitution Notes : If you need a dairy-free option, you can use canned coconut cream (chilled overnight) instead of heavy cream, and dairy-free cream cheese. The texture will be slightly different but still delicious. For a lower-sugar version, use a sugar substitute like Swerve in the cream filling, but keep in mind the graham crackers still have sugar. You can also swap the graham crackers for vanilla wafers or shortbread cookies if you want a different flavor profile.
Equipment Needed
You don’t need much for this recipe, which is part of why I love it. Here’s what you’ll need:
- Electric mixer — A stand mixer works great, but a hand mixer does the job just fine. You could whip the cream by hand with a whisk, but honestly, your arm will thank you for using a mixer.
- Large mixing bowl — Make sure it’s big enough to hold the cream as it whips and expands. I use my big glass mixing bowl.
- 9×13 inch baking dish — This is the perfect size for this cake. Glass or ceramic both work well. If you only have a metal pan, that’s fine too.
- Spatula — A rubber spatula is best for spreading the cream evenly. An offset spatula works great for getting smooth layers.
- Sharp knife and cutting board — For slicing the strawberries. A dull knife will just squish them.
- Plastic wrap or parchment paper — For covering the cake while it chills. You want a tight seal so the cake doesn’t pick up any fridge smells.
Budget-Friendly Tip : If you don’t have an electric mixer, you can absolutely whip the cream by hand. It takes about 8-10 minutes of steady whisking, but it’s a great arm workout! I’ve done it before when my mixer broke mid-recipe, and the cream actually came out beautifully. Just make sure the cream is very cold and use a metal bowl that’s been chilled in the freezer for a few minutes.
Preparation Method
Alright, let’s get to the fun part. I’m going to walk you through this step by step, and I’ll share the little tricks I learned from my many attempts. Trust me on the order of things — it matters.
- Prep your berries first. Wash and dry the strawberries and blueberries thoroughly. Slice the strawberries into thin, even slices — about 1/8 inch thick. Set them aside on a paper towel-lined plate to absorb any extra moisture. This is important because wet berries will make the cream watery and your cake won’t set properly.
- Make the cream filling. In a large mixing bowl, beat the softened cream cheese with the electric mixer on medium speed until it’s smooth and fluffy — about 2 minutes. Add the powdered sugar and vanilla extract, then beat for another minute until everything is combined. Scrape down the sides of the bowl with a spatula.
- Whip the cream. With the mixer running on low speed, slowly pour in the cold heavy cream. Once it’s all in, increase the speed to medium-high and whip until stiff peaks form. You’ll know it’s ready when you lift the beaters and the cream holds its shape without drooping. Be careful not to overwhip, or you’ll end up with butter. I may or may not have learned this the hard way.
- Fold it together. Gently fold the whipped cream into the cream cheese mixture using a rubber spatula. Use a slow, sweeping motion — fold from the bottom up, then turn the bowl and repeat. Do this until there are no more white streaks. You want the mixture to be uniform but still light and airy.
- Start layering. Spread a thin layer of the cream mixture on the bottom of your 9×13 dish — just enough to coat it. This helps the first layer of graham crackers stick. Arrange a single layer of graham crackers on top, breaking them as needed to fill any gaps. Don’t overlap them, but try to cover the whole surface.
- Add the first berry layer. Spread about 1/3 of the remaining cream mixture evenly over the graham crackers. Scatter about 1/3 of the sliced strawberries and 1/3 of the blueberries over the cream. Press them in gently so they’re partially embedded.
- Repeat the layers. Add another layer of graham crackers, followed by another 1/3 of the cream mixture and another 1/3 of the berries. Repeat one more time — graham crackers, cream, berries. You should end up with three layers of graham crackers and three layers of cream and berries.
- Finish with the top. For the final layer, spread the remaining cream mixture over the top graham crackers. Make it as smooth as you can — this is the surface people will see. Reserve a few tablespoons of cream for any touch-ups later.
- Garnish and chill. Arrange your reserved fresh berries on top in a patriotic pattern — maybe stripes of red and blue, or a flag design if you’re feeling ambitious. Cover the dish tightly with plastic wrap and refrigerate for at least 8 hours, or overnight. The longer it sits, the better it gets. The graham crackers need time to soften and absorb the cream.
- Slice and serve. When you’re ready to serve, use a sharp knife to cut clean squares. Wipe the knife between cuts for the neatest slices. Serve cold, straight from the fridge.
Sensory Cue : When you press the berries into the cream, you should feel a slight resistance but not see the cream squish out the sides. The finished cake should jiggle slightly when you shake the dish, but not slosh. After chilling, the top should feel firm to the touch, and when you slice it, the layers should hold together without sliding apart.
Cooking Tips & Techniques
I’ve made this cake more times than I care to count, and I’ve picked up a few tricks along the way. Let me save you some trouble.
The biggest mistake people make is not drying the berries thoroughly. I once made this cake in a hurry and just patted the berries with a paper towel. The next day, there was a sad little puddle of pink liquid at the bottom of the dish. Take the extra minute to lay them out on paper towels and let them air dry for a few minutes while you prep everything else.
Another common issue is not letting the cake chill long enough. I know it’s tempting to dig in after a few hours, but 8 hours is the minimum. Overnight is ideal. The graham crackers need time to absorb moisture from the cream and transform into that cake-like texture. If you rush it, you’ll end up with crunchy cookies and runny cream, and that’s just not the same experience.
Here’s a pro tip : If you’re making this for a party, assemble it the day before and don’t add the top garnish until right before serving. The fresh berries on top will start to weep after a few hours, and you want them to look their best. I usually make the cake, cover it, and chill it overnight. Then about 30 minutes before serving, I add the decorative berries on top.
One more thing — if your cream cheese isn’t fully softened, you’ll end up with little lumps in your cream filling. Leave it out on the counter for at least 30 minutes before you start. If you’re in a rush, you can microwave it for about 10 seconds, but be careful not to melt it. Lumpy cream cheese is fixable, but it’s easier to just plan ahead.
Timing strategy : I like to make the cream filling first, then wash and slice the berries while the mixer is resting. This way I’m not standing around waiting. The whole assembly process takes about 20 minutes if you have everything ready to go.
Variations & Adaptations
This recipe is incredibly flexible, and I’ve tried several variations over the years. Here are some of my favorites:
Berry Swap
Not a fan of strawberries? Use raspberries and blackberries instead. The colors still work for a patriotic theme — red raspberries, white cream, and dark blueberries. I made this version for a Fourth of July party and it was a hit. The raspberries add a little tartness that balances the sweet cream nicely.
Cookie Swap
Graham crackers are classic, but you can use other cookies too. Vanilla wafers create a softer, more delicate texture. Chocolate wafer cookies make it taste like a chocolate-covered strawberry situation. Shortbread cookies add a buttery richness that’s absolutely divine. Just keep in mind that different cookies absorb moisture at different rates, so you may need to adjust the chilling time.
Dairy-Free Version
For a dairy-free option, use full-fat coconut cream (chilled overnight) instead of heavy cream, and dairy-free cream cheese. The coconut flavor is subtle and actually pairs well with the berries. I’ve made this for a friend with lactose intolerance and she said it was the best icebox cake she’d ever had. Just make sure to chill the coconut cream thoroughly before whipping.
Individual Servings
Instead of making one big cake, you can layer everything in individual cups or mason jars. This is perfect for picnics or barbecues where you don’t want to deal with slicing. Layer graham cracker pieces, cream, and berries in each cup, then chill. They’re portable and adorable, and everyone gets their own perfectly portioned dessert.
Chocolate Drizzle
For an extra indulgent touch, drizzle melted dark chocolate over the top before serving. The chocolate hardens slightly in the fridge and adds a nice contrast to the sweet cream and tangy berries. I tried this on a whim one year and now I can’t go back. Just make sure the chocolate is completely cool before drizzling, or it will melt the cream.
Serving & Storage Suggestions
This cake is best served cold, straight from the fridge. I like to let it sit out for about 5 minutes before slicing — just enough to take the chill off but not long enough to soften. Use a sharp knife and wipe it clean between cuts for the neatest slices. A thin metal spatula helps transfer the slices to plates without breaking them.
What to serve with it : This cake is rich enough to stand alone, but a scoop of vanilla ice cream or a dollop of extra whipped cream never hurt anyone. If you’re serving it after a heavy meal, keep it simple. If it’s the main event, go all out. A cup of black coffee or iced tea pairs beautifully with the sweetness.
Storage : Cover the dish tightly with plastic wrap or transfer leftovers to an airtight container. The cake will keep in the refrigerator for up to 3 days. After that, the graham crackers start to get a little too soft and the berries may release more liquid. Honestly, it’s at its best on day two — the flavors have melded perfectly and the texture is just right.
Can you freeze it? Yes, but with a caveat. The texture changes slightly after freezing — the cream can get a bit grainy and the berries may be watery when thawed. If you want to freeze it, assemble the cake without the top garnish, wrap it tightly in plastic wrap and then foil, and freeze for up to 1 month. Thaw in the refrigerator overnight, then add the fresh berry garnish before serving.
Flavor development : Something magical happens after the first 24 hours. The graham crackers fully soften, the cream infuses into every layer, and the berry flavor spreads throughout the cake. If you can wait that long, you’ll be rewarded with the best possible version of this dessert. I’ve made it two days ahead for a party and it was even better than the one-day version.
Nutritional Information & Benefits
Let’s be real — this is a dessert, and it’s meant to be indulgent. But that doesn’t mean it’s completely devoid of nutritional value. Here’s a rough breakdown per serving (based on 12 servings):
| Nutrient | Amount per Serving |
|---|---|
| Calories | 385 |
| Total Fat | 28g |
| Saturated Fat | 17g |
| Cholesterol | 95mg |
| Sodium | 210mg |
| Total Carbohydrates | 32g |
| Dietary Fiber | 2g |
| Sugars | 18g |
| Protein | 4g |
| Vitamin C | 15% DV |
| Calcium | 8% DV |
The berries in this cake are the real nutritional heroes. Strawberries are packed with vitamin C and antioxidants, while blueberries are known for their brain-boosting properties. The cream provides calcium and vitamin A, and the graham crackers offer a little bit of fiber. Is it health food? No. But it’s a dessert that makes you feel a little bit better about indulging. I always remind myself that the berries count as a serving of fruit, and that makes me feel slightly virtuous.
Dietary Considerations : This recipe contains dairy and gluten. For a gluten-free version, use gluten-free graham crackers. For a dairy-free version, follow the substitution notes above. The cake is nut-free as written, making it safe for most nut allergies.
Conclusion
This easy red white and blue icebox cake for Labor Day has become my go-to summer dessert, and I think it’s going to become yours too. It’s simple enough for a Tuesday night but special enough for a holiday celebration. The best part? You don’t have to turn on the oven, you can make it ahead of time, and it always gets rave reviews. I mean, what more could you ask for?
I would love to hear how yours turns out. Did you try a variation? Did your family fight over the last slice? Drop a comment below and let me know. And if you’re looking for more no-bake summer desserts, you might want to try my no-bake lemon lasagna or this strawberry pretzel salad — both are perfect for warm weather. Happy Labor Day, friends. Go make something delicious.
Frequently Asked Questions
Can I use frozen berries for this icebox cake?
Yes, but you need to thaw them completely and pat them very dry with paper towels. Frozen berries release a lot of liquid as they thaw, and that extra moisture can make the cream watery and prevent the cake from setting properly. If you’re in a hurry, fresh berries are definitely the way to go.
How far in advance can I make this cake?
You can make this cake up to 2 days in advance. In fact, it tastes even better on day two because the flavors have had time to meld together. Just wait to add the decorative berries on top until right before serving so they stay fresh and vibrant.
Why did my cream not whip properly?
There are a few common reasons. The cream might not have been cold enough — it needs to be straight from the fridge. The bowl or beaters might have had a trace of grease on them. Or you might have overwhipped it and turned it into butter. Start with cold cream, make sure your equipment is clean and dry, and stop whipping as soon as stiff peaks form.
Can I use Cool Whip instead of homemade whipped cream?
Technically yes, but I don’t recommend it. Cool Whip is lighter and less stable than homemade whipped cream, so the layers won’t hold together as well. The texture is also different — homemade whipped cream is richer and more satisfying. If you’re really short on time, go ahead and use it, but your cake won’t be quite as good.
How do I get clean slices without the cake falling apart?
Use a sharp knife and wipe it clean between each cut. Run the knife under hot water, dry it, then make your cut. The heat helps the knife glide through the cream without dragging. Also, make sure the cake has chilled for the full 8 hours — a properly set cake holds its shape much better than one that’s been rushed.
Pin This Recipe!
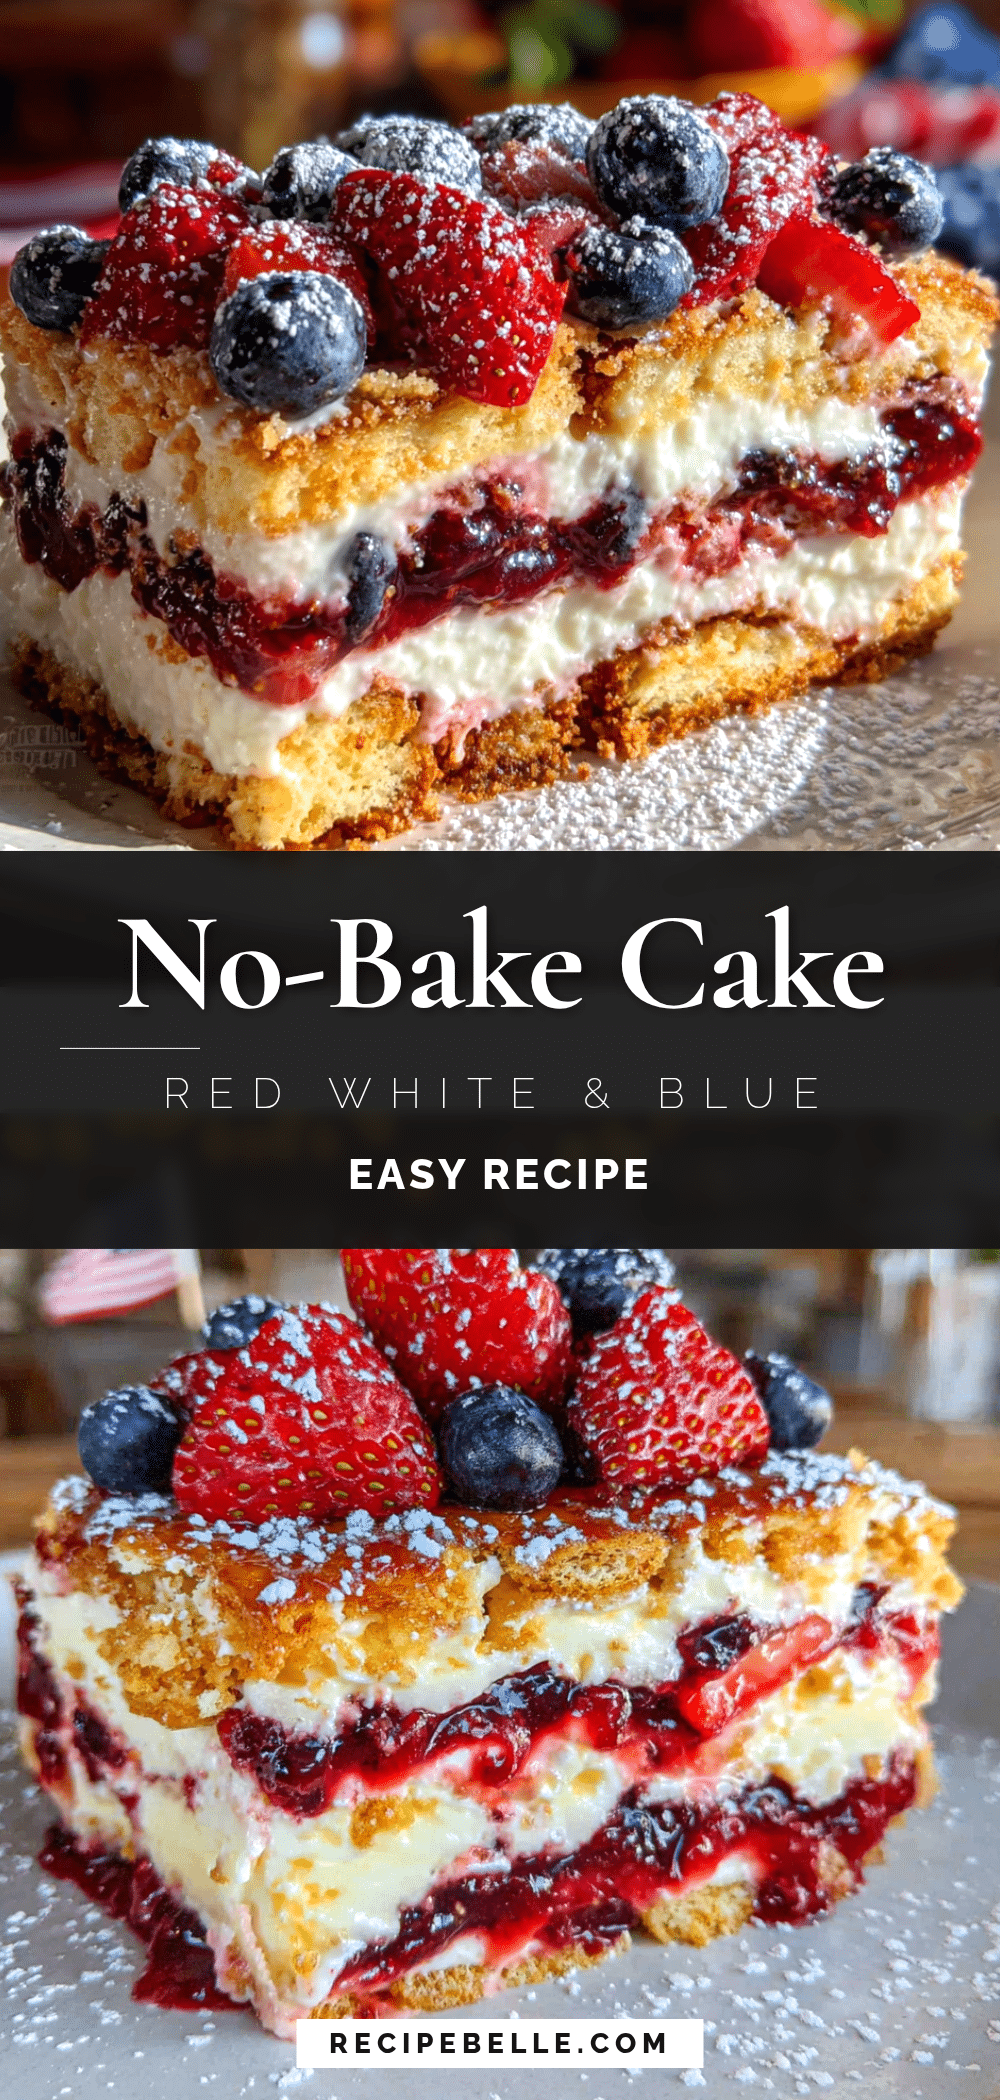
Easy Red White and Blue Icebox Cake: Perfect Labor Day Dessert

This no-bake icebox cake layers creamy whipped filling, fresh berries, and graham crackers for a stunning patriotic dessert. Perfect for Labor Day or any summer celebration, it’s make-ahead friendly and always a crowd-pleaser.
- Prep Time: 20 minutes
- Cook Time: 0 minutes
- Total Time: 8 hours 20 minutes (includes chilling)
- Yield: 12 servings 1x
- Category: Dessert
- Cuisine: American
Ingredients
- 3 cups heavy whipping cream (cold)
- 1/2 cup powdered sugar
- 2 teaspoons vanilla extract
- 8 ounces cream cheese, softened
- 2 boxes (about 14 ounces each) graham crackers (about 36 full sheets)
- 2 cups fresh strawberries, washed, hulled, and thinly sliced
- 2 cups fresh blueberries, washed and patted dry
- 1 cup fresh raspberries (optional)
- Extra whipped cream for topping
- Fresh berries for garnish
- White chocolate shavings (optional)
Instructions
- Prep your berries first. Wash and dry the strawberries and blueberries thoroughly. Slice the strawberries into thin, even slices — about 1/8 inch thick. Set them aside on a paper towel-lined plate to absorb any extra moisture.
- Make the cream filling. In a large mixing bowl, beat the softened cream cheese with an electric mixer on medium speed until smooth and fluffy — about 2 minutes. Add the powdered sugar and vanilla extract, then beat for another minute until combined. Scrape down the sides of the bowl with a spatula.
- Whip the cream. With the mixer running on low speed, slowly pour in the cold heavy cream. Once it’s all in, increase the speed to medium-high and whip until stiff peaks form. Be careful not to overwhip.
- Fold it together. Gently fold the whipped cream into the cream cheese mixture using a rubber spatula. Use a slow, sweeping motion — fold from the bottom up, then turn the bowl and repeat until no white streaks remain.
- Start layering. Spread a thin layer of the cream mixture on the bottom of a 9×13 inch dish. Arrange a single layer of graham crackers on top, breaking them as needed to fill gaps.
- Add the first berry layer. Spread about 1/3 of the remaining cream mixture evenly over the graham crackers. Scatter about 1/3 of the sliced strawberries and 1/3 of the blueberries over the cream. Press them in gently.
- Repeat the layers. Add another layer of graham crackers, followed by another 1/3 of the cream mixture and another 1/3 of the berries. Repeat one more time — graham crackers, cream, berries. You should end up with three layers of graham crackers and three layers of cream and berries.
- Finish with the top. For the final layer, spread the remaining cream mixture over the top graham crackers. Make it as smooth as you can.
- Garnish and chill. Arrange reserved fresh berries on top in a patriotic pattern. Cover the dish tightly with plastic wrap and refrigerate for at least 8 hours, or overnight.
- Slice and serve. When ready to serve, use a sharp knife to cut clean squares. Wipe the knife between cuts for the neatest slices. Serve cold, straight from the fridge.
Notes
The biggest mistake is not drying the berries thoroughly. Let the cake chill for at least 8 hours, preferably overnight. For best results, assemble the day before and add top garnish just before serving. If cream cheese isn’t fully softened, you’ll get lumps in the filling.
Nutrition
- Serving Size: 1 slice (1/12 of cak
- Calories: 385
- Sugar: 18
- Sodium: 210
- Fat: 28
- Saturated Fat: 17
- Carbohydrates: 32
- Fiber: 2
- Protein: 4
Keywords: icebox cake, no-bake dessert, red white and blue, Labor Day, patriotic dessert, summer dessert, berry dessert, graham cracker cake



