I was at the hardware store last October, of all places, waiting for someone to mix a can of paint. The guy behind the counter—a big, quiet man named Earl who usually just grunts at you—was helping a customer pick out a shade of beige. And out of nowhere, while shaking a can of paint, he starts telling me about making these rice krispie treats with his grandkids every fall. “You gotta put candy corn in ’em,” he said, not even looking up. “That’s the whole trick.” I almost laughed. I mean, candy corn? That’s the stuff nobody actually wants to eat on its own, right? But Earl was so serious about it, so matter-of-fact, that I figured I had to try it. Honestly, I’m glad I listened.
So I went home, grabbed a box of cereal I already had in the pantry, and gave it a shot. The first batch I made was a little messy—I got distracted and let the marshmallows get too hot, and they turned into this sticky, stretchy mess that was impossible to press down. But that second batch? That was the one. The kids came running from the other room when they smelled the butter and marshmallows melting. And when they saw those little orange and yellow triangles peeking through the golden squares, they lost it. It was like I had pulled off some kind of kitchen magic trick.
These Easy Candy Corn Rice Krispie Treats for Kids have become our go-to fall dessert ever since. They’re simple enough for a Tuesday afternoon but fun enough for a Halloween party. Maybe you’ve been there—staring at a bag of candy corn after Halloween and wondering what on earth to do with it all. Well, this is your answer. They’re sweet, chewy, and just a little bit nostalgic. And honestly, every time I make them, I think about Earl and his paint can wisdom. You never know where a good recipe is going to come from.
Why You’ll Love This Recipe
Let me tell you why this recipe has earned a permanent spot in my fall rotation. I’ve tested it about six times now—yes, six—because I wanted to make sure it was absolutely foolproof. Here’s what makes it special:
- Quick & Easy: You can have these done in under 15 minutes. Seriously, from start to finish, it’s faster than a trip to the store for a snack.
- Simple Ingredients: You only need five things—butter, marshmallows, rice krispie cereal, vanilla extract, and candy corn. Chances are, you already have most of them.
- Perfect for Fall Gatherings: Whether it’s a classroom party, a Halloween get-together, or just a cozy afternoon at home, these treats fit right in.
- Crowd-Pleaser: I’ve served these to kids, adults, and even my picky mother-in-law. They disappear every single time.
- Unbelievably Delicious: The candy corn gets a little soft and chewy as it sets, blending into the marshmallow-cereal base in the most wonderful way. It’s not too sweet—it’s just right.
What makes this recipe different from the usual rice krispie treat is the way the candy corn melts just slightly into the warm marshmallow mixture. You don’t get crunchy candy pieces; you get these little pockets of creamy, sweet flavor that make every bite interesting. It’s not just another version—it’s the best version for fall. This is the kind of dessert that makes you close your eyes after the first bite, honestly. It’s comfort food at its simplest and happiest.
What Ingredients You Will Need
This recipe uses simple, pantry-friendly ingredients to create a fall dessert that feels special without any fuss. Here’s everything you’ll need:
- 3 tablespoons unsalted butter (salted works too, just skip the extra salt)
- 1 package (10 ounces) mini marshmallows (about 4 cups; I prefer Jet-Puffed for consistent melting)
- 6 cups crispy rice cereal (like Kellogg’s Rice Krispies; generic brands work fine too)
- 1/2 teaspoon vanilla extract (pure vanilla adds a warmer flavor, but imitation is okay)
- 1 cup candy corn (use fresh candy corn for best texture; stale ones can be hard)
- Optional: 1/4 teaspoon salt (if using unsalted butter, this balances the sweetness)
For a fun twist, you can swap in autumn-colored candy corn or even candy pumpkins for a different look. If you’re making these for a school party, look for candy corn that’s soft and fresh—it makes a big difference in texture. I’ve also tried this with gluten-free crispy rice cereal (like Nature’s Path) and it works perfectly. Just make sure your marshmallows are labeled gluten-free if that’s a concern.
One tip I learned the hard way: don’t use stale candy corn. I once used a bag that had been sitting in my pantry since the previous Halloween, and the pieces were rock hard. They didn’t soften at all in the warm marshmallow mixture, and the treats ended up with these weird, crunchy bits. Fresh candy corn is soft and will melt slightly into the marshmallow, creating that creamy texture you want.
Equipment Needed
You don’t need anything fancy for this recipe, which is part of why I love it. Here’s what you’ll need:
- Large saucepan or pot (at least 4-quart size to give you room to stir)
- Wooden spoon or silicone spatula (silicone is great because it doesn’t scratch your pan)
- 9×13-inch baking dish (a glass or metal dish works; I use a metal one for even cooling)
- Parchment paper or wax paper (for lining the dish and pressing the mixture)
- Measuring cups and spoons
- Sharp knife (for cutting clean squares)
If you don’t have a 9×13 dish, you can use a 9×9 square pan for thicker treats, or even a cookie sheet with edges. Just adjust the thickness to your liking. I’ve also made these in a disposable aluminum pan for taking to parties—works great and no cleanup!
One thing I’ve learned: grease your spatula or your hands with a little butter or non-stick spray before pressing the mixture into the pan. It saves you from that sticky nightmare where everything clings to your fingers. Trust me on this one.
Preparation Method
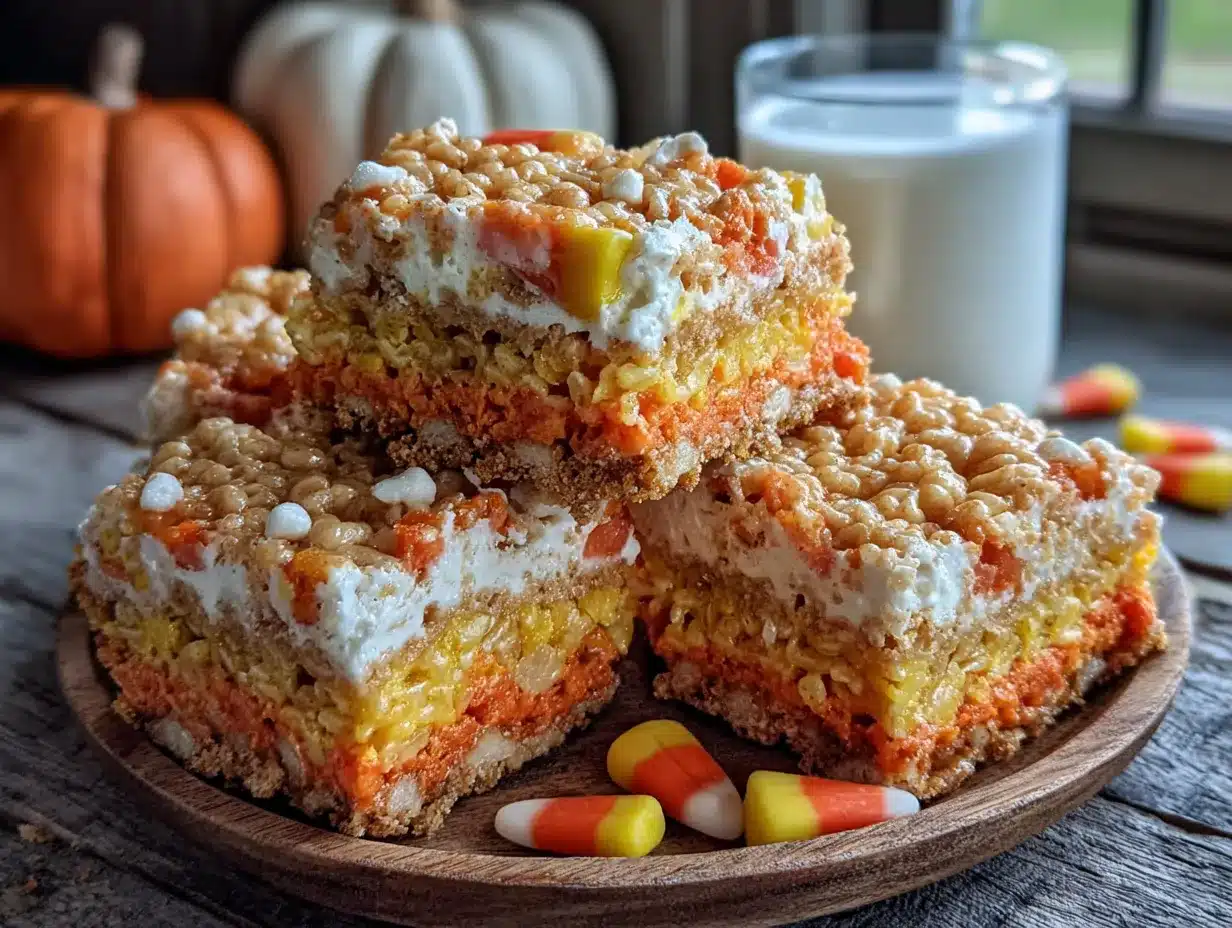
Follow these steps carefully, and you’ll have perfect treats every time. I’ve included all the little details that make a difference.
- Prep your pan: Line your 9×13-inch baking dish with parchment paper, leaving some overhang on two sides. This makes lifting the treats out later so much easier. Lightly spray the parchment with non-stick cooking spray.
- Melt the butter: Place your large saucepan over medium-low heat and add the 3 tablespoons of butter. Let it melt slowly, stirring occasionally. You want it fully melted but not bubbling or browning—that’s the sweet spot.
- Add the marshmallows: Pour in the entire package of mini marshmallows. Stir constantly with your wooden spoon or silicone spatula. Keep the heat on low to medium-low. High heat will scorch the marshmallows and give you a grainy texture.
- Watch for the melt: As the marshmallows melt, they’ll go from fluffy to liquid. This takes about 3-4 minutes. Stir until smooth and fully combined with the butter. Remove the pan from the heat immediately once it’s smooth—don’t let it sit on the burner.
- Add vanilla and salt: Stir in the 1/2 teaspoon of vanilla extract and the optional 1/4 teaspoon of salt (if using unsalted butter). Mix until incorporated. The vanilla will make the kitchen smell amazing.
- Mix in the cereal: Add the 6 cups of crispy rice cereal to the pot. Fold it in gently but thoroughly, making sure every piece of cereal is coated in marshmallow. Don’t overmix or the cereal will crush and get mushy.
- Fold in the candy corn: Add 1 cup of candy corn and fold it in gently. You want the pieces distributed evenly, but try not to break them up too much. Some will melt slightly into the warm mixture—that’s exactly what you want.
- Press into the pan: Transfer the mixture to your prepared pan. Using a greased spatula or greased hands, press it down evenly. Don’t press too hard—you want the treats to be tender, not dense. Just firm enough to hold together.
- Let them set: Allow the treats to cool at room temperature for at least 30 minutes. Don’t rush this—if you cut them too soon, they’ll fall apart. I usually let them sit for a full hour.
- Cut and serve: Lift the treats out using the parchment overhang. Place on a cutting board and use a sharp knife to cut into squares. I cut them into 12 large squares or 24 smaller ones for parties.
Pro tip from my early mistakes: If your mixture seems too dry and crumbly, you may have overheated the marshmallows. Next time, use lower heat and stir constantly. If it’s too sticky, you probably didn’t let it cool long enough. Patience is key!
Cooking Tips & Techniques
Over the years, I’ve made plenty of mistakes with rice krispie treats. Here’s what I’ve learned so you don’t have to repeat my errors.
The biggest mistake people make is using high heat. I did this my first few times because I was impatient. The marshmallows scorch, the sugar crystallizes, and you end up with a grainy, hard texture. Always use medium-low heat and stir constantly. Low and slow is the way to go.
Fresh marshmallows matter more than you think. If your bag of marshmallows has been open for weeks, they’ll be dry and won’t melt as smoothly. For the best results, use a fresh bag. Same goes for the candy corn—fresh is soft, stale is crunchy.
Don’t skip the vanilla extract. I know it seems like a small thing, but that little bit of vanilla rounds out the sweetness and makes the treats taste homemade rather than just sugary. I once forgot it, and everyone noticed something was “off.”
Timing is everything. Work quickly once the marshmallows are melted. The mixture starts to set as it cools, so have your pan ready and your hands greased. If it gets too stiff to press, you can microwave it for 10 seconds to soften it up again.
For cleaner cuts, use a knife dipped in hot water. Wipe the blade dry between cuts. This trick gives you those perfect, bakery-style squares without the sticky mess. I learned this from a baker friend, and it changed my life—well, my dessert-making life anyway.
Variations & Adaptations
One of the best things about this recipe is how easy it is to tweak. Here are some variations I’ve tried and loved:
- Chocolate Drizzle: Melt 1/2 cup of chocolate chips with 1 teaspoon of coconut oil and drizzle it over the top of the set treats. Let it harden before cutting. The chocolate pairs beautifully with the candy corn sweetness.
- Peanut Butter Twist: Stir in 1/4 cup of creamy peanut butter along with the butter and marshmallows. It adds a salty, nutty depth that balances the sugar. Just make sure no one has peanut allergies if you’re serving these at a party.
- Autumn Sprinkle Mix: Fold in 1/4 cup of fall-colored sprinkles along with the candy corn. It makes the treats look even more festive and fun for kids.
- Gluten-Free Version: Use certified gluten-free crispy rice cereal and check your marshmallow label. Most marshmallows are gluten-free, but it’s worth double-checking.
- Vegan Option: Use vegan butter and vegan marshmallows (like Dandies). The texture will be slightly different—a bit softer—but still delicious.
I once tried a version with crushed pretzels mixed in for a salty-sweet contrast. It was good, but the pretzels got soft after a day. Eat those within 24 hours for the best crunch.
Serving & Storage Suggestions
These treats are best served at room temperature, right after they’ve set. The texture is perfect—chewy but firm, with those soft pockets of candy corn throughout.
For serving: Arrange them on a platter or cake stand for a Halloween party. They look great on their own, but you can also stick a festive toothpick in each one for easy grabbing. Pair them with apple cider, hot chocolate, or a glass of cold milk. For a fun dessert board, arrange them alongside caramel apples, popcorn balls, and pumpkin cookies.
For storage: Place the treats in an airtight container at room temperature. They’ll stay fresh for up to 3 days. Layer them with parchment paper between each layer to prevent sticking. Do not refrigerate them—the fridge makes them hard and dry.
For freezing: You can freeze these for up to 2 months. Wrap each square individually in plastic wrap, then place them in a freezer-safe bag. Thaw at room temperature for about 30 minutes before serving. The texture will be slightly softer after freezing, but still delicious.
Flavor development note: These treats actually taste better the next day. The marshmallow and candy corn flavors meld together overnight, creating a more cohesive taste. So if you’re making them for a party, make them a day ahead!
Nutritional Information & Benefits
Let’s be honest—these are a treat, not a health food. But here’s what you should know:
Estimated per serving (1/12 of recipe):
- Calories: 220
- Total Fat: 4g
- Saturated Fat: 2.5g
- Carbohydrates: 45g
- Sugar: 28g
- Protein: 2g
- Sodium: 180mg
Dietary considerations: This recipe can be made gluten-free and vegan with simple substitutions. It contains dairy (butter) and gelatin (marshmallows) in the standard version. Candy corn is typically gluten-free, but always check the label.
Health perspective: I’m a firm believer in balance. These treats are meant to be enjoyed in moderation—a special fall indulgence, not an everyday snack. The crispy rice cereal does provide some iron and B vitamins, and the butter adds a small amount of vitamin A. But honestly, make these for the joy they bring, not the nutrition. Life’s too short not to enjoy a little candy corn now and then!
Conclusion
These Easy Candy Corn Rice Krispie Treats for Kids have become a fall tradition in my house, and I have a feeling they’ll become one in yours too. They’re simple enough for a last-minute craving, fun enough for a party, and nostalgic enough to make everyone smile. Whether you’re making them with your own kids, bringing them to a school event, or just treating yourself on a crisp autumn afternoon, they deliver every single time.
I love that this recipe came from a completely unexpected place—a paint counter at a hardware store, of all things. It reminds me that good ideas can come from anywhere, and that sometimes the simplest recipes are the ones that stick with us. So go ahead, give them a try. Customize them with your favorite add-ins, get creative with the decorations, and make them your own.
I’d love to hear how yours turn out! Drop a comment below and let me know if you tried any variations, or share a photo of your treats. Don’t forget to pin this recipe for later and share it with a friend who loves fall desserts as much as we do. Happy baking, and enjoy every sweet, chewy bite!
Frequently Asked Questions
Can I use regular-sized marshmallows instead of mini?
Yes, you can. Use about 40 regular marshmallows (which equals about 4 cups). They’ll take a little longer to melt, so keep the heat low and stir patiently. Mini marshmallows melt faster and more evenly, which is why I prefer them.
Why did my treats turn out hard?
This usually happens when the marshmallows are overheated or cooked too long. The sugar crystallizes and creates a hard, brittle texture. To avoid this, use low heat, stir constantly, and remove the pan from the heat as soon as the marshmallows are smooth.
Can I use a different cereal?
Absolutely! Cocoa Krispies, Fruity Pebbles, or even a generic crispy rice cereal all work. Just keep in mind that flavored cereals will change the taste and color of the final treats. I’ve made a chocolate version with Cocoa Krispies and it was a huge hit with the kids.
How do I prevent the treats from sticking to the knife when cutting?
Dip your knife in hot water, wipe it dry, and then cut. Repeat this for each cut. You can also spray the knife with non-stick cooking spray. Either method gives you clean, neat squares without the sticky mess.
Can I add other mix-ins besides candy corn?
Yes! Try adding mini chocolate chips, chopped nuts, dried cranberries, or even crushed graham crackers. Just keep the total mix-ins to about 1 to 1.5 cups so the treats still hold together. Too many add-ins can make them crumbly.
Pin This Recipe!
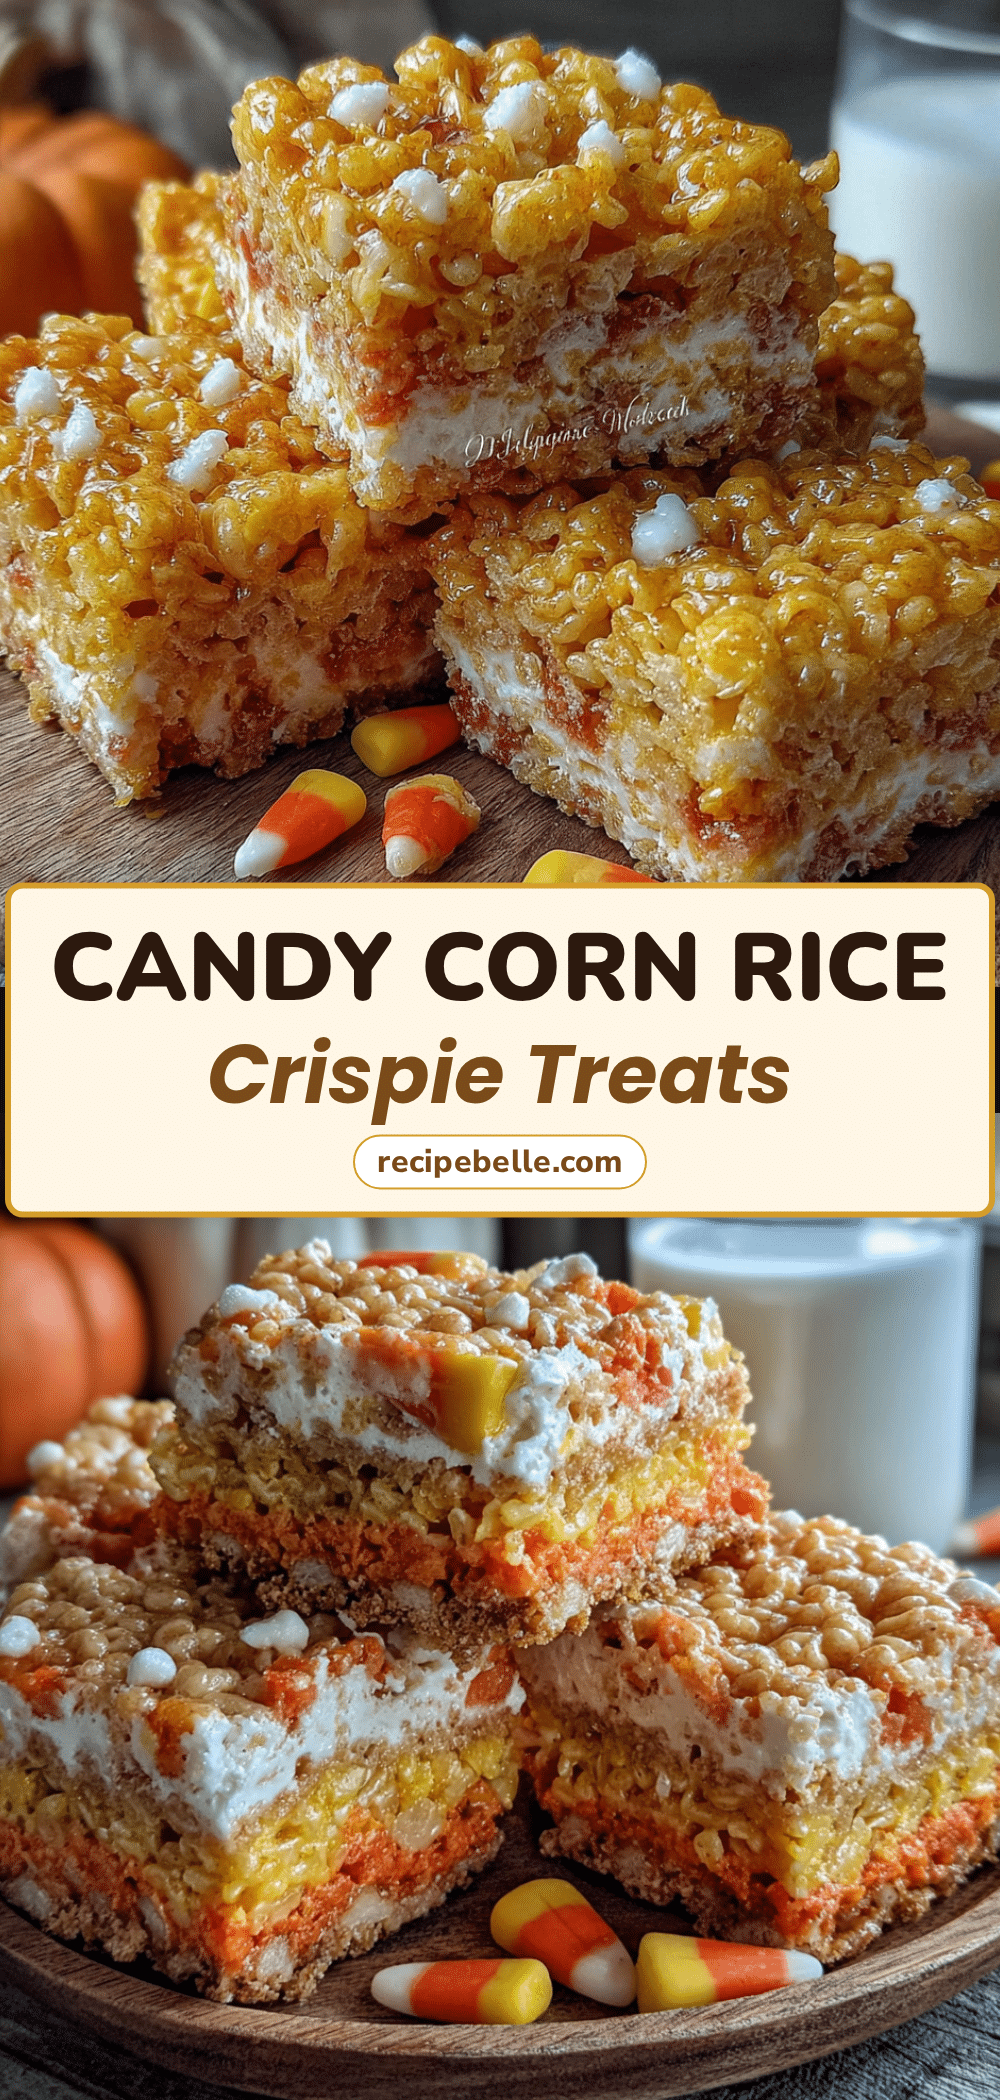
Easy Candy Corn Rice Krispie Treats: Best Fall Dessert
These Easy Candy Corn Rice Krispie Treats are a quick and simple fall dessert that combines crispy rice cereal, marshmallows, and candy corn for a sweet, chewy, and nostalgic treat perfect for Halloween parties or cozy autumn afternoons.
- Prep Time: 10 minutes
- Cook Time: 5 minutes
- Total Time: 15 minutes
- Yield: 12 servings 1x
- Category: Dessert
- Cuisine: American
Ingredients
- 3 tablespoons unsalted butter (salted works too, just skip the extra salt)
- 1 package (10 ounces) mini marshmallows (about 4 cups; I prefer Jet-Puffed for consistent melting)
- 6 cups crispy rice cereal (like Kellogg’s Rice Krispies; generic brands work fine too)
- 1/2 teaspoon vanilla extract (pure vanilla adds a warmer flavor, but imitation is okay)
- 1 cup candy corn (use fresh candy corn for best texture; stale ones can be hard)
- Optional: 1/4 teaspoon salt (if using unsalted butter, this balances the sweetness)
Instructions
- Prep your pan: Line your 9×13-inch baking dish with parchment paper, leaving some overhang on two sides. This makes lifting the treats out later so much easier. Lightly spray the parchment with non-stick cooking spray.
- Melt the butter: Place your large saucepan over medium-low heat and add the 3 tablespoons of butter. Let it melt slowly, stirring occasionally. You want it fully melted but not bubbling or browning—that’s the sweet spot.
- Add the marshmallows: Pour in the entire package of mini marshmallows. Stir constantly with your wooden spoon or silicone spatula. Keep the heat on low to medium-low. High heat will scorch the marshmallows and give you a grainy texture.
- Watch for the melt: As the marshmallows melt, they’ll go from fluffy to liquid. This takes about 3-4 minutes. Stir until smooth and fully combined with the butter. Remove the pan from the heat immediately once it’s smooth—don’t let it sit on the burner.
- Add vanilla and salt: Stir in the 1/2 teaspoon of vanilla extract and the optional 1/4 teaspoon of salt (if using unsalted butter). Mix until incorporated. The vanilla will make the kitchen smell amazing.
- Mix in the cereal: Add the 6 cups of crispy rice cereal to the pot. Fold it in gently but thoroughly, making sure every piece of cereal is coated in marshmallow. Don’t overmix or the cereal will crush and get mushy.
- Fold in the candy corn: Add 1 cup of candy corn and fold it in gently. You want the pieces distributed evenly, but try not to break them up too much. Some will melt slightly into the warm mixture—that’s exactly what you want.
- Press into the pan: Transfer the mixture to your prepared pan. Using a greased spatula or greased hands, press it down evenly. Don’t press too hard—you want the treats to be tender, not dense. Just firm enough to hold together.
- Let them set: Allow the treats to cool at room temperature for at least 30 minutes. Don’t rush this—if you cut them too soon, they’ll fall apart. I usually let them sit for a full hour.
- Cut and serve: Lift the treats out using the parchment overhang. Place on a cutting board and use a sharp knife to cut into squares. I cut them into 12 large squares or 24 smaller ones for parties.
Notes
Use fresh candy corn for best texture; stale ones can be hard. Work quickly once marshmallows are melted. For cleaner cuts, dip knife in hot water and wipe dry between cuts. Treats taste better the next day as flavors meld. Do not refrigerate as it makes them hard and dry.
Nutrition
- Serving Size: 1 square (1/12 of re
- Calories: 220
- Sugar: 28
- Sodium: 180
- Fat: 4
- Saturated Fat: 2.5
- Carbohydrates: 45
- Protein: 2
Keywords: candy corn rice krispie treats, fall dessert, Halloween treats, easy rice krispie treats, kids dessert, no-bake dessert



