The school Halloween party was in six hours and I’d completely forgotten. Honestly, it had been one of those weeks where Tuesday felt like Thursday and my calendar was just a suggestion. Every other parent was probably showing up with elaborate themed cupcakes or those creepy-crawly cake pops that took three days to decorate. I had a package of Oreos, some instant pudding, and a vague memory of a dessert my aunt used to throw together when we were kids. I stood in my kitchen, staring at the pantry, feeling that familiar panic rise. Maybe you’ve been there—staring down the clock with nothing but pantry staples and a promise to bring something “fun.” I grabbed the Oreos and started crushing them with a rolling pin, not even sure what I was making yet. The kids were going to get something, and it was going to be edible, and that was the best I could promise. Little did I know, those Easy Graveyard Dirt Cups with Crushed Oreos would end up being the star of the party—the one thing the kids kept coming back to, the dessert that got photographed for the school newsletter. I still laugh thinking about how I almost showed up with a store-bought platter. These dirt cups have become my go-to for every Halloween since, and honestly, they save me every single time.
Why You’ll Love This Recipe
Let me tell you why these Easy Graveyard Dirt Cups with Crushed Oreos have earned a permanent spot in my Halloween rotation. I’ve tested this recipe through four different parties, two classroom celebrations, and one very chaotic neighborhood block party. It’s the kind of dessert that looks like you spent hours on it when really, you threw it together between answering emails and wrestling a toddler into a costume.
- Quick & Easy: You can have these assembled in under 20 minutes. No baking, no complicated steps, no melting chocolate over a double boiler. Just mix, layer, and chill.
- Simple Ingredients: You probably already have most of what you need in your pantry. Oreos, pudding mix, milk, and some gummy worms. No special trips to a fancy baking supply store.
- Perfect for Halloween: These are made for spooky season. The kids go absolutely wild for the “dirt” effect, and the graveyard theme fits right in with all the decorations.
- Crowd-Pleaser: I’ve yet to meet a kid who doesn’t love these. Adults too, honestly. There’s something about eating pudding out of a cup with crushed cookies on top that brings out the kid in everyone.
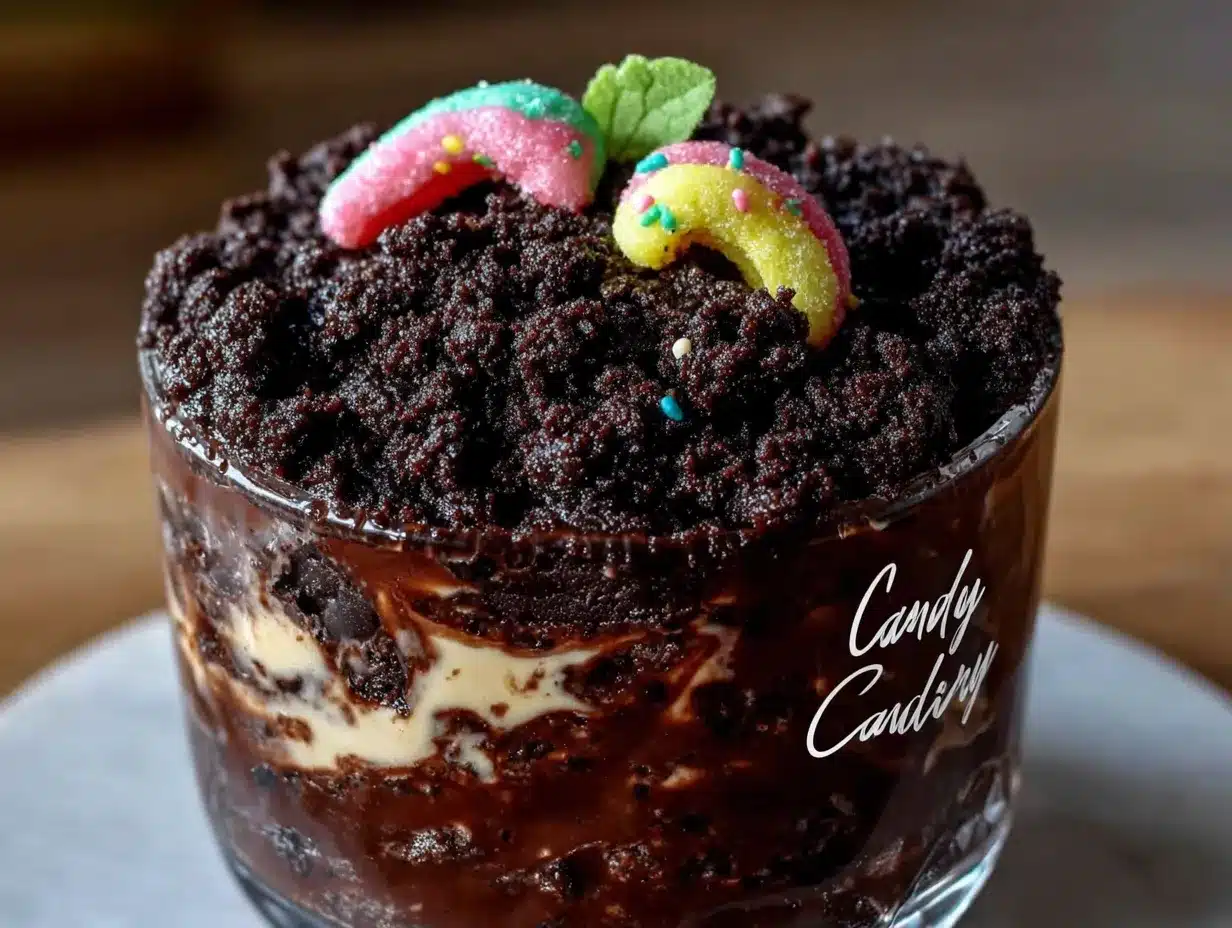
- Unbelievably Delicious: The combo of creamy chocolate pudding, crunchy Oreo crumbs, and chewy gummy worms is just perfect. It’s comfort food in a cup.
What makes these different from other dirt cup recipes is the texture. I learned through trial and error that crushing the Oreos just right—leaving some bigger chunks mixed with the fine crumbs—gives you that authentic “dirt” look without it turning into a dusty mess. Plus, I add a little trick with the pudding that makes it extra creamy. This isn’t just another version of a Halloween dessert. It’s the one that’ll have people asking for the recipe before the party’s even over.
What Ingredients You Will Need
This recipe uses simple, everyday ingredients to create something that feels special. No fancy gourmet stuff here—just good old pantry staples that come together like magic.
For the Pudding Base
- 2 packages (3.9 ounces each) instant chocolate pudding mix (I prefer Jell-O brand for consistent results)
- 4 cups cold whole milk (2% works too, but whole milk gives a creamier texture)
For the Dirt Layer
- 1 family-size package (about 18 ounces) Oreo cookies (you’ll use the whole package)
- 2 tablespoons unsalted butter, melted (optional, helps the crumbs clump together slightly)
For the Graveyard Decorations
- 1 cup gummy worms (the sour ones add a nice tangy contrast)
- 8-10 Milano cookies or rectangular shortbread cookies (for tombstones)
- Black decorating gel or black frosting (for writing on tombstones)
- Optional: candy pumpkins, skeleton bones candy, or small plastic spiders for extra creep factor
Let me talk about the Oreos for a second. I’ve tried this with generic chocolate sandwich cookies, and honestly, it’s just not the same. The real Oreos have that perfect ratio of cookie to cream that gives you the right texture when crushed. You want the cream to mix in with the crumbs and create that slightly clumpy dirt effect. Generic brands tend to be drier and don’t give you the same result.
For the pudding, instant is non-negotiable here. Cook-and-serve pudding won’t set up properly in the time you need, and you’ll end up with soup. I learned that the hard way one year when I was in a hurry and grabbed the wrong box. The kids still ate it, but it was definitely more of a “mud puddle” than a “dirt cup” situation.
If you’re dairy-free, you can substitute almond milk or oat milk for the whole milk. Just know that the pudding might be slightly less firm. I’d recommend using a brand like Silk’s oat milk, which has a thicker consistency that works better for pudding. And if you need gluten-free, there are gluten-free chocolate sandwich cookies available now that work great.
Equipment Needed
You don’t need much for these Easy Graveyard Dirt Cups with Crushed Oreos, which is part of the beauty. Here’s what you’ll want to have on hand:
- 8-10 clear plastic cups or small mason jars (6 to 8 ounces each) — the clear cups are key for showing off those layers. I buy the 8-ounce plastic cups from the party supply store, a pack of 25 costs about three bucks.
- Large mixing bowl for the pudding
- Whisk — a hand whisk works fine, but an electric mixer makes it even quicker
- Rolling pin or food processor for crushing Oreos. I prefer the rolling pin method because I can control the texture better. A food processor tends to turn everything into dust too fast.
- Ziploc bag — put the Oreos in a gallon-size bag and go to town with the rolling pin. It’s messy but satisfying.
- Small offset spatula or butter knife for smoothing the pudding layers
- Measuring cups and spoons
If you don’t have a rolling pin, a heavy-bottomed skillet works just as well. I’ve also used a wine bottle in a pinch—whatever gets the job done. The key is finding something heavy that you can roll back and forth without breaking the bag.
Preparation Method
Alright, let’s make these Easy Graveyard Dirt Cups with Crushed Oreos. I’ll walk you through every step so you get that perfect layered look that makes everyone think you’re a Halloween dessert genius.
- Crush the Oreos. Place the entire package of Oreos in a large Ziploc bag. Remove as much air as possible and seal it tight. Using a rolling pin, crush the cookies until you have a mix of fine crumbs and small chunks. You want some bigger pieces—about the size of small pebbles—mixed in with the powdery stuff. This takes about 3-4 minutes of steady rolling. Don’t go overboard trying to get them all the same size. The uneven texture is what makes it look like real dirt. Set the bag aside.
- Make the pudding. In a large mixing bowl, combine both packages of instant chocolate pudding mix with 4 cups of cold milk. Whisk vigorously for about 2 minutes until the mixture starts to thicken. If you’re using an electric mixer, go low speed for about 1 minute. The pudding will be quite thin at first—don’t panic. It needs time to set. Let it sit for 5 minutes, then give it another quick stir. You’ll notice it’s getting thicker already.
- Prepare the tombstones. While the pudding is setting, take your Milano cookies or shortbread cookies and use the black decorating gel to write spooky messages on them. Things like “RIP,” “Boo,” “Here Lies My Candy,” or just draw little spiderwebs. Get creative with it. Let the gel dry for a few minutes while you assemble the cups.
- Layer the cups. Take your clear cups and start with a base layer of crushed Oreos. Add about 2 tablespoons to the bottom of each cup. Press it down gently with the back of a spoon to create a firm base. This keeps the dirt from mixing into the pudding too much.
- Add the pudding. Spoon or pour the chocolate pudding over the Oreo layer, filling each cup about halfway. Use about 1/4 cup of pudding per cup. Tap the cup gently on the counter to settle the pudding and remove any air bubbles. You want a nice even layer.
- Add gummy worms. Press a few gummy worms into the pudding layer so they’re partially sticking out. This creates the illusion that worms are crawling out of the dirt. Kids love this part. I usually put 2-3 worms per cup, positioned at different angles.
- Top with more pudding. Add another layer of pudding to fill the cup about 3/4 full. Leave some room at the top for the final dirt layer. Smooth the top with your spatula.
- Finish with the dirt. Sprinkle a generous layer of crushed Oreos over the top of each cup. You want enough to completely cover the pudding—about 2-3 tablespoons per cup. Don’t press it down. Leave it loose so it looks like freshly turned soil.
- Add the decorations. Gently stick a tombstone cookie into each cup, pushing it down until it’s secure in the pudding. Add a few more gummy worms on top, maybe one crawling up the side of the cup. If you’re using candy pumpkins or skeleton bones, arrange them on the “dirt” surface.
- Chill and serve. Refrigerate the cups for at least 1 hour before serving. This gives the pudding time to fully set and the flavors to meld together. The cookies will soften slightly, which actually makes them easier to eat. These are best served cold, straight from the fridge.
A few things I’ve learned along the way: If you’re making these for a party, you can assemble them up to 24 hours in advance. Just wait to add the tombstones and top decorations until right before serving, or they’ll get too soft. And if the pudding seems too thick after sitting, don’t worry—that’s exactly what you want. It needs to be sturdy enough to hold up the tombstones and the dirt layer without everything collapsing.
Cooking Tips & Techniques
After making these Easy Graveyard Dirt Cups with Crushed Oreos about a dozen times, I’ve picked up some tricks that make the process smoother and the results better. Let me share what I’ve learned through trial and error.
The Oreo crushing technique matters more than you think. I used to just throw them in the food processor and call it done, but the texture was too uniform. Real dirt has variation—some clumps, some fine particles, some small pebbles. To get that look, crush about half the Oreos to a fine powder using your food processor, then crush the other half by hand in a bag with a rolling pin. Mix them together and you get that perfect natural dirt texture. It takes an extra five minutes but the visual payoff is huge.
Don’t skip the chilling step. I know it’s tempting to serve these right away, especially when you’re short on time and the kids are already hovering. But the pudding needs that hour in the fridge to set properly. If you serve them too soon, the dirt layer will sink into the pudding and you’ll lose that distinct layered look. Trust me, I’ve made this mistake at a party where I was running late. The cups looked more like mud pies than graveyard dirt.
Watch your milk temperature. The pudding mix requires cold milk to set up correctly. If your milk is even slightly warm, the pudding won’t thicken properly. I keep my milk in the fridge until the last minute, and if I’m in a hurry, I’ll even pop it in the freezer for 10 minutes before using it. This is one of those little details that makes a big difference.
Double bag your Oreos. When you’re crushing them in a bag, put the Oreos in one Ziploc bag, then put that bag inside another one. Trust me on this. I’ve had bags split open mid-crunch and send cookie dust flying across the kitchen. It’s not fun to clean up. The double bag method gives you a safety net.
Make extra dirt topping. I always crush more Oreos than I think I’ll need. The kids love sneaking extra crumbs, and having a little bowl of “dirt” on the side lets them add more if they want. Plus, it’s great for filling in any gaps that appear after the cups have been sitting in the fridge.
Variations & Adaptations
One of the best things about these Easy Graveyard Dirt Cups with Crushed Oreos is how easy they are to adapt. I’ve tried quite a few variations over the years, and here are my favorites:
Peanut Butter Dirt Cups: Add 1/2 cup of creamy peanut butter to the pudding mix before whisking. It gives the pudding a rich, nutty flavor that pairs beautifully with the chocolate Oreos. Just make sure to whisk thoroughly so the peanut butter is fully incorporated. This version is always a hit at our house, though I have to warn you—it’s even more addictive than the original.
Mint Chocolate Graveyard: Swap the chocolate pudding for white chocolate or vanilla pudding, and add 1/2 teaspoon of peppermint extract. Use mint Oreos instead of regular ones. The green-tinted “dirt” with chocolate chunks looks surprisingly like mossy grave soil. I did this for a Halloween party last year and people kept asking what the secret ingredient was.
Vegan-Friendly Version: Use dairy-free chocolate pudding mix (check the label, some instant puddings are naturally vegan) and replace the milk with full-fat oat milk or coconut milk. Use vegan sandwich cookies and skip the butter in the dirt layer. The texture is slightly different—a bit softer—but still delicious. I made these for a friend’s vegan Halloween party and they disappeared faster than the non-vegan options.
Individual Trifle Style: For a fancier presentation, layer the pudding and Oreos in small glass trifle dishes or wide-mouth mason jars. Add layers of whipped cream or Cool Whip between the pudding and dirt layers. It turns these simple cups into something that looks straight out of a bakery window.
Low-Sugar Option: Use sugar-free instant pudding mix and sugar-free Oreo-style cookies. Replace the milk with unsweetened almond milk. The taste is still good—not quite as rich, but perfectly satisfying if you’re watching your sugar intake. My husband prefers this version now, and he has a serious sweet tooth.
Serving & Storage Suggestions
These Easy Graveyard Dirt Cups with Crushed Oreos are best served cold, straight from the refrigerator. The contrast between the cool, creamy pudding and the crunchy Oreo topping is part of what makes them so satisfying. I like to take them out about 10 minutes before serving so they’re not ice-cold, but still nicely chilled.
For presentation, arrange the cups on a large platter or tray lined with black or orange napkins. Scatter a few extra gummy worms and candy pumpkins around the base of the cups. If you’re feeling extra festive, add some dry ice (in a separate container, not in the cups themselves) for a spooky fog effect. Just be careful with the dry ice—use tongs and gloves.
These pair beautifully with warm apple cider or hot chocolate. For an adult gathering, they go surprisingly well with a dark stout beer or a salted caramel cocktail. The rich chocolate flavor holds up against bold drinks.
Storage: Keep the cups covered in the refrigerator for up to 3 days. If you’re storing them longer than 24 hours, I recommend keeping the tombstone cookies and any extra decorations separate until right before serving. The cookies will soften over time, and the decorating gel might bleed into the pudding if left too long.
Freezing: I don’t recommend freezing these. The pudding gets icy and the texture changes completely. Trust me, I tried it once when I had leftovers from a big party. The thawed version was watery and the Oreo crumbs had turned into a sad, soggy mess. Just eat them fresh or within a few days.
One thing I love about these cups is that the flavors actually develop and get better after a few hours in the fridge. The Oreo crumbs soften slightly and meld with the pudding, creating this almost cake-like texture in some spots. If you can resist eating them right away, they’re even better the next day.
Nutritional Information & Benefits
Let’s be real—these Easy Graveyard Dirt Cups with Crushed Oreos are a treat, not a health food. But that doesn’t mean they can’t fit into a balanced lifestyle. Here’s what you’re looking at per serving (based on 8 servings):
- Calories: Approximately 380-420 per cup
- Total Fat: 16-18g
- Saturated Fat: 7-8g
- Carbohydrates: 55-60g
- Sugar: 38-42g
- Protein: 6-8g
- Fiber: 2-3g
- Calcium: 15% of daily value (from the milk)
The milk in the pudding provides a decent amount of calcium and vitamin D, which is good for bone health. And the dark cocoa in Oreos contains antioxidants called flavonoids, which have been linked to heart health benefits. It’s not a lot, but hey, every little bit counts, right?
For those with dietary concerns: This recipe contains dairy, wheat, and soy (from the Oreos). It can be made gluten-free with appropriate cookie substitutions and dairy-free with plant-based milk and pudding alternatives. The sugar content is on the higher side, so if you’re managing blood sugar, the sugar-free version I mentioned earlier is a good option.
My personal take? These are a Halloween tradition, and traditions are good for the soul. One day of indulging isn’t going to derail your health goals. Enjoy the dirt cups, savor every bite, and get back to your routine tomorrow. Balance is everything.
Conclusion
These Easy Graveyard Dirt Cups with Crushed Oreos have saved me more times than I can count. From last-minute school parties to Halloween gatherings where I needed something impressive without the stress, they’ve never let me down. They’re proof that you don’t need fancy skills or hours in the kitchen to create something that brings people joy.
What I love most about this recipe is how it brings out the kid in everyone. There’s something magical about watching adults get just as excited as the kids when they see those gummy worms peeking out of the “dirt.” It’s simple, silly, and absolutely delicious.
I’d love to hear how yours turn out! Did you add any fun decorations? Did your kids help with the crushing? Drop a comment below and let me know. And if you’re looking for more easy Halloween treats, check out my spiderweb dip recipe or these mummy hot dogs that are perfect for a party spread. Happy Halloween, and happy snacking!
Frequently Asked Questions
Can I make these graveyard dirt cups the night before?
Absolutely! In fact, they’re even better the next day. Just wait to add the tombstone cookies and any delicate decorations until right before serving so they don’t get too soft. The pudding and Oreo layers can be assembled up to 24 hours in advance.
How do I keep the Oreo crumbs from getting soggy?
The key is not pressing the top dirt layer into the pudding. Just sprinkle it lightly on top and leave it loose. The crumbs on the very top will stay crunchy, while the ones touching the pudding will soften slightly—which actually creates a nice texture contrast.
Can I use homemade pudding instead of instant?
You can, but you’ll need to cook it first and let it cool completely before layering. Instant pudding is really the way to go here because it sets up quickly and gives you that perfect consistency. Homemade pudding tends to be thinner and won’t hold the layers as well.
What can I use instead of Milano cookies for tombstones?
Any rectangular cookie will work. Graham crackers, shortbread fingers, or even those rectangular chocolate wafers are great options. You can also use fruit leather cut into tombstone shapes if you want something chewier. Just make sure whatever you use is sturdy enough to stand up in the pudding.
How many cups does this recipe make?
This recipe makes 8 to 10 cups, depending on the size of your cups. I usually get 8 generous servings out of it when using 8-ounce cups. If you’re using smaller cups (like 5-ounce ones), you’ll get closer to 12 servings. Perfect for a classroom or small party!
Pin This Recipe!
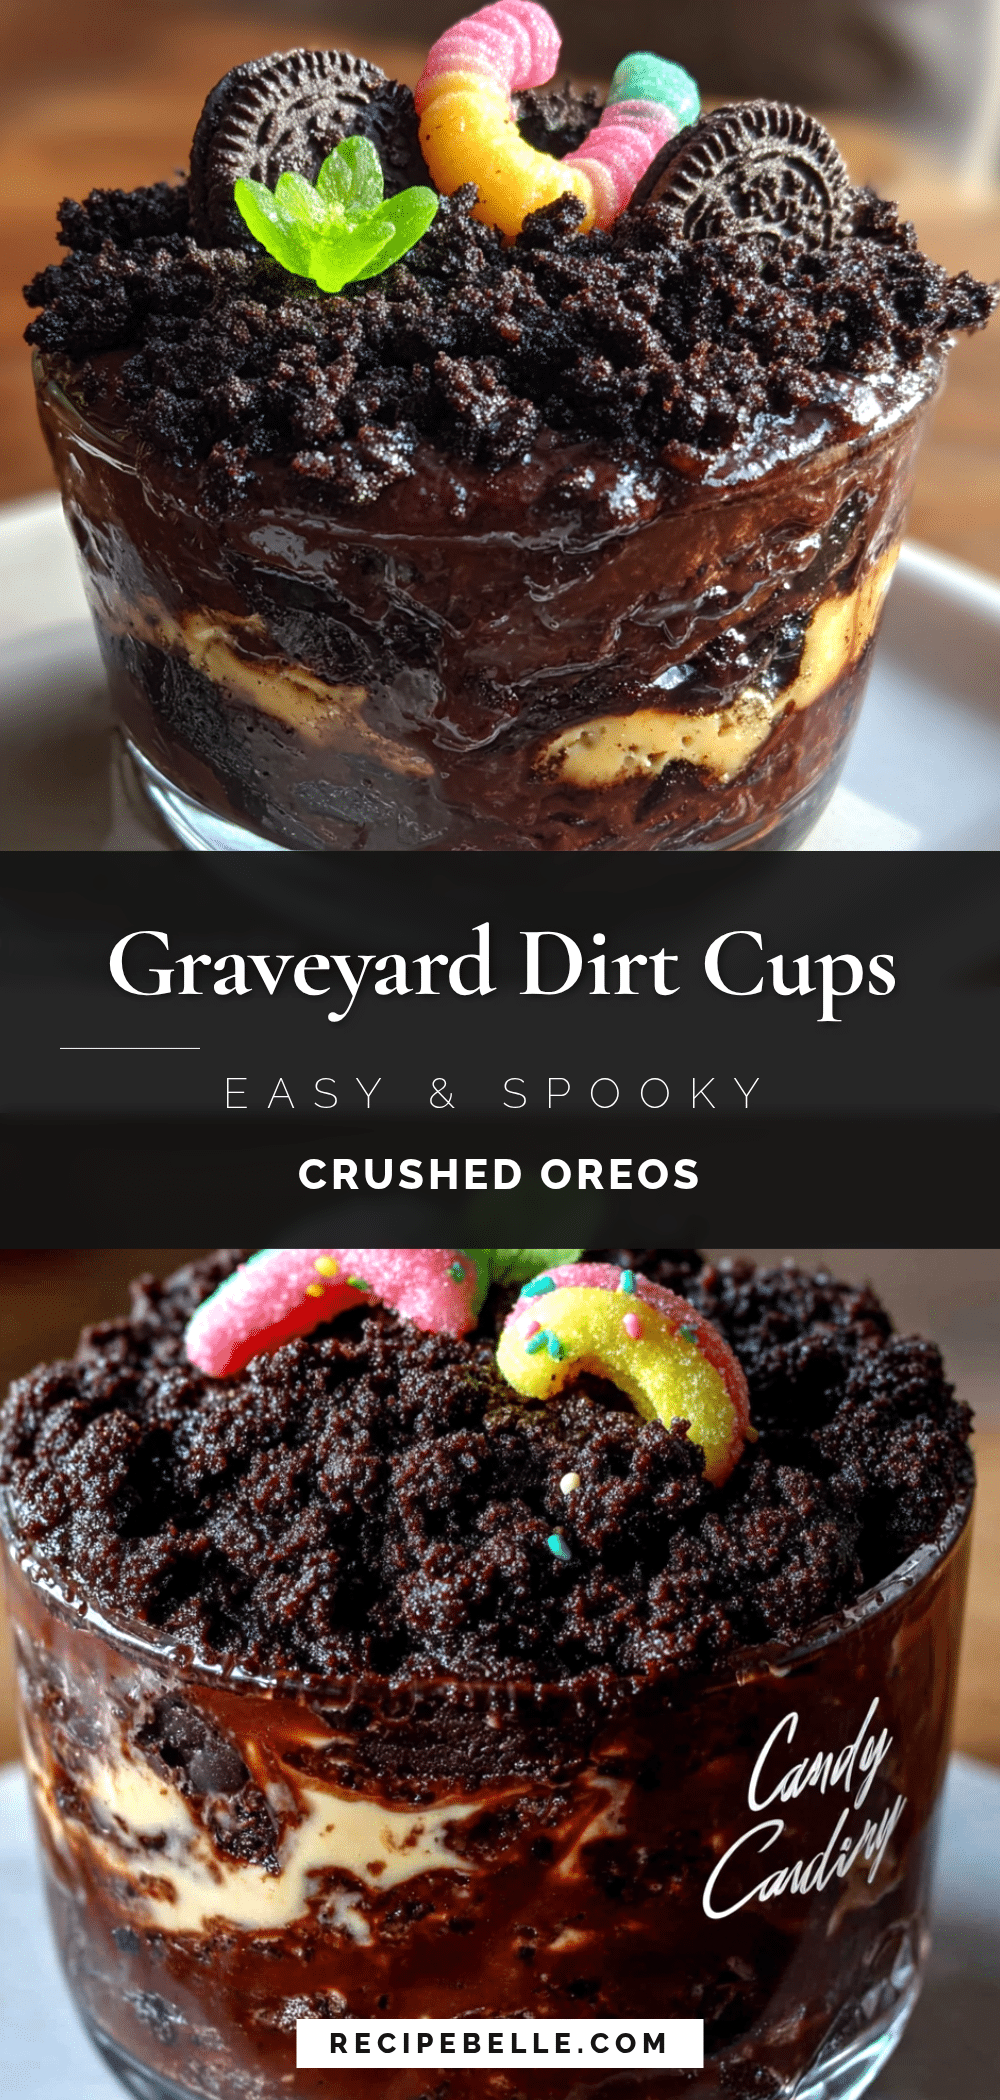
Easy Graveyard Dirt Cups with Crushed Oreos: The Best Halloween Treat
These Easy Graveyard Dirt Cups with Crushed Oreos are the perfect last-minute Halloween dessert. With creamy chocolate pudding, crunchy Oreo dirt, and gummy worms, they come together in under 20 minutes and are always a crowd-pleaser.
- Prep Time: 20 minutes
- Cook Time: 0 minutes
- Total Time: 1 hour 20 minutes (includes chilling)
- Yield: 8-10 servings 1x
- Category: Dessert
- Cuisine: American
Ingredients
- 2 packages (3.9 ounces each) instant chocolate pudding mix
- 4 cups cold whole milk
- 1 family-size package (about 18 ounces) Oreo cookies
- 2 tablespoons unsalted butter, melted (optional)
- 1 cup gummy worms
- 8–10 Milano cookies or rectangular shortbread cookies
- Black decorating gel or black frosting
- Optional: candy pumpkins, skeleton bones candy, or small plastic spiders
Instructions
- Crush the Oreos. Place the entire package of Oreos in a large Ziploc bag. Remove as much air as possible and seal it tight. Using a rolling pin, crush the cookies until you have a mix of fine crumbs and small chunks. Set the bag aside.
- Make the pudding. In a large mixing bowl, combine both packages of instant chocolate pudding mix with 4 cups of cold milk. Whisk vigorously for about 2 minutes until the mixture starts to thicken. Let it sit for 5 minutes, then give it another quick stir.
- Prepare the tombstones. While the pudding is setting, take your Milano cookies or shortbread cookies and use the black decorating gel to write spooky messages on them. Let the gel dry for a few minutes.
- Layer the cups. Take your clear cups and start with a base layer of crushed Oreos. Add about 2 tablespoons to the bottom of each cup. Press it down gently with the back of a spoon.
- Add the pudding. Spoon or pour the chocolate pudding over the Oreo layer, filling each cup about halfway. Use about 1/4 cup of pudding per cup. Tap the cup gently on the counter to settle the pudding.
- Add gummy worms. Press a few gummy worms into the pudding layer so they’re partially sticking out. I usually put 2-3 worms per cup.
- Top with more pudding. Add another layer of pudding to fill the cup about 3/4 full. Smooth the top with your spatula.
- Finish with the dirt. Sprinkle a generous layer of crushed Oreos over the top of each cup. You want enough to completely cover the pudding—about 2-3 tablespoons per cup. Don’t press it down.
- Add the decorations. Gently stick a tombstone cookie into each cup, pushing it down until it’s secure in the pudding. Add a few more gummy worms on top.
- Chill and serve. Refrigerate the cups for at least 1 hour before serving. These are best served cold, straight from the fridge.
Notes
For best results, crush half the Oreos in a food processor and half by hand for varied texture. Assemble up to 24 hours in advance, but add tombstones and top decorations just before serving. Use cold milk for proper pudding set. Double bag Oreos when crushing to prevent bag breakage.
Nutrition
- Serving Size: 1 cup
- Calories: 400
- Sugar: 40
- Sodium: 480
- Fat: 17
- Saturated Fat: 7.5
- Carbohydrates: 57
- Fiber: 2.5
- Protein: 7
Keywords: Halloween dessert, dirt cups, graveyard dirt cups, Oreo dessert, no-bake dessert, easy Halloween treat, chocolate pudding cups, gummy worms



