I was standing in the checkout line at the grocery store last October, the Thursday before Halloween, when the kid in front of me dropped a bag of hot dog buns. They hit the floor with this sad, hollow thud, and the plastic crinkled as he scooped them up, muttering to his mom about how he was “too old for costume parties anyway.” And in that moment—the sound, the grumbling, the smell of the dusty autumn air sneaking in through the automatic doors—I was suddenly twelve years old again, standing in my Aunt Carol’s tiny kitchen in Des Moines. She was laughing so hard she had to put down the paring knife. I had just asked her, dead serious, “How do we make them look like real fingers?” That was the year she decided store-bought Halloween snacks just wouldn’t cut it. We spent two hours slicing hot dogs, trimming almond slivers for fingernails, and smearing ketchup around the cut ends for “blood.” I accidentally dropped one on the floor, and she picked it up, blew on it, and said, “That just adds character.” Honestly? That memory is sharper than half the Halloweens I remember as an adult. Maybe you’ve been there—that one recipe that sticks with you, not because it’s fancy, but because of the person you made it with. So here I am, trying to recreate that exact feeling, not just the dish. These spooky severed finger hot dogs are the result. And let me tell you, they still make people laugh every single time.
Why You’ll Love This Recipe
Let’s face it—Halloween food can be a mixed bag. You want something spooky, but you also want something people will actually eat. These severed finger hot dogs hit that sweet spot perfectly. They look gross, but they taste like the classic, comforting hot dog everyone loves. No weird ingredients, no complicated techniques. Just a little knife work and some creative assembly.
- Quick & Easy: Comes together in under 30 minutes, from start to finish. Perfect for last-minute Halloween prep or a busy weeknight before trick-or-treating.
- Simple Ingredients: You need hot dogs, hot dog buns, ketchup, and a few almonds. That’s it. Nothing fancy, nothing you have to hunt down at a specialty store.
- Perfect for Halloween Parties: Great for potlucks, classroom celebrations, or just surprising the kids before they head out for candy. They’re a guaranteed conversation starter.
- Crowd-Pleaser: Kids go wild for them. Adults get a kick out of the joke. Even picky eaters will grab one because, hey, it’s still a hot dog.
- Unbelievably Fun: The texture and presentation are next-level Halloween humor. The “fingernail” detail is what really sells the illusion.
What makes this recipe different from the rest? It’s the attention to the little details—the way you angle the cut for the knuckle, the specific spot to place the almond nail so it looks disturbingly real. I’ve tested this with cheap hot dogs and fancy ones, and honestly, the standard ones work best because they hold their shape better. This isn’t just another spooky snack. It’s your best version of a Halloween classic.
I mean, there’s something special about serving a plate of food that makes people do a double-take. They lean in, they laugh, they snap a picture. It’s comfort food with a horror-movie twist. And you get to be the hero who pulled it off without breaking a sweat.
What Ingredients You Will Need
This recipe uses simple, pantry-friendly ingredients to deliver maximum creep factor without the fuss. You probably have most of these on hand already. Here’s what you need and why each one matters.
For the Fingers
- 8 standard hot dogs (I recommend Nathan’s or Oscar Mayer for best shape retention. Avoid jumbo or bun-length dogs—they look less like fingers.)
- 8 hot dog buns (Standard size, not the thick hoagie rolls. You want the bun to wrap around the “finger” neatly.)
- 16 whole almonds (Blanched or raw, it doesn’t matter. You’ll use one sliver per hot dog to create the fingernail. The shape is what counts.)
- Ketchup (For the “blood” effect. Go with classic Heinz—the color is just right. Organic or homemade ketchup can be too dark or too runny.)
Optional but Recommended
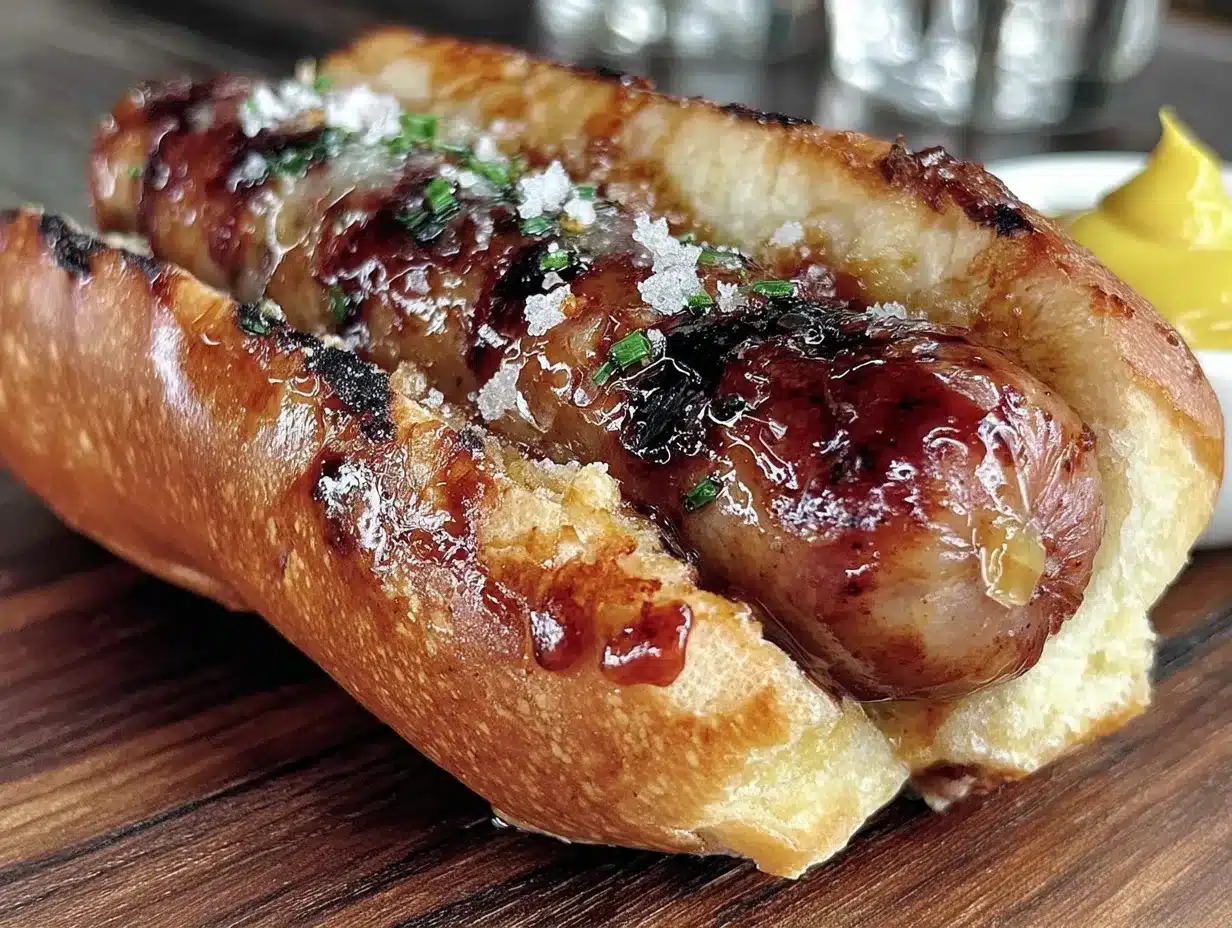
- Yellow mustard (A small dab adds a “bruised” effect around the cut end of the finger. It looks surprisingly gross in a good way.)
- Sesame seeds (A few scattered on the bun look like warts or skin texture. Trust me on this one.)
- BBQ sauce or sriracha (For a darker, more congealed-looking “blood.” Mix with ketchup if you want a deeper red.)
Ingredient Selection Tips
Not all hot dogs are created equal for this recipe. Look for hot dogs that are smooth-skinned and uniform in shape. The cheaper brands actually work better here because they have a more consistent texture and don’t split as easily when you cut them. I learned this the hard way after trying to use an all-beef artisan brand that fell apart on the first knick. Stick with the classics.
Substitution Guidance
- For a vegetarian option: Use vegan hot dogs made from pea protein or tofu. They hold up well to cutting and have a similar texture. Just check the brand—some are too soft.
- For nut allergies: Skip the almond fingernails entirely. You can use a small piece of cucumber skin or a sliver of carrot for the nail effect. It’s not as convincing, but it still works.
- For gluten-free buns: Use your favorite gluten-free hot dog buns. The recipe adapts easily.
Equipment Needed
You don’t need much for this one. That’s part of the charm. Here’s what you’ll need to pull it off.
- A sharp paring knife: This is the most important tool. A dull knife will tear the hot dog instead of slicing cleanly. I use a Victorinox paring knife—it’s cheap and stays sharp for ages.
- A cutting board: Standard size is fine. Try to use one with a groove around the edge to catch any juices.
- A small saucepan or skillet: For boiling or pan-frying the hot dogs. A skillet gives you more control over the browning.
- A slotted spoon: For removing the hot dogs from the water or pan without splashing.
- A baking sheet: If you’re making a big batch and want to keep them warm in the oven while you assemble everything.
- Tongs: For handling the hot dogs after they’re cooked without squishing them.
You don’t need any special Halloween-themed gadgets. If you don’t have a paring knife, a sharp steak knife will do the job. Just make sure it’s small enough to maneuver around the curves of the hot dog. And honestly, I’ve used a serrated bread knife in a pinch—it leaves a rougher edge, which actually looks more like a torn finger. So there’s that.
Preparation Method
Let’s get into the nitty-gritty. Follow these steps, and you’ll have a plate of disturbingly realistic severed fingers in no time.
- Prepare the almonds for the fingernails: Take your whole almonds and slice each one lengthwise into 2-3 thin slivers. You want a piece that’s roughly the shape and size of a fingernail—about 1/2 inch long and 1/4 inch wide. Set them aside. (Pro tip: If the slivers break, don’t worry. Just use the biggest piece. Imperfect nails look more realistic anyway.)
- Cut the hot dogs: Take one hot dog at a time. Using your paring knife, make a shallow cut about 1/3 of the way down from one end. This will be the “knuckle.” The cut should go about halfway through the hot dog—not all the way. Then, about 1/2 inch below that, make another shallow cut. This creates the joint. You can make 1 or 2 knuckles per finger. I find 2 looks more realistic, but 1 is faster. (Sensory cue: The cut should feel like you’re scoring a piece of meat. You’ll feel the resistance of the casing, then the soft interior.)
- Create the “nail bed”: At the tip of the hot dog (the end that will be the fingertip), make a small, shallow slit. This is where the almond sliver will sit. The slit should be just deep enough to hold the almond—about 1/4 inch deep. Don’t cut all the way through. (Warning: If you cut too deep, the almond will fall out during cooking. I learned this the messy way.)
- Insert the fingernails: Gently press one almond sliver into the slit at the tip of each hot dog. It should fit snugly. If it’s loose, you can use a tiny dab of ketchup to hold it in place. Yes, ketchup. It works as glue and adds to the gore effect.
- Cook the hot dogs: Bring a small saucepan of water to a boil. Carefully drop the prepared hot dogs into the boiling water. Cook for 3-4 minutes, until they’re heated through and plump. The cuts will open up slightly, which is exactly what you want—it makes the knuckles more pronounced. (Alternative method: Pan-fry them in a skillet over medium heat for 2-3 minutes per side. This gives them a slightly charred look that adds to the “severed” aesthetic.)
- Toast the buns: While the hot dogs are cooking, split your hot dog buns and toast them lightly. You can do this in a toaster, under the broiler for 1 minute, or in a dry skillet. Toasting prevents the buns from getting soggy from the ketchup “blood.” (Personal tip: I always forget to toast the buns and then regret it when the first bite is a mushy mess. Don’t be me.)
- Assemble the fingers: Place each cooked hot dog into a toasted bun. The end with the almond fingernail should stick out slightly from the bun—about 1/2 inch. This is the “fingertip” that people will see first. Arrange them on a serving platter with the fingertips pointing in different directions for maximum creep factor.
- Add the “blood”: Squeeze a small amount of ketchup around the cut end of the hot dog (where it meets the bun) and along the knuckle cuts. The ketchup should pool slightly, mimicking blood. (Sensory cue: The ketchup should look glossy and wet, not dried out. If it’s too thick, thin it with a drop of water.)
- Optional gore effects: Add a small dab of yellow mustard to the cut ends for a “bruised” look. Sprinkle a few sesame seeds on the bun for wart-like texture. Drizzle a little sriracha or BBQ sauce over the top for darker, more congealed blood.
- Serve immediately: These are best eaten warm, right after assembly. The contrast between the warm hot dog and the cool ketchup is part of the experience. Plus, the almond “fingernails” stay crunchy.
Cooking Tips & Techniques
I’ve made these spooky severed finger hot dogs more times than I care to admit. Here are the lessons I learned the hard way, so you don’t have to.
Don’t overboil the hot dogs. If you leave them in the water too long, they’ll split open and lose their shape. The knuckle cuts will turn into gaping wounds, and the almond nails will fall out. Three to four minutes is the sweet spot. If you’re pan-frying, watch for the cuts to start opening up—that’s your cue to pull them.
Angle your knife for the knuckles. Don’t cut straight down. Cut at a slight angle, about 45 degrees. This creates a more realistic joint shape. Straight cuts look like someone took a bite out of the hot dog, not like a finger knuckle.
Use room-temperature hot dogs. Cold hot dogs straight from the fridge are firmer and easier to cut cleanly. If they’re too warm, the casing will tear. So take them out, do all your cutting, then cook them. It’s a small thing that makes a big difference.
Make extra almond slivers. You’ll break a few. It’s inevitable. Make 20-24 slivers even though you only need 16. That way you have backups when one snaps in half as you’re inserting it.
Don’t skimp on the ketchup. I know, it sounds messy. But the “blood” is what sells the illusion. If you’re shy with the ketchup, they just look like hot dogs with weird cuts. Go bold. Pool it around the base. Let it drip down the bun. That’s the whole point.
Timing is everything. Cook the hot dogs, toast the buns, and assemble right before serving. If you let them sit, the buns get soggy and the ketchup dries out. These are a show-time snack, not a make-ahead meal.
Variations & Adaptations
Once you’ve mastered the basic severed finger, you can get creative. Here are a few variations I’ve tried and loved.
Vegetarian “Zombie Fingers”: Use vegan hot dogs made from pea protein. They cut and cook similarly, but they have a slightly different texture. I’ve found that the Field Roast brand works best—they’re firm enough to hold the almond nail. Serve with a side of vegan “blood” (ketchup mixed with a little sriracha).
“Witch’s Fingers” with Green Nails: Instead of almonds, use a sliver of green bell pepper or a piece of cucumber skin for the fingernail. The green looks unsettling, like a witch’s hand. Add a drop of green food coloring to the ketchup for an extra gross effect. My kids loved this version—they said it looked “sick” (which I think is a compliment).
“Burnt” Severed Fingers: Cook the hot dogs in a skillet over high heat until they’re charred and blackened in spots. The burnt marks look like the fingers were pulled from a fire. Pair with a darker “blood” made from BBQ sauce and a splash of Worcestershire sauce. This version is great for a bonfire party or a more “adult” Halloween gathering.
Spicy “Demon Fingers”: Before cooking, brush the hot dogs with a mixture of hot sauce and melted butter. Cook as directed, then add extra hot sauce to the ketchup “blood.” The heat adds a kick that matches the devilish look. I made these for a Halloween potluck, and they disappeared faster than the regular ones.
Mini “Baby Finger” Hot Dogs: Use cocktail sausages or mini hot dogs instead of full-size ones. Cut them the same way, but use smaller almond slivers (or even sunflower seeds) for the nails. These are perfect for kids’ parties or as appetizers. They’re also easier to eat in one bite.
Serving & Storage Suggestions
These severed finger hot dogs are best served fresh, but here’s how to handle them if you’re planning ahead.
Serving Temperature: Serve them warm, right after assembly. The hot dog should be hot, the bun should be toasted, and the ketchup should be at room temperature. The contrast in temperatures adds to the sensory experience.
Presentation Ideas: Arrange the fingers on a black platter or a dark-colored serving board. Scatter a few loose almond slivers around the plate (they look like broken fingernails). For extra drama, place a small bowl of “blood” (extra ketchup) in the center for dipping. I’ve also served them sticking out of a hollowed-out pumpkin—it looks like the pumpkin is growing fingers.
Complementary Dishes: Pair these with other Halloween-themed snacks like “mummy” pizzas (pita bread with cheese strips arranged like bandages), “eyeball” deviled eggs (with olive slices), or “witch’s brew” punch (lime sherbet in ginger ale). The key is to keep the theme going.
Beverage Pairings: For kids, serve with “blood” punch (cranberry juice cocktail) or “slime” soda (green apple soda). For adults, a dark stout or a smoky mezcal cocktail pairs nicely with the savory hot dog and the smoky char if you pan-fried them.
Storage Instructions: If you have leftovers (unlikely, but possible), store the assembled fingers in an airtight container in the refrigerator for up to 2 days. The buns will get soft, and the ketchup will soak in, so they won’t look as good. Reheat them in a toaster oven at 350°F for 5-7 minutes. Don’t microwave them—the buns turn to rubber.
Make-Ahead Tips: You can cut the hot dogs and prepare the almond slivers up to 24 hours in advance. Store the cut hot dogs in a sealed bag in the fridge. Cook and assemble right before serving. This is my go-to strategy for Halloween parties—all the prep work is done, and I just need 10 minutes to finish.
Nutritional Information & Benefits
Let’s be real—these are hot dogs. They’re not health food. But here’s the breakdown if you’re curious.
Estimated Nutritional Values (per serving, 1 finger with bun and ketchup):
- Calories: 280-320
- Protein: 10-12g
- Fat: 16-18g
- Carbohydrates: 24-28g
- Sodium: 700-900mg (varies by brand)
Health Benefits: The almonds add a small amount of healthy fats, vitamin E, and magnesium. Hot dogs provide protein and iron, though they’re also high in sodium and preservatives. If you want a slightly healthier version, use turkey or chicken hot dogs—they have less fat and fewer calories. The ketchup contains lycopene, an antioxidant found in tomatoes, though the amount is minimal.
Dietary Considerations: This recipe is naturally dairy-free (check the bun ingredients). For gluten-free, use gluten-free buns. For nut-free, skip the almond fingernails. For low-carb, serve the hot dog without the bun and use extra ketchup for flavor.
Potential Allergens: Contains almonds (tree nuts), gluten (in the buns), and soy (often in hot dogs, check the label). Celery or celery powder is sometimes used as a preservative in natural hot dogs, so be aware if you have celery allergies.
Personal Wellness Perspective: I don’t make these every week. They’re a once-a-year treat, and that’s part of what makes them special. Halloween is about fun and indulgence. One night of spooky snacks isn’t going to derail your health goals. So enjoy it. That’s what I tell myself, anyway.
Conclusion
These spooky severed finger hot dogs are the kind of recipe that makes Halloween feel like Halloween. They’re silly, they’re gross, and they’re absolutely delicious. Every time I make them, I think of Aunt Carol’s tiny kitchen and the way she laughed when I asked if we could add “real blood” to the ketchup. She said no, by the way. But she did let me add extra mustard for the “infection” effect.
What I love most about this recipe is how it brings people together. You’ll see kids giggling, adults taking pictures, and everyone reaching for seconds. It’s a conversation starter, a laugh generator, and a crowd-pleaser all in one. And honestly, it’s just fun to make. There’s something deeply satisfying about carving a hot dog into a realistic finger.
I’d love to hear how yours turn out. Did you add your own twist? Did the kids scream (in a good way)? Drop a comment below and share your spooky creations. And if you’re looking for more Halloween fun, check out our creepy spiderweb dip or these mummy pizza rolls. They’re perfect for a full Halloween spread.
Now go forth and make some fingers. Your Halloween guests will thank you. Or scream. Either way, it’s a win.
Frequently Asked Questions
Can I make these severed finger hot dogs ahead of time?
You can prep the hot dogs and almond slivers up to 24 hours in advance. Store the cut hot dogs in a sealed bag in the fridge. Cook and assemble them right before serving for the best texture and appearance. If you assemble them too early, the buns get soggy and the ketchup dries out.
What kind of hot dogs work best for this recipe?
Standard-sized hot dogs from brands like Oscar Mayer or Nathan’s work best. Avoid jumbo, bun-length, or artisan hot dogs—they’re too thick or too irregular in shape. The cheap ones actually hold their shape better and have a smoother casing that takes the cuts cleanly.
Can I use something other than almonds for the fingernails?
Absolutely. If you have nut allergies, use a sliver of cucumber skin, a thin piece of carrot, or even a sunflower seed for a smaller nail. The almond gives the most realistic look, but these alternatives work in a pinch. Just make sure whatever you use is firm enough to hold its shape.
How do I keep the almond fingernails from falling off?
Make sure the slit you cut in the hot dog is deep enough—about 1/4 inch—but not so deep that it goes all the way through. Press the almond sliver in firmly. If it’s still loose, dab a tiny bit of ketchup in the slit before inserting the almond. The ketchup acts as a glue and adds to the gore effect.
Are these suitable for a classroom Halloween party?
Yes, but check for nut allergies first. If any kids have nut allergies, skip the almond fingernails and use a vegetable sliver instead. Also, consider using turkey or chicken hot dogs for a slightly healthier option. They’re a huge hit with kids—just be prepared for a lot of giggling and “ewww” sounds.
Pin This Recipe!
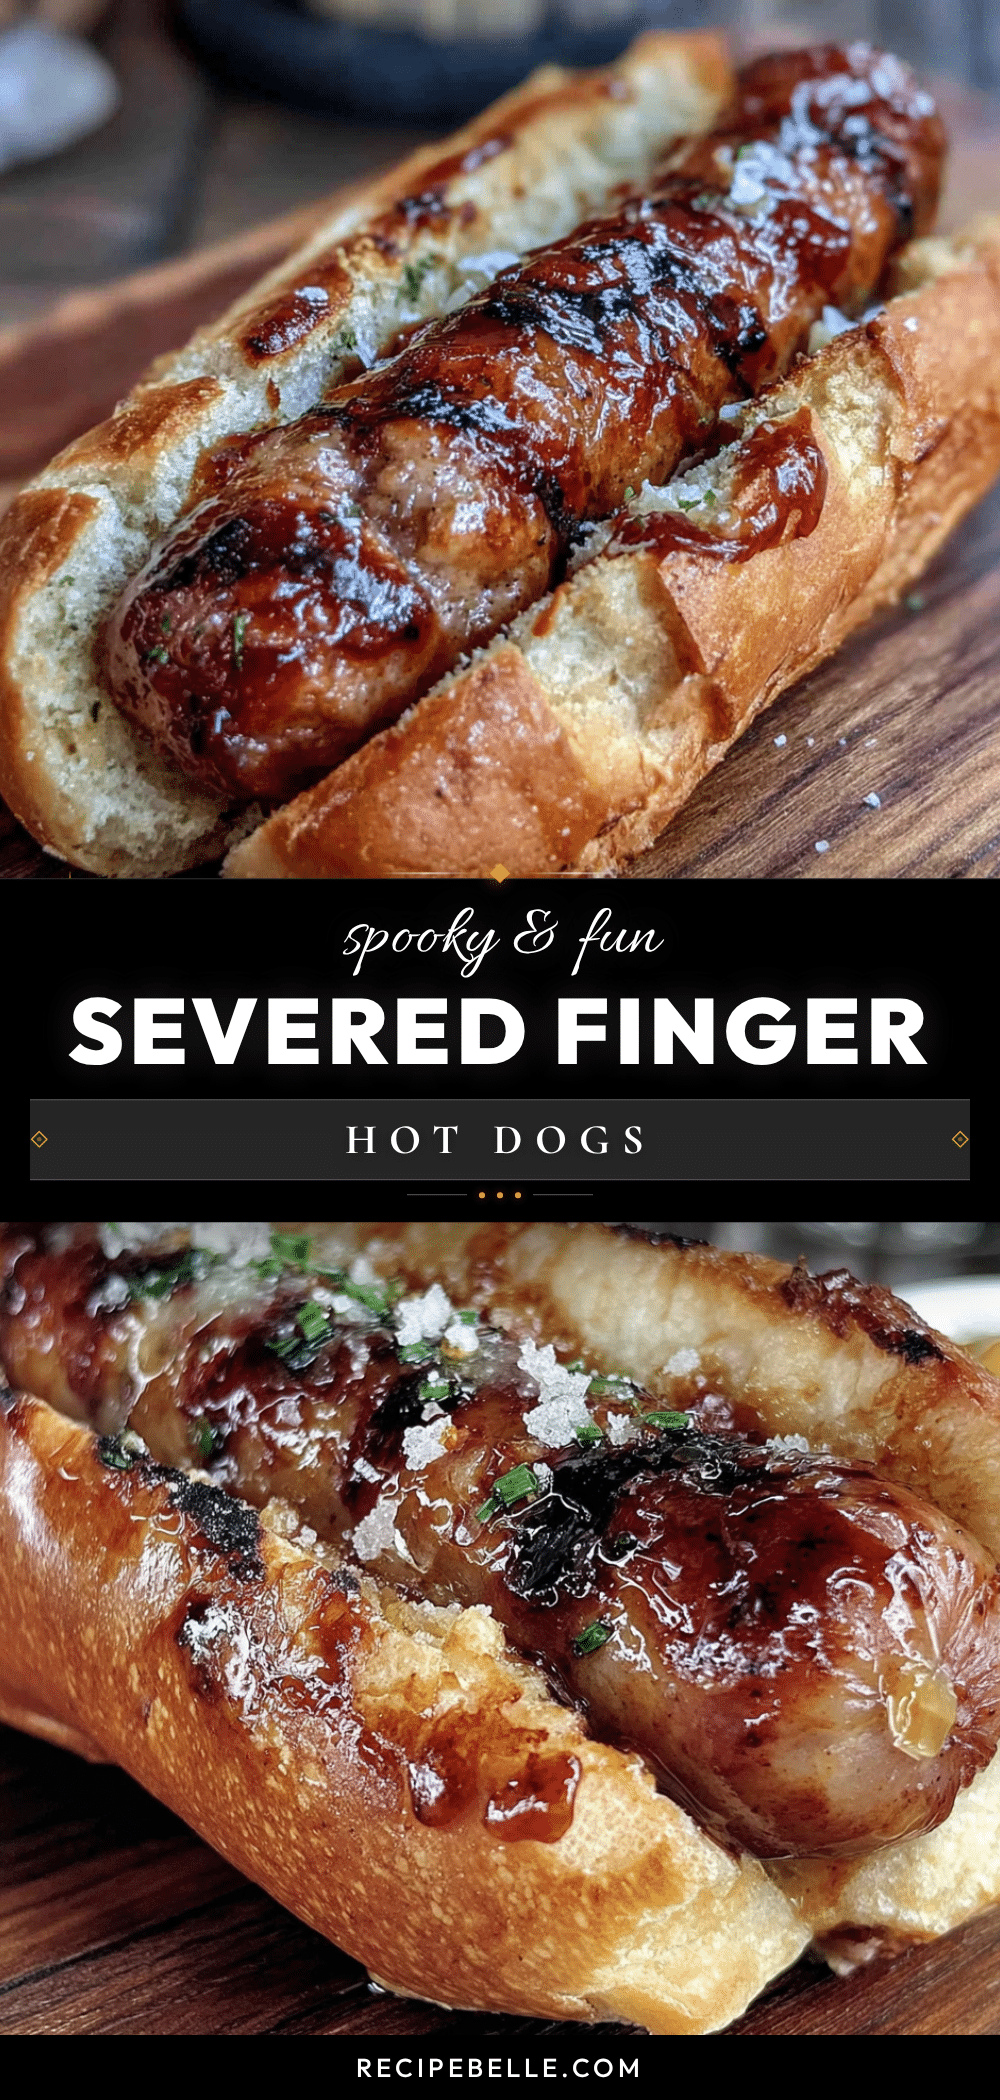
Spooky Severed Finger Hot Dogs: Easy Halloween Recipe
These spooky severed finger hot dogs are a fun and easy Halloween snack that looks gross but tastes like classic comfort food. Made with simple ingredients like hot dogs, almonds, and ketchup, they’re perfect for parties and guaranteed to get laughs.
- Prep Time: 15 minutes
- Cook Time: 10 minutes
- Total Time: 25 minutes
- Yield: 8 servings 1x
- Category: Appetizer
- Cuisine: American
Ingredients
- 8 standard hot dogs (e.g., Nathan’s or Oscar Mayer)
- 8 hot dog buns (standard size)
- 16 whole almonds (blanched or raw)
- Ketchup (for ‘blood’ effect)
- Yellow mustard (optional, for ‘bruised’ effect)
- Sesame seeds (optional, for wart-like texture)
- BBQ sauce or sriracha (optional, for darker ‘blood’)
Instructions
- Prepare the almonds for the fingernails: Slice each whole almond lengthwise into 2-3 thin slivers, about 1/2 inch long and 1/4 inch wide. Set aside.
- Cut the hot dogs: Using a sharp paring knife, make a shallow cut about 1/3 of the way down from one end of a hot dog, going halfway through. Make another shallow cut about 1/2 inch below the first to create a knuckle. Repeat for 1-2 knuckles per hot dog.
- Create the ‘nail bed’: At the tip of each hot dog (the fingertip end), make a small, shallow slit about 1/4 inch deep to hold the almond sliver.
- Insert the fingernails: Gently press one almond sliver into the slit at the tip of each hot dog. If loose, use a tiny dab of ketchup to hold it in place.
- Cook the hot dogs: Bring a small saucepan of water to a boil. Carefully drop the prepared hot dogs into the boiling water and cook for 3-4 minutes until heated through and plump. Alternatively, pan-fry in a skillet over medium heat for 2-3 minutes per side for a charred look.
- Toast the buns: While hot dogs cook, split the hot dog buns and toast lightly in a toaster, under the broiler for 1 minute, or in a dry skillet.
- Assemble the fingers: Place each cooked hot dog into a toasted bun, with the almond fingernail end sticking out about 1/2 inch. Arrange on a serving platter with fingertips pointing in different directions.
- Add the ‘blood’: Squeeze a small amount of ketchup around the cut end of the hot dog (where it meets the bun) and along the knuckle cuts. Pool the ketchup slightly for a bloody effect.
- Optional gore effects: Add a small dab of yellow mustard to the cut ends for a ‘bruised’ look. Sprinkle sesame seeds on the bun for wart-like texture. Drizzle sriracha or BBQ sauce for darker blood.
- Serve immediately: These are best eaten warm, right after assembly.
Notes
Use standard hot dogs for best shape retention; avoid jumbo or artisan brands. Cut hot dogs when cold from the fridge for cleaner cuts. Make extra almond slivers as they may break. Don’t overboil hot dogs (3-4 minutes max). Serve immediately to prevent soggy buns. For nut allergies, use cucumber skin or carrot slivers instead of almonds.
Nutrition
- Serving Size: 1 finger with bun an
- Calories: 300
- Sugar: 6
- Sodium: 800
- Fat: 17
- Saturated Fat: 6
- Carbohydrates: 26
- Fiber: 1
- Protein: 11
Keywords: Halloween, hot dogs, spooky, finger food, party snack, easy, kid-friendly, gory, severed fingers



