There used to be a little Italian joint tucked into a strip mall on the edge of town that made the most incredible chicken parmesan I have ever eaten. When they closed—suddenly, with a handwritten sign taped to the door—I honestly felt a little lost. That golden, crunchy crust with the melty cheese and tangy marinara was my go-to comfort meal after rough days. After twelve tries—some burnt, some soggy, one that I swear could have doubled as a hockey puck—I finally got it. This crispy baked parmesan crusted chicken breast recipe is the exact recreation of that memory, and let me tell you, it was worth every single failed attempt.
I remember standing in my kitchen at 9 p.m. on a Tuesday, covered in breadcrumbs and questioning my life choices, when my neighbor knocked on the door to borrow an egg. She took one look at my disaster zone and just laughed. “You’re still chasing that chicken from Luigi’s, aren’t you?” she said. That night, I almost gave up. But the next morning, with fresh eyes and a new approach—panko instead of regular breadcrumbs, a quick buttermilk soak—everything clicked. The crust was shatteringly crisp, the chicken stayed juicy, and I actually teared up a little. It sounds dramatic, I know, but maybe you’ve been there—chasing a flavor from a place that no longer exists.
What makes this version so special is that it bakes instead of fries, which means less mess and more control over that perfect golden crust. No splattering oil, no hovering over a skillet. Just pure, crispy, cheesy chicken that tastes like it came straight from a restaurant kitchen. Honestly, I make this at least twice a month now, and it never gets old. The secret is in the technique—a little patience, the right cheese, and a hot oven. If you have been searching for that restaurant-quality crunch at home, this is the one. Let me show you how it’s done.
Why You’ll Love This Recipe
Let’s be real for a second—there are a million baked chicken recipes out there, and most of them end up dry and sad. This crispy baked parmesan crusted chicken breast is not one of those. I have tested this recipe more times than I care to count, tweaking the breading ratio, the oven temperature, and the cheese blend until it was absolutely perfect. Here is why this one stands out:
- Quick & Easy: From start to finish, this comes together in about 30 minutes. Perfect for those nights when you need dinner on the table fast but still want something that feels special.
- Simple Ingredients: No weird specialty items here. You probably have most of these in your pantry right now—chicken, breadcrumbs, Parmesan, a few spices. That is it.
- Perfect for Busy Weeknights: This is the kind of meal that saves your sanity on a Wednesday. Minimal prep, hands-off baking, and zero fuss.
- Crowd-Pleaser: I have served this to picky kids, skeptical in-laws, and foodie friends. Every single time, the plate comes back clean. It is universally loved.
- Unbelievably Crispy: Here is the thing—baked chicken can be boring. But this method gives you that shatteringly crunchy exterior without a drop of oil. It is science, and it works.
What makes this recipe different is the double-coating technique and the use of finely grated Parmesan that melts into the breading, creating a crust that is almost cheesy-crunchy in the best way. I have tried shortcuts—skipping the egg wash, using pre-shredded cheese—and they just do not deliver the same result. Trust me on this one: the extra two minutes it takes to grate your own Parmesan is absolutely worth it. This recipe is comfort food reimagined—healthier, faster, but with the same soul-soothing satisfaction that makes you close your eyes after the first bite.
What Ingredients You Will Need
This recipe uses simple, wholesome ingredients to deliver that bold flavor and satisfying crunch without the fuss. Here is everything you need, along with a few notes from my own kitchen trials.
For the Chicken
- 2 large boneless, skinless chicken breasts (about 1.5 pounds total) – Look for breasts that are similar in size so they cook evenly. If they are huge, butterfly them in half horizontally.
- 1/2 cup buttermilk (or 1/2 cup milk mixed with 1/2 tablespoon lemon juice, let sit 5 minutes) – This tenderizes the chicken and helps the breading stick. I use full-fat buttermilk for best results.
- 1 large egg – Room temperature works best for even coating.
- 1 teaspoon Dijon mustard – Adds a subtle tang and helps the breading adhere. You can skip it, but it really does make a difference.
- 1/2 teaspoon salt – I use fine sea salt here.
- 1/4 teaspoon black pepper – Freshly ground, please.
For the Breading
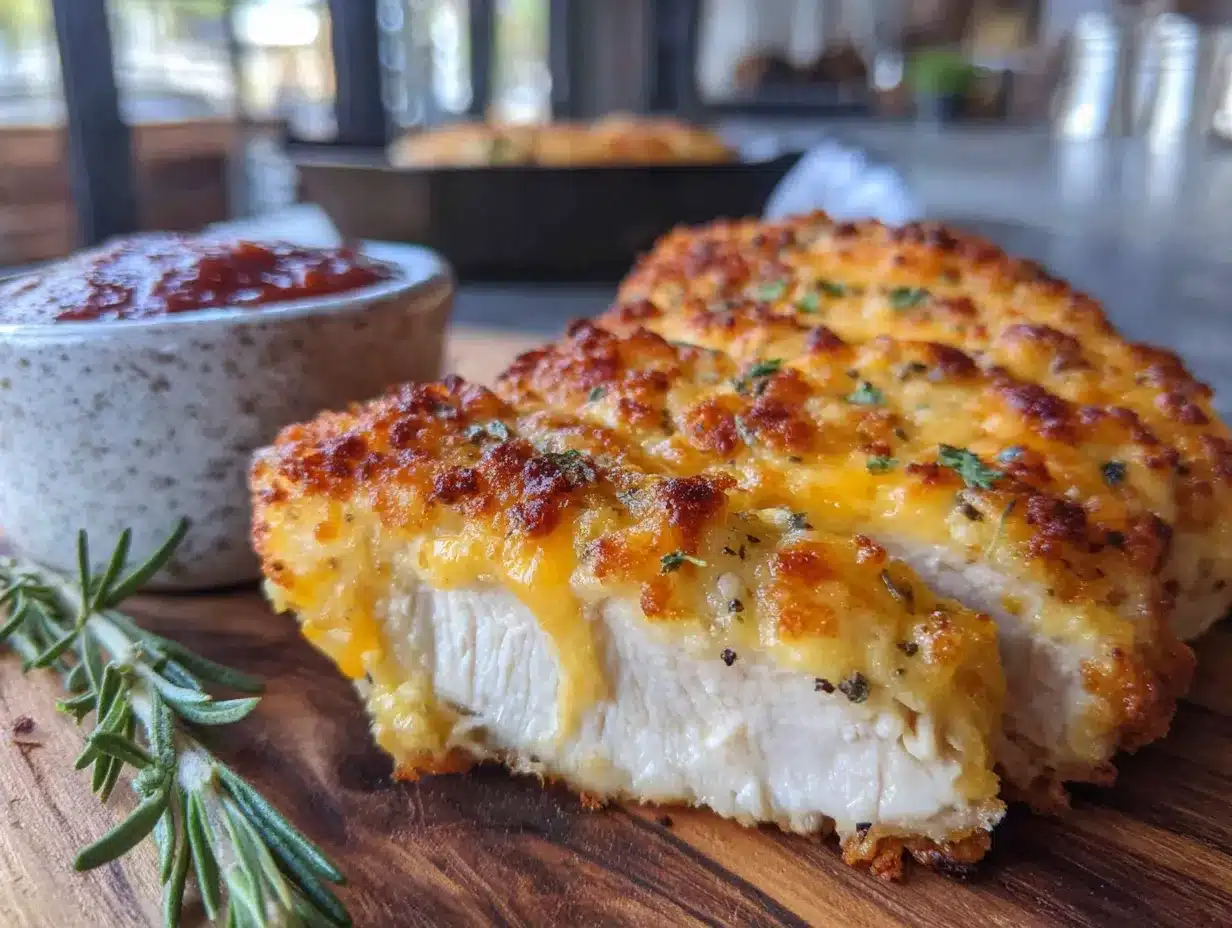
- 1 cup panko breadcrumbs – This is non-negotiable for maximum crunch. Regular breadcrumbs will not give you the same texture. I prefer the Kikkoman brand, but any panko works.
- 1/2 cup finely grated Parmesan cheese – Buy a block and grate it yourself. The pre-shredded stuff has anti-caking agents that prevent it from melting properly into the crust. I use Parmigiano-Reggiano when I am feeling fancy.
- 1 teaspoon garlic powder – Not garlic salt. We are controlling the salt separately.
- 1 teaspoon onion powder – Adds depth without being overpowering.
- 1 teaspoon dried Italian seasoning – A blend of oregano, basil, and thyme works beautifully.
- 1/2 teaspoon paprika – Smoked paprika adds a lovely warmth, but regular works too.
- Pinch of cayenne pepper (optional) – Just a tiny bit for a subtle kick. My husband loves this addition.
For Finishing
- Olive oil cooking spray – This is the secret to getting that golden, crispy crust without frying. Avocado oil spray also works great.
- Fresh parsley, chopped (for garnish) – Optional, but it makes the dish look restaurant-ready.
- Lemon wedges (for serving) – A squeeze of fresh lemon brightens everything up.
If you are looking to swap ingredients, here are a few options I have tried: use almond flour mixed with Parmesan for a gluten-free version, or swap the buttermilk for dairy-free yogurt if you are avoiding dairy. The texture will be slightly different, but still delicious. For a lower-carb option, replace the panko with crushed pork rinds—trust me, it is surprisingly good.
Equipment Needed
You do not need a fancy kitchen to pull this off. Here is what you will need:
- Baking sheet – A rimmed baking sheet works best to catch any drips. I use a half-sheet pan (18×13 inches).
- Wire rack – This is the key to crispy chicken. Placing the chicken on a rack set inside the baking sheet allows air to circulate underneath, preventing the dreaded soggy bottom. If you do not have one, you can flip the chicken halfway through, but the rack is better.
- Three shallow bowls – For the breading station. I use pie plates or wide soup bowls.
- Tongs – For transferring the chicken without messing up the breading.
- Cheese grater – For grating that Parmesan block. A microplane works beautifully for fine grating.
- Meat mallet or rolling pin – For pounding the chicken to even thickness. This step is important for even cooking.
- Plastic wrap – To cover the chicken while pounding (keeps the mess contained).
I have made this recipe without the wire rack before, and honestly, the texture just was not the same. The bottom got a little soft, and the crunch was uneven. If you make baked chicken often, investing in a good wire rack is a game-changer. They are cheap—like eight dollars at most kitchen stores—and they make a huge difference.
Preparation Method
Alright, let’s get cooking. Follow these steps closely, and you will have the crispiest, juiciest baked chicken of your life.
- Preheat your oven to 425°F (220°C). Place a wire rack on a rimmed baking sheet and spray it lightly with olive oil cooking spray. This prevents sticking and helps the bottom get crispy too.
- Prepare the chicken. Place each chicken breast between two sheets of plastic wrap. Using a meat mallet or rolling pin, pound them to an even thickness of about 1/2 inch (1.25 cm). This ensures they cook evenly and stay juicy. Do not skip this—uneven chicken means dry edges and undercooked centers.
- Set up your breading station. In the first shallow bowl, whisk together the buttermilk, egg, Dijon mustard, salt, and pepper until smooth. In the second bowl, combine the panko breadcrumbs, grated Parmesan, garlic powder, onion powder, Italian seasoning, paprika, and cayenne (if using). Mix with a fork until everything is evenly distributed.
- Coat the chicken. Working with one piece at a time, dip the chicken into the buttermilk mixture, letting any excess drip off. Then transfer it to the breadcrumb mixture. Press the breadcrumbs firmly onto both sides—do not be shy here. I use my hands to really pack it on. The more you press, the better the crust.
- Place on the rack. Transfer the breaded chicken to the prepared wire rack. Repeat with the remaining pieces. Make sure they are not touching each other—leave a little space so the heat can circulate.
- Spray with oil. This is crucial. Lightly spray the tops of the chicken with olive oil cooking spray. This helps the breading brown and crisp up in the oven. Do not drown it—just a light, even mist.
- Bake for 15-18 minutes. Place the baking sheet on the middle rack of your preheated oven. Bake until the chicken is golden brown and reaches an internal temperature of 165°F (74°C). I always use an instant-read thermometer to be sure—it is the only way to guarantee perfectly cooked chicken. At the 10-minute mark, check on it. If it is browning too quickly, tent loosely with foil.
- Optional broil for extra crunch. If you want that extra-crispy top, switch the oven to broil for the last 1-2 minutes. Watch it closely—it can go from golden to burnt in seconds. I have learned this the hard way more than once.
- Rest before serving. Let the chicken rest on the rack for 3-5 minutes after baking. This allows the juices to redistribute, keeping the meat tender. Cutting into it too soon will release all those precious juices.
- Garnish and serve. Sprinkle with fresh parsley and serve with lemon wedges on the side. The brightness of the lemon really cuts through the richness of the Parmesan crust.
Cooking Tips & Techniques
After making this crispy baked parmesan crusted chicken breast more times than I can count, I have picked up a few tricks that make all the difference. Here are the ones I swear by:
Pound it even. This is the number one mistake I see home cooks make. If your chicken is uneven, the thin parts will dry out while the thick parts are still undercooked. Pounding to an even thickness solves this instantly. I aim for about 1/2 inch thick—thin enough to cook quickly, thick enough to stay juicy.
Do not skip the buttermilk soak. Even 10 minutes makes a difference. The acidity in the buttermilk tenderizes the chicken and helps the breading stick like glue. I once tried to skip this step when I was out of buttermilk, and the breading slid right off in the oven. Never again.
Use a wire rack. I know I keep saying this, but it really is the secret to crispy baked chicken. Without it, the bottom of the chicken sits in its own juices and gets soggy. The rack lets air circulate underneath, giving you crunch all around. If you do not have one, flip the chicken halfway through baking, but the rack is better.
Grate your own Parmesan. The pre-grated stuff in the green can has cellulose and anti-caking agents that prevent it from melting properly. Freshly grated Parmesan melts into the breading, creating that cheesy, crunchy crust. I use a microplane for the finest texture.
Spray, do not brush. Using a cooking spray gives you an even, light coating of oil. Brushing with a pastry brush tends to disturb the breading and create bald spots. A few quick sprays and you are golden—literally.
Let it rest. I know it is tempting to cut into that beautiful chicken right away, but patience pays off. Resting allows the juices to settle, so every bite is moist and flavorful. Three minutes is all it takes.
Variations & Adaptations
One of the best things about this recipe is how adaptable it is. Here are some variations I have tried and loved:
Gluten-Free Version: Replace the panko breadcrumbs with crushed pork rinds or almond flour. I have used both, and the pork rind version is surprisingly close to the original—super crispy and flavorful. The almond flour version is a bit more delicate but still delicious.
Spicy Buffalo Style: Add 2 tablespoons of hot sauce to the buttermilk mixture and reduce the Dijon mustard to 1/2 teaspoon. Serve with blue cheese or ranch dressing on the side. This is my husband’s favorite variation—he puts it on everything.
Herb-Crusted Version: Add 2 tablespoons of fresh chopped herbs (parsley, thyme, rosemary) to the breadcrumb mixture. This gives the chicken a fresh, garden-like flavor that is perfect for spring and summer dinners.
Cheese Lover’s Twist: Mix in 1/4 cup of shredded mozzarella or provolone with the Parmesan in the breading. The cheese melts and creates little cheesy pockets in the crust. It is indulgent, but so worth it.
Lemon Garlic Version: Add the zest of one lemon and 2 minced garlic cloves to the buttermilk mixture. The lemon brightens everything up, and the garlic adds a savory depth that pairs beautifully with the Parmesan.
Air Fryer Adaptation: Preheat your air fryer to 400°F (200°C). Spray the basket with oil, place the breaded chicken in a single layer (work in batches if needed), and spray the tops. Cook for 10-12 minutes, flipping halfway through. The air fryer gives you an incredibly crispy crust in even less time.
Serving & Storage Suggestions
This crispy baked parmesan crusted chicken breast is incredibly versatile when it comes to serving. Here is how I like to enjoy it:
Serving Temperature: Serve it hot from the oven for the crispiest texture. Let it rest for 3-5 minutes, then slice and serve immediately. The crust stays crunchy for about 15-20 minutes, so time your sides accordingly.
What to Serve With It: I love pairing this chicken with a simple arugula salad tossed in lemon vinaigrette—the peppery greens and bright dressing cut through the richness. It is also fantastic alongside roasted vegetables like asparagus or broccoli, or over a bed of pasta with marinara sauce. For a low-carb option, serve it with cauliflower mash or a big green salad.
Storage: Leftover chicken can be stored in an airtight container in the refrigerator for up to 3 days. The crust will soften slightly, but it is still delicious. I do not recommend freezing this chicken, as the breading tends to get soggy upon thawing.
Reheating: The best way to reheat this chicken is in the oven or air fryer. Preheat to 375°F (190°C) and bake for 5-7 minutes, or until heated through and the crust crisps back up. The microwave will make it soggy—avoid it if you can. I have also reheated it in a skillet with a tiny bit of oil, flipping halfway through, and it worked beautifully.
Make-Ahead Tip: You can bread the chicken up to 4 hours in advance and keep it on the wire rack in the refrigerator, uncovered. This actually helps the breading dry out slightly, which leads to an even crispier crust. Just add a couple of minutes to the baking time if starting from cold.
Nutritional Information & Benefits
Here is the approximate nutritional breakdown for one serving (half of a large chicken breast, using the recipe as written):
| Nutrient | Amount |
|---|---|
| Calories | 385 |
| Protein | 42g |
| Carbohydrates | 18g |
| Fat | 16g |
| Saturated Fat | 6g |
| Fiber | 1g |
| Sodium | 720mg |
This recipe is a great source of lean protein, thanks to the chicken breast, and the Parmesan adds a good dose of calcium. The buttermilk provides probiotics that are beneficial for gut health. By baking instead of frying, you save a significant amount of fat and calories without sacrificing flavor or texture. It is naturally low-carb and can be made gluten-free with simple substitutions. If you are watching your sodium intake, use low-sodium Parmesan and skip the added salt in the breading—the cheese provides plenty of saltiness on its own.
Conclusion
This crispy baked parmesan crusted chicken breast is more than just a recipe—it is a little piece of culinary nostalgia that I am so happy to share with you. After all those failed attempts and late-night kitchen experiments, I can honestly say this version is everything I was chasing. It is crunchy, cheesy, juicy, and comes together in just 30 minutes. Whether you are recreating a memory of your own or just looking for a reliable weeknight dinner that feels special, this one delivers every single time.
I would love to hear how this turns out for you. Did you try any of the variations? Did you add your own twist? Drop a comment below and let me know—I read every single one and I love seeing your kitchen wins. And if you make this for someone you love, even better. That is what cooking is all about, right? Sharing a little bit of joy, one crispy bite at a time. Happy cooking, friend!
Frequently Asked Questions
Can I use chicken thighs instead of chicken breasts?
Absolutely! Chicken thighs work great with this recipe. They are a bit more forgiving and stay juicy even if you overcook them slightly. Just adjust the baking time—thighs may need 18-22 minutes depending on their size. Make sure they reach an internal temperature of 165°F (74°C).
Why did my breading fall off in the oven?
This usually happens for one of three reasons: the chicken was too wet when you added the breading, you did not press the breading firmly enough, or you skipped the buttermilk soak. Make sure to let the excess buttermilk drip off, and really press that breading into the chicken. The buttermilk step is crucial—it acts like glue for the breading.
Can I make this recipe dairy-free?
Yes! Use dairy-free buttermilk (almond milk mixed with lemon juice) and replace the Parmesan with a dairy-free alternative or nutritional yeast. The texture will be slightly different, but it is still delicious. I have used Kite Hill brand dairy-free Parmesan with good results.
How do I know when the chicken is fully cooked?
The most reliable way is to use an instant-read thermometer. Insert it into the thickest part of the chicken breast—it should read 165°F (74°C). If you do not have a thermometer, cut into the thickest part and check that the juices run clear and there is no pink remaining. But honestly, a thermometer is a game-changer for perfectly cooked chicken every time.
Can I prep this ahead of time for meal prep?
You can bread the chicken up to 4 hours in advance and keep it uncovered on the wire rack in the fridge. Bake it fresh when you are ready to eat. For meal prep, I recommend baking the chicken and storing it in the fridge for up to 3 days. Reheat in the oven or air fryer to restore the crunch. The crust will soften a bit, but it is still really good.
Pin This Recipe!
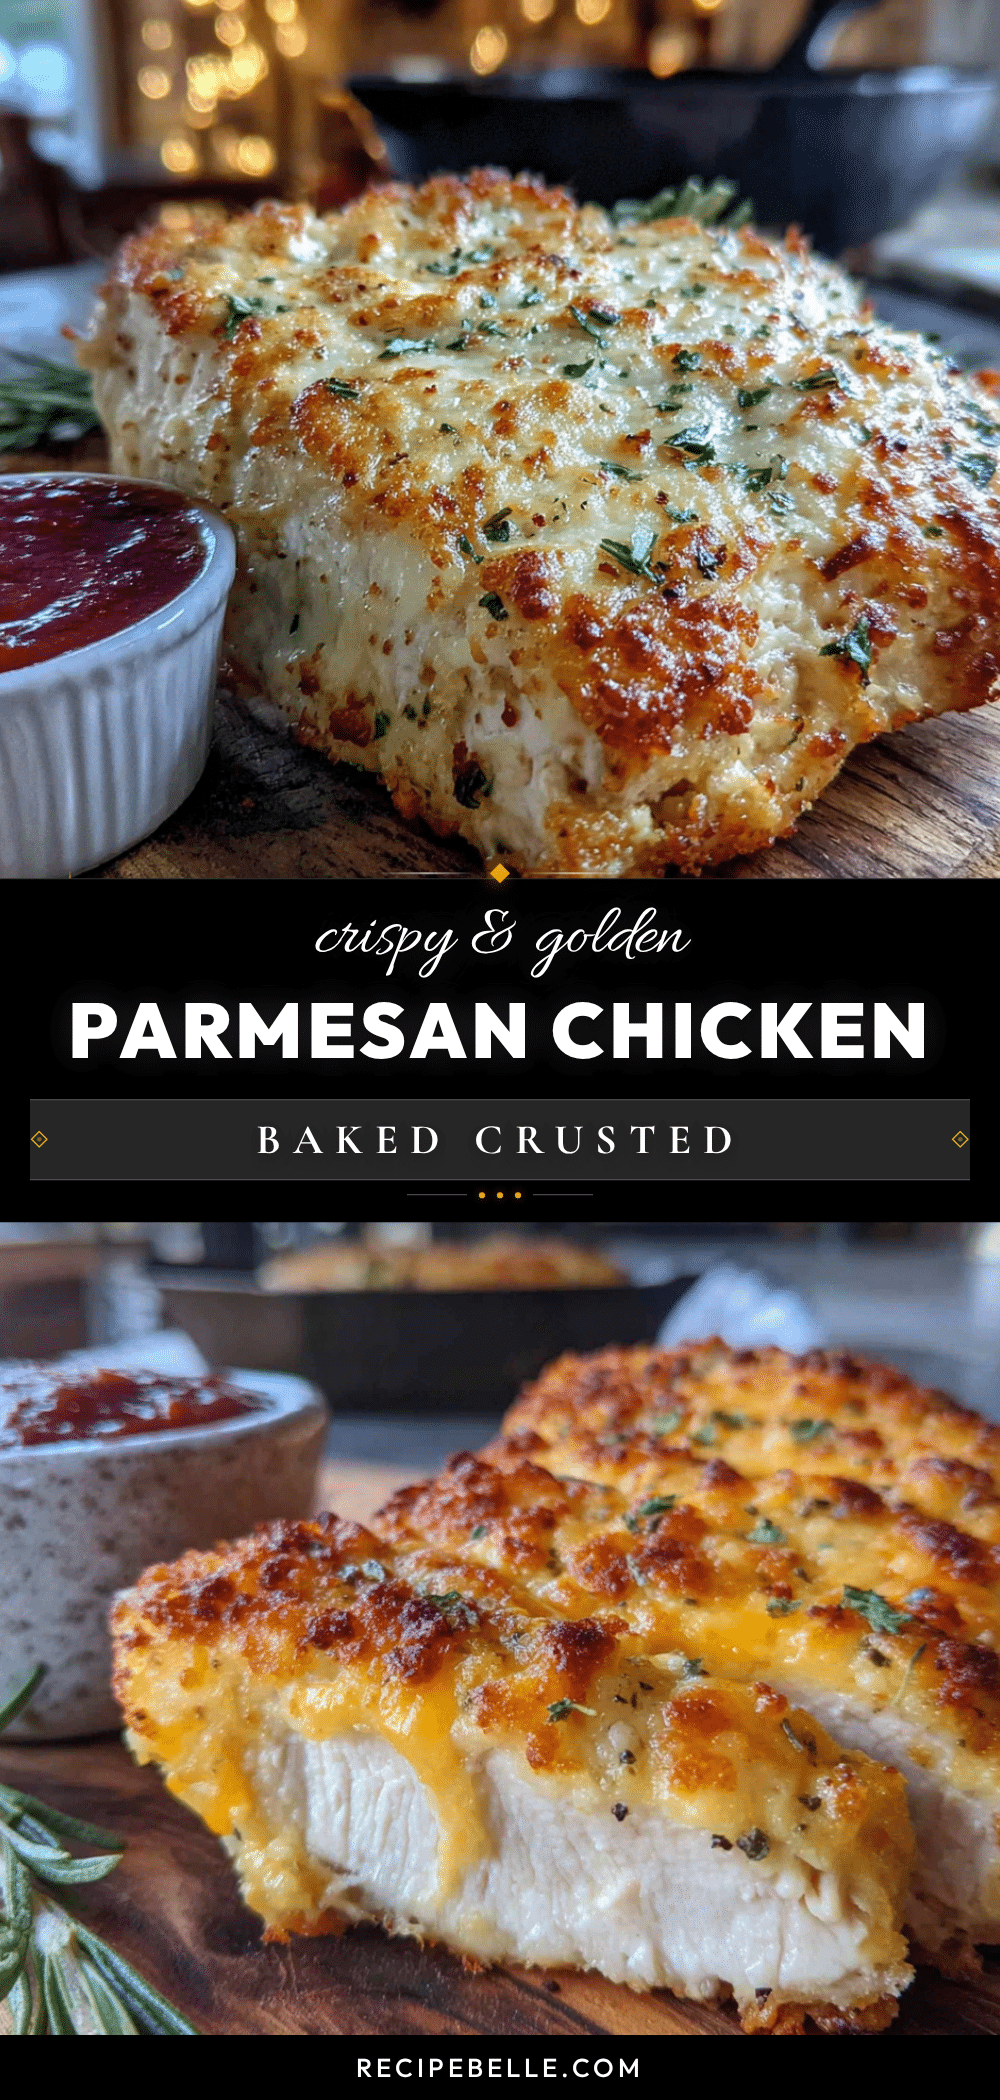
Crispy Baked Parmesan Crusted Chicken: Best 30-Minute Recipe

This crispy baked parmesan crusted chicken breast is a quick and easy 30-minute recipe that delivers a shatteringly crunchy crust and juicy chicken without frying. Perfect for busy weeknights, it uses simple ingredients and a double-coating technique for restaurant-quality results.
- Prep Time: 10 minutes
- Cook Time: 18 minutes
- Total Time: 28 minutes
- Yield: 4 servings 1x
- Category: Main Course
- Cuisine: Italian-American
Ingredients
- 2 large boneless, skinless chicken breasts (about 1.5 pounds total)
- 1/2 cup buttermilk (or 1/2 cup milk mixed with 1/2 tablespoon lemon juice, let sit 5 minutes)
- 1 large egg
- 1 teaspoon Dijon mustard
- 1/2 teaspoon salt
- 1/4 teaspoon black pepper
- 1 cup panko breadcrumbs
- 1/2 cup finely grated Parmesan cheese
- 1 teaspoon garlic powder
- 1 teaspoon onion powder
- 1 teaspoon dried Italian seasoning
- 1/2 teaspoon paprika
- Pinch of cayenne pepper (optional)
- Olive oil cooking spray
- Fresh parsley, chopped (for garnish)
- Lemon wedges (for serving)
Instructions
- Preheat your oven to 425°F (220°C). Place a wire rack on a rimmed baking sheet and spray it lightly with olive oil cooking spray.
- Place each chicken breast between two sheets of plastic wrap. Using a meat mallet or rolling pin, pound them to an even thickness of about 1/2 inch (1.25 cm).
- In the first shallow bowl, whisk together the buttermilk, egg, Dijon mustard, salt, and pepper until smooth. In the second bowl, combine the panko breadcrumbs, grated Parmesan, garlic powder, onion powder, Italian seasoning, paprika, and cayenne (if using). Mix with a fork until evenly distributed.
- Working with one piece at a time, dip the chicken into the buttermilk mixture, letting any excess drip off. Then transfer it to the breadcrumb mixture. Press the breadcrumbs firmly onto both sides.
- Transfer the breaded chicken to the prepared wire rack. Repeat with the remaining pieces. Make sure they are not touching each other.
- Lightly spray the tops of the chicken with olive oil cooking spray.
- Bake for 15-18 minutes, until the chicken is golden brown and reaches an internal temperature of 165°F (74°C). At the 10-minute mark, check on it. If it is browning too quickly, tent loosely with foil.
- Optional: For extra crunch, switch the oven to broil for the last 1-2 minutes. Watch it closely.
- Let the chicken rest on the rack for 3-5 minutes after baking.
- Sprinkle with fresh parsley and serve with lemon wedges on the side.
Notes
Pound chicken to even thickness for even cooking. Use a wire rack for maximum crispiness. Grate your own Parmesan for best melting. Spray with oil, do not brush. Let chicken rest before serving.
Nutrition
- Serving Size: 1/2 large chicken br
- Calories: 385
- Sugar: 2
- Sodium: 720
- Fat: 16
- Saturated Fat: 6
- Carbohydrates: 18
- Fiber: 1
- Protein: 42
Keywords: crispy baked chicken, parmesan crusted chicken, 30-minute recipe, baked chicken breast, easy weeknight dinner



