My neighbor, Mrs. Kowalski, watched me wrestling a bag of frozen chicken wings into my shopping cart and didn’t say anything at first. Then she smiled and said, “You know, my grandson won’t eat a wing unless it’s crispy, and I finally figured out the trick.” She wasn’t trying to teach me a formal lesson or hand me a family heirloom recipe. She was just being a nice lady at the grocery store, sharing a little win she’d had. We stood there in the frozen foods aisle for a good ten minutes—me, holding that bag, and her, explaining how she’d given up on deep frying for good.
Honestly, I’d been on the hunt for a way to make chicken wings that my own kids would actually ask for seconds of, not just pick at. I’d tried baking them, but they always came out a little sad and soggy. I’d even attempted the traditional deep fry method once, and let me tell you, my kitchen smelled like a fast-food joint for three days. It wasn’t pretty. Mrs. Kowalski’s secret weapon? An air fryer and a simple coating that turns out perfectly golden and crunchy. She said her grandson calls them “the good wings,” and that was all the convincing I needed.
That conversation planted a seed. I went home, tweaked her method to make it even more family-friendly, and added a garlic parmesan kick that I knew my crew would love. The first batch I made vanished in about five minutes flat. My youngest, who usually claims he “doesn’t like chicken,” ate six. Six! I mean, maybe you’ve been there—that moment when you realize you’ve finally cracked the code to a dinner that makes everyone happy. These Easy Air Fryer Garlic Parmesan Chicken Wings are the result of that grocery store chat. They’re crispy, they’re flavorful, and they’ve become a regular on our table. I keep making them because they feel like a small victory, every single time.
Why You’ll Love This Recipe
Let’s be real—feeding a family on a budget with a side of picky eating is a challenge. These wings are my go-to answer for a weeknight dinner that feels like a treat without the guilt or the greasy mess. I’ve tested this recipe more times than I can count, tweaking the cook time and the seasoning until it was just right. It’s family-approved through and through, and I’m confident it will work for you, too.
- Quick & Easy: From fridge to table in under 30 minutes. No marinating overnight or standing over a hot stove. Perfect for those nights when you need dinner on the table, stat.
- Simple Ingredients: You probably already have garlic powder, parmesan, and paprika in your pantry. No fancy grocery store trips or hard-to-find spices here.
- Perfect for Family Dinners: Great for a casual weeknight meal, a game-day snack, or even a birthday party where the kids rule the menu.
- Crowd-Pleaser: My kids, my husband, and even my neighbor’s grandson all agree—these wings are a hit. The crispy texture and cheesy, garlicky flavor win over adults and kids alike.
- Unbelievably Delicious: The air fryer gives you that deep-fried crunch without the oil bath. The combination of salty parmesan and savory garlic is pure comfort food magic.
What sets this recipe apart is the technique. Instead of a wet batter that can get messy, we use a dry rub that sticks to the wings perfectly, creating a crust that crisps up beautifully in the air fryer. It’s not just another wing recipe—it’s the one that makes you close your eyes after the first bite. It’s comfort food reimagined: faster, healthier, but with the same soul-soothing satisfaction. Perfect for impressing your family without the stress, or turning a simple Tuesday into something memorable.
What Ingredients You Will Need
This recipe relies on a handful of everyday ingredients that work together to deliver big flavor and that irresistible crunch. Most of these are pantry staples, so you’re likely already set.
- Chicken Wings: 2 pounds (about 900g) of fresh or frozen (thawed) chicken wings. I usually buy a bag of party wings, which are already separated into drumettes and flats. If you buy whole wings, you’ll need to cut them at the joint yourself.
- Baking Powder: 1 tablespoon. This is the secret to crispy skin! It helps draw out moisture and creates a bubbly, crunchy texture. Do not use baking soda—it will leave a metallic taste. I prefer Rumford brand for its consistent results.
- Garlic Powder: 1 teaspoon. Not garlic salt, just pure garlic powder. It gives that savory punch without adding extra sodium.
- Onion Powder: ½ teaspoon. Adds a subtle sweetness and depth that rounds out the flavor.
- Paprika: 1 teaspoon. For a little color and a mild smoky note. Smoked paprika works beautifully here if you have it.
- Salt: ½ teaspoon. Use fine sea salt or table salt. Adjust to your taste, especially if you’re using salted butter later.
- Black Pepper: ¼ teaspoon. Freshly ground is always best.
- Unsalted Butter: 3 tablespoons (42g), melted. This is the base for our garlic parmesan coating. Using unsalted butter lets you control the salt level.
- Garlic: 4 cloves, minced. Fresh garlic makes a world of difference here. It’s more aromatic and less harsh than the jarred stuff.
- Grated Parmesan Cheese: ½ cup (50g). I recommend BelGioioso or Kraft grated parmesan in the green can for convenience, but freshly grated parmesan from a block will melt more smoothly. Avoid the pre-shredded stuff in bags, as it has anti-caking agents that prevent it from sticking well.
- Fresh Parsley: 2 tablespoons, chopped (optional, for garnish). It adds a pop of color and a fresh finish.
Substitution Guidance: If you’re watching your dairy intake, you can use a dairy-free butter alternative and a vegan parmesan-style sprinkle. For a gluten-free option, these wings are naturally gluten-free as written—just double-check your baking powder label to ensure it’s gluten-free.
Equipment Needed
You don’t need a professional kitchen to make these wings. Here’s what you’ll need:
- Air Fryer: A 5.8-quart basket-style air fryer works best for a 2-pound batch. If yours is smaller, you may need to cook in batches to avoid overcrowding.
- Mixing Bowls: One large bowl for tossing the wings with the dry rub, and one small bowl for the butter and garlic mixture.
- Paper Towels: Essential for patting the wings dry. This is a step you don’t want to skip.
- Tongs: For flipping the wings halfway through cooking without burning your fingers.
- Pastry Brush or Spoon: To drizzle the garlic butter over the wings after they’re cooked.
- Cutting Board and Knife: If you’re separating whole wings or mincing fresh garlic.
Budget-Friendly Tip: If you don’t own an air fryer yet, you can achieve similar results using a wire rack set inside a baking sheet and baking at 425°F (220°C) for 45-50 minutes, flipping halfway. The texture won’t be quite as crispy, but it’s a solid backup plan.
Preparation Method
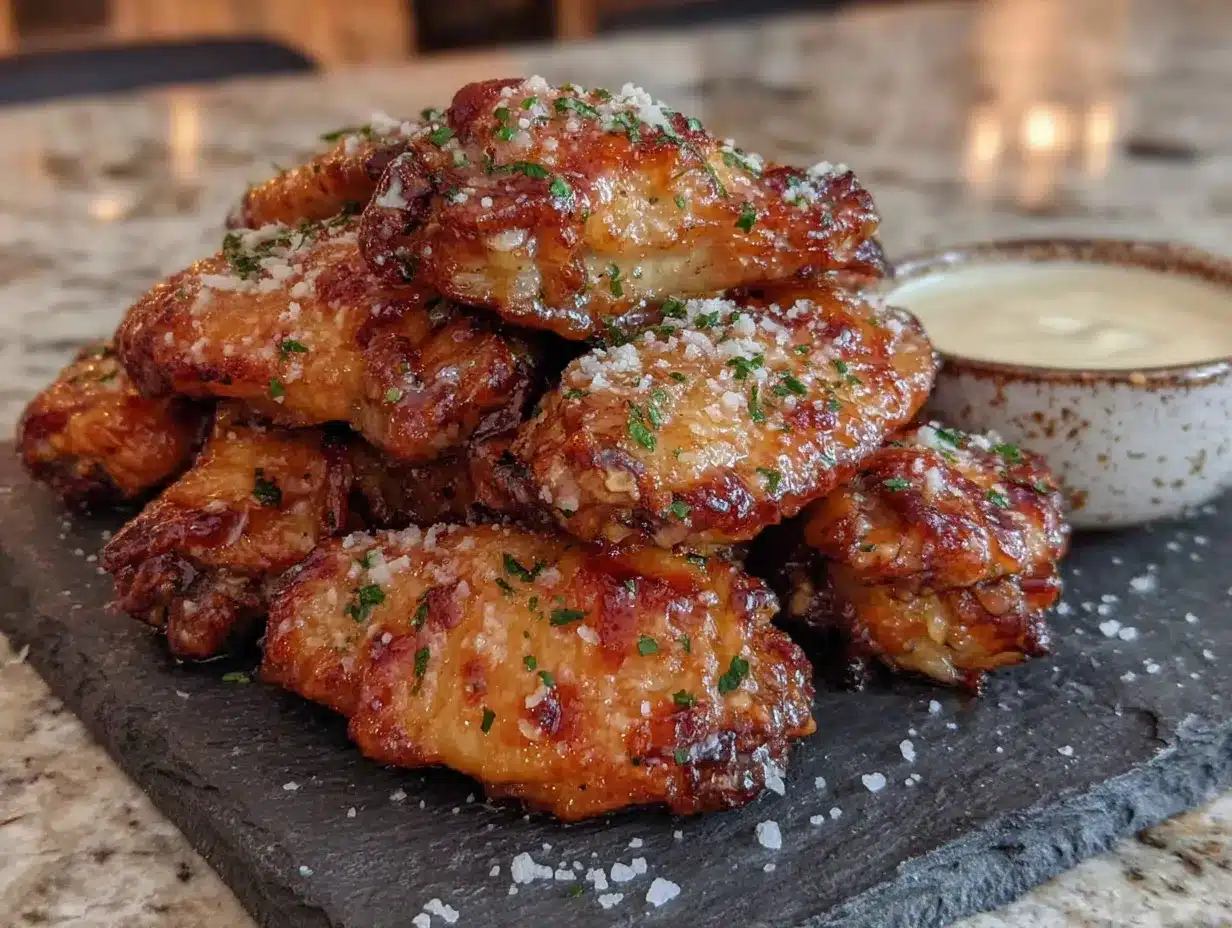
Follow these steps carefully, and you’ll have a batch of wings that disappear fast.
- Prep the Wings: Start by patting the chicken wings completely dry with paper towels. This is the most important step for crispy skin. If they’re wet, the coating won’t stick, and the skin will steam instead of crisp. Place the dried wings in a large mixing bowl.
- Make the Dry Rub: In a small bowl, whisk together the baking powder, garlic powder, onion powder, paprika, salt, and black pepper. Make sure there are no lumps.
- Coat the Wings: Sprinkle the dry rub over the wings in the large bowl. Toss everything together with your hands or a spatula until every wing is evenly coated. You should see a light, powdery layer on each piece. Let them sit for 5 minutes at room temperature. This helps the coating adhere.
- Preheat the Air Fryer: Set your air fryer to 380°F (190°C) and let it preheat for 3 minutes. This ensures the wings start cooking immediately, locking in that crunch.
- Arrange the Wings: Place the wings in the air fryer basket in a single layer. Do not overcrowd. If you have a smaller basket, work in batches. Overcrowding will trap steam and make them soggy.
- First Cook: Cook at 380°F (190°C) for 12 minutes. The wings will start to turn golden and the skin will begin to bubble.
- Flip and Increase Heat: Using tongs, carefully flip each wing over. Increase the temperature to 400°F (200°C) and cook for another 8-10 minutes. The higher heat at the end gives that extra-crispy finish. The wings should be deeply golden and the skin should look bubbly and firm.
- Make the Garlic Butter: While the wings are cooking, melt the unsalted butter in a small saucepan over low heat. Add the minced garlic and cook for 30 seconds until fragrant, stirring constantly. Do not let the garlic brown, or it will turn bitter. Remove from heat.
- Final Toss: In a clean, large bowl, combine the cooked wings with the garlic butter. Toss gently to coat. Then, sprinkle the grated parmesan cheese over the top and toss again until the cheese sticks to the buttered wings. The heat from the wings will help the parmesan melt slightly and cling to the skin.
- Garnish and Serve: Transfer the wings to a serving platter. Sprinkle with fresh chopped parsley for a pop of color and a fresh counterpoint to the rich garlic butter. Serve immediately.
Troubleshooting Tip: If your wings aren’t as crispy as you’d like, it’s usually because they weren’t dried well enough or the basket was too full. Next time, pat them extra dry and cook in smaller batches.
Cooking Tips & Techniques
Over the years, I’ve learned a few tricks that make these wings consistently perfect. Here’s what I wish I’d known from the start.
- Dry Them Well: I cannot stress this enough. Moisture is the enemy of crispiness. Pat each wing dry individually with a paper towel. If you’re in a hurry, you can let them sit uncovered in the fridge for 30 minutes to air-dry.
- Don’t Skip the Baking Powder: This is not a typo. Baking powder (not soda) raises the pH of the skin, which helps it brown faster and become extra crispy. It’s the same trick used for famous oven-fried chicken recipes.
- Work in Batches: If you cram the basket full, the air can’t circulate properly. You’ll end up with steamed wings instead of crispy ones. It’s better to take a little extra time than to have a disappointing result.
- Watch the Garlic: When making the garlic butter, keep a close eye on the pan. Minced garlic burns in seconds. As soon as you smell that nutty, fragrant aroma, pull it off the heat.
- Cheese at the End: Add the parmesan after the wings are cooked, not before. If you add it during cooking, it will burn and turn bitter in the air fryer. Tossing it in the warm garlic butter helps it stick beautifully.
- Multitasking Strategy: While the wings are in the air fryer, prep your garlic butter and chop the parsley. This way, everything is ready to go the second the timer goes off.
I once forgot to pat the wings dry and ended up with a sad, pale batch. My kids still ate them, but they asked, “Mom, what happened?” It was a humbling lesson. Now, I never skip that step.
Variations & Adaptations
One of the best things about this recipe is how easy it is to adapt. Here are a few ways I’ve changed it up depending on what we’re in the mood for.
- Spicy Buffalo Version: Add 1 teaspoon of cayenne pepper to the dry rub. After tossing in the garlic butter, add 2 tablespoons of your favorite hot sauce (like Frank’s RedHot) and toss again. It gives a nice kick without being overwhelming for kids.
- Lemon Herb Twist: Replace the garlic powder with dried oregano and add the zest of one lemon to the dry rub. In the butter, use a tablespoon of fresh lemon juice along with the garlic. It’s bright, fresh, and perfect for spring.
- BBQ Style: Skip the garlic butter and parmesan. Instead, toss the cooked wings in ½ cup of your favorite barbecue sauce. Return them to the air fryer for 2 minutes at 400°F (200°C) to set the sauce. My husband loves this version for game day.
- Dairy-Free Adaptation: Use a plant-based butter (like Miyoko’s) and a dairy-free parmesan alternative. The texture holds up well, and the flavor is still fantastic.
- Oven Method: If you don’t have an air fryer, place the seasoned wings on a wire rack set over a baking sheet. Bake at 425°F (220°C) for 45-50 minutes, flipping halfway through. Brush with garlic butter and parmesan after baking.
I once made the lemon herb version for a family picnic, and my sister-in-law asked for the recipe three times. It’s amazing how a small switch can make the dish feel entirely new.
Serving & Storage Suggestions
These wings are best served hot and fresh, right out of the air fryer. The crispy skin is at its peak within the first 15 minutes.
- Serving Temperature: Serve immediately while the skin is still crunchy and the cheese is slightly melted. They cool down quickly, so have your plates ready.
- Presentation: Arrange the wings on a large platter. Sprinkle with extra parmesan and fresh parsley. Serve with celery sticks, carrot sticks, and a side of ranch or blue cheese dressing for dipping. It makes the plate look colorful and inviting.
- Complementary Dishes: These wings pair beautifully with a simple side salad, sweet potato fries, or a bowl of coleslaw. For a full meal, I’ll serve them with roasted potatoes and a veggie.
- Storage: Store leftovers in an airtight container in the refrigerator for up to 3 days. The wings will soften as they sit, but the flavor remains delicious.
- Reheating: The best way to reheat them is back in the air fryer at 350°F (175°C) for 3-4 minutes. This helps restore some of the crispiness. Avoid the microwave, as it will make the skin rubbery.
- Freezing: You can freeze the cooked, un-sauced wings for up to 2 months. Place them in a single layer on a baking sheet, freeze until solid, then transfer to a freezer bag. To serve, reheat directly from frozen in the air fryer at 375°F (190°C) for 8-10 minutes, then toss with the garlic butter and parmesan.
Honestly, leftovers are rare in my house, but when they do happen, I chop the cold wings up and toss them into a salad for lunch the next day. The garlic parmesan flavor is fantastic over fresh greens.
Nutritional Information & Benefits
These wings are a treat, but they also offer some nutritional perks. Here’s a rough estimate per serving (about 4-5 wings, based on a 2-pound batch serving 4 people).
- Calories: Approximately 380-420 per serving
- Protein: 28-32g (great for keeping you full and satisfied)
- Fat: 26-30g (mostly from the skin and butter)
- Carbohydrates: 3-5g (naturally low-carb and keto-friendly)
- Fiber: 0g
- Sugar: 0g
Health Benefits: Chicken wings are a good source of protein, which is essential for muscle repair and growth. The garlic in this recipe contains allicin, a compound known for its immune-boosting properties. Parmesan cheese adds calcium and a savory punch without needing much salt.
Dietary Considerations: This recipe is naturally gluten-free and low-carb, making it suitable for keto and paleo diets (if using a compliant butter). It’s also nut-free and egg-free. The main allergens are dairy (butter and cheese) and, of course, chicken.
From my perspective, these wings are a balanced indulgence. They’re not an everyday meal, but they’re a fantastic option when you want something satisfying without derailing your healthy eating goals. The air fryer cuts down on oil significantly compared to deep frying, which is a win in my book.
Conclusion
These Easy Air Fryer Garlic Parmesan Chicken Wings have become a staple in my home for a reason. They’re the kind of recipe that feels special but fits perfectly into a busy weeknight. The crispy skin, the savory garlic butter, and the salty parmesan come together in a way that makes everyone at the table happy—from the pickiest kid to the most discerning adult.
I hope you give them a try and make them your own. Maybe you’ll add a little extra garlic, or a pinch of red pepper flakes for heat. That’s the beauty of a good base recipe—it’s a starting point for your own kitchen adventures. I’d love to hear how they turn out for you. Did your kids love them? Did you try a fun variation? Drop a comment below and let me know. And if you’re looking for another family-friendly meal, you might also enjoy my crispy garlic chicken or these air fryer sweet potato fries for a perfect side dish.
Thanks for stopping by, and happy cooking! Remember, the best recipes are the ones shared over a crowded table.
Frequently Asked Questions
Can I use frozen chicken wings without thawing them first?
It’s best to thaw them completely before starting. Frozen wings release a lot of water as they cook, which will prevent the skin from getting crispy. Thaw them in the refrigerator overnight, then pat them dry thoroughly.
Why are my wings not crispy in the air fryer?
The most common reasons are not patting the wings dry enough, overcrowding the basket, or not using baking powder. Make sure each wing is dry, cook in a single layer with space between pieces, and don’t skip the baking powder step.
Can I make these wings ahead of time for a party?
You can cook the wings fully, let them cool, and store them in the fridge. When you’re ready to serve, reheat them in the air fryer at 350°F for 3-4 minutes, then toss with the garlic butter and parmesan. They’ll taste freshly made.
How do I prevent the garlic from burning in the butter?
Cook the garlic over low heat and only for about 30 seconds, just until it becomes fragrant. Remove the pan from the heat immediately. If the garlic turns brown, it will taste bitter, so keep a close eye on it.
Can I use chicken thighs or drumsticks instead of wings?
Yes, you can use this same method for chicken drumsticks or boneless thighs. The cooking time will increase by about 5-8 minutes for drumsticks. Use a meat thermometer to ensure the internal temperature reaches 165°F (74°C) before serving.
Pin This Recipe!
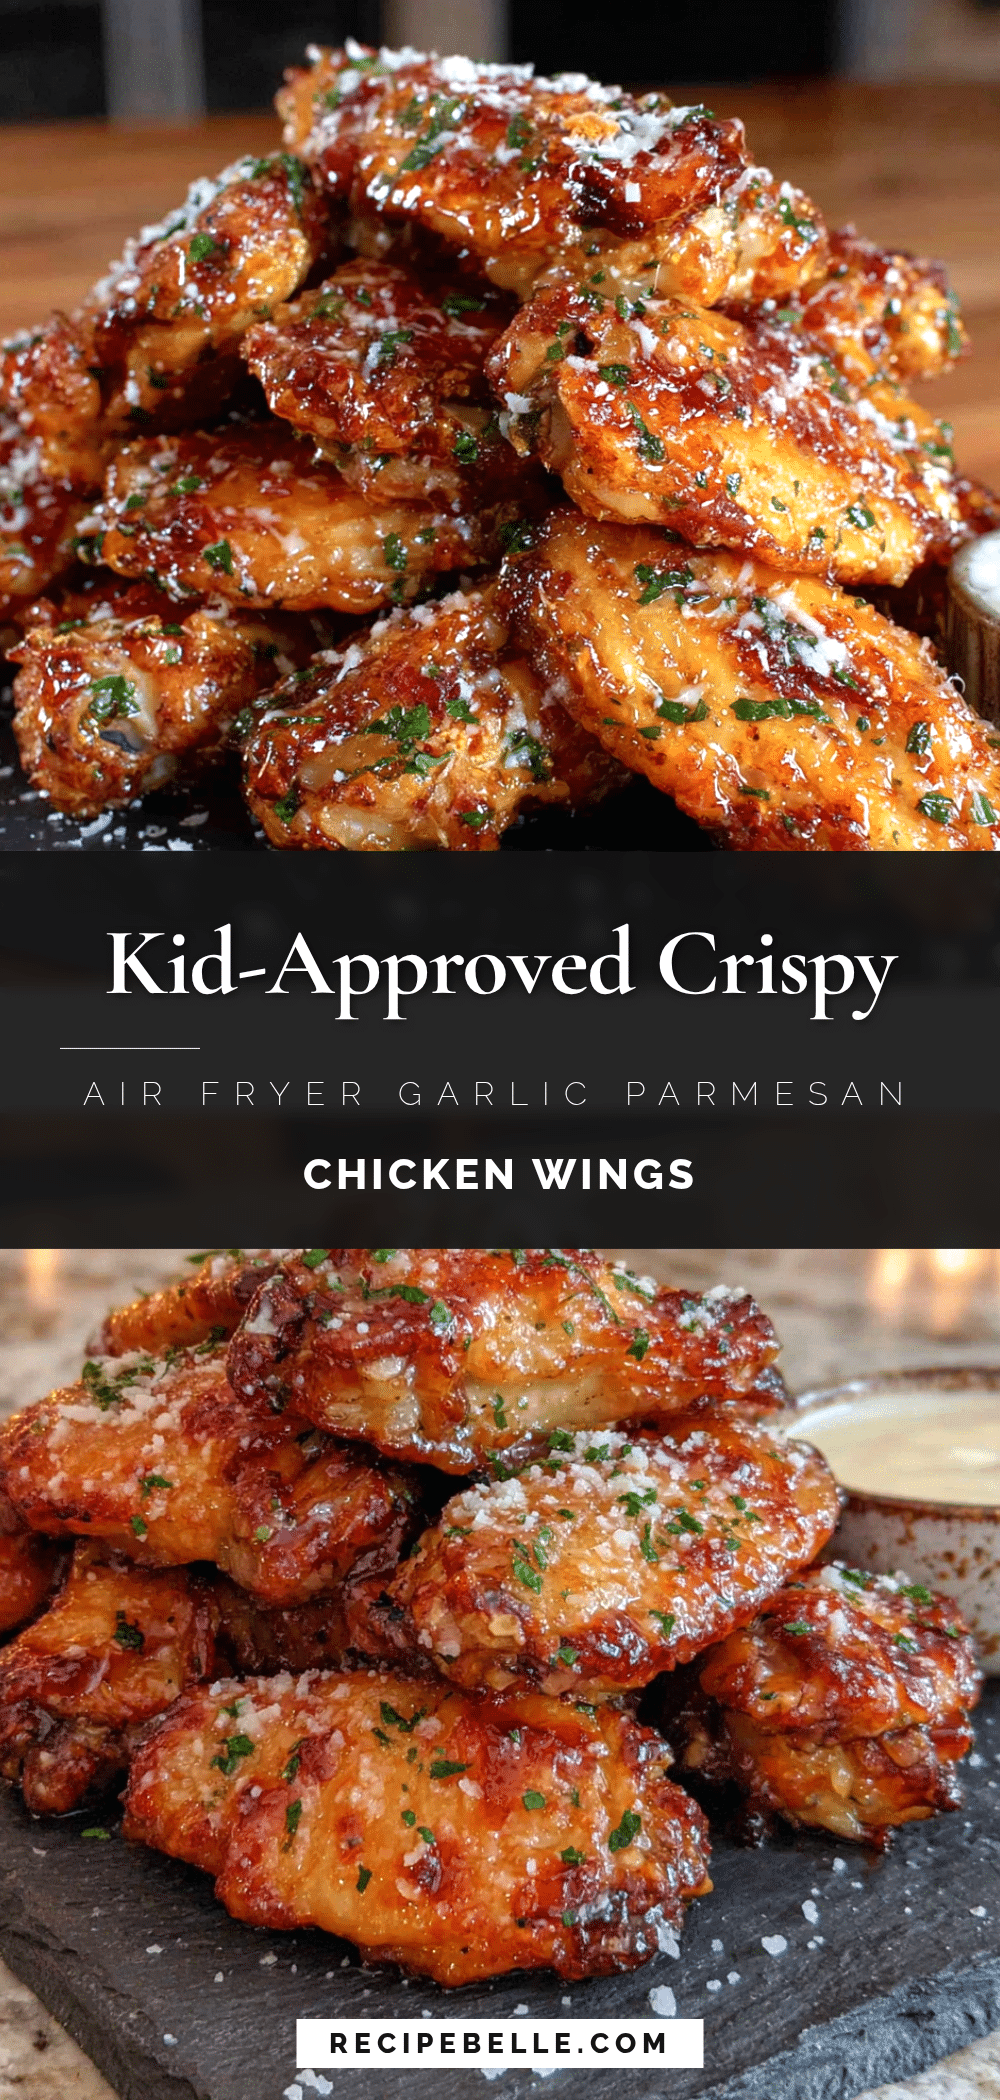
Easy Air Fryer Garlic Parmesan Chicken Wings

Crispy, flavorful chicken wings made in the air fryer with a garlic parmesan coating. Perfect for weeknight dinners or game-day snacks.
- Prep Time: 10 minutes
- Cook Time: 20 minutes
- Total Time: 30 minutes
- Yield: 4 servings 1x
- Category: Appetizer
- Cuisine: American
Ingredients
- 2 pounds (about 900g) chicken wings, fresh or thawed
- 1 tablespoon baking powder
- 1 teaspoon garlic powder
- ½ teaspoon onion powder
- 1 teaspoon paprika
- ½ teaspoon salt
- ¼ teaspoon black pepper
- 3 tablespoons unsalted butter, melted
- 4 cloves garlic, minced
- ½ cup (50g) grated Parmesan cheese
- 2 tablespoons fresh parsley, chopped (optional, for garnish)
Instructions
- Pat the chicken wings completely dry with paper towels. Place in a large mixing bowl.
- In a small bowl, whisk together baking powder, garlic powder, onion powder, paprika, salt, and black pepper.
- Sprinkle the dry rub over the wings and toss until evenly coated. Let sit for 5 minutes.
- Preheat the air fryer to 380°F (190°C) for 3 minutes.
- Arrange the wings in a single layer in the air fryer basket. Do not overcrowd.
- Cook at 380°F (190°C) for 12 minutes.
- Flip the wings and increase the temperature to 400°F (200°C). Cook for another 8-10 minutes until deeply golden and crispy.
- While wings cook, melt butter in a small saucepan over low heat. Add minced garlic and cook for 30 seconds until fragrant. Remove from heat.
- In a clean large bowl, toss the cooked wings with the garlic butter. Sprinkle with Parmesan cheese and toss again.
- Transfer to a serving platter, garnish with fresh parsley, and serve immediately.
Notes
Pat wings dry thoroughly for maximum crispiness. Do not skip the baking powder. Add Parmesan after cooking to prevent burning. For oven method, bake at 425°F (220°C) for 45-50 minutes on a wire rack.
Nutrition
- Serving Size: 4-5 wings
- Calories: 400
- Sodium: 600
- Fat: 28
- Saturated Fat: 12
- Carbohydrates: 4
- Protein: 30
Keywords: air fryer chicken wings, garlic parmesan wings, crispy chicken wings, easy chicken wings, game day snack



