My neighbor, a retired baker named Lorraine, watched me struggling with a batch of overly flat, sad-looking cookies one October afternoon. I was trying to impress my in-laws for a dinner party, and everything was going wrong. She didn’t say anything at first. Then, she just walked over to her garden fence, picked a few sprigs of sage, and handed them over. “For the turkey,” she said with a wink. “But for those cookies? You need patience and a little bit of heat.” She was talking about browning the butter, of course. That conversation, standing between our yards with a rogue rosemary bush between us, is why I now make these brown butter pumpkin snickerdoodle cookies every single fall. Honestly, they saved that dinner party. My father-in-law, a man of few words, actually asked for the recipe. Let me tell you, that never happens.
These aren’t your average snickerdoodle. The brown butter adds a nutty, toasty depth that dances perfectly with the warm pumpkin and cinnamon-sugar coating. They are soft, chewy, and have that signature crackly top that makes a cookie look like it came from a bakery. I’ve tweaked Lorraine’s original advice over the years, testing the perfect ratio of pumpkin to butter so you get flavor without a gummy texture. Maybe you’ve been there, staring at a can of pumpkin puree and wondering if it belongs in a cookie at all. Trust me, it does. This recipe is my tried-and-true version, and it’s the one I pull out for every fall gathering, potluck, and holiday cookie swap. It’s the kind of cookie that makes people close their eyes when they take a bite.
Why You’ll Love This Recipe
As someone who has baked hundreds of cookies for friends and family, I can tell you this recipe is a winner. It’s been tested at countless dinner parties and holiday gatherings. It never fails to get compliments, and it’s surprisingly simple to pull off, even when you’re juggling a dozen other dishes for a big meal.
- Perfect for Hosting: This recipe is designed for a crowd. It makes a generous batch, and the dough can be made a day ahead. That means less stress when your guests arrive.
- Impressive Flavor: The brown butter is the secret weapon. It adds a sophisticated, nutty flavor that feels special without requiring a culinary degree. It’s a guaranteed showstopper.
- Simple Ingredients: You probably have most of these in your pantry. No weird extracts or hard-to-find spices. Just good, honest ingredients that work together beautifully.
- Crowd-Pleaser: Kids love the cinnamon-sugar coating, and adults appreciate the warm, complex flavor. It’s a universal hit.
- Unbelievably Soft: The pumpkin keeps these cookies incredibly moist and tender. They stay soft for days, which is a miracle in the cookie world.
What makes this recipe different from the rest? It’s the technique. I spent a long time figuring out how to get the brown butter flavor without making the dough too greasy. The trick is to cool the brown butter completely before mixing. This simple step ensures a thick, scoopable dough that bakes up perfectly every time. This isn’t just another pumpkin cookie—it’s the one you’ll want to make for your next big gathering.
What Ingredients You Will Need
This recipe uses simple, wholesome ingredients to deliver that bold, nutty flavor and soft, chewy texture. Most of these are pantry staples, especially during the fall baking season.
- For the Brown Butter:
- 1 cup (2 sticks / 226g) unsalted butter (I prefer Kerrygold for its rich flavor, but any good quality butter works)
- For the Cookie Dough:
- 2 ½ cups (312g) all-purpose flour (spooned and leveled)
- 1 teaspoon baking soda
- 2 teaspoons cream of tartar (this gives snickerdoodles their signature tang)
- ½ teaspoon salt
- 1 ½ teaspoons ground cinnamon
- ½ teaspoon ground nutmeg (freshly grated is best, but pre-ground is fine)
- ¼ teaspoon ground ginger
- ¼ teaspoon ground cloves
- 1 cup (200g) packed light brown sugar
- ½ cup (100g) granulated sugar
- ¾ cup (175g) pumpkin puree (not pumpkin pie filling—make sure it’s 100% pure pumpkin)
- 1 large egg, at room temperature
- 2 teaspoons vanilla extract
- For the Cinnamon-Sugar Coating:
- ½ cup (100g) granulated sugar
- 2 tablespoons ground cinnamon
- Pinch of ground nutmeg (optional, but I love the extra warmth)
Ingredient Tips & Substitutions:
- Butter: You can use salted butter, but reduce the added salt in the dough to ¼ teaspoon. The browning process works best with unsalted butter so you can control the salt level.
- Pumpkin Puree: Don’t use the leftover pumpkin from a can that’s been sitting in the fridge for a week. Fresh, unopened pumpkin puree has the best texture. If you have leftover puree, you can freeze it for later.
- Spices: Feel free to use a pre-mixed pumpkin pie spice instead of the individual spices. Use about 2 ½ teaspoons of pumpkin pie spice in the dough.
- Flour: For a gluten-free option, use a 1:1 gluten-free baking flour blend that contains xanthan gum. I’ve had good luck with the King Arthur brand.
Equipment Needed
You don’t need a fancy kitchen to make these cookies. Here’s what you’ll need:
- Light-Colored Saucepan: A light-colored pan is key for browning butter. It lets you see the color change clearly, so you don’t burn it. I have a cheap stainless steel one that works perfectly.
- Large Mixing Bowls: You’ll need one for the dry ingredients and one for the wet ingredients.
- Electric Mixer: A hand mixer or a stand mixer with a paddle attachment works great. You can do it by hand, but it takes some elbow grease to get the butter and sugars light and fluffy.
- Baking Sheets: I recommend heavy-duty, rimmed baking sheets. They distribute heat evenly and prevent the bottoms of the cookies from burning.
- Parchment Paper or Silicone Baking Mats: These are non-negotiable for even baking and easy cleanup.
- Cookie Scoop: A 1.5-tablespoon cookie scoop makes uniform cookies that bake evenly. It’s a small investment that makes a big difference.
- Cooling Rack: Essential for cooling the cookies properly so they don’t get soggy on the bottom.
Budget-Friendly Tip: If you don’t have a light-colored saucepan, just watch your butter like a hawk. It will be harder to see the color change, so rely on the nutty aroma and the little brown specks that form at the bottom.
Preparation Method
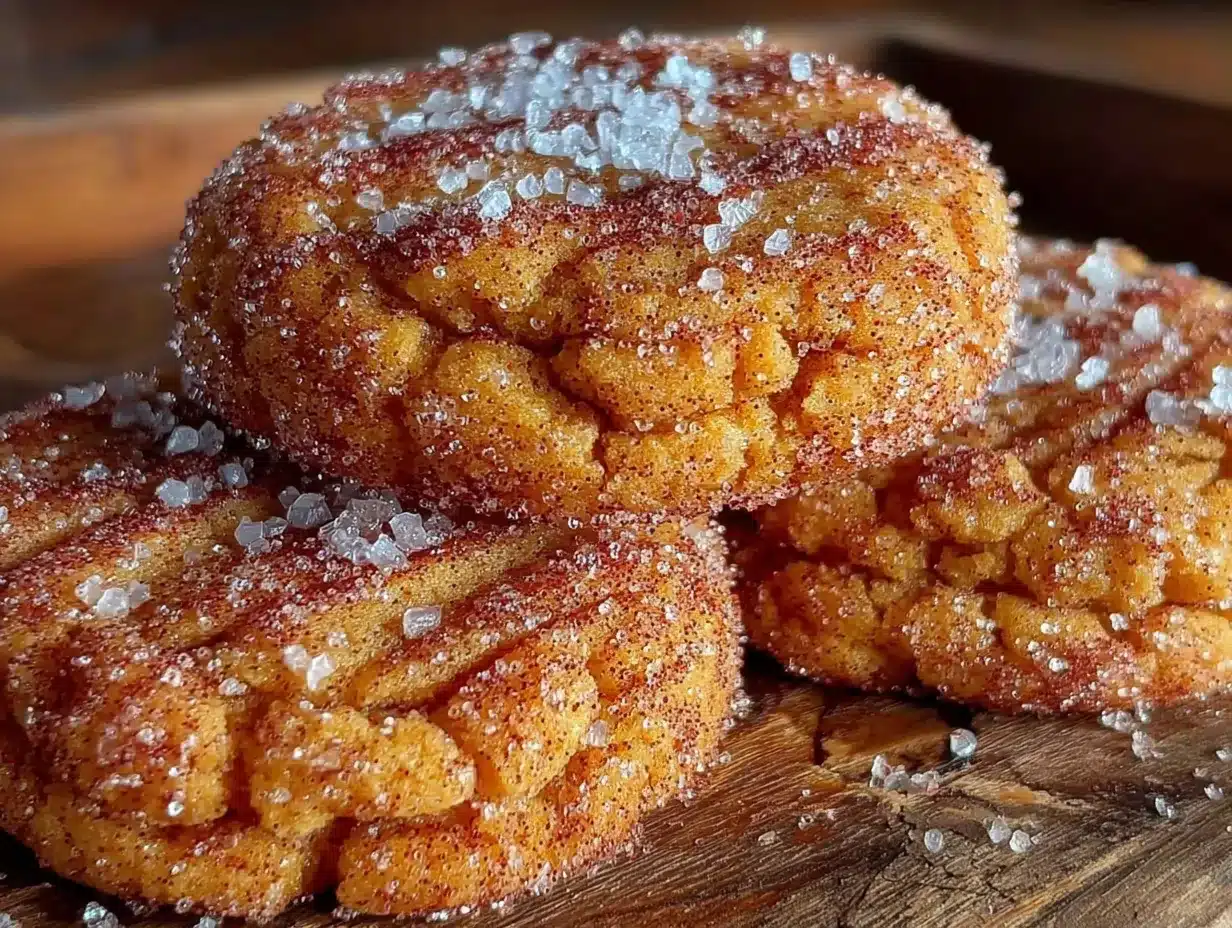
This is where the magic happens. Follow these steps carefully, and you’ll have perfect cookies every time.
- Brown the Butter: Place the butter in your light-colored saucepan over medium heat. Stir it constantly with a spatula or whisk. It will melt, then foam, then start to sizzle. Keep stirring. After about 5-7 minutes, you’ll see little brown specks forming at the bottom of the pan. The butter will smell nutty and amazing. Immediately remove it from the heat and pour it into a heat-safe bowl (like a glass measuring cup). Don’t leave it in the hot pan, or it will continue to cook and burn. Let it cool completely—about 20-30 minutes. It should be thick and opaque, not hot to the touch.
- Prep Your Dry Ingredients: In a medium bowl, whisk together the flour, baking soda, cream of tartar, salt, cinnamon, nutmeg, ginger, and cloves. Set aside.
- Mix the Wet Ingredients: In a large bowl using your electric mixer, beat the cooled brown butter with the brown sugar and granulated sugar on medium speed until it’s light and fluffy, about 2-3 minutes. It should look like a thick, sandy paste. Add the pumpkin puree, egg, and vanilla extract. Beat on low until just combined. The mixture might look a little curdled—that’s totally fine. Don’t overmix.
- Combine Wet and Dry: Gradually add the dry ingredients to the wet ingredients, mixing on low speed until just combined. You want to see a few streaks of flour remaining. Scrape down the sides of the bowl with a spatula and give it a few gentle folds to make sure everything is incorporated. Do not overmix, or the cookies will be tough.
- Chill the Dough (Crucial Step!): Cover the bowl with plastic wrap and refrigerate for at least 30 minutes. This is non-negotiable. Chilling the dough prevents the cookies from spreading too much in the oven and allows the flavors to meld. You can chill it for up to 3 days.
- Preheat and Prep: When you’re ready to bake, preheat your oven to 350°F (175°C). Line your baking sheets with parchment paper or silicone mats.
- Make the Coating: In a small bowl, whisk together the granulated sugar, cinnamon, and nutmeg for the coating.
- Scoop and Roll: Using your cookie scoop, scoop out rounded tablespoons of dough. Roll each scoop into a ball between your palms. Then, roll the ball generously in the cinnamon-sugar mixture. Place them on the prepared baking sheets, leaving about 2 inches of space between each cookie.
- Bake: Bake for 10-12 minutes. The edges should be set and lightly golden, but the centers will still look soft and slightly puffy. They will continue to set on the baking sheet. For a softer, chewier cookie, bake for 10 minutes. For a slightly crisper edge, go for 12 minutes.
- Cool: Let the cookies cool on the baking sheet for 5 minutes. This is important—they are fragile right out of the oven. After 5 minutes, transfer them to a wire rack to cool completely. The centers will sink slightly and develop that beautiful, crackly top.
Cooking Tips & Techniques
I’ve made a lot of mistakes in the kitchen, and I’m happy to share them so you don’t have to repeat them. Here are my best tips for these cookies.
Don’t Burn the Butter: The first time I tried to brown butter, I got distracted by a phone call and ended up with black, acrid butter. It was a total waste. The key is to stay by the stove and keep stirring. Once you see those brown specks and smell that nutty aroma, pull it off the heat immediately. It happens fast.
The Cream of Tartar is Key: This is what gives snickerdoodles their distinctive tangy flavor and chewy texture. Don’t skip it! If you don’t have it, you can substitute it with 1 teaspoon of lemon juice or white vinegar, but the texture will be slightly different.
Chill the Dough: I know it’s tempting to skip this step, especially when you’re in a rush for a party. But trust me, it makes a huge difference. Warm dough will spread into flat, sad pancakes. Chilled dough bakes up thick, soft, and perfect. I often make the dough the night before a party and bake them fresh the next day. It’s a huge time-saver.
Don’t Overbake: The biggest mistake home bakers make is overbaking cookies. They should look slightly underdone in the center when you pull them out of the oven. They will continue to bake on the hot baking sheet. If you wait until they are fully golden brown all over, they will be dry and hard.
Multitasking for Hosting: While the dough is chilling, you can prep your other dishes. Make the cinnamon-sugar coating, line your baking sheets, and set out your cooling rack. This way, when it’s time to bake, you can just scoop, roll, and go.
Variations & Adaptations
One of the best things about this recipe is how adaptable it is. You can change it up based on what you have or who you’re serving.
- Spice It Up: For a more intense flavor, add a pinch of cardamom or allspice to the dough. It pairs beautifully with the pumpkin and brown butter.
- Add Some Crunch: Fold in ½ cup of chopped pecans or walnuts to the dough before chilling. It adds a lovely crunch that contrasts with the soft cookie.
- Dairy-Free Version: Use a high-quality vegan butter stick (like Miyoko’s or Earth Balance) for the brown butter. The process works the same way. Make sure your pumpkin puree is also dairy-free.
- Gluten-Free Version: As mentioned, a good 1:1 gluten-free flour blend works perfectly. I’ve found that the dough might need an extra 5-10 minutes of chilling time to firm up.
- Pumpkin Spice Latte Twist: Add 1 tablespoon of instant espresso powder to the dry ingredients. It deepens the flavor and gives the cookies a subtle coffee kick that’s amazing with the pumpkin.
I once tried a version where I swapped half the pumpkin puree for mashed sweet potato. It was a happy accident—I was out of pumpkin. It worked surprisingly well, giving the cookies a slightly earthier, sweeter flavor. Don’t be afraid to experiment!
Serving & Storage Suggestions
These cookies are best served slightly warm, when the cinnamon-sugar coating is still a little melty and the centers are perfectly soft. They are a showstopper on any dessert table.
For a Dinner Party: Arrange them on a beautiful platter with a dusting of extra cinnamon. They pair wonderfully with a scoop of vanilla bean ice cream or a dollop of freshly whipped cream. A cup of hot apple cider or a spiced chai latte is the perfect drink companion.
Storage: Store the cooled cookies in an airtight container at room temperature for up to 5 days. I like to put a slice of bread in the container to keep them soft. The bread absorbs any excess moisture and the cookies stay chewy.
Freezing: You can freeze the baked cookies for up to 3 months. Just place them in a freezer-safe bag or container. To serve, let them thaw at room temperature for about 30 minutes. You can also freeze the cookie dough balls. Scoop them, roll them in the cinnamon-sugar, and place them on a baking sheet in the freezer until solid. Then, transfer them to a freezer bag. You can bake them straight from the frozen, just add 2-3 minutes to the baking time.
Flavor Development: Honestly, these cookies taste even better the next day. The flavors have time to meld and deepen. So don’t be afraid to make them a day ahead of your party. Your guests will never know!
Nutritional Information & Benefits
While these are a treat, they do have some redeeming qualities. The pumpkin puree is packed with Vitamin A and fiber. The brown butter, while rich, adds a depth of flavor that means a small cookie is incredibly satisfying.
Estimated Nutritional Information (per cookie, based on 36 cookies):
- Calories: 145
- Fat: 7g
- Carbohydrates: 20g
- Fiber: 1g
- Sugar: 12g
- Protein: 2g
Dietary Considerations: This recipe contains dairy (butter) and gluten (flour) and eggs. For a dairy-free version, use vegan butter. For a gluten-free version, use a 1:1 gluten-free flour blend.
Personal Wellness Perspective: I believe in balance. These cookies are a celebration food. They are meant to be enjoyed with friends and family, not as a daily snack. When I make them for a gathering, I don’t worry about the calories. I focus on the joy they bring. And honestly, the homemade love is the healthiest ingredient of all.
Frequently Asked Questions
Can I use pumpkin pie filling instead of pumpkin puree?
No, I really don’t recommend it. Pumpkin pie filling is pre-sweetened and contains spices and thickeners. It will throw off the sugar and spice balance in the recipe and may make the cookies too dense or gummy. Always use 100% pure pumpkin puree.
Why did my cookies spread too much?
This is usually because the dough was too warm. Make sure you chill it for at least 30 minutes. Also, check that your butter wasn’t too warm when you mixed it. The brown butter should be completely cooled to room temperature, not warm.
Can I skip the cream of tartar?
Cream of tartar is what gives snickerdoodles their classic tangy flavor and chewy texture. If you skip it, you’ll have a more traditional sugar cookie. For a substitute, you can use 1 teaspoon of lemon juice or white vinegar, but the flavor will be slightly different.
How do I know when the brown butter is done?
Look for two things: a nutty, toasty aroma, and little brown specks forming at the bottom of the pan. The butter will also change from a bright yellow to a golden amber color. Once you see and smell these signs, remove it from the heat immediately.
Can I make the dough ahead of time and bake later?
Absolutely! This is one of my favorite hosting tips. You can make the dough, cover it, and refrigerate it for up to 3 days. You can also freeze the dough balls as described above. It makes last-minute baking a breeze.
Conclusion
These brown butter pumpkin snickerdoodle cookies are more than just a recipe—they are a conversation starter, a memory maker, and a guaranteed hit at any gathering. They are the cookie that Lorraine’s sage advice helped me perfect, and the one that turned a stressful dinner party into a triumph. The nutty brown butter, the warm pumpkin spices, and that classic cinnamon-sugar coating come together in a way that feels both familiar and brand new.
I hope you give them a try for your next fall get-together, holiday party, or just because it’s Tuesday. Don’t be afraid to make them your own. Add some extra spice, fold in some nuts, or double the batch because, trust me, they will disappear fast. When you make them, I’d love to hear about it. Leave a comment below and tell me how they turned out. Did you make any fun variations? Share your photos with me! Happy baking, my friends. You’ve got this.
Pin This Recipe!
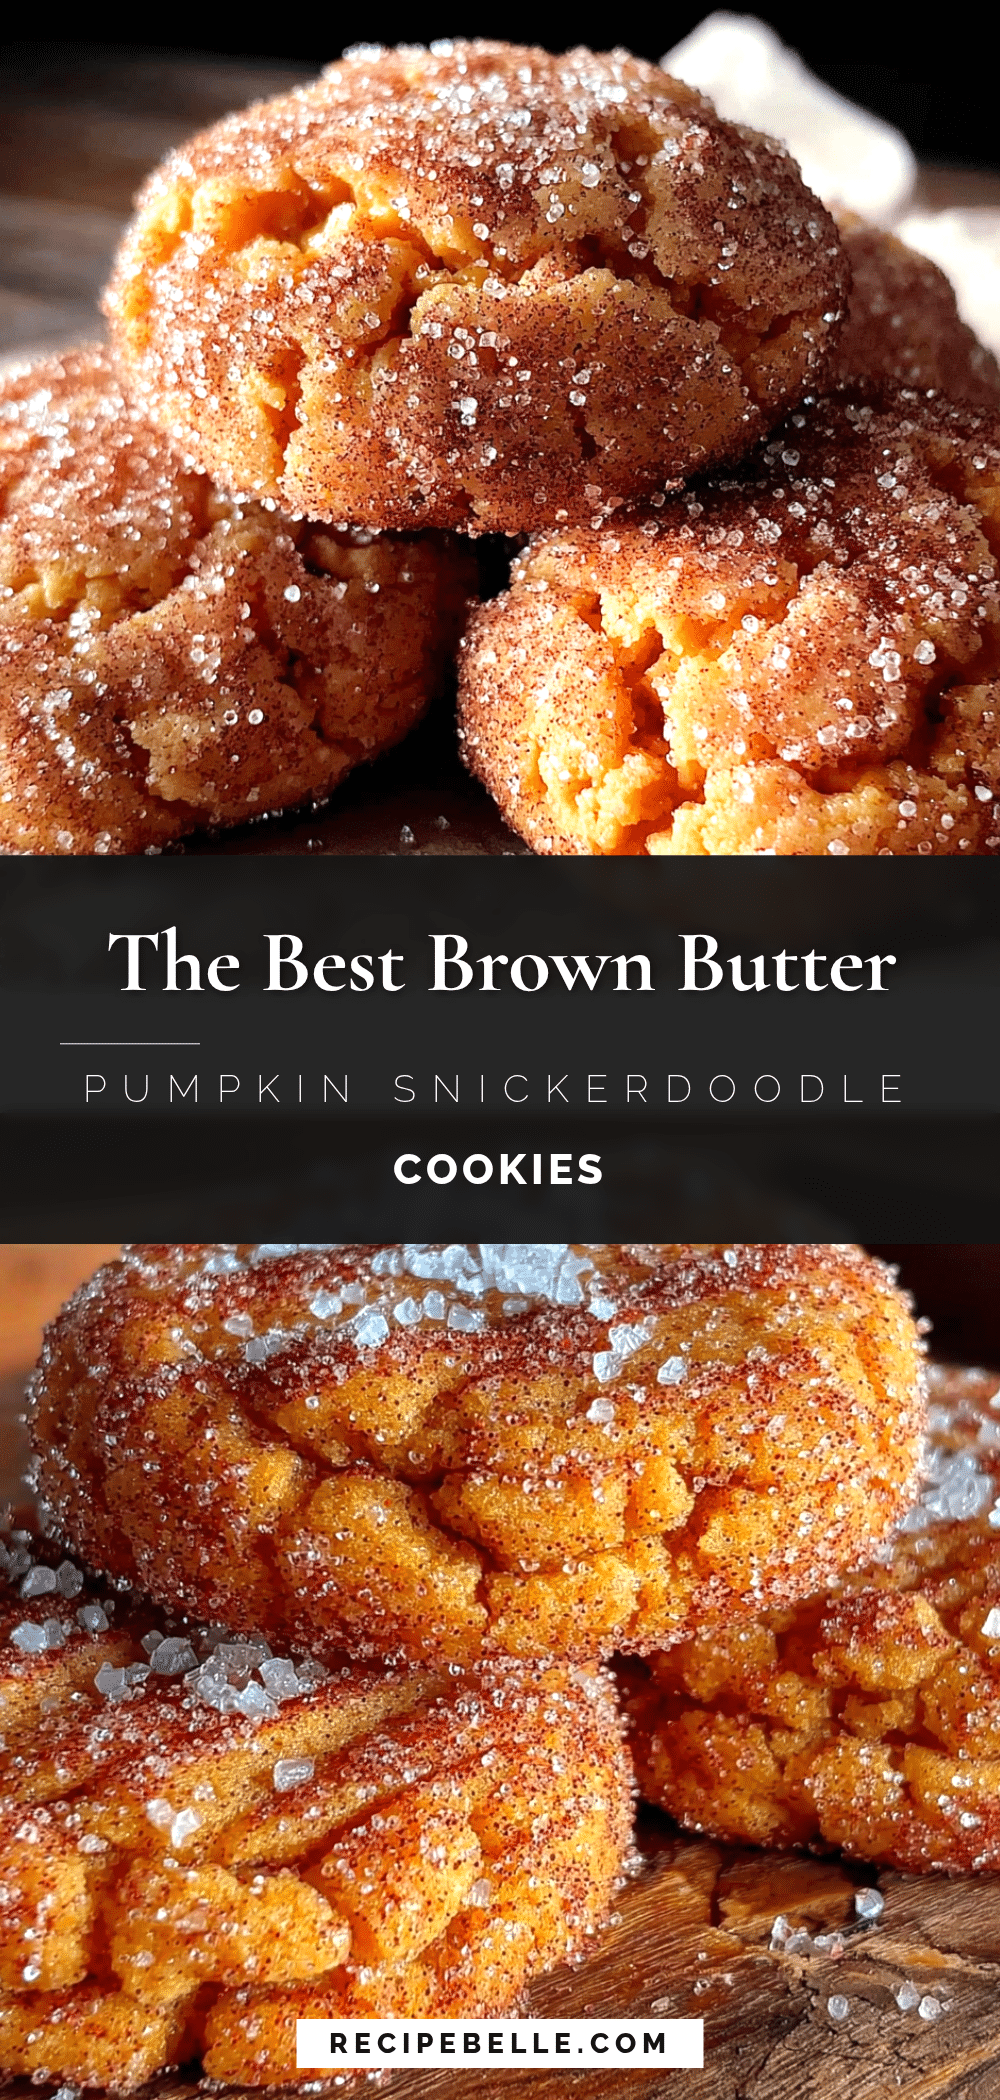
Best Brown Butter Pumpkin Snickerdoodle Cookies: Easy Recipe
These brown butter pumpkin snickerdoodle cookies are soft, chewy, and have a nutty, toasty depth that dances perfectly with warm pumpkin and cinnamon-sugar coating. They are a guaranteed showstopper for any fall gathering, potluck, or holiday cookie swap.
- Prep Time: 30 minutes
- Cook Time: 12 minutes
- Total Time: 1 hour 12 minutes
- Yield: 36 cookies 1x
- Category: Dessert
- Cuisine: American
Ingredients
- 1 cup (2 sticks / 226g) unsalted butter
- 2 ½ cups (312g) all-purpose flour, spooned and leveled
- 1 teaspoon baking soda
- 2 teaspoons cream of tartar
- ½ teaspoon salt
- 1 ½ teaspoons ground cinnamon
- ½ teaspoon ground nutmeg
- ¼ teaspoon ground ginger
- ¼ teaspoon ground cloves
- 1 cup (200g) packed light brown sugar
- ½ cup (100g) granulated sugar
- ¾ cup (175g) pumpkin puree (100% pure pumpkin)
- 1 large egg, at room temperature
- 2 teaspoons vanilla extract
- ½ cup (100g) granulated sugar (for coating)
- 2 tablespoons ground cinnamon (for coating)
- Pinch of ground nutmeg (optional, for coating)
Instructions
- Brown the butter: Place the butter in a light-colored saucepan over medium heat. Stir constantly until it melts, foams, and sizzles. After about 5-7 minutes, brown specks form and it smells nutty. Immediately remove from heat and pour into a heat-safe bowl. Let cool completely (20-30 minutes) until thick and opaque.
- Prep dry ingredients: In a medium bowl, whisk together flour, baking soda, cream of tartar, salt, cinnamon, nutmeg, ginger, and cloves. Set aside.
- Mix wet ingredients: In a large bowl, beat cooled brown butter with brown sugar and granulated sugar on medium speed until light and fluffy (2-3 minutes). Add pumpkin puree, egg, and vanilla extract. Beat on low until just combined (mixture may look curdled).
- Combine wet and dry: Gradually add dry ingredients to wet ingredients, mixing on low until just combined with a few streaks of flour remaining. Scrape down bowl and fold gently. Do not overmix.
- Chill dough: Cover bowl with plastic wrap and refrigerate for at least 30 minutes (up to 3 days).
- Preheat and prep: Preheat oven to 350°F (175°C). Line baking sheets with parchment paper or silicone mats.
- Make coating: In a small bowl, whisk together granulated sugar, cinnamon, and nutmeg for the coating.
- Scoop and roll: Using a 1.5-tablespoon cookie scoop, scoop dough into balls. Roll each ball in the cinnamon-sugar mixture. Place on prepared baking sheets, 2 inches apart.
- Bake: Bake for 10-12 minutes. Edges should be set and lightly golden; centers will look soft and puffy. For softer cookies, bake 10 minutes; for crisper edges, bake 12 minutes.
- Cool: Let cookies cool on baking sheet for 5 minutes, then transfer to a wire rack to cool completely.
Notes
Chill the dough for at least 30 minutes to prevent spreading. Don’t overbake; cookies should look slightly underdone in the center when removed from the oven. Brown butter must be cooled completely before mixing. Cream of tartar is essential for the classic snickerdoodle tang and chewy texture. For best results, use 100% pure pumpkin puree, not pumpkin pie filling.
Nutrition
- Serving Size: 1 cookie
- Calories: 145
- Sugar: 12
- Sodium: 95
- Fat: 7
- Saturated Fat: 4
- Carbohydrates: 20
- Fiber: 1
- Protein: 2
Keywords: brown butter, pumpkin, snickerdoodle, cookies, fall, Thanksgiving, easy recipe



