The office cookie swap was in six hours and I’d completely forgotten. Everyone else would be bringing their grandmother’s heirloom recipes, elaborate layered bars, or those fancy French macarons that take three days. I had a half-stick of butter, a sad-looking bag of chocolate chips, and a serious case of panic. I mean, I’d been so focused on finishing a project that the email about the swap had gotten buried in my inbox. Honestly, I was ready to just stop at the grocery store and buy something, but that felt wrong.
So I did what any reasonable person would do when backed into a corner. I scrounged through my pantry. I found some flour, a bit of sugar, an egg that was still good, and that half-stick of butter. I figured I’d just make a tiny batch of cookies, enough to not show up empty-handed. I wasn’t aiming for a trophy. I was aiming for damage control. I whipped up the smallest batch of chocolate chip cookies I could manage, tossed them on a sheet, and prayed they’d at least look edible. Let me tell you, I walked into that swap feeling like a fraud.
The moment I set my plate down, a coworker named Brenda took one. She’s the office baker, the one who brings in complex tarts and perfectly decorated cakes. She took a bite, and I braced myself for polite silence. Instead, she looked at me with this surprised expression and said, “These are… really good. What’s your secret?” I almost laughed. The secret was that I had no time and no choice. But those cookies, the ones made from sheer desperation, ended up winning the whole swap. I got a silly little trophy and a ton of requests for the recipe. The best part? It’s the easiest, most forgiving recipe I know. And maybe you’ve been there too, needing a great dessert but not wanting a mountain of leftovers. This one’s for you.
Why You’ll Love This Recipe
Let’s be real for a second. Most cookie recipes make three dozen, which is great for a party but a disaster for a Tuesday night when you just want a couple of warm cookies. This one solves that problem without any fuss. I’ve tested this recipe more times than I can count, tweaking the butter-to-sugar ratio until it was just right. It’s the kind of recipe you can trust without thinking twice.
- Quick & Easy : From start to finish, you’re looking at about 25 minutes. No chilling the dough, no fancy stand mixer needed. Just a bowl, a spoon, and your oven.
- Simple Ingredients : You likely have everything in your kitchen right now. Butter, sugar, an egg, flour, vanilla, baking soda, salt, and chocolate chips. That’s it. No trips to a specialty store.
- Perfect for Cravings : This is your go-to for a quiet night in, a small family dessert, or when you need a quick treat for the kids after school. It’s also great for a last-minute potluck or a small gathering.
- Crowd-Pleaser : The texture is spot on—crispy edges with a soft, chewy center. My kids devour them, and my husband always sneaks one before dinner. They’re universally loved.
- Unbelievably Delicious : This isn’t just a smaller version of a big recipe. The proportions are dialed in perfectly. The flavor is rich and buttery, and the texture is that ideal balance of crunchy and gooey.
The thing that makes this recipe different from the rest is the technique. Instead of just creaming the butter and sugar, I beat them for a full two minutes. It sounds like a small thing, but it creates a lighter, airier dough that bakes up with a wonderful crumb. Plus, using a whole egg yolk and just a splash of the white gives you that perfect chewiness. It’s comfort food at its finest—simple, satisfying, and made for sharing.
What Ingredients You Will Need
This recipe uses simple, wholesome ingredients to deliver that classic chocolate chip cookie flavor without any fuss. Most of these are pantry staples, which makes this the perfect recipe for a spontaneous baking session.
- Unsalted Butter (4 tablespoons, softened): I always use unsalted butter so I can control the salt level. Let it sit out for about 30 minutes to soften. You want it soft but not melted. (I prefer Kerrygold for its rich flavor, but any brand works.)
- Granulated Sugar (¼ cup): This provides the sweetness and helps create those crispy edges. Standard white sugar is perfect here.
- Light Brown Sugar (¼ cup, packed): This is the secret to a chewy cookie. The molasses in brown sugar adds moisture and a deeper flavor. Pack it firmly into your measuring cup for accuracy.
- Large Egg (1): You’ll use the whole yolk and just about 1 tablespoon of the white. This gives you the structure of the egg without making the dough too wet. Save the remaining white for an omelet or scramble it up for breakfast.
- Vanilla Extract (½ teaspoon): Pure vanilla extract makes a difference. It rounds out the sweetness and adds warmth. Imitation vanilla works in a pinch, but pure is better.
- All-Purpose Flour (¾ cup): Standard all-purpose flour is what you need. No need for bread flour or cake flour here. Just spoon it into your measuring cup and level it off with a knife.
- Baking Soda (¼ teaspoon): This helps the cookies spread just enough and gives them a little lift. Make sure it’s fresh—if it’s been open for over six months, it might be weak.
- Salt (¼ teaspoon): A little salt balances the sweetness and makes the chocolate flavor pop. I use fine sea salt. If you use kosher salt, you might need a pinch more.
- Semi-Sweet Chocolate Chips (½ cup): You can use milk chocolate or dark chocolate if you prefer. I like semi-sweet because it’s not too sugary. For a fancier touch, chop up a chocolate bar instead of using chips—it creates lovely pools of chocolate.
Ingredient Tips: If your butter is still cold, you can microwave it for about 10-15 seconds to soften it. Just don’t melt it! Melted butter will make your cookies flat and greasy. For the brown sugar, if it’s hard and clumpy, you can microwave it with a damp paper towel for 20 seconds to soften it up.
Equipment Needed
You don’t need a lot of fancy tools for this recipe, which is part of why I love it. A few basic kitchen essentials will get the job done perfectly.
- Mixing Bowls: You’ll need one medium bowl for the wet ingredients and one small bowl for the dry ingredients. I use a set of glass nesting bowls, but any bowl works.
- Hand Mixer or Whisk: A hand mixer makes creaming the butter and sugar easy, but you can absolutely do it by hand with a wooden spoon and some elbow grease. It’s a great arm workout.
- Measuring Cups and Spoons: Accurate measurements are key for baking. Use dry measuring cups for the flour and sugar, and liquid measuring cups for the vanilla. (Though honestly, I just eyeball the vanilla with a teaspoon.)
- Rubber Spatula: This is essential for scraping down the sides of the bowl and folding in the chocolate chips. A silicone spatula is best because it won’t scratch your bowls.
- Baking Sheet: A standard half-sheet pan works perfectly. I’ve used cheap, dark pans and nice, light-colored ones. The light-colored pans give you a more even bake and less browning on the bottom.
- Parchment Paper or Silicone Baking Mat: This is non-negotiable for me. It prevents sticking and makes cleanup a breeze. Plus, it helps the cookies bake evenly.
- Cookie Scoop (optional but helpful): A 1.5-tablespoon cookie scoop makes portioning the dough super consistent. If you don’t have one, just use two spoons.
- Cooling Rack: Letting the cookies cool on a rack prevents them from getting soggy on the bottom. If you don’t have one, you can slide the parchment paper off the hot pan onto the counter.
Budget-Friendly Tip: If you don’t have a hand mixer, a whisk and a strong arm work fine. I’ve made these cookies many times by hand when my mixer was in the dishwasher. It takes a little longer to cream the butter, but it works.
Preparation Method
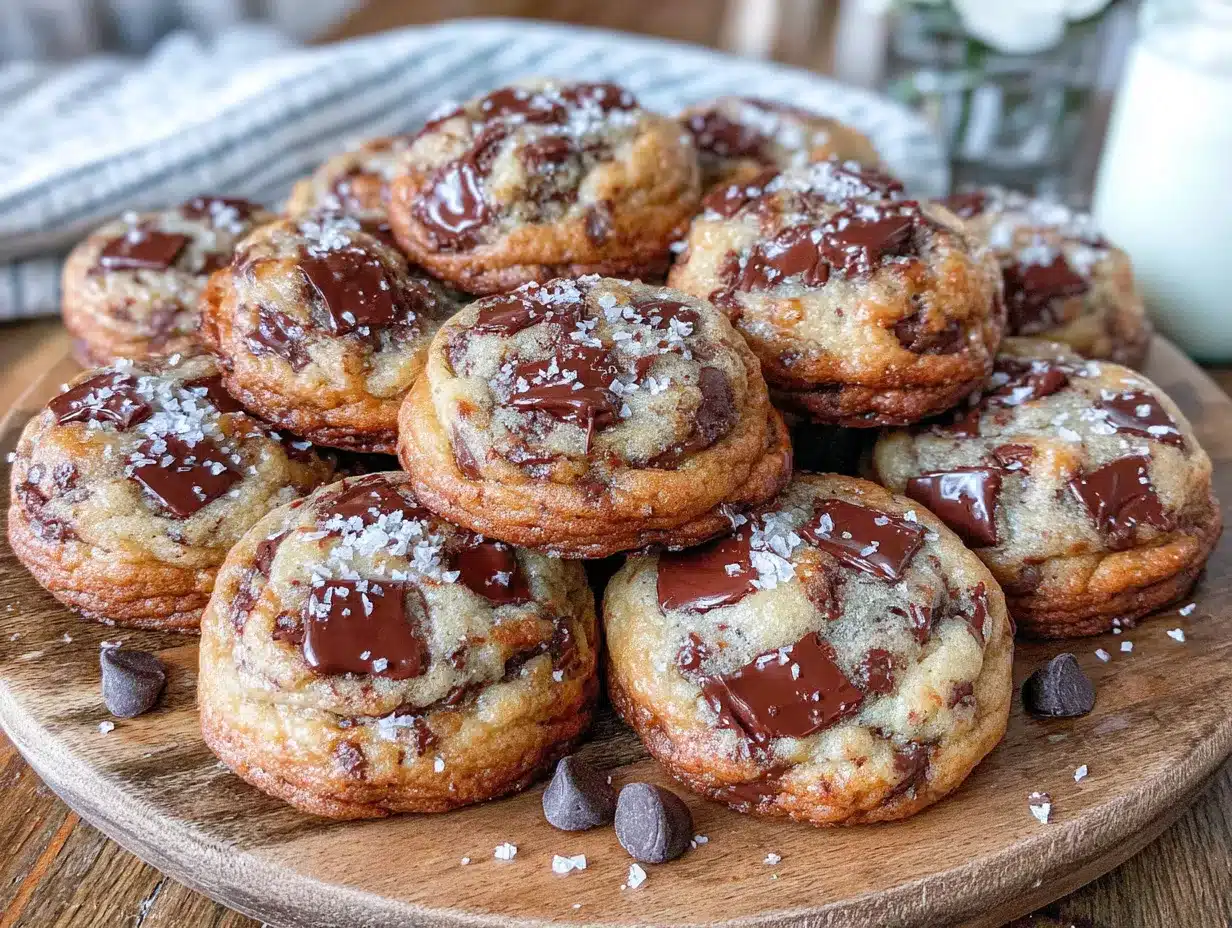
Alright, let’s get baking! This process is straightforward, but I’ll walk you through each step so you get perfect cookies every time. Preheat your oven to 350°F (175°C) and line your baking sheet with parchment paper.
- Cream the Butter and Sugars: In your medium mixing bowl, combine the 4 tablespoons of softened butter, ¼ cup of granulated sugar, and ¼ cup of packed light brown sugar. Using your hand mixer (or a wooden spoon), beat them together on medium speed for a full 2 minutes. I know it feels like a long time, but trust me on this. You want the mixture to become light, fluffy, and pale in color. Scrape down the sides of the bowl with your spatula once or twice during this process. You’ll notice the texture change from grainy to creamy—that’s the signal you’re looking for.
- Add the Egg and Vanilla: Crack your egg into a small bowl. Separate out the yolk and about 1 tablespoon of the white. (A quick trick: crack the egg and let the white drip through your fingers into the sink, keeping the yolk in your palm. Then just pour off a bit of the white.) Add this to the butter mixture along with ½ teaspoon of vanilla extract. Beat on low speed until just combined, about 30 seconds. Don’t overmix here, or the dough can get tough.
- Mix the Dry Ingredients: In your small bowl, whisk together ¾ cup of all-purpose flour, ¼ teaspoon of baking soda, and ¼ teaspoon of salt. Whisking ensures the baking soda and salt are evenly distributed. If you skip this step, you might get a pocket of salt in one cookie—not fun.
- Combine Wet and Dry: Add the flour mixture to the wet ingredients. Mix on low speed (or fold with a spatula) until just a few streaks of flour remain. You don’t want to mix until it’s completely smooth. Stop when you still see a little flour. This prevents overworking the gluten, which makes cookies tough.
- Fold in the Chocolate Chips: Add ½ cup of semi-sweet chocolate chips to the dough. Use your rubber spatula to fold them in gently. Fold just until the chips are evenly distributed. The dough will be thick and slightly sticky. If it feels too sticky to handle, you can refrigerate it for 10 minutes, but I usually find it’s fine as is.
- Portion the Dough: Using your cookie scoop or a spoon, scoop out 12 equal portions of dough. Each portion should be about 1.5 tablespoons. Place them on your prepared baking sheet, spacing them about 2 inches apart. They will spread, so don’t crowd them. I usually fit 6 cookies per sheet and bake in two batches.
- Bake: Place the baking sheet in the preheated oven. Bake for 9-11 minutes. I start checking at 9 minutes. You want the edges to be golden brown and set, but the centers should still look slightly soft and puffy. They might even look a little underdone in the middle. That’s perfect. They will continue to cook on the hot pan as they cool.
- Cool: Remove the baking sheet from the oven. Let the cookies rest on the hot pan for 5 minutes. This is crucial—it allows them to set up without becoming too hard. After 5 minutes, transfer them to a cooling rack to cool completely. Or, if you’re like me, you eat one warm right off the pan.
Sensory Cues: When you cream the butter and sugar, listen for the sound to change from a sloshy sound to a smoother, creamier sound. The dough should feel soft and pliable, not sticky or dry. When the cookies are done, your kitchen will smell like a bakery, and the edges will have a deep golden color while the centers remain pale.
Cooking Tips & Techniques
I’ve made these cookies more times than I can count, and I’ve learned a few things the hard way. Here are my best tips to get perfect results every time.
Don’t Skip the Creaming. I know I said two minutes, but it really matters. One time I was in a hurry and only creamed for about 45 seconds. The cookies came out dense and flat. The air you beat into the butter and sugar is what gives the cookies their lift and tender texture. Set a timer if you have to.
The Egg White Trick. Using just the yolk and a splash of white is a game-changer. The yolk adds richness and tenderness, while the small amount of white provides just enough structure. If you use the whole egg, the dough will be too wet and the cookies will spread too much. I learned this after a few batches of pancake-like cookies.
Chill If Needed. If your kitchen is warm or your butter was a bit too soft, the dough might be sticky. Don’t panic. Just pop the bowl in the fridge for 15 minutes. This firms up the butter and prevents the cookies from spreading into one giant blob. I do this on hot summer days.
Bake One Test Cookie. If you’re unsure about your oven or the dough consistency, bake just one cookie first. It takes only a few minutes, and you can see how it spreads and browns. Then you can adjust the rest of the batch. This has saved me many times.
Use a Light-Colored Pan. Dark pans absorb more heat and can cause the bottoms of your cookies to burn before the centers are done. If you only have a dark pan, reduce the oven temperature by 25°F (about 15°C). I learned this after a particularly sad batch of burnt-bottom cookies.
Rotate the Pan. Halfway through baking, give the pan a quick turn. Ovens often have hot spots, and this ensures even browning. It’s a small step that makes a big difference.
Variations & Adaptations
This basic recipe is a fantastic starting point. Here are some ways to switch it up depending on what you have on hand or what you’re craving.
- Chocolate Lover’s Version: Swap 2 tablespoons of the flour for 2 tablespoons of unsweetened cocoa powder. Use dark chocolate chips instead of semi-sweet. You get a rich, double-chocolate cookie that’s dangerously good. I made these for a friend who claims she doesn’t like sweets, and she ate three.
- Nutty Crunch: Add ¼ cup of chopped walnuts or pecans along with the chocolate chips. Toast the nuts in a dry pan for 3-4 minutes first to bring out their flavor. The crunch adds a lovely texture contrast to the soft cookie.
- Gluten-Free Option: Use a 1-to-1 gluten-free baking flour blend. I’ve used Bob’s Red Mill and King Arthur brands with great success. The cookies will be slightly more tender and might spread a tiny bit more, but they’re still delicious. Just don’t overmix the dough.
- Spiced Holiday Cookies: Add ½ teaspoon of cinnamon and a pinch of nutmeg to the dry ingredients. Use white chocolate chips or a mix of milk and dark chocolate. These are perfect for fall or winter baking. I made a batch for Thanksgiving and they disappeared in minutes.
- Vegan Adaptation: Use 4 tablespoons of vegan butter (I like Earth Balance) and a “flax egg” (1 tablespoon ground flaxseed mixed with 3 tablespoons water, let sit for 5 minutes). The texture will be a bit more cake-like, but the flavor is still spot on. Use dairy-free chocolate chips.
My personal favorite variation is adding a sprinkle of flaky sea salt on top of each cookie right before they go in the oven. That little salty crunch against the sweet chocolate is just perfect. I tried it on a whim one day and now I can’t go back.
Serving & Storage Suggestions
These cookies are best enjoyed warm, when the chocolate is still slightly melty and the edges are crisp. But they’re also fantastic at room temperature, and they keep well for several days.
Serving: For the ultimate experience, serve these cookies with a cold glass of milk or a hot cup of coffee. They’re also wonderful crumbled over vanilla ice cream for a quick sundae. If you’re serving them at a party, arrange them on a nice plate and maybe dust with a little powdered sugar for a pretty look.
Storage: Store leftover cookies in an airtight container at room temperature. They’ll stay fresh for up to 5 days. I like to put a piece of bread in the container with them—the cookies absorb the moisture from the bread and stay soft. It sounds weird, but it works.
Freezing: You can freeze the baked cookies for up to 3 months. Just place them in a freezer-safe bag with the air squeezed out. Thaw at room temperature for about 15 minutes. You can also freeze the raw dough. Scoop the dough balls onto a baking sheet, freeze until solid, then transfer to a freezer bag. Bake from frozen, adding 2-3 minutes to the baking time. This is my secret for having fresh cookies ready in 15 minutes.
Reheating: To revive a day-old cookie, pop it in the microwave for 10-15 seconds. It will taste almost as good as fresh-baked. You can also reheat them in a 300°F (150°C) oven for 3-4 minutes if you want that crispy edge back.
Flavor Development: Honestly, these cookies are great on day one, but they get even better on day two. The flavors meld together, and the texture softens slightly. They’re a little more chewy and a little less crisp. I always try to save a couple for the next day.
Nutritional Information & Benefits
Let’s be honest—these are cookies, not health food. But knowing what’s in them can help you enjoy them mindfully. Here’s the estimated nutritional breakdown per cookie (based on 12 cookies).
| Nutrient | Amount Per Cookie |
|---|---|
| Calories | ~165 |
| Total Fat | 9g |
| Saturated Fat | 5g |
| Carbohydrates | 20g |
| Sugar | 13g |
| Protein | 2g |
| Fiber | 1g |
Health Benefits of Key Ingredients: Dark chocolate is rich in antioxidants, which can help reduce inflammation. Butter provides fat-soluble vitamins like A and E. The small amount of protein from the egg and flour helps balance the blood sugar spike from the sugar. It’s not a health food, but it’s a real food treat.
Dietary Considerations: This recipe contains gluten, dairy, and eggs. For a gluten-free version, see the variations section. For a dairy-free version, use vegan butter and dairy-free chocolate chips. It’s not low-carb or sugar-free, but it’s a wonderful occasional indulgence.
My Perspective: I believe in enjoying treats in moderation. A couple of these cookies after a long day is a small joy that makes life better. I’d rather have one really good, homemade cookie than a handful of processed ones. This recipe lets you have that quality without the waste.
Conclusion
So there you have it—the recipe that won a cookie swap from a place of pure panic. It’s proof that you don’t need fancy ingredients or hours of time to make something truly wonderful. These cookies are simple, reliable, and absolutely delicious. They’re the kind of recipe you’ll come back to again and again, whether you’re baking for a crowd or just for yourself on a quiet evening.
I encourage you to make this recipe your own. Add your favorite mix-ins, adjust the sweetness, or try a new variation. Baking should be fun and personal. Don’t be afraid to experiment. And when you make them, I’d love to hear about it. Drop a comment below and let me know how they turned out. Did you add something unexpected? Did your family love them? Share your stories and your photos. It makes my day to see your creations.
Thank you for spending this time with me in the kitchen. I hope these cookies bring you as much joy as they’ve brought me. Now go preheat that oven—you deserve a warm, gooey, homemade cookie. Happy baking, friend.
Frequently Asked Questions
Can I make these cookies without a hand mixer?
Absolutely! You can cream the butter and sugar by hand with a wooden spoon. It will take a bit more effort and about 3-4 minutes of vigorous stirring, but it works perfectly. Just make sure the butter is very soft to make the job easier.
Why did my cookies turn out flat?
Flat cookies usually happen for a few reasons. The butter might have been too soft or melted. The dough might not have been chilled if your kitchen was warm. Or, you might have skipped the full 2 minutes of creaming. Next time, make sure your butter is just softened, not melted, and cream it well.
Can I use whole wheat flour instead of all-purpose?
You can, but the cookies will be denser and less tender. I recommend using half whole wheat and half all-purpose for a better texture. Whole wheat flour also absorbs more liquid, so you might need to add a teaspoon of milk to the dough if it seems dry.
How do I get perfectly round cookies?
Right when the cookies come out of the oven, use a round cookie cutter or a large glass to gently scoot the edges of each cookie into a perfect circle. Do this while the cookies are still hot and soft. It’s a simple trick that makes them look bakery-perfect.
Can I double this recipe?
Yes, you can easily double this recipe to make 24 cookies. Just double all the ingredients. The baking time might need an extra minute or two since you’ll have more dough. You’ll need to bake in batches to avoid overcrowding the pan.
Pin This Recipe!
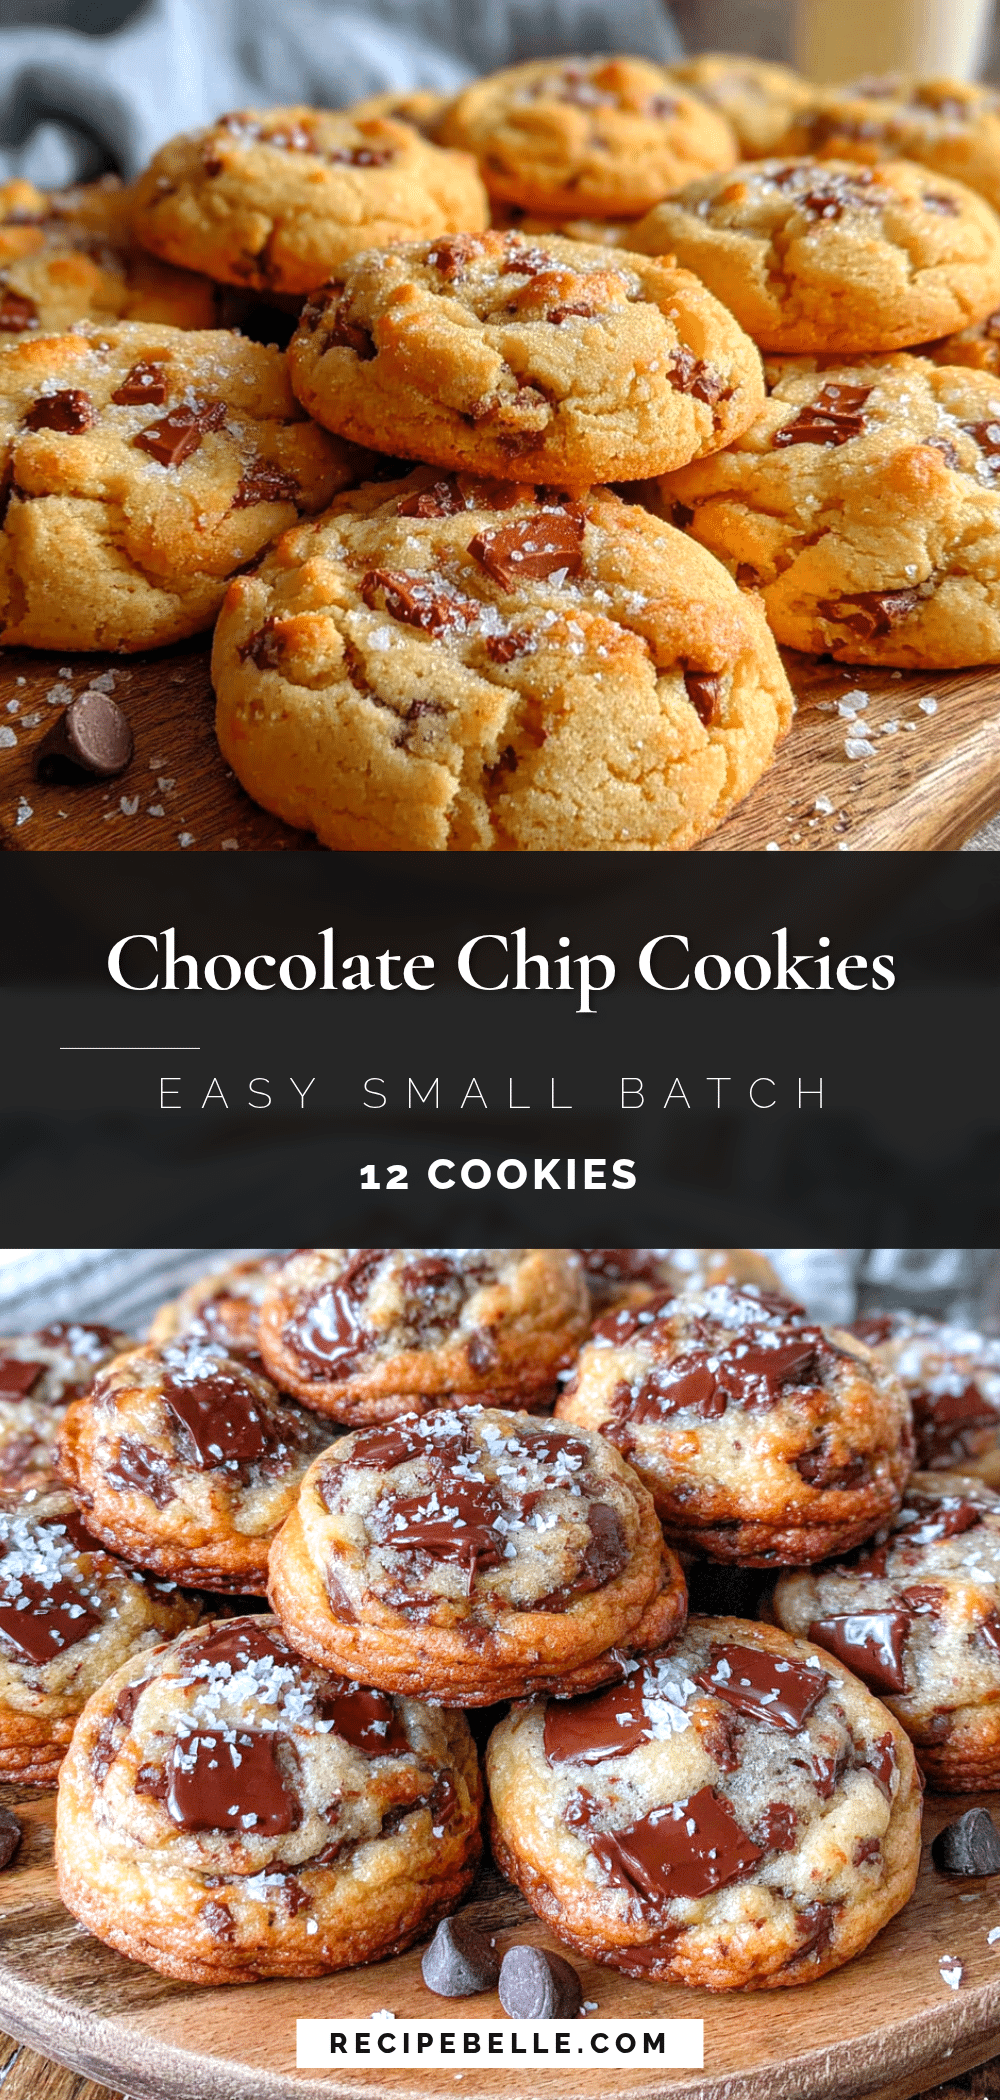
Best Easy Small-Batch Chocolate Chip Cookies Recipe (12 Cookies)

This small-batch chocolate chip cookie recipe yields 12 perfectly chewy cookies with crispy edges and a soft center. Made with simple pantry ingredients, it’s quick, easy, and ideal for satisfying a craving without a mountain of leftovers.
- Prep Time: 10 minutes
- Cook Time: 10 minutes
- Total Time: 25 minutes
- Yield: 12 cookies 1x
- Category: Dessert
- Cuisine: American
Ingredients
- 4 tablespoons unsalted butter, softened
- ¼ cup granulated sugar
- ¼ cup light brown sugar, packed
- 1 large egg (use yolk + 1 tablespoon white)
- ½ teaspoon vanilla extract
- ¾ cup all-purpose flour
- ¼ teaspoon baking soda
- ¼ teaspoon salt
- ½ cup semi-sweet chocolate chips
Instructions
- Preheat oven to 350°F (175°C). Line a baking sheet with parchment paper.
- In a medium bowl, cream together 4 tablespoons softened butter, ¼ cup granulated sugar, and ¼ cup packed light brown sugar with a hand mixer on medium speed for 2 minutes until light, fluffy, and pale. Scrape down sides as needed.
- Add the egg yolk plus 1 tablespoon of the egg white and ½ teaspoon vanilla extract. Beat on low speed until just combined, about 30 seconds.
- In a small bowl, whisk together ¾ cup all-purpose flour, ¼ teaspoon baking soda, and ¼ teaspoon salt.
- Add the flour mixture to the wet ingredients. Mix on low speed or fold with a spatula until just a few streaks of flour remain.
- Fold in ½ cup semi-sweet chocolate chips with a rubber spatula until evenly distributed. Dough will be thick and slightly sticky.
- Scoop 12 equal portions (about 1.5 tablespoons each) onto the prepared baking sheet, spacing 2 inches apart.
- Bake for 9-11 minutes, until edges are golden brown and set but centers still look slightly soft and puffy.
- Let cookies rest on the hot pan for 5 minutes, then transfer to a cooling rack to cool completely.
Notes
For best results, cream butter and sugar for a full 2 minutes. Use only the yolk and a splash of egg white for chewiness. If dough is sticky, chill for 15 minutes. For a lighter-colored pan, reduce oven temp by 25°F if using dark pans. Add flaky sea salt on top before baking for extra flavor.
Nutrition
- Serving Size: 1 cookie
- Calories: 165
- Sugar: 13
- Sodium: 95
- Fat: 9
- Saturated Fat: 5
- Carbohydrates: 20
- Fiber: 1
- Protein: 2
Keywords: small-batch chocolate chip cookies, easy cookie recipe, quick cookies, chewy chocolate chip cookies, 12 cookies



