My neighbor, an older woman named Clara, watched me fumbling with a bushel of pears one September afternoon. I had gotten ambitious at the farmers’ market, you know, and suddenly I was standing in my driveway with way more fruit than I knew what to do with. She didn’t say anything at first. She just shook her head, smiled that knowing smile, and walked back into her house. A few minutes later, she came back holding a worn, stained recipe card and a single cinnamon stick. “You’re going to need this,” she said. “And patience. Lots of patience.”
Honestly, I thought I was just making a simple jam. I had no idea I was about to learn a whole new way of preserving fruit. Clara’s recipe for homemade cinnamon canned pear preserves wasn’t just about cooking down fruit and sugar. It was about understanding how pears hold their shape, how cinnamon doesn’t just add flavor but changes the whole personality of the fruit. The first batch I made, I overcooked it completely. The pears turned into mush, and the syrup was almost like caramel. Clara just laughed and said, “Well, now you know what not to do.”
That’s the thing about this recipe. It teaches you. Maybe you’ve been there, standing over a pot of fruit, wondering if it’s done or if you’ve ruined it. I’ve definitely been there. But after making this recipe dozens of times, I can tell you it’s worth every single attempt. The way the cinnamon wraps around the sweet, tender pears is something you just can’t get from store-bought preserves. This is the recipe that made me fall in love with canning. And honestly, it’s the one I keep coming back to year after year.
Why You’ll Love This Recipe
Let me tell you why this recipe has become my go-to for holiday gifts, weekend brunches, and those quiet mornings when I just want something special on my toast.
- Perfectly Spiced : The cinnamon doesn’t overpower the pears. It just whispers warmth into every bite. It’s the kind of spice that makes you feel cozy before you even take a bite.
- Simple Ingredients : You only need four main ingredients. Pears, sugar, cinnamon, and lemon juice. That’s it. No weird preservatives or hard-to-find items.
- Beginner-Friendly Canning : If you have never canned before, this is the recipe to start with. The process is straightforward, and the results are forgiving. I messed up my first two batches and they were still delicious.
- Long Shelf Life : Properly canned, these preserves will last up to 18 months in your pantry. That means you can enjoy summer’s bounty all winter long.
- Incredibly Versatile : Use them on toast, over pancakes, stirred into yogurt, or even as a glaze for roasted meats. Trust me, pear and cinnamon glazed pork chops are a game changer.
What makes this recipe different from all the others I have tried? It is the texture. Most pear preserves turn into a uniform mush. Not this one. The pears stay in tender, beautiful chunks that hold their shape. The syrup is thick but not sticky, and the cinnamon flavor develops over time. The first day, it’s good. After a week, it’s incredible. After a month, it’s magic.
This recipe isn’t just good. It is the kind that makes you close your eyes after the first bite. It is comfort in a jar, made with your own two hands. Perfect for impressing guests without stress, or turning a simple breakfast into something memorable.
What Ingredients You Will Need
This recipe uses simple, wholesome ingredients to deliver bold flavor and satisfying texture without the fuss. Most of these are pantry staples, which makes this recipe even more accessible.
- 4 pounds ripe but firm pears (about 8-10 medium pears, peeled, cored, and cut into 1-inch chunks). I prefer Bartlett or Bosc pears for this recipe. Bartletts give a softer texture, while Boscs hold their shape better. You can use a mix of both for the best of both worlds.
- 3 cups granulated sugar (600 grams). This might seem like a lot, but sugar is essential for preservation and texture. Do not reduce it if you plan to can these for long-term storage.
- 2 tablespoons fresh lemon juice (about 1 lemon). The acid helps balance the sweetness and prevents the pears from browning. Fresh is always better than bottled here.
- 4 cinnamon sticks (plus 1 teaspoon ground cinnamon if you want extra flavor). I recommend using good quality cinnamon sticks, like Ceylon cinnamon if you can find them. They have a milder, more complex flavor than the standard cassia cinnamon.
- 1 vanilla bean (optional, but highly recommended). Split it lengthwise and scrape the seeds into the pot. It adds a floral note that pairs beautifully with the pears and cinnamon.
- 1/4 cup water (60 ml). Just enough to help the sugar dissolve at the beginning without burning.
For the canning process, you will also need:
- 4 half-pint (8 oz) canning jars with new lids and bands. Always use new lids for a proper seal. The bands can be reused if they are not rusted or bent.
- A water bath canner or a large, deep pot with a rack. The pot needs to be deep enough to cover the jars with at least 1 inch of water.
Ingredient Selection Tips : Look for pears that are ripe but still firm. If you press gently near the stem, there should be a slight give. If they are too soft, they will turn to mush during cooking. If they are too hard, they won’t have enough natural sweetness. I personally prefer organic pears when they are in season because the flavor is more concentrated, but conventional pears work perfectly fine.
Substitution Guidance : If you don’t have cinnamon sticks, you can use 2 teaspoons of ground cinnamon. Just stir it in after the pears have softened a bit. For a lower-sugar version, you can use a canning-specific low-sugar pectin, but the texture will be different and the shelf life will be shorter. I have tried it, and honestly, the full-sugar version is worth it for the texture alone.
Equipment Needed
You don’t need a fancy kitchen to make these preserves. Here is what you will need:
- Large, heavy-bottomed pot (at least 6 quarts). A Dutch oven works perfectly. The heavy bottom prevents the sugar from scorching.
- Wooden spoon or silicone spatula. Metal utensils can react with the acid in the fruit and affect the flavor.
- Sharp knife and cutting board. A good chef’s knife makes peeling and coring pears much easier.
- Vegetable peeler. I prefer a Y-shaped peeler for pears. It glides around the curves of the fruit much better than a standard straight peeler.
- Canning jars, lids, and bands. I have used both Ball and Kerr brands for years. They are interchangeable.
- Water bath canner or large stockpot with a rack. If you don’t have a rack, you can place a folded kitchen towel at the bottom of the pot to keep the jars from rattling.
- Jar lifter. This is non-negotiable. Trying to lift hot jars with tongs is a disaster waiting to happen. Trust me, I learned the hard way.
- Wide-mouth funnel. It makes filling the jars so much less messy.
- Clean kitchen towels. You will need them for wiping jar rims and for placing the hot jars on.
If you don’t have a water bath canner, you can use any deep pot that allows you to cover the jars with at least an inch of water. Just make sure the jars don’t touch the bottom directly. A simple cooling rack from your oven can work as a makeshift canning rack.
Preparation Method
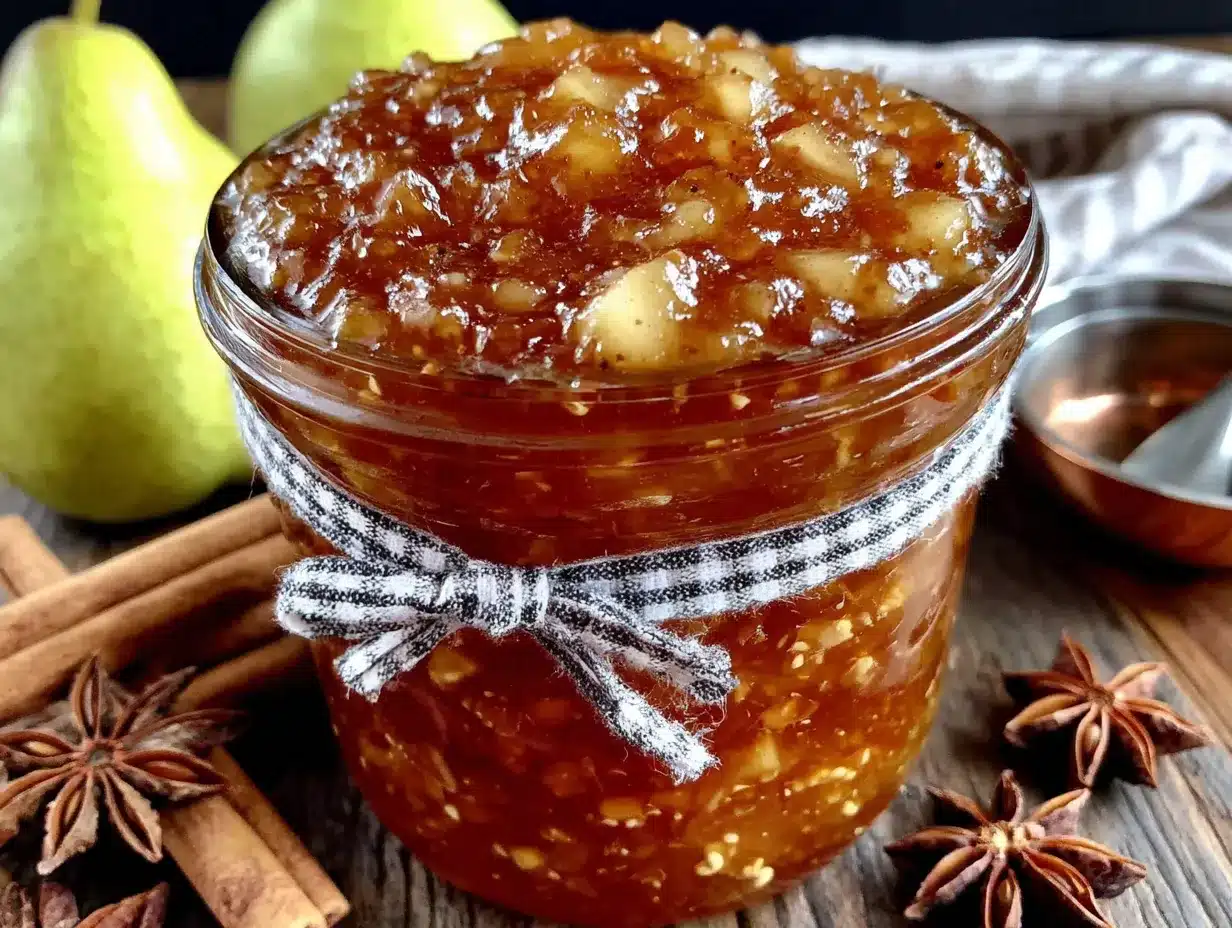
Let me walk you through this step by step. I have made this recipe more times than I can count, so I have included all the little details that make the difference between good preserves and unforgettable ones.
- Prepare your jars and equipment. Wash your jars, lids, and bands in hot, soapy water. Rinse thoroughly. Place the jars in your water bath canner, cover them with water, and bring to a simmer. Keep them hot until you are ready to fill them. The lids should be placed in a small bowl of hot water (not boiling) to soften the sealing compound. This step is crucial for a proper seal.
- Prepare the pears. Peel the pears using your vegetable peeler. Cut them in half lengthwise and use a melon baller or a small spoon to scoop out the core and seeds. Cut the pears into 1-inch chunks. As you work, place the cut pears in a large bowl with the lemon juice and enough water to cover them. This prevents browning. I learned this trick after my first batch turned an unappealing gray color.
- Start the cooking process. In your large, heavy-bottomed pot, combine the sugar and 1/4 cup of water. Stir gently over medium heat until the sugar dissolves completely. This takes about 3-4 minutes. Do not walk away at this stage. Sugar can go from dissolved to burned very quickly.
- Add the pears and spices. Drain the pears and add them to the pot along with the cinnamon sticks and the split vanilla bean (if using). Stir gently to coat the pears in the sugar syrup. Increase the heat to medium-high and bring the mixture to a gentle boil. You want a steady simmer, not a rolling boil that will break the pears apart.
- Cook the preserves. Reduce the heat to medium-low and let the pears simmer gently. Cook for 25-35 minutes, stirring occasionally. You will notice the pears releasing their juices and the syrup becoming thicker. The pears should become translucent and tender but still hold their shape. If you see foam forming on the surface, skim it off with a spoon. That foam is just air bubbles and impurities, and removing it gives you a clearer preserve.
- Test for doneness. Here is the test I use. Spoon a small amount of the syrup onto a cold plate. Let it sit for 30 seconds. Then run your finger through it. If the syrup holds its path and doesn’t immediately run back together, it is ready. If it is still runny, cook for another 5 minutes and test again. The pears themselves should be tender when pierced with a fork but not falling apart.
- Remove the spices. Fish out the cinnamon sticks and the vanilla bean pod. You can rinse the cinnamon sticks, dry them, and reuse them one more time if you want. I usually just discard them at this point.
- Fill the jars. Remove your hot jars from the canner using your jar lifter. Place them on a clean kitchen towel. Using your wide-mouth funnel, ladle the hot preserves into the jars, leaving 1/4 inch of headspace. This is important. Too little headspace and the jars might not seal. Too much and the preserves might darken too much during processing.
- Remove air bubbles. Run a non-metallic spatula or a chopstick gently around the inside of each jar to release any trapped air bubbles. Add more preserves if needed to maintain the 1/4 inch headspace.
- Wipe the rims and apply lids. Dip a clean cloth in hot water and wipe the rims of the jars thoroughly. Any sugar residue on the rim will prevent a proper seal. Place the lids on the jars and screw on the bands until they are fingertip tight. Do not overtighten. Air needs to escape during processing.
- Process the jars. Place the filled jars back into the water bath canner. Make sure they are covered by at least 1 inch of water. Bring the water to a full rolling boil. Process for 10 minutes (adjust for altitude if necessary). Start the timer only after the water returns to a boil.
- Cool and check seals. Using your jar lifter, remove the jars from the canner and place them on a clean towel. Do not tighten the bands. Let them cool undisturbed for 12-24 hours. You should hear the satisfying “pop” of the lids sealing as they cool. After they are completely cool, press the center of each lid. If it doesn’t flex up and down, it is sealed. If it does, refrigerate that jar and use it within 3 weeks.
Cooking Tips & Techniques
I have made every mistake in the book with this recipe, so let me save you some trouble.
Don’t rush the cooking process. The first time I made these, I cranked up the heat thinking it would save time. It didn’t. The sugar started caramelizing before the pears had a chance to soften properly. I ended up with hard pears in a dark, bitter syrup. Low and slow is the way to go. Patience, like Clara said.
Use a thermometer if you have one. The preserves are ready when the temperature reaches 220°F (104°C) on a candy thermometer. This takes the guesswork out of the cold plate test. I use a simple instant-read thermometer and it has saved me from undercooking more batches than I can count.
Cut the pears uniformly. I know it’s tedious, but taking the time to cut the pears into similar-sized chunks ensures they cook evenly. You don’t want some pieces turning to mush while others are still crunchy. I usually cut each pear half into 6-8 pieces, depending on the size.
Skim the foam. I used to think the foam was just part of the preserves. It is not. Skimming it off gives you a clearer, more beautiful final product. Plus, the foam can sometimes have a slightly bitter taste. Just use a shallow spoon and gently scoop it off the surface.
Multitask wisely. While the pears are simmering, you can prepare your jars and get your water bath ready. This makes the whole process flow much smoother. I usually start heating my canner water about 15 minutes before I expect the preserves to be done.
Variations & Adaptations
This recipe is wonderfully flexible. Here are some variations I have tried and loved.
Spiced Pear Preserves : Add 1 teaspoon of whole cloves, 3 star anise pods, and a piece of fresh ginger (about 1 inch, peeled and sliced) along with the cinnamon sticks. This creates a more complex, warming spice profile that is incredible during the holidays. I made this version last Christmas and gave them as gifts. They were gone within a week.
Vanilla Pear Preserves : Replace the cinnamon with 2 vanilla beans (split and scraped). The flavor is more delicate and floral. This version is amazing swirled into plain Greek yogurt or spooned over vanilla ice cream. I actually prefer this version during the summer months when I want something lighter.
Low-Sugar Version : If you are watching your sugar intake, you can reduce the sugar to 1 1/2 cups and use a low-sugar pectin. Follow the pectin package instructions carefully. The texture will be softer and the preserves will be more like a jam. They will also need to be refrigerated and used within 3 months. I have made this version for my mother who is diabetic, and she loves it.
Bourbon Pear Preserves : After you remove the pot from the heat, stir in 3 tablespoons of good quality bourbon. The alcohol cooks off during processing, leaving behind a warm, oaky flavor that pairs beautifully with the pears. This is my personal favorite for adult gatherings.
Apple-Pear Preserves : Substitute half the pears with firm apples like Granny Smith or Honeycrisp. The apples add a bit of tartness and a firmer texture. This is a great way to use up fruit that is starting to get a little too ripe.
Serving & Storage Suggestions
These preserves are best served at room temperature. The flavors are most pronounced when they are not cold from the refrigerator. Spoon them over warm buttermilk pancakes, swirl them into oatmeal, or simply spread them on a thick slice of toasted sourdough with a pat of salted butter. The combination of sweet pears, warm cinnamon, and salty butter is absolutely divine.
For a savory twist, use these preserves as a glaze for roasted pork tenderloin or chicken thighs. Brush the preserves over the meat during the last 15 minutes of roasting. The sugar caramelizes beautifully, and the cinnamon adds a unexpected warmth to the dish. I served this at a dinner party last fall and everyone asked for the recipe.
Storage Instructions : Properly sealed jars can be stored in a cool, dark place for up to 18 months. Once opened, refrigerate the preserves and use them within 3 weeks. The flavor actually improves over the first few months as the cinnamon continues to infuse the pears.
Reheating Tips : If the preserves crystallize in the jar (this can happen if they get too cold), simply place the sealed jar in a pot of warm water for 10-15 minutes. Gently stir the preserves to redistribute the syrup. Do not microwave the jar, as this can create hot spots and potentially break the glass.
Flavor Development : I have noticed that these preserves taste best after they have been sitting for at least 2 weeks. The cinnamon mellows out and the pear flavor becomes more concentrated. If you can resist opening a jar for a month, you will be rewarded with an incredibly complex flavor.
Nutritional Information & Benefits
Per 2-tablespoon serving (approximately 30 grams):
- Calories: 85
- Total Fat: 0g
- Sodium: 1mg
- Total Carbohydrates: 22g
- Dietary Fiber: 1g
- Sugars: 20g
- Protein: 0g
Pears are an excellent source of dietary fiber, which supports digestive health. They also contain vitamin C and copper, both of which are important for immune function and red blood cell production. Cinnamon has been studied for its anti-inflammatory properties and its ability to help regulate blood sugar levels. While these preserves do contain sugar, the fiber from the pears helps slow down the absorption of sugar into your bloodstream.
This recipe is naturally gluten-free, dairy-free, and vegan. It contains no common allergens beyond the fruit itself. If you are following a low-FODMAP diet, be aware that pears are high in fructose and may not be suitable for some individuals.
Conclusion
This recipe for homemade cinnamon canned pear preserves is more than just a way to preserve fruit. It is a way to capture a moment in time. The late summer harvest, the warm scent of cinnamon filling your kitchen, the satisfaction of seeing those beautiful golden jars lined up on your counter. Every time I open a jar in the middle of winter, I am transported back to that sunny September afternoon when Clara handed me that worn recipe card.
I really hope you give this recipe a try. Don’t worry if your first batch isn’t perfect. Mine wasn’t either. The beauty of homemade preserves is that even the “mistakes” are still delicious. Adjust the spices to your liking, experiment with different pear varieties, and make this recipe your own. That is what cooking is all about, honestly.
I would love to hear how your preserves turn out! Leave a comment below and let me know what variations you tried. Did you add extra cinnamon? Did you try the bourbon version? Share your photos on Pinterest and tag me. Your success in the kitchen makes my day. Happy canning, friends!
Frequently Asked Questions
Do I have to peel the pears for this recipe?
Yes, I recommend peeling the pears. The skins can become tough and chewy during the cooking process, and they can also make the preserves look cloudy. The texture is much more pleasant without the skins.
Can I use ground cinnamon instead of cinnamon sticks?
You can, but the flavor will be different. Ground cinnamon can make the preserves look darker and slightly grainy. If you use ground cinnamon, add 2 teaspoons at the beginning of cooking and stir well. The flavor will be more intense but less nuanced.
Why didn’t my jars seal properly?
There are a few common reasons. The jar rims might not have been wiped clean of sugar residue. The lids might have been too tight or too loose. Or the jars might have been removed from the canner too quickly after processing. Always let the jars sit in the canner for 5 minutes after the timer goes off before removing them.
How long do these preserves last once opened?
Once you open a jar, keep it in the refrigerator. It will stay good for about 3 weeks. In my house, they never last that long, but if you have more than you can eat, you can freeze the opened preserves in a freezer-safe container for up to 6 months.
Can I double this recipe?
You can, but I don’t recommend it. Cooking a larger batch takes much longer, and the pears can overcook before the syrup thickens properly. If you want to make more, I suggest making two separate batches. It takes the same amount of time overall, and the results are much more consistent.
Pin This Recipe!
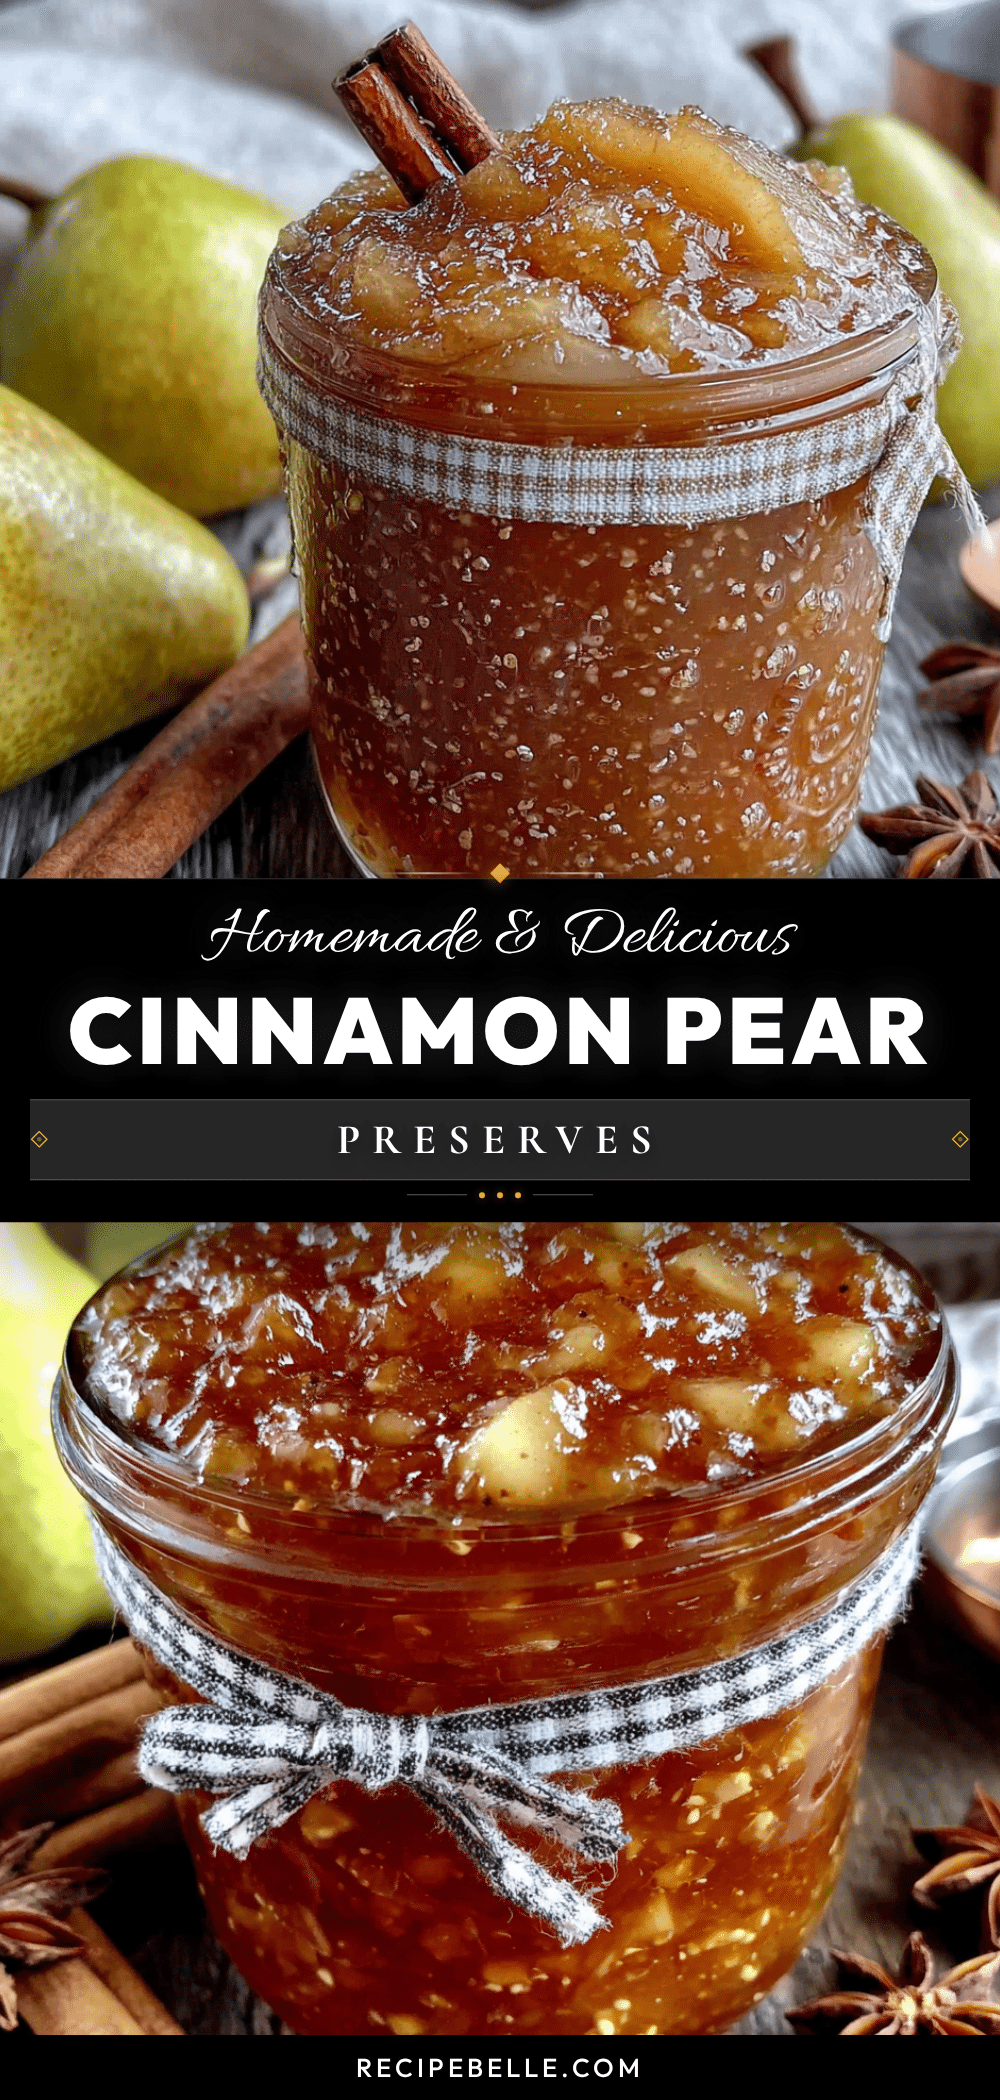
Best Homemade Canned Pear Preserves with Cinnamon
Learn how to make perfectly spiced, chunky pear preserves with cinnamon. This beginner-friendly canning recipe yields tender pear chunks in a thick, aromatic syrup that’s perfect for toast, pancakes, or glazing meats.
- Prep Time: 30 minutes
- Cook Time: 35 minutes
- Total Time: 1 hour 5 minutes
- Yield: 4 half-pint jars (about 4 cups) 1x
- Category: Preserves
- Cuisine: American
Ingredients
- 4 pounds ripe but firm pears (about 8–10 medium pears, peeled, cored, and cut into 1-inch chunks)
- 3 cups granulated sugar (600 grams)
- 2 tablespoons fresh lemon juice (about 1 lemon)
- 4 cinnamon sticks (plus 1 teaspoon ground cinnamon if desired)
- 1 vanilla bean (optional, split lengthwise and seeds scraped)
- 1/4 cup water (60 ml)
- 4 half-pint (8 oz) canning jars with new lids and bands
- Water bath canner or large deep pot with rack
Instructions
- Prepare your jars and equipment. Wash jars, lids, and bands in hot, soapy water. Rinse thoroughly. Place jars in water bath canner, cover with water, and bring to a simmer. Keep hot until ready to fill. Place lids in a small bowl of hot water (not boiling) to soften sealing compound.
- Prepare the pears. Peel pears using a vegetable peeler. Cut in half lengthwise and scoop out core and seeds. Cut into 1-inch chunks. Place cut pears in a large bowl with lemon juice and enough water to cover to prevent browning.
- Start the cooking process. In a large, heavy-bottomed pot, combine sugar and 1/4 cup water. Stir gently over medium heat until sugar dissolves completely, about 3-4 minutes.
- Add the pears and spices. Drain pears and add to pot along with cinnamon sticks and split vanilla bean (if using). Stir gently to coat. Increase heat to medium-high and bring to a gentle boil (steady simmer, not rolling boil).
- Cook the preserves. Reduce heat to medium-low and let pears simmer gently for 25-35 minutes, stirring occasionally. Pears should become translucent and tender but still hold their shape. Skim off any foam that forms on the surface.
- Test for doneness. Spoon a small amount of syrup onto a cold plate. Let sit for 30 seconds. Run your finger through it. If the syrup holds its path and doesn’t immediately run back together, it is ready. If still runny, cook for another 5 minutes and test again.
- Remove the spices. Fish out cinnamon sticks and vanilla bean pod. Discard or reserve cinnamon sticks for reuse.
- Fill the jars. Remove hot jars from canner using jar lifter. Place on a clean kitchen towel. Using a wide-mouth funnel, ladle hot preserves into jars, leaving 1/4 inch headspace.
- Remove air bubbles. Run a non-metallic spatula or chopstick gently around the inside of each jar to release trapped air bubbles. Add more preserves if needed to maintain 1/4 inch headspace.
- Wipe the rims and apply lids. Dip a clean cloth in hot water and wipe jar rims thoroughly. Place lids on jars and screw on bands until fingertip tight (do not overtighten).
- Process the jars. Place filled jars back into water bath canner, ensuring they are covered by at least 1 inch of water. Bring water to a full rolling boil. Process for 10 minutes (adjust for altitude if necessary). Start timer only after water returns to a boil.
- Cool and check seals. Using jar lifter, remove jars from canner and place on a clean towel. Do not tighten bands. Let cool undisturbed for 12-24 hours. Listen for the ‘pop’ of lids sealing. After completely cool, press center of each lid. If it doesn’t flex up and down, it is sealed. If it does, refrigerate that jar and use within 3 weeks.
Notes
Don’t rush the cooking process; low and slow is key. Use a candy thermometer if available; preserves are ready at 220°F (104°C). Cut pears uniformly for even cooking. Skim foam for a clearer final product. Multitask wisely by preparing jars and water bath while pears simmer. For best flavor, let preserves sit for at least 2 weeks before opening. If jars don’t seal, refrigerate and use within 3 weeks.
Nutrition
- Serving Size: 2 tablespoons (30 gr
- Calories: 85
- Sugar: 20
- Sodium: 1
- Carbohydrates: 22
- Fiber: 1
Keywords: pear preserves, cinnamon pear preserves, homemade preserves, canning recipe, pear jam, easy preserves, beginner canning



