I was standing in the craft store aisle last October, staring at a display of fake autumn leaves made of felt and glitter, when the scent of cinnamon from some nearby candle hit me—and suddenly I was seven years old at my neighbor Mrs. Gable’s kitchen table. Her hands were flour-dusted, and she was pressing a cookie cutter shaped like an oak leaf into a sheet of pale dough. I remember the way the afternoon light fell across the worn wooden table, catching the tiny gold flecks in her wedding ring. She let me poke the leftover dough scraps into little balls, and I ate two of them raw before she pretended not to notice. That moment—the quiet, the buttery smell, the feeling of being trusted with something important—has stuck with me for decades. I’ve been chasing that exact feeling ever since, trying to recreate it in my own kitchen with my own set of cookie cutters.
These Thanksgiving sugar cookies with royal icing leaves are my closest attempt yet. They’re not fancy or complicated, honestly. They’re the kind of cookie you make on a chilly November afternoon when the house feels quiet and you need something to do with your hands. The dough comes together fast, the icing dries to a smooth, glossy finish, and the whole process feels like a warm hug in food form. Maybe you’ve been there—that moment when you just need to bake something beautiful, even if nobody’s coming over to eat it.
I’ve made these cookies every Thanksgiving for the past five years now, and they’ve become my little ritual. The first time, I messed up the icing consistency completely—it ran off the edges like a sad waterfall. The second time, I forgot to chill the dough and my leaves came out looking more like blobs. But somewhere around batch three, I figured it out. And now, when I pipe those little orange and brown leaves onto each cookie, I feel like I’m passing something forward. Something quiet. Something good.
Why You’ll Love This Recipe
Let me tell you why these cookies have earned a permanent spot in my Thanksgiving rotation. I’ve tested this recipe about a dozen times, tweaking the flour ratio and the chilling time until everything felt just right. Here’s what makes them special:
- Simple Ingredients: You probably already have butter, sugar, flour, and eggs in your kitchen right now. No weird specialty items, no trips to three different stores.
- Perfect for Thanksgiving: These cookies fit right in on a dessert table alongside pies and cakes, but they’re lighter and less heavy after a big meal.
- Crowd-Pleaser: Kids love decorating them, adults love eating them, and everyone loves how pretty they look. I’ve never brought a batch anywhere that didn’t disappear.
- Unbelievably Delicious: The cookie itself is soft in the middle with slightly crispy edges, and the royal icing adds this lovely snap when you bite into it. The flavor combo of vanilla and almond extract is next-level comfort food.
- Make-Ahead Friendly: You can bake the cookies days in advance and ice them whenever you have time. Perfect for busy holiday weeks.
What makes this recipe different from the rest is the technique. I use a slightly higher butter-to-flour ratio than most sugar cookie recipes, which gives you a softer, more tender crumb. And instead of rolling the dough out once, I do a double chill—once after mixing, once after cutting—which keeps the edges sharp and the shapes clean. It’s not just another sugar cookie recipe. It’s your new best version.
This recipe is the kind that makes you close your eyes after the first bite. It’s comfort food reimagined—familiar but special, simple but gorgeous. Perfect for impressing guests without stress, or turning a quiet afternoon into something memorable.
What Ingredients You Will Need
This recipe uses simple, wholesome ingredients to deliver that classic sugar cookie flavor and tender texture. Most of these are pantry staples, which makes this recipe easy to whip up on a whim.
For the Sugar Cookies
- Unsalted butter, 1 cup (2 sticks, 226g), softened to room temperature (I prefer Land O’Lakes for consistent results)
- Granulated sugar, 1 cup (200g)
- Large egg, 1, room temperature
- Vanilla extract, 2 teaspoons (pure, not imitation, for best flavor)
- Almond extract, ½ teaspoon (this is the secret ingredient that makes people ask what’s different)
- All-purpose flour, 2 ¾ cups (345g), spooned and leveled
- Baking powder, 1 teaspoon
- Salt, ½ teaspoon
For the Royal Icing
- Powdered sugar, 3 cups (360g), sifted
- Meringue powder, 2 tablespoons (I use Wilton brand—it gives the best consistency)
- Warm water, 4-5 tablespoons (start with 4 and add more as needed)
- Vanilla extract, ½ teaspoon
- Gel food coloring: orange, brown, yellow, and red (Americolor brand works great)
For the leaf decorations, you’ll want to have some edible gold luster dust or sanding sugar on hand if you want to add a little sparkle. I like to use gold dust for a more elegant look, but sanding sugar works perfectly for a more casual, kid-friendly vibe.
If you don’t have almond extract, you can leave it out—the cookies will still taste great. But honestly, that little hint of almond is what gives these cookies that bakery-quality flavor. Don’t skip it if you can help it.
For the gel food coloring, I recommend sticking with gel instead of liquid. Liquid food coloring will thin out your royal icing too much, and you’ll end up with a runny mess. Gel colors are concentrated, so you only need a tiny drop, and they won’t affect the icing consistency.
Equipment Needed
You don’t need a ton of fancy equipment to make these cookies, but a few specific tools will make your life much easier.
- Stand mixer or hand mixer: I use my KitchenAid stand mixer for the cookie dough and the royal icing, but a hand mixer works just fine.
- Rolling pin: A standard rolling pin is fine, but if you have a rolling pin with adjustable thickness rings, it’s a game-changer for getting even cookies.
- Leaf-shaped cookie cutters: You can find these at craft stores or online. I have a set of four different leaf shapes—oak, maple, birch, and a general leaf shape.
- Baking sheets: Two large baking sheets, preferably light-colored aluminum (dark sheets can cause cookies to brown too quickly).
- Parchment paper or silicone baking mats: Silpat mats are my favorite because they’re reusable and give even baking.
- Piping bags: Disposable piping bags are easiest, or you can use reusable ones with a small round tip (size 2 or 3 works well).
- Cooling rack: A wire cooling rack is essential for letting cookies cool completely before icing.
- Small bowls or ramekins: For dividing and coloring your royal icing.
- Toothpicks: For spreading icing into corners and fixing small mistakes.
If you don’t have piping bags, you can use a small zip-top bag with the corner snipped off. It’s not as precise, but it works in a pinch. I’ve done it plenty of times when I ran out of piping bags mid-project.
Preparation Method
Let’s walk through this step by step. I’ll include all the little details I’ve learned from making these cookies more times than I can count.
Make the Cookie Dough
- In a large mixing bowl, cream together the softened butter and granulated sugar on medium speed for about 3 minutes, until light and fluffy. You want the mixture to look pale and almost doubled in volume. Scrape down the sides of the bowl halfway through.
- Add the egg, vanilla extract, and almond extract. Beat on medium speed until fully combined, about 1 minute. The mixture might look a little curdled at this point—don’t worry, that’s normal.
- In a separate bowl, whisk together the flour, baking powder, and salt. Gradually add the dry ingredients to the wet ingredients, mixing on low speed until just combined. Don’t overmix! Stop as soon as you don’t see any more streaks of flour.
- Divide the dough into two equal portions, flatten each into a disk about 1 inch thick, wrap tightly in plastic wrap, and refrigerate for at least 2 hours. I know it’s tempting to skip this step, but trust me—chilled dough is much easier to roll out and keeps its shape better in the oven.
Roll and Cut the Cookies
- Preheat your oven to 350°F (175°C). Line two baking sheets with parchment paper or silicone mats.
- Lightly flour your work surface and rolling pin. Remove one disk of dough from the refrigerator and let it sit at room temperature for about 5 minutes—just long enough to be rollable without cracking.
- Roll the dough to about ¼-inch thickness. I like to roll from the center outward, turning the dough occasionally to prevent sticking. Add more flour to the surface and rolling pin as needed.
- Dip your leaf cookie cutters in flour, then press firmly into the dough. Transfer the cut shapes to your prepared baking sheets, spacing them about 1 inch apart. Gather the scraps, reroll, and cut more cookies until you’ve used all the dough.
- Place the baking sheets in the refrigerator for 15 minutes before baking. This second chill is crucial—it helps the cookies hold their shape and prevents spreading.
- Bake for 8-10 minutes, rotating the pans halfway through. The cookies should be lightly golden around the very edges but still pale on top. They will continue to set as they cool.
- Let the cookies cool on the baking sheets for 5 minutes, then transfer to a wire cooling rack to cool completely. Do not ice warm cookies—the icing will melt and slide right off.
Make and Apply the Royal Icing
- In a clean mixing bowl, combine the sifted powdered sugar and meringue powder. Add 4 tablespoons of warm water and the vanilla extract. Beat on low speed for about 4 minutes, until the icing is thick and glossy. It should hold a ribbon trail when you lift the beater.
- Test the consistency: if the icing is too thick to pipe, add more water ½ teaspoon at a time. If it’s too thin, add more powdered sugar 1 tablespoon at a time. The ideal consistency for piping outlines is like toothpaste—thick enough to hold its shape but smooth enough to pipe easily.
- Divide the icing into small bowls. Color one portion orange, one brown, one yellow, and leave a small portion white. You can also mix orange and yellow to create a warm golden shade.
- Transfer each color to a piping bag fitted with a small round tip (size 2 or 3). If you don’t have tips, just snip a tiny hole in the corner of the bag.
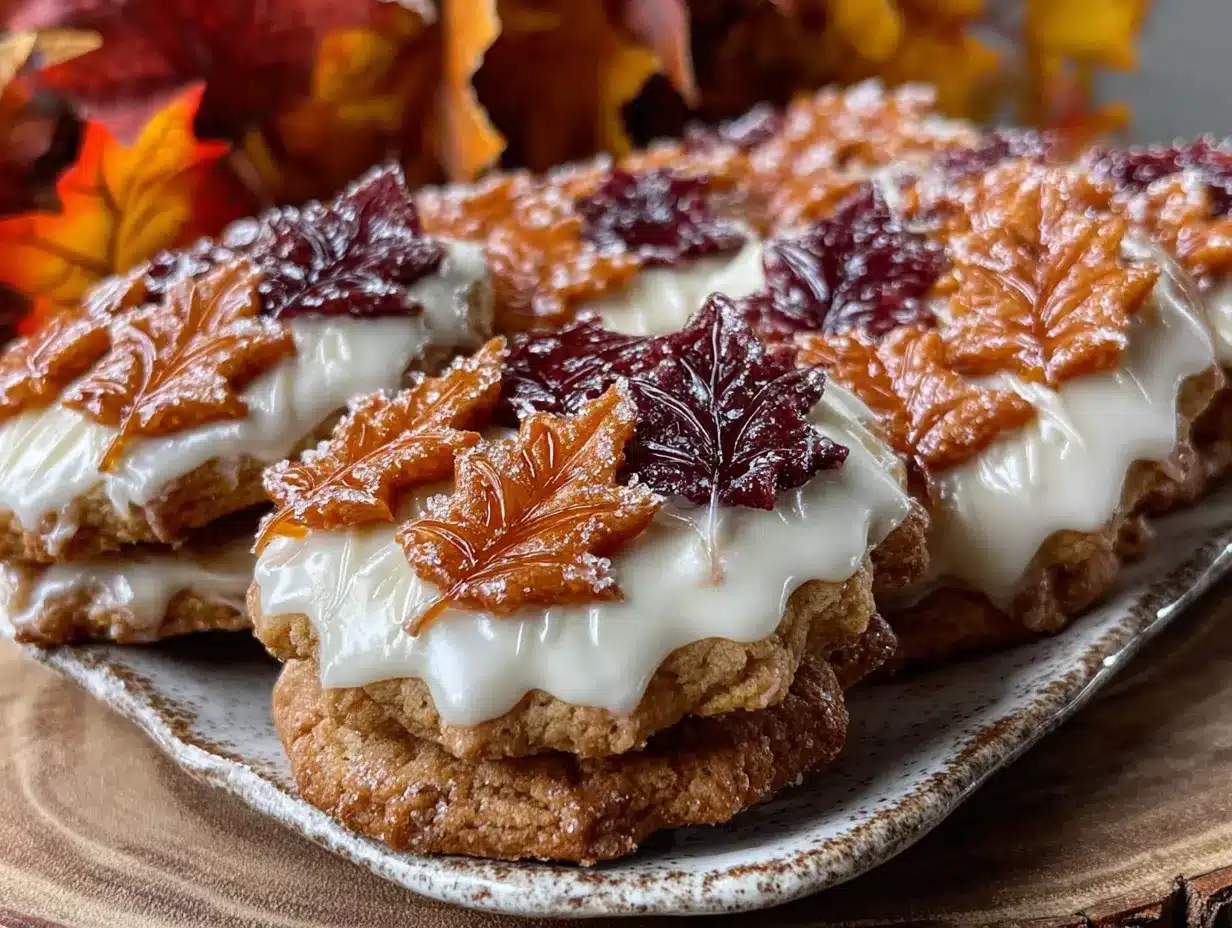
- Pipe outlines of leaves on each cookie. For maple leaves, pipe the outline and then fill in the center with the same color. For oak leaves, pipe the outline and then use a toothpick to spread the icing into the corners.
- Let the iced cookies dry at room temperature for at least 4 hours, or overnight. Royal icing needs time to set completely, and rushing this step will result in smudged designs.
- Once dry, you can add details like leaf veins using a slightly thicker icing in a contrasting color. Pipe thin lines from the base of the leaf to the tip, following the natural vein pattern.
Cooking Tips & Techniques
I’ve made plenty of mistakes with sugar cookies over the years, and I’m sharing them so you don’t have to repeat them. Here are the things I wish someone had told me when I started.
Don’t skip the chilling steps. I know it’s annoying to wait, but chilled dough is non-negotiable for sharp-edged cookies. The first time I made these, I was impatient and skipped the second chill. My leaves came out looking like sad, puffy clouds. Now I always chill for at least 15 minutes after cutting, and my cookies come out perfect every time.
Watch your oven temperature. Ovens run hot or cold, and 350°F on your dial might be 375°F in reality. I burned my first batch because my old oven ran hot. Invest in an oven thermometer—they’re cheap and they’ll save you from cookie disasters. If your cookies are browning too fast, reduce the temperature by 25 degrees.
Get the royal icing consistency right. This is the trickiest part. If your icing is too thick, it won’t spread smoothly. If it’s too thin, it will run off the cookie edges. The perfect consistency is often called “15-second icing”—when you lift the spoon, the ribbon of icing should settle back into the bowl in about 15 seconds. Practice makes perfect here.
Use a scribe tool for details. A scribe tool (or a simple toothpick) is invaluable for popping air bubbles and spreading icing into tight corners. I keep a few toothpicks on hand whenever I’m decorating, and I use them constantly for fixing small mistakes.
Work in batches. Don’t try to ice all your cookies at once if you’re a beginner. Work with one color at a time, and let each layer dry before adding the next. This prevents colors from bleeding into each other and keeps your designs crisp.
Variations & Adaptations
One of the best things about this recipe is how easy it is to adapt. Here are some variations I’ve tried and loved.
Gluten-Free Version: Substitute the all-purpose flour with a 1:1 gluten-free baking flour blend. I’ve had good results with Bob’s Red Mill Gluten-Free 1-to-1 Baking Flour. The texture is slightly more crumbly, but the flavor is still excellent. Add an extra tablespoon of butter to help with moisture.
Vegan Version: Replace the butter with vegan butter (I like Miyoko’s) and use a flax egg (1 tablespoon ground flaxseed mixed with 3 tablespoons water, let sit for 5 minutes). For the royal icing, use aquafaba (the liquid from a can of chickpeas) instead of meringue powder—3 tablespoons of aquafaba whipped to stiff peaks works beautifully.
Spiced Version: Add 1 teaspoon of cinnamon, ½ teaspoon of nutmeg, and ¼ teaspoon of cloves to the dry ingredients. This gives the cookies a warm, cozy fall flavor that pairs perfectly with the leaf shapes. I made these for a Friendsgiving last year and they were gone in minutes.
Citrus Twist: Add 1 tablespoon of orange zest to the cookie dough and substitute orange extract for the vanilla in the royal icing. The bright citrus flavor is a lovely contrast to the richness of the butter. This variation is especially nice if you’re serving these cookies after a heavy Thanksgiving meal.
Mini Cookie Version: Use tiny leaf cookie cutters (about 1 inch) and reduce the baking time to 6-7 minutes. These are perfect for garnishing pies or adding to a cookie platter. They’re also great for kids to decorate—less surface area means less pressure to make them perfect.
Serving & Storage Suggestions
These cookies are best served at room temperature, and they actually improve after a day or two—the flavors meld together and the royal icing sets perfectly. Here’s how I like to serve and store them.
Serving Temperature: Serve at room temperature. If you’ve stored them in the refrigerator, let them sit out for about 30 minutes before serving. Cold cookies can taste slightly less flavorful.
Presentation Ideas: Arrange the cookies on a tiered stand or a wooden board lined with parchment. For Thanksgiving, I like to scatter a few real autumn leaves (washed and dried) around the cookies for a natural, rustic look. You can also stack them in a clear jar tied with a ribbon for a simple hostess gift.
Complementary Dishes: These cookies pair beautifully with a cup of hot apple cider, spiced chai tea, or a warm mug of coffee. For a dessert spread, serve them alongside pumpkin pie, pecan pie bars, or a slice of apple cake. They’re also lovely with a scoop of vanilla ice cream or a dollop of whipped cream.
Storage Instructions: Store the decorated cookies in an airtight container at room temperature for up to 2 weeks. Place parchment paper between layers to prevent the icing from sticking. Do not refrigerate—the moisture in the fridge can cause the royal icing to become sticky and lose its shine.
Freezer Instructions: You can freeze the undecorated baked cookies for up to 3 months. Wrap them tightly in plastic wrap and then place in a freezer-safe bag. Thaw at room temperature before icing. I do this every year—bake a big batch of cookies in early November and ice them the day before Thanksgiving.
Flavor Development: The cookies actually taste better on day two or three. The butter flavor deepens, and the vanilla and almond extracts meld together beautifully. If you can resist eating them all immediately, you’ll be rewarded with an even better cookie.
Nutritional Information & Benefits
Let’s be real—these are sugar cookies, so they’re not health food. But knowing what’s in them can help you enjoy them mindfully.
Estimated Nutritional Values (per cookie, based on 24 cookies):
- Calories: 180
- Total Fat: 8g
- Saturated Fat: 5g
- Carbohydrates: 26g
- Sugar: 16g
- Protein: 2g
Health Benefits of Key Ingredients: Butter provides vitamin A and healthy fats (in moderation). Eggs offer protein and essential amino acids. Almond extract contains small amounts of antioxidants. Of course, these benefits are minimal given the sugar content, but it’s nice to know there’s a little something good in there.
Dietary Considerations: This recipe contains gluten, dairy, and eggs. For gluten-free, dairy-free, or vegan options, see the variations section above. These cookies are not suitable for low-carb or keto diets due to the high sugar content.
Potential Allergens: Contains wheat (gluten), dairy (butter, meringue powder may contain trace dairy), and eggs. The almond extract is safe for most people with tree nut allergies (it’s made from the pits of stone fruits, not tree nuts), but check with your doctor if you have concerns.
My personal philosophy? These cookies are a treat, and treats are meant to be enjoyed. I don’t stress about the numbers. I focus on the joy of making something beautiful and sharing it with people I love. Life is too short to count calories on Thanksgiving.
Conclusion
These Thanksgiving sugar cookies with royal icing leaves have become more than just a recipe in my kitchen—they’re a tradition. They’re the thing I look forward to making every November, the thing that signals the start of the holiday season for me. There’s something deeply satisfying about pressing a cookie cutter into chilled dough, piping tiny leaf veins onto each cookie, and watching a tray of plain sugar cookies transform into something beautiful.
I hope you’ll try making these cookies, whether you’re an experienced baker or a complete beginner. Don’t worry if your first batch isn’t perfect—mine wasn’t either. The beauty of these cookies is in the process, in the quiet afternoon spent in the kitchen, in the smell of butter and vanilla filling your home. And honestly, even the imperfect ones taste amazing.
I’d love to hear how your cookies turn out! Leave a comment below and let me know which leaf shapes you used, what color combinations you tried, and whether you ate more dough than you baked (no judgment here). Share a photo on social media and tag me—I love seeing your creations. And if you have a variation that works especially well, please share it. That’s how recipes grow and evolve.
Happy baking, friends. May your cookies be golden, your icing be smooth, and your Thanksgiving be full of warmth and good food.
Frequently Asked Questions
Can I make these cookies ahead of time?
Absolutely! You can bake the cookies up to a week in advance and store them in an airtight container at room temperature. Ice them a day or two before serving for the best results. You can also freeze the undecorated cookies for up to 3 months.
Why did my cookies spread in the oven?
This usually happens when the dough isn’t chilled enough before baking. Make sure you chill the cut cookies on the baking sheet for at least 15 minutes before putting them in the oven. Also, check that your butter wasn’t too soft when you creamed it—it should be softened but still cool to the touch.
Can I use liquid food coloring instead of gel?
I don’t recommend it. Liquid food coloring will thin out your royal icing and make it difficult to pipe. Gel food coloring is concentrated, so you only need a tiny amount, and it won’t affect the consistency of your icing. You can find gel colors at most craft stores or online.
How long does royal icing take to dry?
Royal icing typically takes 4-6 hours to dry completely at room temperature, but it’s best to let it dry overnight if you can. The drying time depends on the humidity in your kitchen. If you’re in a humid environment, it might take longer. You’ll know the icing is dry when it feels hard to the touch and doesn’t dent when you press it gently.
My royal icing is too thick/thin. How do I fix it?
If your icing is too thick, add water ½ teaspoon at a time and stir until it reaches the right consistency. If it’s too thin, add sifted powdered sugar 1 tablespoon at a time. The ideal consistency is thick enough to hold its shape when piped but smooth enough to flow easily through the piping tip. It should look like toothpaste or slightly thinner.
Pin This Recipe!
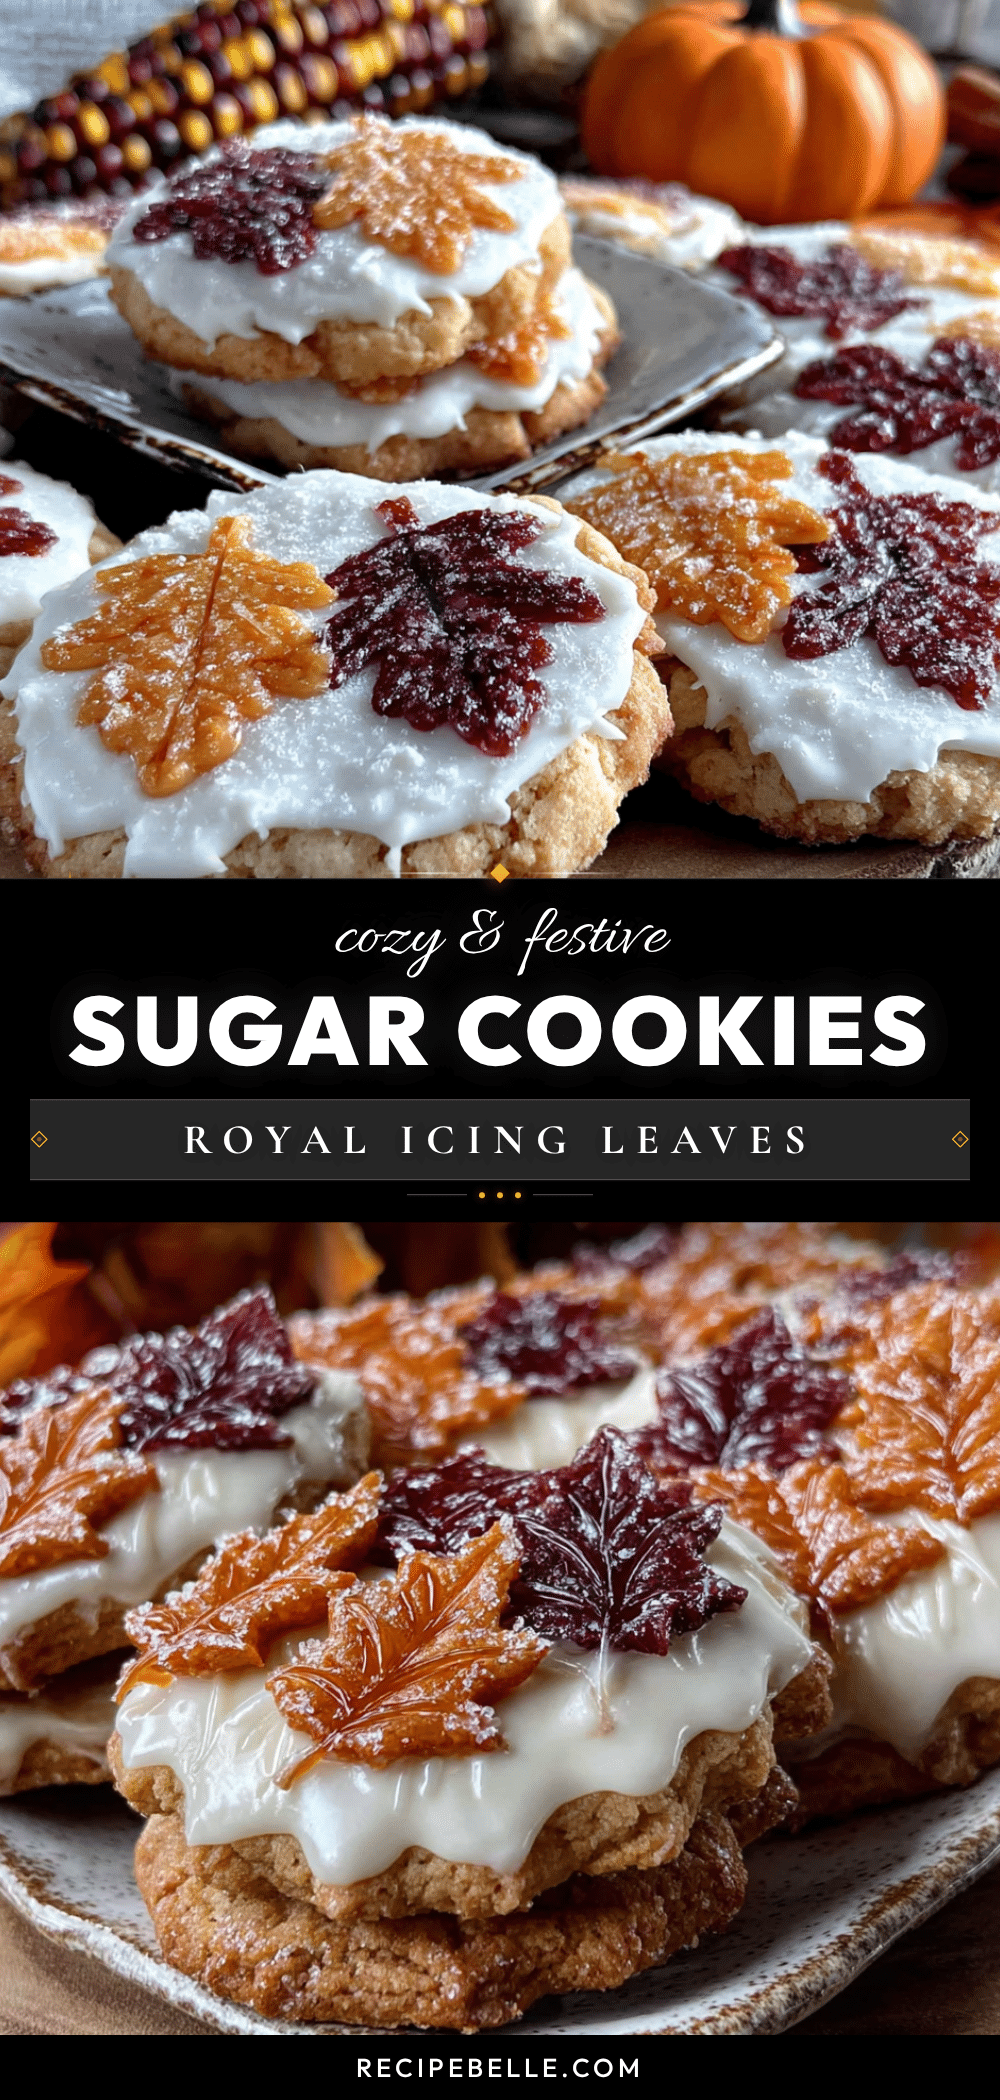
Best Thanksgiving Sugar Cookies with Royal Icing Leaves

These Thanksgiving sugar cookies with royal icing leaves are soft, tender, and beautifully decorated. They’re a perfect make-ahead treat for the holiday season, with a buttery vanilla-almond flavor and glossy icing that dries to a smooth finish.
- Prep Time: 30 minutes
- Cook Time: 10 minutes
- Total Time: 2 hours 40 minutes (includes chilling and drying time)
- Yield: 24 servings 1x
- Category: Dessert
- Cuisine: American
Ingredients
- 1 cup (2 sticks, 226g) unsalted butter, softened to room temperature
- 1 cup (200g) granulated sugar
- 1 large egg, room temperature
- 2 teaspoons pure vanilla extract
- ½ teaspoon almond extract
- 2 ¾ cups (345g) all-purpose flour, spooned and leveled
- 1 teaspoon baking powder
- ½ teaspoon salt
- 3 cups (360g) powdered sugar, sifted
- 2 tablespoons meringue powder
- 4–5 tablespoons warm water
- ½ teaspoon vanilla extract
- Gel food coloring: orange, brown, yellow, and red
Instructions
- In a large mixing bowl, cream together the softened butter and granulated sugar on medium speed for about 3 minutes, until light and fluffy. Scrape down the sides of the bowl halfway through.
- Add the egg, vanilla extract, and almond extract. Beat on medium speed until fully combined, about 1 minute.
- In a separate bowl, whisk together the flour, baking powder, and salt. Gradually add the dry ingredients to the wet ingredients, mixing on low speed until just combined. Do not overmix.
- Divide the dough into two equal portions, flatten each into a disk about 1 inch thick, wrap tightly in plastic wrap, and refrigerate for at least 2 hours.
- Preheat oven to 350°F (175°C). Line two baking sheets with parchment paper or silicone mats.
- Lightly flour your work surface and rolling pin. Remove one disk of dough from the refrigerator and let it sit at room temperature for about 5 minutes.
- Roll the dough to about ¼-inch thickness. Dip leaf cookie cutters in flour, then press firmly into the dough. Transfer cut shapes to prepared baking sheets, spacing about 1 inch apart. Gather scraps, reroll, and cut more cookies.
- Place the baking sheets in the refrigerator for 15 minutes before baking.
- Bake for 8-10 minutes, rotating the pans halfway through. Cookies should be lightly golden around the edges but still pale on top.
- Let cookies cool on baking sheets for 5 minutes, then transfer to a wire cooling rack to cool completely.
- In a clean mixing bowl, combine sifted powdered sugar and meringue powder. Add 4 tablespoons warm water and vanilla extract. Beat on low speed for about 4 minutes until thick and glossy.
- Test consistency: if too thick, add water ½ teaspoon at a time; if too thin, add powdered sugar 1 tablespoon at a time. Ideal consistency is like toothpaste.
- Divide icing into small bowls. Color one portion orange, one brown, one yellow, and leave a small portion white.
- Transfer each color to a piping bag fitted with a small round tip (size 2 or 3). Pipe outlines of leaves on each cookie. For maple leaves, pipe outline and fill center. For oak leaves, pipe outline and use a toothpick to spread icing into corners.
- Let iced cookies dry at room temperature for at least 4 hours, or overnight.
- Once dry, add details like leaf veins using slightly thicker icing in a contrasting color. Pipe thin lines from base to tip following natural vein pattern.
Notes
Don’t skip the chilling steps—chilled dough is essential for sharp edges. Use an oven thermometer to ensure accurate temperature. For royal icing, the perfect consistency is ’15-second icing’—when lifted, the ribbon settles back in about 15 seconds. Work in batches to prevent colors from bleeding.
Nutrition
- Serving Size: 1 cookie
- Calories: 180
- Sugar: 16
- Sodium: 80
- Fat: 8
- Saturated Fat: 5
- Carbohydrates: 26
- Protein: 2
Keywords: Thanksgiving cookies, sugar cookies, royal icing, leaf cookies, fall cookies, holiday baking, decorated cookies



