I was standing in the frozen foods aisle of a grocery store I didn’t even like last November when it hit me. A woman walked by holding one of those pre-made apple crisp trays—you know, the ones in the aluminum pan with the plastic lid—and the faint smell of cinnamon and brown sugar drifted off the cardboard box. It wasn’t even a real smell. It was just a memory pretending to be one. And suddenly I was nine years old in my Aunt Carol’s cramped kitchen in Ohio, watching her pull a bubbling dish out of the oven with oven mitts that had a hole in the thumb. The air was thick with butter and apples and something I couldn’t name then but I can name now: safety. I hadn’t thought about that kitchen in years. I hadn’t thought about the way she’d let me lick the spoon after she mixed the crumble—brown sugar and oats and cold butter that she pinched between her fingers until it looked like wet sand. She passed away three years ago, and I never got her recipe. So I’ve been trying to build it myself, bite by bite, batch by batch. This brown butter apple crisp is the closest I’ve gotten. And honestly? I think she’d be proud of this one.
Why You’ll Love This Recipe
Let me tell you—this isn’t just another apple crisp. I’ve made about seventeen versions over the last two years, and this one finally made me stop tweaking. The brown butter changes everything. It adds this nutty, almost caramel-like depth that regular melted butter just can’t touch. You know that feeling when you take a bite and something tastes familiar but better? That’s exactly what we’re going for here.
- Quick & Easy: From start to oven in about 20 minutes. No complicated steps, no fancy equipment. Just good food that comes together fast.
- Simple Ingredients: Apples, oats, butter, flour, sugar, cinnamon. That’s basically it. You probably have most of this in your pantry right now.
- Perfect for Cozy Evenings: Cold weather, rainy afternoons, or just one of those days where you need something warm and sweet. This is your answer.
- Crowd-Pleaser: I brought this to a Friendsgiving last year and three people asked for the recipe before I even left. It’s that kind of dessert.
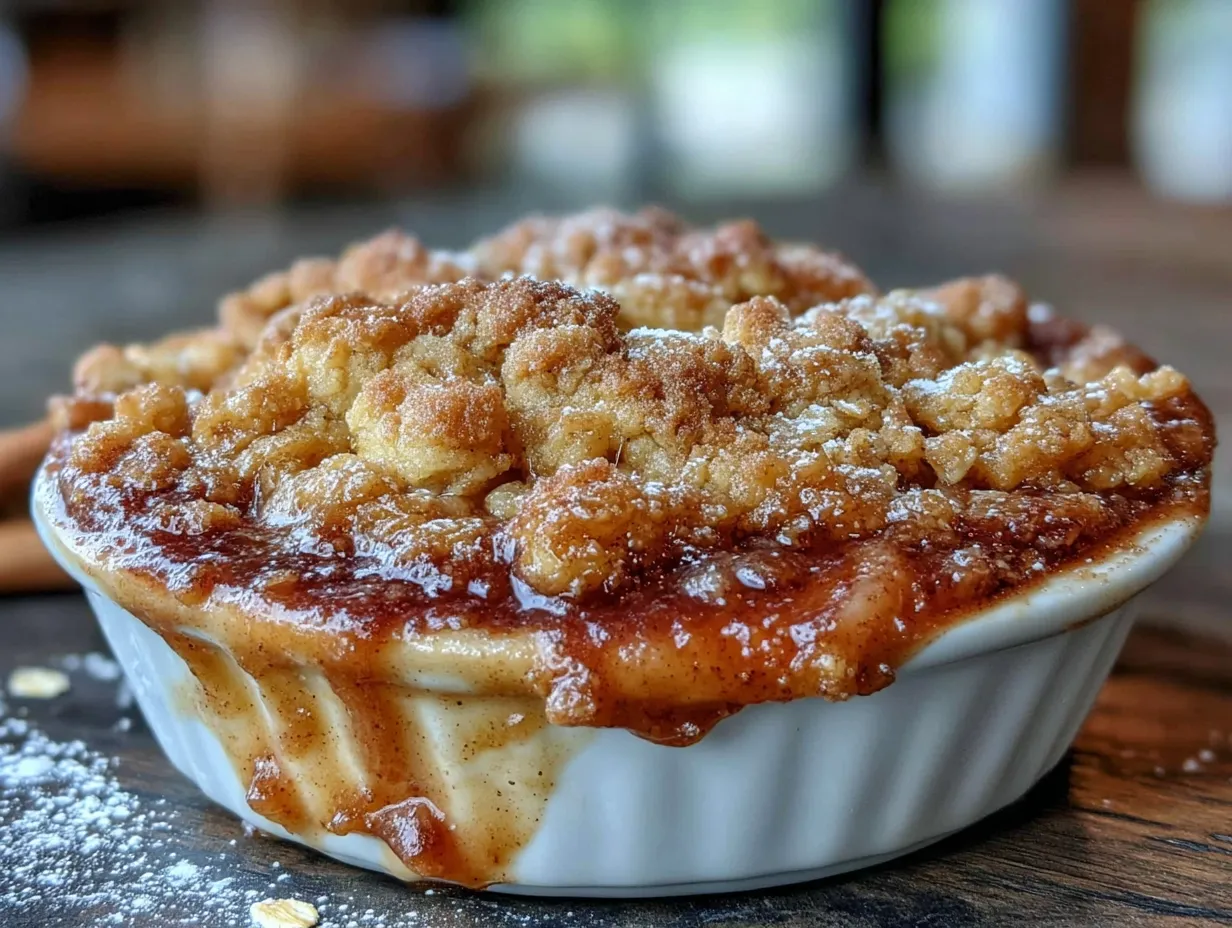
- Unbelievably Delicious: The oat crumble gets perfectly crispy on top while the apples turn soft and jammy underneath. And the brown butter? It ties everything together like a warm hug in dessert form.
What makes this different from every other apple crisp recipe out there? It’s the technique. Browning the butter before mixing it into the crumble adds a layer of flavor you can’t get any other way. And I use a mix of apple varieties—some sweet, some tart—so every bite has a little complexity. This isn’t just another version. It’s the version I keep coming back to, and I think you will too.
What Ingredients You Will Need
This recipe uses simple, honest ingredients that work together to create something genuinely special. Most of these are pantry staples, which makes this perfect for those moments when you need dessert but don’t want to run to the store.
For the Apple Filling
- 6 medium apples, peeled, cored, and sliced (about ¼ inch thick) — I use a mix of Granny Smith and Honeycrisp for the perfect balance of tart and sweet
- ⅓ cup granulated sugar (adds sweetness and helps the apples soften)
- 2 tablespoons all-purpose flour (thickens the juices as they bake)
- 1 teaspoon ground cinnamon
- ¼ teaspoon ground nutmeg (freshly grated if you have it—it makes a difference)
- 1 tablespoon lemon juice (keeps the apples from browning and brightens the flavor)
- 1 teaspoon vanilla extract
- Pinch of salt (trust me on this—it makes the sweetness pop)
For the Brown Butter Oat Crumble
- ½ cup unsalted butter (you’ll brown this first, so don’t skip this step)
- ¾ cup old-fashioned rolled oats (not quick oats—they get too mushy)
- ¾ cup all-purpose flour
- ½ cup packed brown sugar (light or dark both work; dark gives a deeper flavor)
- ¼ cup granulated sugar
- 1 teaspoon ground cinnamon
- ¼ teaspoon salt
A quick note on the apples: don’t overthink it too much. I’ve made this with all Granny Smith when that’s all I had, and it was still delicious. The key is using apples that hold their shape during baking. Fuji, Braeburn, or Jonagold all work great. If you need this to be gluten-free, swap the all-purpose flour for a good 1:1 gluten-free baking flour. I’ve tested it with Bob’s Red Mill and it works beautifully.
Equipment Needed
- 9×9-inch baking dish (or similar 2-quart dish) — glass or ceramic works best
- Light-colored skillet or saucepan (essential for browning the butter so you can see the color change)
- Large mixing bowl for the apples
- Medium mixing bowl for the crumble
- Sharp knife and cutting board for slicing apples
- Vegetable peeler (or a good paring knife if you’re confident)
- Measuring cups and spoons
- Wooden spoon or rubber spatula
- Cooling rack (optional but helpful for even cooling)
If you don’t have a 9×9 dish, an 8×8 or even a small cast-iron skillet works perfectly. Just keep an eye on the baking time—different pans conduct heat differently. I use my grandmother’s old Pyrex dish for this, the one with the faded blue flowers on the side. It feels right for a recipe like this.
Preparation Method
- Preheat your oven to 375°F (190°C). Position a rack in the center of the oven. While it’s heating, get your apples ready.
- Peel, core, and slice the apples. I like them about ¼ inch thick—not too thin or they’ll turn to mush, not too thick or they won’t soften enough. Aim for uniform slices so they cook evenly. This takes about 10 minutes, and honestly, I find it kind of meditative. Put on some music and just zone out.
- Toss the apples with the filling ingredients. In your large bowl, combine the sliced apples with the sugar, flour, cinnamon, nutmeg, lemon juice, vanilla, and salt. Use your hands or a big spoon to make sure every slice is coated. Set this aside while you make the crumble.
- Brown the butter. This is the step that makes everything special. Cut the butter into pieces and add it to your light-colored skillet over medium heat. Stir constantly with a wooden spoon or spatula. The butter will melt, then foam, then start to turn golden. Watch for little brown specks forming at the bottom—that’s the milk solids toasting. When the butter smells nutty and looks amber-colored (about 5-7 minutes), take it off the heat immediately. Pour it into a heatproof bowl to stop the cooking. Don’t walk away during this step—brown butter can go from perfect to burnt in about 15 seconds. I learned this the hard way. Twice.
- Make the oat crumble. In your medium bowl, combine the oats, flour, both sugars, cinnamon, and salt. Pour the warm brown butter over the dry ingredients and stir with a fork until everything is moistened and clumpy. It should look like wet sand with some bigger chunks. Don’t overmix—you want those clumps for texture.
- Assemble the crisp. Pour the apple mixture into your baking dish and spread it into an even layer. Sprinkle the oat crumble evenly over the top. Don’t press it down—just let it sit on top in all its clumpy glory. Some apples should peek through here and there.
- Bake for 35-40 minutes. The crisp is done when the filling is bubbly around the edges and the topping is golden brown and firm to the touch. If the crumble is browning too quickly but the apples aren’t bubbling yet, tent the dish loosely with foil for the last 10 minutes.
- Let it rest for at least 15 minutes. I know this is the hardest part. The waiting. But trust me—if you scoop it too soon, the filling will be runny and the crumble will fall apart. Let it set up so every bite is perfect.
Cooking Tips & Techniques
Here’s what I’ve learned from making this more times than I’m willing to admit. First, don’t skip the lemon juice. I did once because I thought it was optional, and the apples turned brown and the whole thing tasted flat. That little bit of acid brightens everything.
Second, if your crumble seems too dry after adding the brown butter, add a tablespoon of melted regular butter. If it seems too wet, add another tablespoon of flour. The texture should be like damp sand that holds together when you squeeze it. I’ve had batches where the butter-to-dry ratio was off, and it either turned into a paste or stayed too powdery. Both were salvageable, but not ideal.
Third, let me tell you about the time I forgot to peel the apples. I was rushing, trying to get dessert on the table before guests arrived, and I just sliced them with the skin on. The texture was fine—honestly, some people might prefer it—but the skins got a little chewy and the filling wasn’t as smooth. So if you’re short on time, you can skip peeling, but the texture won’t be quite as luxurious.
One more thing: if you’re making this for a crowd, you can assemble it completely (minus the crumble) a day ahead. Store the filling in the fridge and the crumble separately at room temperature. When you’re ready to bake, just top and go. The apples will release some liquid overnight, so you might need to add an extra 5-10 minutes to the baking time.
Variations & Adaptations
Gluten-Free Version: Swap the all-purpose flour in both the filling and the crumble for a 1:1 gluten-free baking flour. Use certified gluten-free oats. I’ve tested this with King Arthur’s measure-for-measure blend and it worked perfectly—no one at my dinner party even noticed.
Vegan Adaptation: Use a high-quality vegan butter for browning. I’ve had good results with Miyoko’s and Country Crock Plant Butter. The browning step still works, though it takes a slightly different timing. The crumble won’t be quite as crispy, but it’s still delicious.
Seasonal Twist: In the fall, add a tablespoon of apple cider or apple butter to the filling for extra apple intensity. In winter, swap half the apples for sliced pears and add a pinch of cardamom. In summer (if you’re brave enough to turn on the oven), use fresh peaches instead of apples and reduce the sugar slightly.
Flavor Variations: Add ¼ cup of chopped pecans or walnuts to the crumble for extra crunch. Or stir ½ cup of dried cranberries or golden raisins into the apple filling. I once added a splash of bourbon to the filling before baking, and honestly, it was incredible. Just saying.
Single Serving Option: Divide the filling and crumble between four small ramekins and bake for about 20-25 minutes. Perfect for when you need dessert but don’t want a whole pan staring at you from the counter.
Serving & Storage Suggestions
Serve this warm—not hot, but warm enough that the filling is still soft and the crumble has a little give. A scoop of vanilla ice cream is the classic choice, and for good reason. The cold creaminess against the warm, spiced apples is basically what comfort food dreams are made of. If you’re feeling fancy, try a drizzle of heavy cream or a dollop of lightly sweetened whipped cream.
This also pairs beautifully with a cup of coffee or a mug of hot cider. I’ve been known to eat it for breakfast the next day, and I’m not even sorry about it.
For storage, cover the dish tightly with foil or plastic wrap and keep it in the refrigerator for up to 4 days. The crumble will soften over time, but the flavors actually get better. To reheat, pop individual servings in the microwave for about 30 seconds, or reheat the whole dish in a 350°F oven for 10-15 minutes. If you want to revive some of that crumble crispness, hit it under the broiler for a minute or two—watch it carefully so it doesn’t burn.
You can also freeze this baked or unbaked. If freezing unbaked, assemble it in a freezer-safe dish, wrap it well, and freeze for up to 3 months. Bake from frozen, adding about 15-20 minutes to the baking time. If freezing baked, let it cool completely, then wrap and freeze. Thaw overnight in the fridge and reheat as above.
Nutritional Information & Benefits
Per serving (based on 8 servings): approximately 380 calories, 14g fat, 62g carbohydrates, 4g protein, 4g fiber, 38g sugar. These are estimates and will vary based on specific ingredients and apple varieties.
Apples are a great source of fiber and vitamin C, and they contain antioxidants that support heart health. Oats provide soluble fiber, which can help lower cholesterol and keep you feeling full. The brown butter adds richness, but you’re still getting a dessert made with whole-food ingredients. It’s not health food, but it’s real food, and there’s a difference.
This recipe is naturally vegetarian and can be made gluten-free or vegan with the substitutions mentioned above. It contains dairy (butter) and gluten (flour and oats) in its standard form.
Frequently Asked Questions
Can I use quick oats instead of old-fashioned oats?
You can, but the texture won’t be the same. Quick oats break down more during baking and won’t give you that nice, chewy crumble topping. Stick with old-fashioned if you can. If quick oats are all you have, reduce the flour by a tablespoon since quick oats absorb more liquid.
Why did my crisp turn out watery?
This usually happens for one of two reasons: either the apples released too much liquid because they were very juicy, or the crisp didn’t bake long enough for the flour to thicken the juices. Next time, let the apple mixture sit for 10 minutes before baking to see how much liquid releases, and drain off any excess. Also make sure you’re using the full amount of flour in the filling.
Can I make this in advance?
Absolutely. You can assemble the whole thing (without baking) up to 24 hours ahead. Keep the crumble separate from the filling until you’re ready to bake, or the crumble will get soggy. If you’ve already baked it, it keeps beautifully in the fridge for several days and reheats wonderfully.
What’s the best apple for apple crisp?
A mix is your best bet. Use a combination of tart apples (like Granny Smith) and sweet apples (like Honeycrisp or Fuji). This gives you complexity of flavor and a good texture—some apples soften more than others, so a mix ensures you get both tender and slightly firmer pieces in every bite.
Do I really need to brown the butter? Can I skip it?
You can skip it, but you’ll lose the whole point of this recipe. Regular melted butter is fine in a pinch, but brown butter adds a nutty, toasty depth that makes this crisp feel special. It takes an extra 5 minutes and one extra pan. I promise it’s worth it. If you’re really in a hurry, use melted butter and add a teaspoon of vanilla extract to the crumble for a little extra flavor.
Conclusion
This brown butter apple crisp is the kind of recipe that becomes a habit. You’ll make it for Thanksgiving, sure, but you’ll also make it on a random Tuesday in October when the air gets cold and you need something warm to hold onto. It’s forgiving enough for beginners but impressive enough for company. And that brown butter crumble? It’s going to ruin you for every other crisp you’ve ever had.
I keep coming back to this recipe because it feels like home, even when home is far away. Every time I pull that dish out of the oven and see the apples bubbling up around the edges, I think of Aunt Carol’s kitchen and the way she’d say, “Let it cool for a bit, honey—good things are worth waiting for.” She was right. And this is one of those good things.
I’d love to hear how yours turns out. Did you add anything different? Use a different apple variety? Burn the butter like I did the first three times? Leave a comment below and let me know. And if you’re looking for another cozy dessert to try, you might enjoy this cinnamon roll bread pudding I’ve been making on repeat, or this maple pecan baked oatmeal that works for breakfast or dessert. Happy baking, friends.
Pin This Recipe!
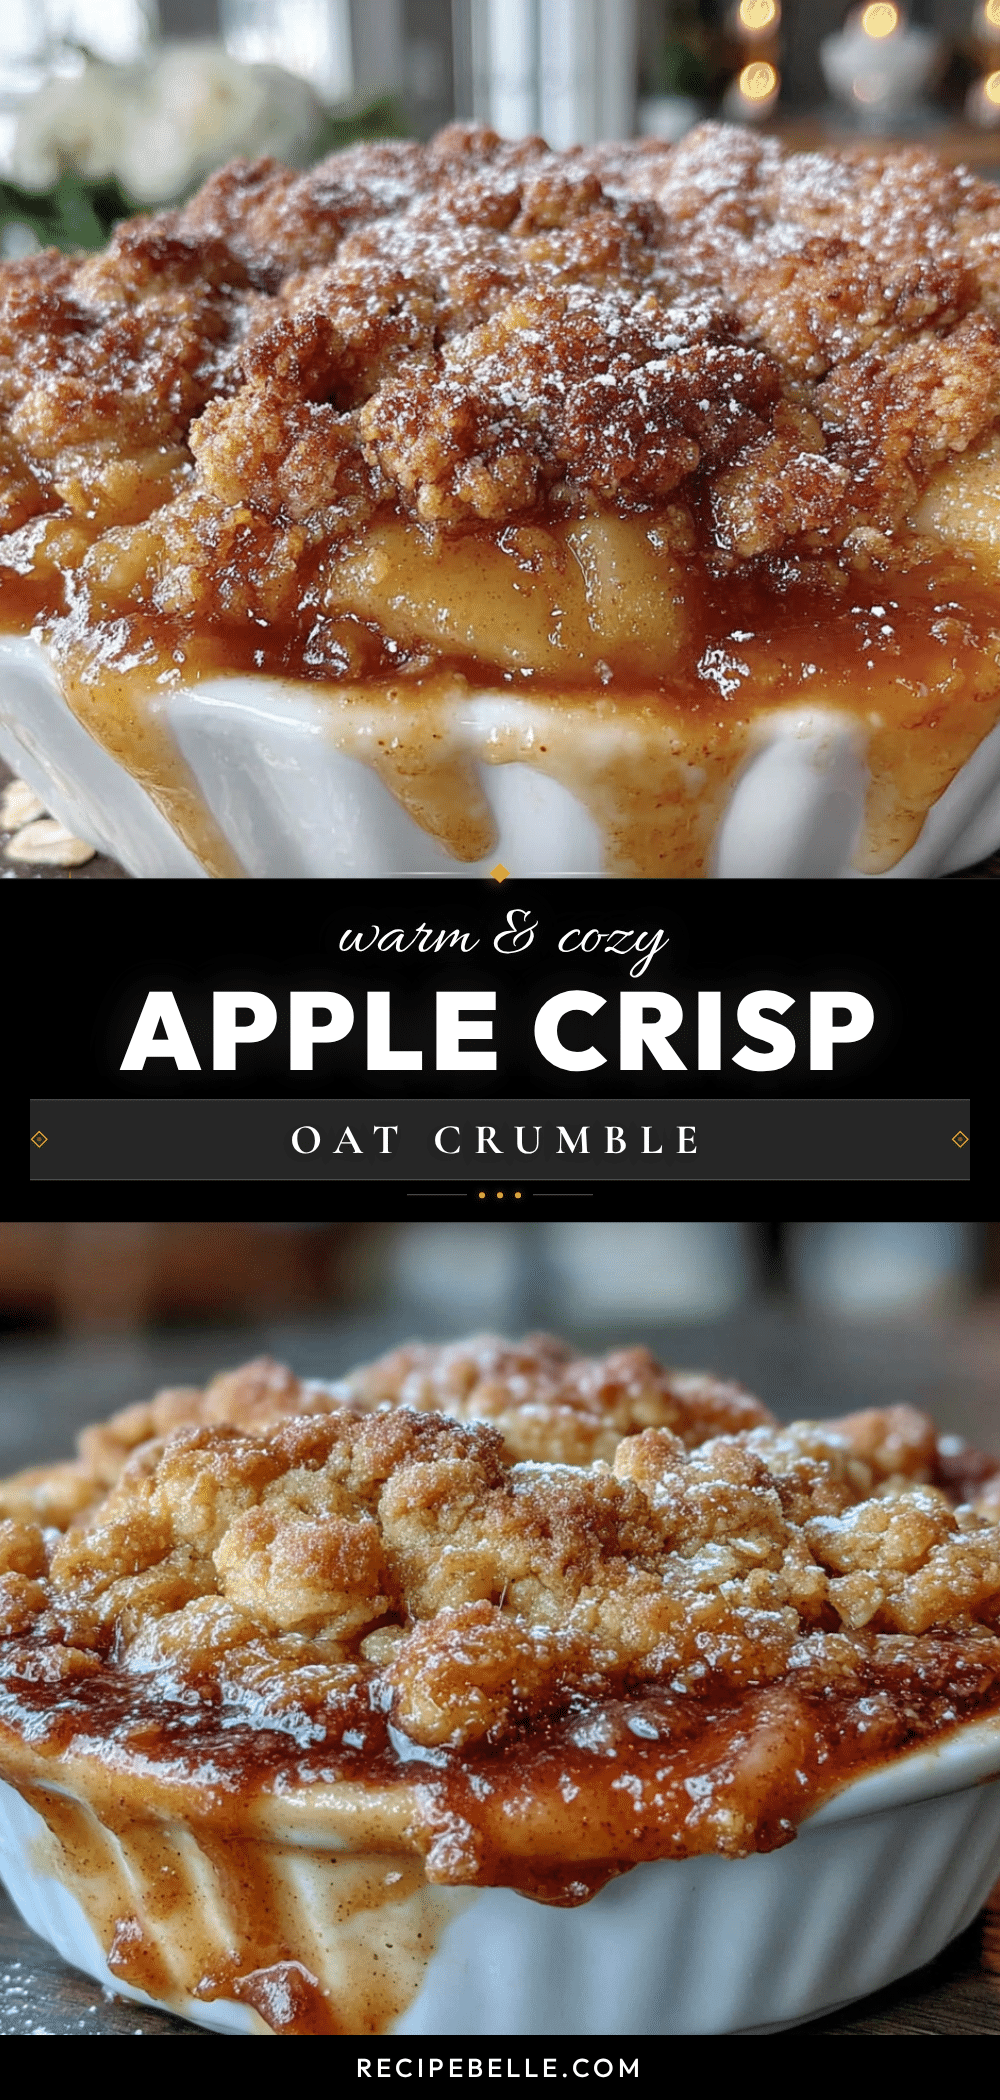
Cozy Brown Butter Apple Crisp with Oat Crumble

This brown butter apple crisp features a nutty, caramel-like depth from browned butter, a crispy oat crumble, and tender, jammy apples. It’s a quick, easy, and comforting dessert perfect for cozy evenings.
- Prep Time: 20 minutes
- Cook Time: 35-40 minutes
- Total Time: 55-60 minutes
- Yield: 8 servings 1x
- Category: Dessert
- Cuisine: American
Ingredients
- 6 medium apples, peeled, cored, and sliced (about ¼ inch thick) — a mix of Granny Smith and Honeycrisp recommended
- ⅓ cup granulated sugar
- 2 tablespoons all-purpose flour
- 1 teaspoon ground cinnamon
- ¼ teaspoon ground nutmeg (freshly grated if possible)
- 1 tablespoon lemon juice
- 1 teaspoon vanilla extract
- Pinch of salt
- ½ cup unsalted butter
- ¾ cup old-fashioned rolled oats
- ¾ cup all-purpose flour
- ½ cup packed brown sugar (light or dark)
- ¼ cup granulated sugar
- 1 teaspoon ground cinnamon
- ¼ teaspoon salt
Instructions
- Preheat your oven to 375°F (190°C). Position a rack in the center of the oven.
- Peel, core, and slice the apples about ¼ inch thick.
- In a large bowl, toss the sliced apples with ⅓ cup granulated sugar, 2 tablespoons flour, 1 teaspoon cinnamon, ¼ teaspoon nutmeg, 1 tablespoon lemon juice, 1 teaspoon vanilla, and a pinch of salt until evenly coated. Set aside.
- Brown the butter: Cut ½ cup unsalted butter into pieces and add to a light-colored skillet over medium heat. Stir constantly until the butter melts, foams, and turns amber with brown specks (about 5-7 minutes). Immediately pour into a heatproof bowl to stop cooking.
- In a medium bowl, combine ¾ cup oats, ¾ cup flour, ½ cup brown sugar, ¼ cup granulated sugar, 1 teaspoon cinnamon, and ¼ teaspoon salt. Pour the warm brown butter over the dry ingredients and stir with a fork until moistened and clumpy (like wet sand). Do not overmix.
- Pour the apple mixture into a 9×9-inch baking dish and spread evenly. Sprinkle the oat crumble evenly over the top; do not press down.
- Bake for 35-40 minutes, until the filling is bubbly around the edges and the topping is golden brown and firm. If the crumble browns too quickly, tent loosely with foil for the last 10 minutes.
- Let the crisp rest for at least 15 minutes before serving to allow the filling to set.
Notes
Don’t skip browning the butter—it adds a nutty depth. For gluten-free, use 1:1 gluten-free flour and certified gluten-free oats. For vegan, use high-quality vegan butter. Let the crisp rest at least 15 minutes before serving to allow the filling to set. Store covered in the refrigerator for up to 4 days.
Nutrition
- Serving Size: 1 serving (1/8 of re
- Calories: 380
- Sugar: 38
- Sodium: 180
- Fat: 14
- Saturated Fat: 8
- Carbohydrates: 62
- Fiber: 4
- Protein: 4
Keywords: apple crisp, brown butter, oat crumble, fall dessert, easy apple dessert, comfort food



