This was supposed to be a batch of regular chocolate chip cookies. I had the butter softening on the counter, the vanilla extract measured out, and I was feeling pretty confident about a classic, no-fuss baking afternoon. But then, in a moment of what I can only describe as “overly ambitious distraction,” I decided to brown the butter. You know, just for a little extra flavor. No big deal, right? Well, I got so caught up in watching the butter foam and turn that gorgeous amber color that I completely forgot I was also supposed to be adding pumpkin puree. I had a can of it sitting right there on the counter, and it just… didn’t make it into the bowl until after the flour was already in. I stood there, spatula in hand, staring at a dough that was definitely not going to be a classic chocolate chip cookie.
Honestly, I almost scrapped the whole thing. The dough looked a little too wet, a little too orange, and I was already mentally preparing my apology to the friends I was supposed to be sharing them with. But I’m not one to waste ingredients, so I scooped the dough onto a baking sheet anyway, thinking they’d probably just be flat, ugly discs. I mean, I’d already messed up the order of operations, so what was the worst that could happen? They came out of the oven looking like little golden pillows, with cracks on top and a smell that made my entire apartment smell like a fall festival. That first bite was a shock—the nutty brown butter, the soft pumpkin, the melty chocolate. It was nothing like the plan, and it was so much better.
I’ve made these cookies maybe a dozen times since that day, and every single time, I remember that moment of panic turning into pure, quiet vindication. It’s the kind of recipe that proves you don’t have to be perfect to make something amazing. Maybe you’ve been there, staring at a baking mistake and wondering if you should just order takeout. Trust me, this one is worth the risk.
Why You’ll Love This Recipe
These aren’t just another pumpkin cookie. This recipe is the result of a happy accident that turned into a family favorite, and I’m so excited to share it with you. With over a decade of baking experience and countless batches of cookies under my belt, I can tell you that the combination of brown butter and pumpkin is a game-changer. The brown butter adds a deep, nutty richness that perfectly balances the earthy sweetness of the pumpkin, creating a cookie that’s soft, chewy, and packed with flavor.
- Quick & Easy: From start to finish, these cookies are ready in about 30 minutes. The brown butter takes just 5 minutes, and the dough comes together in one bowl. Perfect for a last-minute craving or a cozy weekend bake.
- Simple Ingredients: You likely have most of these ingredients in your pantry right now. No fancy extracts or hard-to-find flours—just basic baking staples with a few fall twists.
- Perfect for Fall Baking: These cookies are the ultimate cozy treat. They’re great for Thanksgiving dessert tables, Halloween parties, or just a quiet afternoon with a cup of coffee.
- Crowd-Pleaser: I’ve brought these to potlucks and family gatherings, and they always disappear first. Kids love the chocolate chips, and adults rave about the sophisticated brown butter flavor.
- Unbelievably Delicious: The texture is what gets me every time. They’re soft and tender in the middle with slightly crisp edges, and the pockets of melted chocolate are pure bliss.
What makes this recipe different from the rest is the technique. Browning the butter before adding it to the dough might seem like an extra step, but it’s the secret to that incredible depth of flavor. It’s not just another pumpkin cookie—it’s your new go-to fall dessert. Trust me, the first time you make these, you’ll understand why I keep coming back to them.
What Ingredients You Will Need
This recipe uses simple, wholesome ingredients to deliver that cozy, fall-inspired flavor. Most of these are pantry staples, and the few special ones are easy to find at any grocery store. Let’s break down what you’ll need and why each ingredient matters.
- Unsalted Butter (1 cup / 2 sticks): We’re using unsalted butter so we can control the salt level. Browning the butter is the star of this recipe—it adds a nutty, caramel-like flavor that you just can’t get from regular melted butter. I recommend using a high-quality brand like Kerrygold for the best flavor.
- Pumpkin Puree (1/2 cup): Make sure you’re using pure pumpkin puree, not pumpkin pie filling. The puree adds moisture and a subtle earthy sweetness. I like to use Libby’s brand because it’s consistently thick and not too watery. If your puree looks a little loose, pat it dry with a paper towel before adding it to the dough.
- Light Brown Sugar (3/4 cup, packed): Brown sugar adds moisture and a hint of molasses flavor that pairs beautifully with the pumpkin and brown butter. Make sure it’s packed firmly into the measuring cup for the right sweetness.
- Granulated Sugar (1/4 cup): A little white sugar helps with spreading and gives the cookies a slightly crisper edge. It balances the moisture from the brown sugar and pumpkin.
- All-Purpose Flour (1 3/4 cups): Standard all-purpose flour works perfectly here. For a gluten-free option, you can use a 1:1 gluten-free baking flour blend. I’ve tested this with Bob’s Red Mill, and it works great.
- Baking Soda (1 teaspoon): This helps the cookies spread and rise just a little. It also helps neutralize the acidity from the brown sugar and pumpkin.
- Pumpkin Pie Spice (1 1/2 teaspoons): You can use store-bought or make your own with a mix of cinnamon, nutmeg, ginger, and cloves. This is where the cozy fall flavor really comes through.
- Cinnamon (1/2 teaspoon): Extra cinnamon adds warmth and depth. I never skip this.
- Salt (1/2 teaspoon): Salt balances the sweetness and enhances all the flavors. I use fine sea salt for baking.
- Vanilla Extract (1 teaspoon): Pure vanilla extract adds a floral, sweet note that ties everything together. Avoid imitation vanilla if you can.
- Egg (1 large): The egg binds the dough and adds structure. Make sure it’s at room temperature so it mixes in smoothly.
- Semi-Sweet Chocolate Chips (1 1/2 cups): I prefer semi-sweet because it’s not too sweet and balances the rich brown butter. You can use dark chocolate or milk chocolate if you prefer. For a fun twist, try using chopped chocolate bars for bigger puddles of chocolate.
Equipment Needed
You don’t need any fancy equipment to make these cookies. Here’s what you’ll need and a few tips from my own kitchen.
- Medium Saucepan: For browning the butter. A light-colored saucepan is best because you can see the butter change color. I use a stainless steel one, and it works perfectly.
- Large Mixing Bowl: For combining the wet and dry ingredients. A glass or ceramic bowl works well.
- Whisk: For mixing the dry ingredients and the wet ingredients. A sturdy whisk is your best friend here.
- Rubber Spatula: For folding in the chocolate chips and scraping down the sides of the bowl. I love a good silicone spatula for this.
- Baking Sheets: You’ll need two baking sheets. I recommend lining them with parchment paper for easy cleanup and even baking.
- Cookie Scoop: A 1.5-tablespoon cookie scoop helps you get evenly sized cookies. If you don’t have one, you can use two spoons to drop the dough.
- Cooling Rack: Letting the cookies cool on a rack prevents them from getting soggy on the bottom. It’s a small step that makes a big difference.
If you don’t have a cookie scoop, don’t worry. I’ve used a regular tablespoon for years, and it works just fine. Just make sure your dough balls are roughly the same size so they bake evenly.
Preparation Method
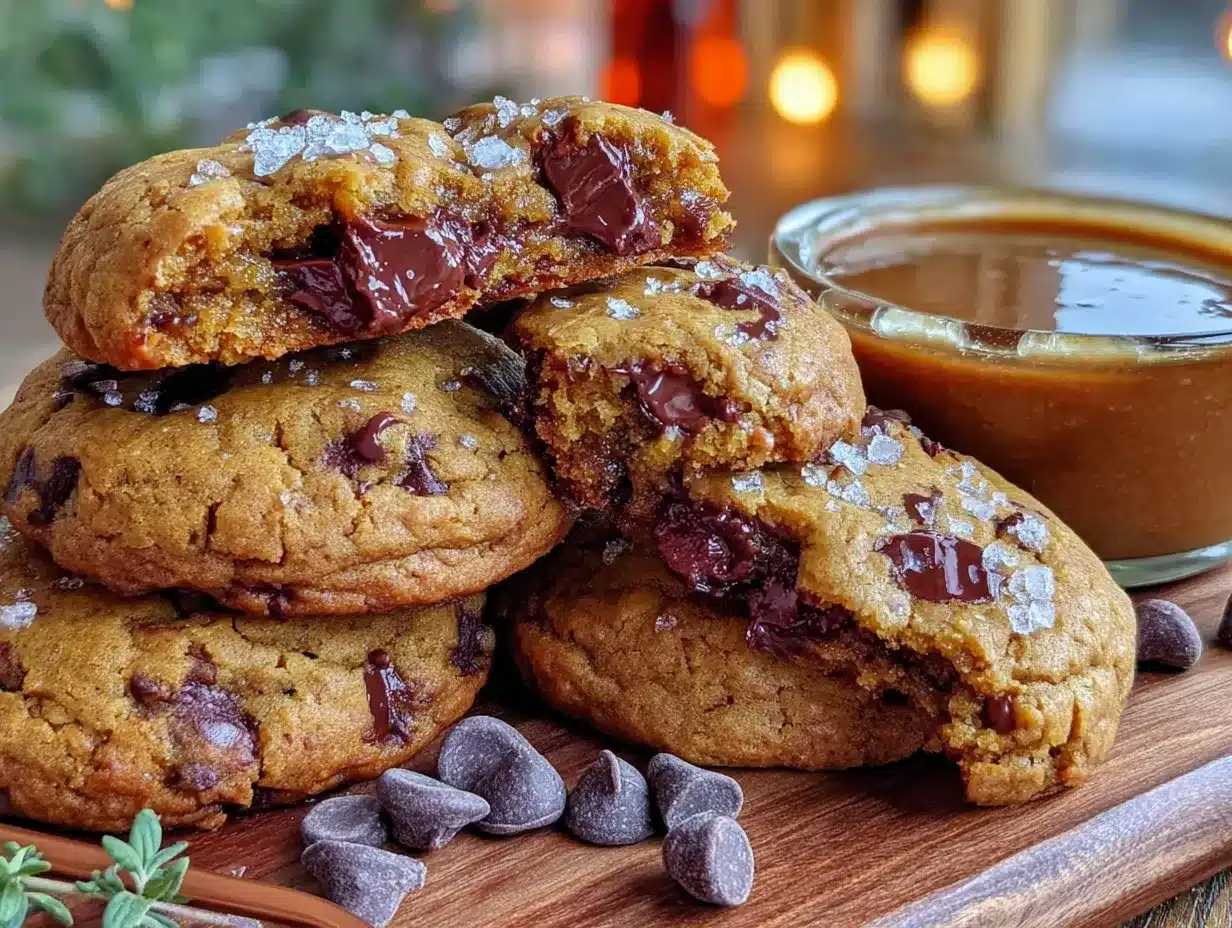
Let’s get baking! This recipe comes together quickly, so make sure you have all your ingredients measured and ready to go. I’ll walk you through each step, including what to look for so you know you’re on the right track.
- Brown the Butter: Place the 1 cup of unsalted butter in a medium saucepan over medium heat. Stir occasionally with a rubber spatula or wooden spoon. The butter will melt, then start to foam. Keep a close eye on it—after about 4-5 minutes, you’ll see brown specks forming at the bottom of the pan. The butter will smell nutty and delicious. Once it turns a deep amber color, remove it from the heat immediately and pour it into a heat-safe bowl. Let it cool for about 10 minutes. Don’t skip the cooling step, or the hot butter will cook the egg.
- Mix the Wet Ingredients: In a large mixing bowl, combine the cooled brown butter, 3/4 cup packed light brown sugar, and 1/4 cup granulated sugar. Whisk until well combined. Add the 1/2 cup pumpkin puree, 1 teaspoon vanilla extract, and 1 large egg. Whisk again until the mixture is smooth and glossy. It should look like a thick, creamy caramel.
- Combine the Dry Ingredients: In a separate small bowl, whisk together 1 3/4 cups all-purpose flour, 1 teaspoon baking soda, 1 1/2 teaspoons pumpkin pie spice, 1/2 teaspoon cinnamon, and 1/2 teaspoon salt. This ensures the spices and leavening are evenly distributed.
- Mix Wet and Dry: Pour the dry ingredients into the bowl with the wet ingredients. Use a rubber spatula to fold everything together until just combined. Be careful not to overmix—a few streaks of flour are okay. The dough will be soft and slightly sticky, but that’s normal.
- Add the Chocolate Chips: Fold in 1 1/2 cups of semi-sweet chocolate chips. Make sure they’re evenly distributed throughout the dough. If the dough feels too sticky to handle, you can chill it in the fridge for 15 minutes. I usually don’t need to, but it helps if your kitchen is warm.
- Chill the Dough (Optional but Recommended): For the best texture, cover the bowl with plastic wrap and refrigerate the dough for 30 minutes. This helps the flavors meld and prevents the cookies from spreading too much. If you’re in a hurry, you can skip this step, but I highly recommend it.
- Preheat and Prep: While the dough chills, preheat your oven to 350°F (175°C). Line two baking sheets with parchment paper.
- Scoop the Dough: Use a 1.5-tablespoon cookie scoop to portion the dough. Place the dough balls about 2 inches apart on the prepared baking sheets. They will spread a little, so give them room.
- Bake: Bake for 10-12 minutes, or until the edges are set and lightly golden. The centers will look slightly underdone and puffy—that’s exactly what you want. They’ll continue to set as they cool. If you overbake them, they’ll be dry.
- Cool: Let the cookies cool on the baking sheet for 5 minutes. This allows them to firm up without sticking. Then, transfer them to a wire cooling rack to cool completely. The smell in your kitchen right now is pure magic.
Cooking Tips & Techniques
I’ve made these cookies more times than I can count, and I’ve learned a few things along the way. Here are my best tips to help you nail them every single time.
Don’t Rush the Brown Butter: The first time I tried browning butter, I walked away for a minute and ended up with burnt butter. Trust me, you don’t want that. Stay close to the stove, and keep stirring. The moment you see those brown specks and smell that nutty aroma, pull it off the heat. It happens fast, so pay attention.
Pat Your Pumpkin Puree: Pumpkin puree can be watery, and too much moisture will make your cookies flat. If your puree looks loose, spoon it onto a paper towel-lined plate and pat it dry before adding it to the dough. This little trick makes a huge difference in texture.
Room Temperature Egg: A cold egg can seize the brown butter and make your dough lumpy. Let your egg sit on the counter for 15-20 minutes before you start baking. If you forget, you can place it in a bowl of warm water for 5 minutes.
Chill the Dough: I know it’s tempting to skip this step, but chilling the dough for at least 30 minutes is key. It solidifies the butter, which prevents the cookies from spreading too thin. Plus, it gives the flavors time to meld. I’ve made them without chilling, and they still taste good, but they’re flatter and less chewy.
Use a Cookie Scoop: For uniform cookies that bake evenly, a cookie scoop is worth its weight in gold. It also makes the process faster and less messy. If you don’t have one, use two spoons to shape the dough into rough balls.
Check for Doneness: The biggest mistake I see is overbaking. These cookies should look slightly underdone in the center when you pull them out of the oven. They’ll continue to cook on the hot baking sheet. If you wait until they look fully baked, they’ll be hard and dry.
Variations & Adaptations
One of the best things about this recipe is how versatile it is. Here are a few ways you can switch it up to suit your taste or dietary needs.
- Gluten-Free Version: Substitute the all-purpose flour with a 1:1 gluten-free baking flour blend. I’ve tested this with Bob’s Red Mill, and the texture is almost identical. Just make sure the blend contains xanthan gum for structure.
- Dairy-Free Option: Use vegan butter or coconut oil in place of the unsalted butter. If using coconut oil, make sure it’s refined so it doesn’t add a coconut flavor. You can also use dairy-free chocolate chips. The cookies will be a little softer, but they’ll still be delicious.
- White Chocolate & Cranberry: Swap the semi-sweet chocolate chips for 1 cup of white chocolate chips and 1/2 cup of dried cranberries. The tartness of the cranberries pairs beautifully with the sweet white chocolate and nutty brown butter. I made this version for a holiday party, and it was a huge hit.
- Spice It Up: If you love warm spices, add an extra 1/2 teaspoon of ginger and a pinch of cloves. You can also add a teaspoon of orange zest for a bright, citrusy note that cuts through the richness.
- Nutty Crunch: Fold in 1/2 cup of chopped pecans or walnuts along with the chocolate chips. Toast the nuts first for extra flavor. I love the texture contrast they add.
Serving & Storage Suggestions
These cookies are best served warm, when the chocolate chips are still melty and the edges are slightly crisp. I like to enjoy them with a cold glass of milk or a hot cup of spiced chai. They’re also fantastic crumbled over a bowl of vanilla ice cream for an easy dessert.
Storing at Room Temperature: Place the cooled cookies in an airtight container at room temperature. They’ll stay fresh for up to 5 days. I like to add a slice of bread to the container—it absorbs excess moisture and keeps the cookies soft.
Freezing the Dough: This is my favorite trick for having fresh cookies on demand. Scoop the dough into balls and place them on a baking sheet lined with parchment paper. Freeze for 1 hour, then transfer the frozen dough balls to a zip-top bag. They’ll keep for up to 3 months. When you’re ready to bake, just add 2-3 minutes to the baking time—no need to thaw.
Freezing Baked Cookies: You can also freeze the baked cookies. Let them cool completely, then place them in a single layer in a freezer-safe container. Separate layers with parchment paper. They’ll keep for up to 3 months. Thaw at room temperature for about 30 minutes, or reheat in a 300°F oven for 5 minutes.
Reheating Tips: To bring back that just-baked texture, pop a cookie in the microwave for 10-15 seconds. For a crispier edge, reheat in a toaster oven at 325°F for 3-4 minutes. The flavors actually deepen after a day or two, so don’t be afraid to make them ahead.
Nutritional Information & Benefits
While these cookies are a treat, they do offer a few surprising nutritional perks. Here’s a rough estimate per cookie (based on 24 cookies):
| Nutrient | Amount |
|---|---|
| Calories | 185 |
| Fat | 10g |
| Carbohydrates | 23g |
| Fiber | 1g |
| Sugar | 14g |
| Protein | 2g |
| Vitamin A | 15% DV |
Pumpkin is a great source of vitamin A, which is important for eye health and immune function. It’s also rich in fiber and antioxidants. The brown butter adds healthy fats, and the chocolate chips provide a little dose of magnesium. Of course, these are still cookies, so enjoy them in moderation. I like to think of them as a way to sneak a little vegetable into dessert—even if it is just pumpkin!
Conclusion
These Cozy Brown Butter Pumpkin Chocolate Chip Cookies are the perfect example of how a kitchen mistake can turn into something truly special. The nutty brown butter, soft pumpkin, and melty chocolate come together in a way that feels both familiar and exciting. They’re easy enough for a weekday bake but impressive enough to share with friends and family. I hope you give them a try and make them your own. Maybe add a little extra cinnamon or swap in white chocolate chips—whatever feels right to you.
I’d love to hear how they turn out! Leave a comment below and let me know if you tried any variations. Don’t forget to share this recipe with someone who needs a little cozy baking in their life. Happy baking, my friend!
Frequently Asked Questions
Can I use canned pumpkin pie filling instead of pumpkin puree?
No, I wouldn’t recommend it. Pumpkin pie filling is pre-sweetened and spiced, which will throw off the sugar and spice balance in this recipe. Stick with 100% pure pumpkin puree for the best results.
Why did my cookies turn out flat?
Flat cookies usually mean the butter was too warm or the dough wasn’t chilled. Make sure your brown butter has cooled to room temperature before mixing, and don’t skip the 30-minute chill time. Also, check that your baking soda is fresh—old baking soda loses its leavening power.
Can I make these cookies without browning the butter?
You can, but you’ll lose that deep, nutty flavor that makes these cookies so special. If you’re short on time, just melt the butter and let it cool. They’ll still be good, just not as amazing.
How do I know when the brown butter is done?
Watch for the butter to turn a golden-amber color with small brown specks at the bottom of the pan. It should smell nutty and toasty. Once you see and smell that, remove it from the heat immediately. It can go from perfect to burnt in seconds.
Can I freeze the baked cookies?
Absolutely! Let the cookies cool completely, then place them in a single layer in a freezer-safe container. Separate layers with parchment paper. They’ll keep for up to 3 months. Thaw at room temperature or reheat in the oven for a few minutes.
Pin This Recipe!
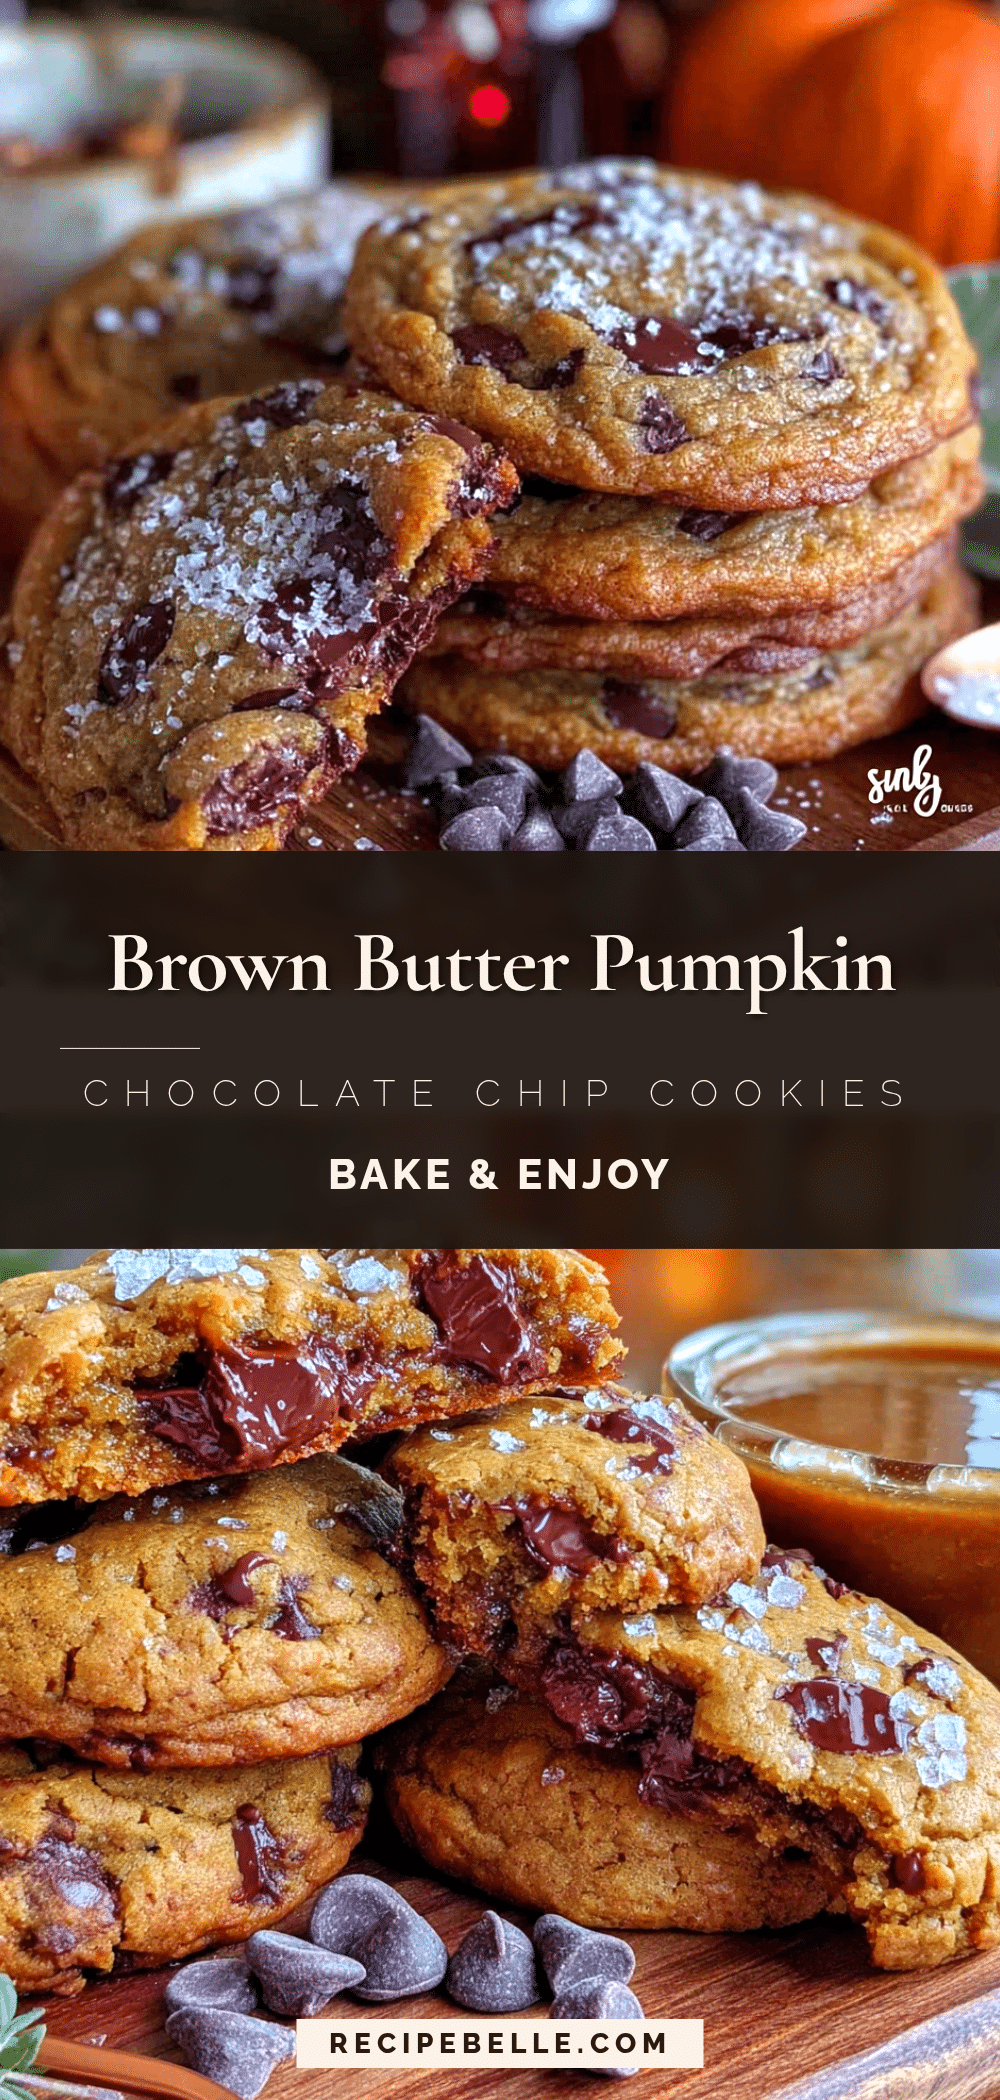
Cozy Brown Butter Pumpkin Chocolate Chip Cookies
These soft and chewy cookies combine nutty brown butter, earthy pumpkin, and melty chocolate chips for a cozy fall treat. A happy accident turned into a family favorite, ready in about 30 minutes.
- Prep Time: 15 minutes
- Cook Time: 12 minutes
- Total Time: 27 minutes
- Yield: 24 servings 1x
- Category: Dessert
- Cuisine: American
Ingredients
- 1 cup (2 sticks) unsalted butter
- 1/2 cup pumpkin puree
- 3/4 cup packed light brown sugar
- 1/4 cup granulated sugar
- 1 3/4 cups all-purpose flour
- 1 teaspoon baking soda
- 1 1/2 teaspoons pumpkin pie spice
- 1/2 teaspoon cinnamon
- 1/2 teaspoon salt
- 1 teaspoon vanilla extract
- 1 large egg
- 1 1/2 cups semi-sweet chocolate chips
Instructions
- Brown the butter: Place 1 cup unsalted butter in a medium saucepan over medium heat. Stir occasionally until melted, foamy, and amber-colored with brown specks (about 4-5 minutes). Remove from heat and pour into a heat-safe bowl. Let cool for 10 minutes.
- Mix wet ingredients: In a large mixing bowl, whisk together cooled brown butter, 3/4 cup packed light brown sugar, and 1/4 cup granulated sugar until combined. Add 1/2 cup pumpkin puree, 1 teaspoon vanilla extract, and 1 large egg. Whisk until smooth and glossy.
- Combine dry ingredients: In a separate small bowl, whisk together 1 3/4 cups all-purpose flour, 1 teaspoon baking soda, 1 1/2 teaspoons pumpkin pie spice, 1/2 teaspoon cinnamon, and 1/2 teaspoon salt.
- Mix wet and dry: Pour dry ingredients into wet ingredients. Fold with a rubber spatula until just combined (a few streaks of flour are okay).
- Add chocolate chips: Fold in 1 1/2 cups semi-sweet chocolate chips until evenly distributed.
- Chill dough (optional but recommended): Cover bowl with plastic wrap and refrigerate for 30 minutes.
- Preheat and prep: Preheat oven to 350°F (175°C). Line two baking sheets with parchment paper.
- Scoop dough: Use a 1.5-tablespoon cookie scoop to portion dough. Place dough balls 2 inches apart on prepared baking sheets.
- Bake: Bake for 10-12 minutes, until edges are set and lightly golden. Centers will look slightly underdone.
- Cool: Let cookies cool on baking sheet for 5 minutes, then transfer to a wire cooling rack to cool completely.
Notes
For best texture, chill dough for 30 minutes. Pat pumpkin puree dry if watery. Don’t overbake; centers should look slightly underdone. Store in an airtight container at room temperature for up to 5 days. Freeze dough balls for up to 3 months.
Nutrition
- Serving Size: 1 cookie
- Calories: 185
- Sugar: 14
- Sodium: 120
- Fat: 10
- Saturated Fat: 6
- Carbohydrates: 23
- Fiber: 1
- Protein: 2
Keywords: pumpkin cookies, brown butter cookies, chocolate chip cookies, fall baking, easy cookie recipe



