There used to be a tiny candy shop tucked into an alley off Main Street in my hometown—the kind of place that smelled like burnt sugar and old wood. They made this incredible candy bark every October, layered with white chocolate and studded with those perfect little candy corn pieces. When they closed after thirty years, I honestly felt a little lost. That bark was my official “fall has arrived” signal, you know?
After seven tries—including one batch that seized up so badly I could have used it as a doorstop—I finally cracked the code. And let me tell you, the secret was almost embarrassingly simple. It’s just three ingredients. Three! I mean, I spent weeks overcomplicating it when the answer was right there all along.
What makes this candy corn bark so special isn’t just the nostalgia factor, though that’s a big part of it. It’s that perfect snap when you break off a piece, the way the white chocolate contrasts with the chewy candy corn, and how the whole thing comes together in about fifteen minutes of actual work. No candy thermometer. No tempering chocolate. No fuss.
Maybe you’ve been searching for that one fall treat that feels special without requiring a culinary degree. Or maybe you just need something quick for a Halloween party that’ll actually impress people. Either way, this is it. The candy shop may be gone, but this bark lives on in my kitchen—and now, hopefully, in yours too.
Why You’ll Love This Recipe
Look, I’ve tested this recipe more times than I care to admit. I’ve made it with different chocolates, different candy corn brands, different melting methods. This version? It’s the one that works every single time without drama.
- Quick & Easy: From start to finish, you’re looking at about 20 minutes of active time. The hardest part is unwrapping the chocolate bars, and honestly, that’s not hard at all.
- Simple Ingredients: White chocolate, candy corn, and a tiny bit of vegetable oil. That’s it. No special grocery trips required—you can grab everything at any regular supermarket.
- Perfect for Fall Gatherings: Halloween parties, Thanksgiving dessert tables, movie nights, classroom treats. This bark fits everywhere and disappears fast.
- Crowd-Pleaser: I’ve watched kids and adults alike hover around the plate. There’s something about that candy-studded white chocolate that brings out the kid in everyone.
- Unbelievably Delicious: The texture combo is next-level—smooth, creamy white chocolate with those chewy, slightly crunchy candy corn pieces. It’s simple but somehow addictive.
What makes this different from other candy bark recipes? Most of them use almond bark or candy melts, which just don’t taste as good. Real white chocolate—the kind with cocoa butter—makes all the difference. And that tiny splash of oil? That’s my trick for keeping the chocolate smooth and giving it that professional-looking shine.
This isn’t just another Halloween treat. It’s the kind that makes people close their eyes after the first bite and say, “Oh, that’s good.” And honestly? That never gets old.
What Ingredients You Will Need
This recipe uses just three simple ingredients, but each one plays a specific role in creating that perfect bark. Here’s what you need and why each one matters.
The Main Ingredients
- White chocolate (12 ounces or 340 grams): Not white chips, not almond bark—real white chocolate. I prefer Ghirardelli white chocolate bars or Lindt white chocolate. They melt smoothly and have that rich, creamy flavor that cheap white chips just can’t match. Look for white chocolate that contains cocoa butter for the best results.
- Candy corn (1 cup or about 200 grams): The star of the show! Brach’s is the classic choice and works perfectly here. You can use regular candy corn, autumn mix, or even those little candy pumpkins if you want to get fancy. Just make sure they’re fresh—stale candy corn gets hard and loses that nice chewy texture.
- Vegetable oil (1 teaspoon or 5 ml): This is my secret weapon. A tiny bit of oil helps the white chocolate melt more smoothly and gives the finished bark a beautiful shine. Coconut oil works great too if you prefer it—just make sure it’s refined so it doesn’t add any coconut flavor.
Optional Additions
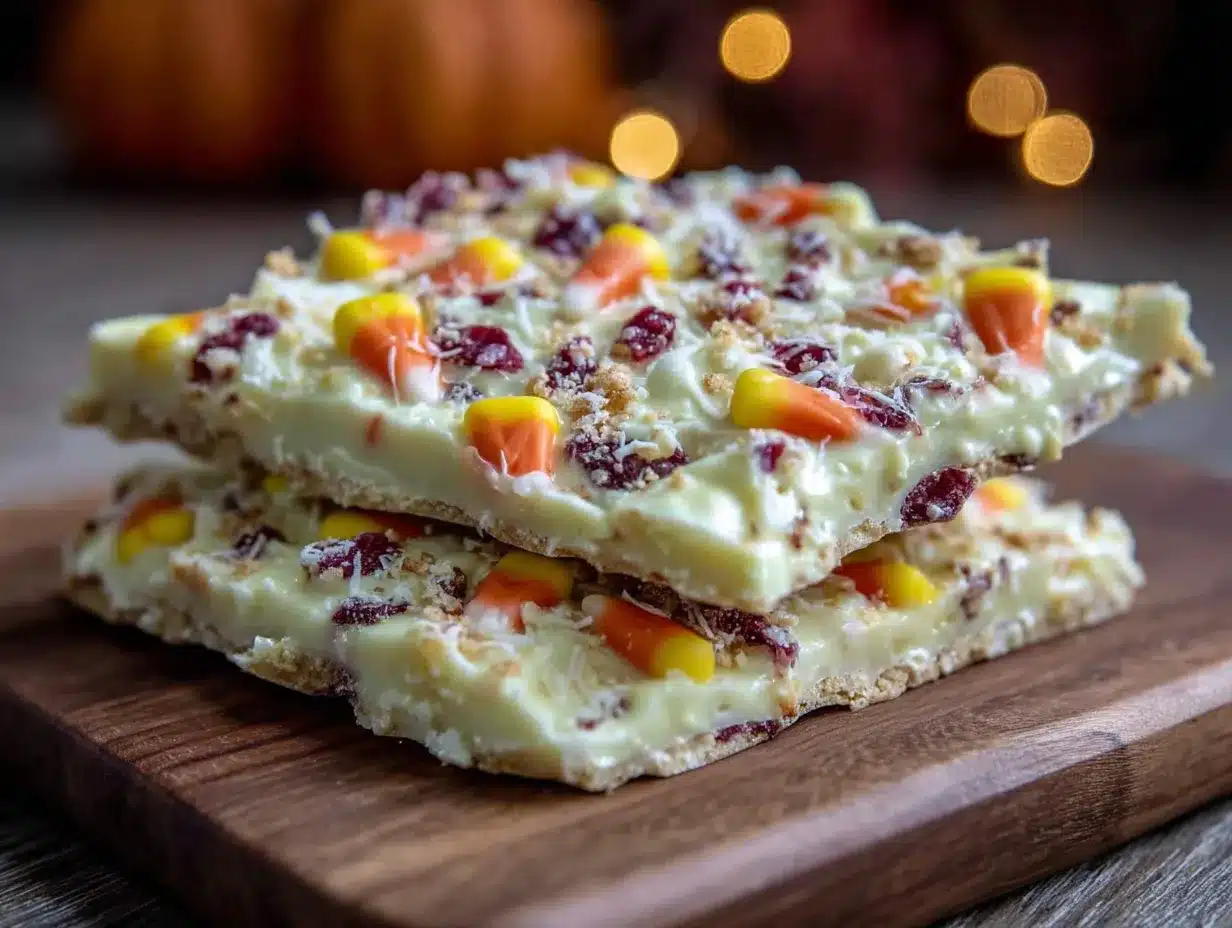
- Flaky sea salt (a pinch): If you love sweet-salty combinations, sprinkle a little flaky sea salt on top before the chocolate sets. It takes this bark from good to absolutely irresistible.
- Orange food coloring (optional): If you want a more vibrant fall look, you can tint a small portion of the white chocolate orange and drizzle it over the top. Totally optional, but pretty.
Ingredient Tips
Here’s something I learned the hard way: don’t use white chocolate chips for this recipe. Most white chocolate chips contain stabilizers that prevent them from melting smoothly, so you’ll end up with a lumpy, grainy mess. Real white chocolate bars melt like a dream and give you that silky texture you’re after.
If you’re dairy-free, look for a good-quality dairy-free white chocolate. Brands like Enjoy Life make one that melts beautifully. Just keep in mind that dairy-free white chocolate can be a little more temperamental, so watch it closely as it melts.
And about the candy corn—I know some people have strong opinions about it. But even candy corn skeptics tend to love this bark. Something about the way it softens slightly when mixed with the warm chocolate transforms it into something entirely different.
Equipment Needed
You don’t need much for this recipe, which is part of the beauty of it. Here’s what you’ll need:
- Baking sheet or tray: A standard half-sheet pan works perfectly. Line it with parchment paper or a silicone baking mat for easy removal.
- Medium mixing bowl: Glass or ceramic works best. I use a Pyrex measuring bowl because it’s easy to pour from.
- Saucepan for a double boiler (optional): If you’re nervous about melting chocolate in the microwave, a double boiler gives you more control. But honestly, the microwave works great if you’re careful.
- Rubber spatula: For stirring and spreading the chocolate. A silicone spatula is ideal because it won’t scratch your bowls and it’s easy to clean.
- Sharp knife: For chopping the white chocolate into even pieces. Even melting starts with even-sized chunks.
- Measuring spoons: For that tiny but important teaspoon of oil.
If you don’t have a double boiler, no worries. Just use a heatproof bowl set over a pot of simmering water—make sure the bottom of the bowl doesn’t touch the water. That’s my preferred method actually, because it gives you the most control and reduces the risk of burning the chocolate.
One tip: avoid using plastic bowls for melting chocolate. Plastic can hold onto residual grease or moisture that can cause your chocolate to seize up. Glass or ceramic is much more reliable.
Preparation Method
Alright, let’s make some candy bark! This is so simple, you’ll wonder why you ever bought the expensive stuff from the store.
- Prepare your pan (2 minutes): Line a baking sheet with parchment paper or a silicone baking mat. Make sure the parchment extends slightly up the sides of the pan—this will make it easier to lift the bark out later. Set the pan aside while you prepare the chocolate.
- Chop the white chocolate (3 minutes): Take your 12 ounces of white chocolate and chop it into small, even pieces. Aim for pieces about the size of chocolate chips—small enough to melt evenly but not so small that they turn to dust. Even pieces mean even melting, which means smooth, beautiful chocolate.
- Melt the white chocolate (3-4 minutes): Place the chopped white chocolate in a heatproof bowl. Add the teaspoon of vegetable oil. If using a double boiler, bring about an inch of water to a simmer in the bottom pot, then set the bowl on top. Stir gently and constantly as the chocolate melts. If using the microwave, heat in 30-second intervals at 50% power, stirring thoroughly between each interval. The chocolate is ready when it’s mostly melted with just a few small lumps—the residual heat will finish melting those as you stir.
- Check the temperature (optional but helpful): If you have a candy thermometer, the ideal temperature for melted white chocolate is around 100-110°F (38-43°C). Don’t let it get above 120°F (49°C) or it can seize up and become grainy. White chocolate is more delicate than dark or milk chocolate, so gentle heat is key.
- Add the candy corn (2 minutes): Once the chocolate is smooth and fully melted, remove it from the heat. Reserve about ¼ cup of candy corn for the top, then gently fold the remaining candy corn into the melted chocolate. Stir just until combined—you don’t want to break up the candy corn too much.
- Spread the mixture (3 minutes): Pour the chocolate-candy corn mixture onto your prepared baking sheet. Use a rubber spatula to spread it into an even layer, about ¼ to ½ inch thick. Don’t worry about making it perfect—rustic edges are part of the charm! Scatter the reserved candy corn over the top, pressing gently so they stick.
- Add optional toppings (1 minute): If you’re using flaky sea salt or any other toppings, sprinkle them on now while the chocolate is still wet. This is also the time to add that orange chocolate drizzle if you’re feeling fancy.
- Set the bark (30-60 minutes): Place the baking sheet in the refrigerator to set. This usually takes about 30 minutes, but give it a full hour if you’re in a humid environment. The bark is ready when the chocolate is firm and breaks cleanly when you lift a corner.
- Break into pieces (2 minutes): Once the bark is fully set, lift it from the pan using the parchment paper. Place it on a cutting board and break it into irregular pieces with your hands. Or, if you want cleaner edges, use a sharp knife to cut it into squares or rectangles. I prefer the rustic broken pieces—they look more homemade and inviting.
One thing I learned from my failed early attempts: don’t rush the cooling process. I tried putting the bark in the freezer once to speed things up, and it developed weird condensation spots that made the chocolate look streaky. The refrigerator is fast enough—just be patient!
Cooking Tips & Techniques
After making this bark more times than I care to count, I’ve picked up a few tricks that make the process smoother and the results better.
Watch your chocolate like a hawk. White chocolate burns faster than you’d think. It goes from perfectly melted to scorched in about 15 seconds. If you’re using the microwave, resist the urge to blast it on high power. Low and slow is the way to go. I once got distracted by a phone call and ended up with a bowl of grainy, burnt chocolate that smelled like regret. Learn from my mistakes!
If your chocolate seizes, don’t panic. Sometimes even the best chocolate can seize up—it gets thick, lumpy, and unworkable. This usually happens because a tiny bit of water got into the bowl. If this happens, try adding a teaspoon of vegetable oil or coconut oil and stirring vigorously. Sometimes that’s enough to bring it back. If not, honestly, just start over. It’s only three ingredients, and a fresh batch takes minutes.
Room temperature ingredients matter. Cold candy corn straight from the fridge can cause the warm chocolate to seize or develop streaks. Let your candy corn come to room temperature before adding it to the melted chocolate. Same goes for any toppings you’re using.
Work quickly but carefully. Once the chocolate is melted, you have about 5-7 minutes of workable time before it starts to thicken. Have everything ready before you start melting—your pan lined, your candy corn measured, your toppings ready to go. This isn’t a recipe where you can multitask much.
For the shiniest bark, temper your chocolate. I know, I know—I said this recipe was simple. But if you want that professional-looking snap and shine, tempering is the way to go. The easiest method for small batches: melt about two-thirds of the chocolate, then remove it from the heat and stir in the remaining third until melted. This brings the temperature down and creates that beautiful tempered finish. It’s optional, but worth mentioning if you’re feeling ambitious.
Variations & Adaptations
One of the best things about this recipe is how easy it is to customize. Here are some of my favorite variations:
Autumn Mix Bark: Instead of regular candy corn, use the autumn mix that includes those little pumpkins and dark orange pieces. The variety of shapes and colors makes the bark look even more festive. I made this version for a Friendsgiving gathering last year, and it was gone before the turkey even hit the table.
Dark Chocolate Version: Not a white chocolate fan? Swap in dark chocolate (at least 60% cacao) for a more sophisticated flavor. The bitter-sweet chocolate pairs surprisingly well with the super-sweet candy corn. This version is my husband’s favorite—he claims it tastes like an upscale candy bar.
Peppermint Candy Corn Bark: Add ½ teaspoon of peppermint extract to the melted white chocolate before adding the candy corn. The minty flavor combined with the candy corn creates a weirdly addictive holiday treat. I stumbled onto this combination when I was trying to use up leftover candy cane pieces, and it was a happy accident.
Nutty Crunch Bark: Sprinkle ¼ cup of chopped toasted pecans or almonds over the top before the chocolate sets. The crunch adds a nice textural contrast, and the nutty flavor complements the sweetness. Just make sure your nuts are fully cooled before adding them, or they’ll melt into the chocolate.
Vegan Version: Use dairy-free white chocolate (Enjoy Life makes a good one) and skip the butter. The recipe works exactly the same way. I tested this version for a vegan friend’s Halloween party, and honestly, I couldn’t tell the difference.
Spiced Fall Bark: Sprinkle ¼ teaspoon of pumpkin pie spice or cinnamon over the wet chocolate along with the candy corn. The warm spices add a cozy fall flavor that makes this feel even more seasonal. This is my go-to version for October baking sessions.
Serving & Storage Suggestions
This candy corn bark is best served at room temperature—the chocolate is snappy but not hard, and the candy corn has that perfect chewy texture. If you’ve kept it in the fridge, let it sit out for about 10 minutes before serving.
For presentation, I like to pile the pieces on a wooden cutting board or a festive fall platter. The contrast between the white chocolate and the orange candy corn looks beautiful against a dark surface. If you’re bringing this to a party, arrange the pieces in a single layer so they don’t stick together.
This bark makes a fantastic gift, too. Layer the pieces in a clear cellophane bag or a decorative tin, tie it with a ribbon, and you’ve got a homemade gift that looks like you spent hours on it. I’ve given these as teacher gifts, hostess gifts, and neighbor gifts, and they’re always a hit.
Storage: Keep the bark in an airtight container at room temperature for up to a week. If your kitchen is warm or humid, store it in the refrigerator instead—just bring it to room temperature before serving. Layer the pieces between sheets of parchment paper to prevent them from sticking together.
Freezer: This bark freezes beautifully! Place the pieces in a single layer on a baking sheet and freeze until solid, then transfer to a freezer-safe container or bag. It will keep for up to 3 months. Thaw at room temperature for about 15 minutes before serving. I always make a double batch and stash one in the freezer for unexpected guests or late-night cravings.
One thing to note: the candy corn will soften slightly over time as it absorbs moisture from the chocolate. This isn’t a bad thing—it actually makes the texture more cohesive. But if you prefer a firmer candy corn bite, eat the bark within the first few days.
Nutritional Information & Benefits
Let’s be real—this is a treat, not a health food. But here’s the nutritional breakdown if you’re curious. Based on the recipe making about 12 servings:
| Nutrient | Amount per Serving |
|---|---|
| Calories | 210 |
| Total Fat | 11g |
| Saturated Fat | 7g |
| Carbohydrates | 28g |
| Sugar | 24g |
| Protein | 2g |
| Sodium | 45mg |
On the bright side, white chocolate does contain some calcium (about 8% of your daily value per serving) from the milk solids. And if you’re using dark chocolate instead, you’ll get a nice dose of antioxidants. The candy corn is mostly sugar, but hey—it’s a holiday treat, and life is about balance, right?
If you’re watching your sugar intake, you can make a lighter version by using sugar-free white chocolate and cutting back on the candy corn. But honestly? I think some treats are meant to be enjoyed fully. A small piece of this bark satisfies that sweet craving without needing a huge portion.
This recipe is naturally gluten-free and nut-free (depending on your chocolate brand), making it a safe option for many people with food allergies. Just double-check your ingredient labels to be sure.
Conclusion
This easy 3-ingredient candy corn bark is proof that you don’t need fancy techniques or complicated ingredients to create something truly special. It’s the kind of recipe that brings people together—whether you’re making it for a Halloween party, a cozy movie night, or just because fall has arrived and you want to celebrate.
I love that this recipe honors the memory of that little candy shop without being tied to it. You can make it your own—add your favorite toppings, experiment with different chocolates, or keep it simple with just the three ingredients. However you make it, I hope it brings you the same joy it brings me every single time.
Now I want to hear from you! Have you tried this recipe? Did you add any fun twists? Drop a comment below and let me know how it turned out. And if you snap a photo, tag me—I love seeing your creations. Happy fall baking, friends!
Frequently Asked Questions
Can I use white chocolate chips instead of bars?
You can, but I don’t recommend it. White chocolate chips contain stabilizers that prevent them from melting smoothly, so you’ll likely end up with a lumpy texture. Real white chocolate bars melt much more evenly and give you that silky, professional finish.
How do I prevent my white chocolate from seizing?
The two biggest culprits are water and high heat. Make sure your bowl is completely dry before adding the chocolate, and melt it gently—either in a double boiler or in the microwave at 50% power in short bursts. Adding a teaspoon of vegetable oil also helps keep the chocolate smooth and workable.
Can I make this recipe dairy-free?
Absolutely! Look for a good-quality dairy-free white chocolate. Enjoy Life brand works really well. The rest of the recipe stays exactly the same—just use the dairy-free chocolate and you’re good to go.
How long does this candy corn bark stay fresh?
Stored in an airtight container at room temperature, it stays fresh for about a week. In the refrigerator, it’ll keep for up to two weeks. You can also freeze it for up to three months—just thaw at room temperature before serving.
Can I add other candies to this bark?
Definitely! This recipe is super customizable. Try adding chopped pretzels for saltiness, dried cranberries for tartness, or other fall candies like candy pumpkins or autumn leaves. Just keep the total amount of add-ins around 1 cup so the chocolate-to-candy ratio stays balanced.
Pin This Recipe!
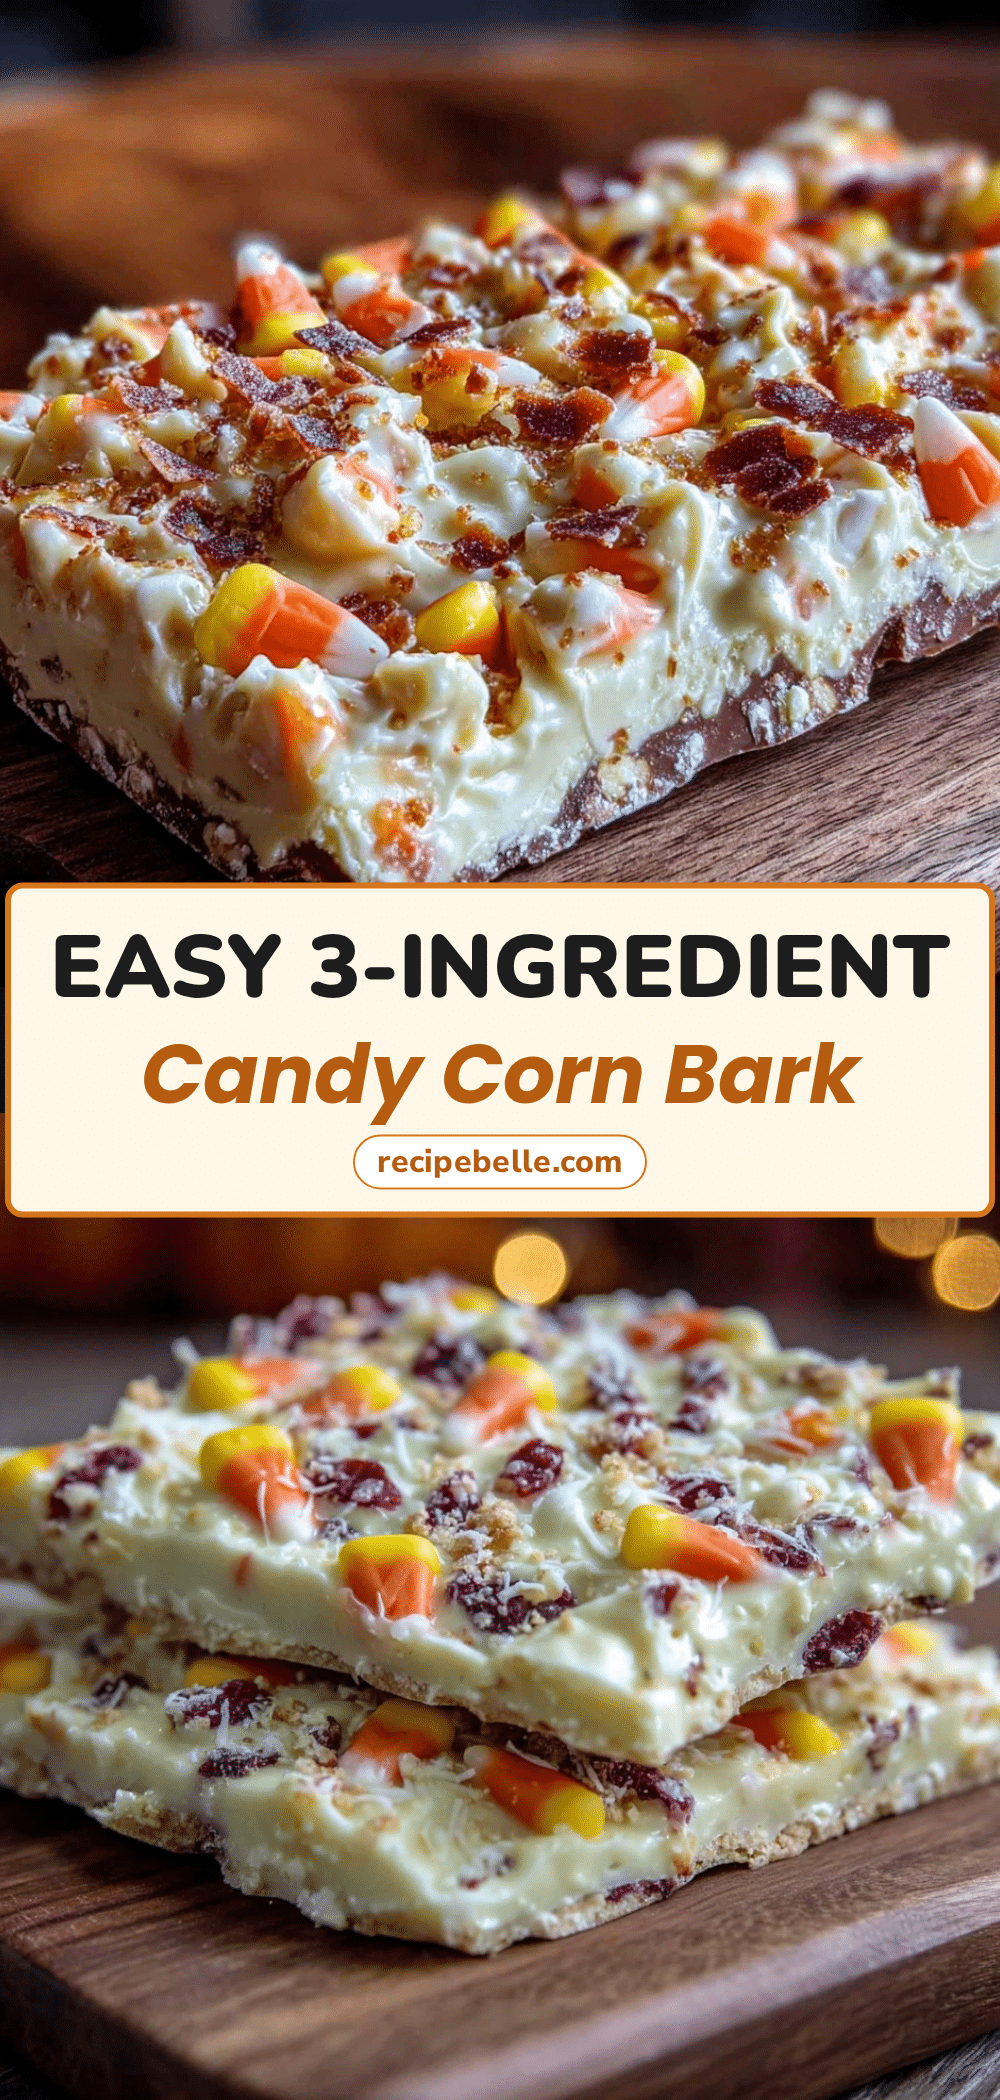
Easy 3-Ingredient Candy Corn Bark (Best Fall Treat!)

This easy 3-ingredient candy corn bark is proof that you don’t need fancy techniques or complicated ingredients to create something truly special. It’s the kind of recipe that brings people together—whether you’re making it for a Halloween party, a cozy movie night, or just because fall has arrived and you want to celebrate.
- Prep Time: 15 minutes
- Cook Time: 5 minutes
- Total Time: 20 minutes active, plus 30-60 minutes setting
- Yield: 12 servings 1x
- Category: Dessert
- Cuisine: American
Ingredients
- 12 ounces (340 grams) white chocolate (preferably Ghirardelli or Lindt)
- 1 cup (about 200 grams) candy corn (Brach’s recommended)
- 1 teaspoon (5 ml) vegetable oil (or refined coconut oil)
- Optional: flaky sea salt (a pinch)
- Optional: orange food coloring
Instructions
- Prepare your pan: Line a baking sheet with parchment paper or a silicone baking mat, extending slightly up the sides. Set aside.
- Chop the white chocolate: Chop 12 ounces of white chocolate into small, even pieces (about the size of chocolate chips).
- Melt the white chocolate: Place chopped chocolate in a heatproof bowl. Add 1 teaspoon vegetable oil. Melt using a double boiler (stir gently) or microwave (30-second intervals at 50% power, stirring between each). Heat until mostly melted with a few small lumps.
- Optional: Check temperature with a candy thermometer (ideal 100-110°F, do not exceed 120°F).
- Add the candy corn: Reserve ¼ cup of candy corn for topping. Gently fold remaining candy corn into melted chocolate until just combined.
- Spread the mixture: Pour chocolate-candy corn mixture onto prepared baking sheet. Spread into an even layer about ¼ to ½ inch thick. Scatter reserved candy corn on top, pressing gently.
- Add optional toppings: Sprinkle flaky sea salt or other toppings while chocolate is still wet. Add orange chocolate drizzle if desired.
- Set the bark: Refrigerate for 30-60 minutes until firm (longer in humid environments).
- Break into pieces: Lift bark from pan using parchment. Break into irregular pieces with hands or cut into squares with a sharp knife.
Notes
Do not use white chocolate chips; they contain stabilizers that prevent smooth melting. Use real white chocolate bars with cocoa butter. If chocolate seizes, add a teaspoon of oil and stir vigorously. Let candy corn come to room temperature before adding to melted chocolate. For shiniest bark, temper chocolate by melting two-thirds, then stirring in remaining third. Store in airtight container at room temperature for up to a week, or refrigerate for up to two weeks. Freezes well for up to 3 months.
Nutrition
- Serving Size: 1 piece (about 1/12
- Calories: 210
- Sugar: 24
- Sodium: 45
- Fat: 11
- Saturated Fat: 7
- Carbohydrates: 28
- Protein: 2
Keywords: candy corn bark, white chocolate bark, fall treat, Halloween dessert, easy candy recipe, 3-ingredient dessert



