My niece looked up from the kitchen table, a smear of flour on her cheek, and asked, “Why can’t we just use the cookie cutter on the dough before we chill it? Wouldn’t that be easier?” I had the whole speech ready in my head—something about the dough spreading, the edges losing definition, the sad, blobby shapes you’d end up with. I started to explain why that wouldn’t work—then stopped. Honestly, I had never actually tried it. I was just repeating what I’d always been told. So, on a rainy Tuesday afternoon, with a batch of black cocoa dough in front of us, I let her take the lead. We cut out the cat shapes while the dough was still soft and sticky, carefully transferring them to the baking sheet with a thin spatula. We popped them in the freezer for a quick ten-minute chill, and you know what? They came out perfect. Crisp edges, defined ears, and that satisfying snap when you bit into one. I learned more from her in that moment than I had in years of following the rules. That’s the story behind these Easy Black Cat Sugar Cookies, and honestly, I think they’re the best Halloween treat for a reason. They are the cookie that taught the teacher a lesson. Maybe you’ve been there, too—stubbornly sticking to a method just because it’s the way you’ve always done it. This recipe is an invitation to let go of a little control and get the best results anyway. The cookies are buttery, deeply chocolatey, and perfectly crisp, making them the ideal canvas for a little spooky decoration. Let me tell you, seeing her face light up when those perfect little cats came out of the oven was worth every bit of my own stubbornness. This is the recipe that stayed with me because it wasn’t just about a cookie—it was about being open to a better idea.
Why You’ll Love This Recipe
This isn’t just another sugar cookie recipe. It’s a tested, family-approved method that delivers on flavor, texture, and fun. I’ve made these for Halloween parties, classroom treats, and quiet nights in, and they never disappoint. Here’s why you’ll find yourself coming back to this recipe year after year.
- Quick & Easy: From start to finish, you’re looking at about 45 minutes of active time. The dough comes together in one bowl, and the clever cutting method saves you a whole chilling step. Perfect for busy weeknights or last-minute Halloween plans.
- Simple Ingredients: No fancy grocery trips needed. You likely have butter, sugar, flour, and eggs in your kitchen right now. The black cocoa powder is the only special ingredient, and it’s easy to find online or in most baking aisles.
- Perfect for Halloween: These little black cats are the star of any Halloween spread. They’re spooky enough for a costume party but cute enough for a school bake sale. Kids and adults alike go wild for them.
- Crowd-Pleaser: I’ve brought these to multiple gatherings, and they always get rave reviews. The deep chocolate flavor is a welcome break from the usual cloyingly sweet Halloween candy. Plus, they’re just so darn cute.
- Unbelievably Delicious: The texture is the real star here. A perfectly crisp snap gives way to a tender, buttery crumb. The black cocoa adds a rich, almost Oreo-like flavor that’s simply irresistible. It’s next-level comfort food in a spooky package.
What makes this recipe different from the rest is that simple cutting technique. Most sugar cookie recipes insist on chilling the dough first, then rolling and cutting. By cutting the shapes first and then chilling them, you save time and get sharper edges. It’s a small tweak that makes a huge difference, especially for detailed cookie cutters like our black cat. This isn’t just another version of a Halloween cookie—it’s the best version because it’s smarter, not harder. And honestly, it’s the kind of recipe that makes you close your eyes after the first bite. It’s that good.
What Ingredients You Will Need
This recipe uses simple, wholesome ingredients to deliver that bold chocolate flavor and satisfying crisp texture without any fuss. Most of these are pantry staples, so you can whip up a batch whenever the Halloween spirit strikes.
- Unsalted butter, softened: 1 cup (2 sticks, 226g). Using unsalted butter lets you control the salt level. Make sure it’s truly soft to the touch—not melted, but giving easily when you press it.
- Granulated sugar: 1 cup (200g). Regular white sugar gives the cookies their crisp texture. Don’t substitute with a liquid sweetener here, as it will change the structure.
- Large egg: 1, room temperature. A room-temperature egg emulsifies into the butter-sugar mixture much better than a cold one, creating a smoother dough.
- Vanilla extract: 1 teaspoon. Use pure vanilla extract for the best flavor. It rounds out the deep chocolate notes beautifully.
- All-purpose flour: 2 cups (250g). Spoon and level your flour for the most accurate measurement. Scooping directly from the bag can pack in too much flour, leading to dry cookies.
- Black cocoa powder: 1/2 cup (50g). This is the secret ingredient. Black cocoa is heavily alkalized, giving it that dark, almost black color and a smooth, Oreo-like flavor. I recommend King Arthur Flour Black Cocoa for the best color and taste. Regular Dutch-process cocoa will work, but the color will be a dark brown, not black.
- Baking powder: 1/2 teaspoon. This gives the cookies just a little lift, ensuring they aren’t dense or hockey-puck-like.
- Salt: 1/4 teaspoon. Salt is crucial in baking. It doesn’t make the cookies salty; it enhances all the other flavors, especially the chocolate.
For the decoration, you’ll need a few simple things. You can keep it minimal or go all out.
- Royal icing or melted white chocolate: For the eyes and any other details. I prefer a simple royal icing made from powdered sugar and milk, but melted white chocolate chips work in a pinch and set up faster.
- Black or orange sanding sugar (optional): For a little sparkle before baking. It’s a great shortcut if you want a festive look without piping.
A note on substitutions: If you need a dairy-free option, you can use a high-quality vegan butter stick. Make sure it’s the kind that comes in a block, not a tub, for the best baking results. For a gluten-free version, use a 1:1 gluten-free baking flour blend that contains xanthan gum. I’ve had good luck with Bob’s Red Mill 1-to-1 Baking Flour in this recipe.
Equipment Needed
You don’t need a professional pastry kitchen to make these cookies. A few basic tools will do the job perfectly.
- Large mixing bowl: For creaming the butter and sugar.
- Electric hand mixer or stand mixer: A hand mixer works great, but a stand mixer with the paddle attachment makes the job even easier.
- Measuring cups and spoons: For accurate ingredient measurements.
- Rolling pin: A standard rolling pin is fine. If you have adjustable rolling rings, they’re a game-changer for getting an even thickness.
- Cat-shaped cookie cutter: The star of the show! I found a set of three different cat poses at a local kitchen supply store for under ten dollars. Online shops have tons of options, too.
- Baking sheet: A light-colored, rimmed baking sheet is best. Dark sheets can cause the bottoms of your cookies to brown too quickly.
- Parchment paper or silicone baking mat: Absolutely essential for easy cleanup and preventing sticking. Silicone mats are a great investment if you bake often.
- Thin, flexible spatula: For transferring the soft, cut-out shapes to the baking sheet. A metal offset spatula is my favorite tool for this job.
- Wire cooling rack: For cooling the cookies completely before decorating.
- Piping bags or small zip-top bags: For applying the royal icing details.
If you don’t have a cat-shaped cutter, don’t let that stop you! You can use any Halloween-themed cutter—a ghost, a pumpkin, or even a simple circle. The technique works the same way. As for maintenance, just keep your cookie cutters dry after washing them to prevent rust, and your baking mats clean to avoid any oily residue.
Preparation Method
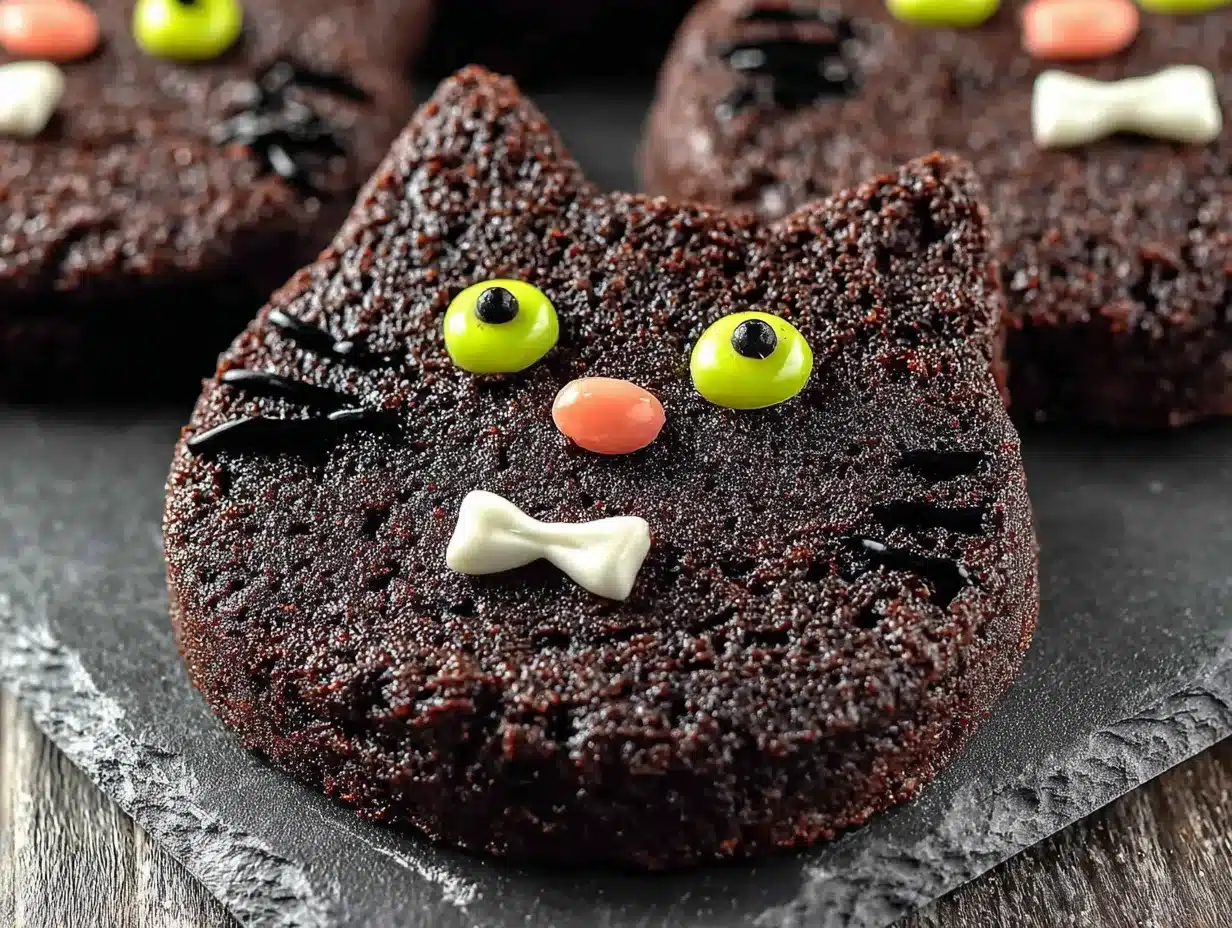
Alright, let’s get baking. This method is straightforward, but the key is in the order of the steps. Trust the process, and you’ll have perfect little black cats in no time.
- Cream the butter and sugar. In your large mixing bowl, beat the softened butter and granulated sugar together on medium speed for about 2-3 minutes, until the mixture is light, fluffy, and pale in color. You want it to look like a thick, sandy paste. Scrape down the sides of the bowl once or twice.
- Add the wet ingredients. Beat in the room-temperature egg and the vanilla extract until they are fully incorporated. The mixture might look a little curdled at this point—that’s perfectly normal. Don’t worry about it.
- Whisk the dry ingredients. In a separate, small bowl, whisk together the all-purpose flour, black cocoa powder, baking powder, and salt. This ensures the baking powder and salt are evenly distributed throughout the flour. If you skip this step, you might end up with a pocket of baking powder in one cookie!
- Combine wet and dry. With the mixer on low speed, gradually add the dry ingredients to the wet ingredients. Mix just until a soft, cohesive dough forms. You may need to stop and scrape the bowl a few times. Do not overmix at this stage, or your cookies will be tough. The dough will be soft and slightly sticky.
- Roll and cut (the clever part). Lightly flour your work surface and your rolling pin. Turn the dough out onto the floured surface and roll it out to a 1/4-inch (6mm) thickness. Don’t worry about it being a perfect rectangle. Now, dip your cat cookie cutter in a little flour to prevent sticking, and cut out as many shapes as you can. Press straight down and lift straight up—no twisting! Twisting seals the edges and prevents the cookies from spreading evenly.
- Chill the cut shapes. Using your thin, flexible spatula, carefully transfer the cut-out cat shapes onto a parchment-lined baking sheet. Leave a little space between each one. Place the entire baking sheet in the freezer for 10-15 minutes. This is the crucial step that replaces the traditional “chill the whole dough” method. It firms up the butter, so the cookies hold their shape perfectly in the oven. While they chill, gather the dough scraps, gently press them together, re-roll, and cut out more cats.
- Bake. Preheat your oven to 350°F (175°C). Once the cats are chilled and firm, bake them for 9-11 minutes. The cookies are done when the edges are set and they look dry on top. They will not spread much, and they will not brown—that’s the magic of the black cocoa. They will look exactly the same as when they went in, just a little firmer.
- Cool completely. Let the cookies cool on the baking sheet for 5 minutes. This allows them to finish setting up. Then, transfer them to a wire cooling rack to cool completely before decorating. If you try to ice them while they’re even slightly warm, the icing will slide right off.
Cooking Tips & Techniques
I’ve made my share of cookie mistakes so you don’t have to. Here are a few things I’ve learned the hard way.
The biggest mistake is skipping the freezer step. I know it feels like an extra step, but it’s non-negotiable for these cookies. If you bake them straight from the rolling step, the butter is too soft, and your cats will spread into shapeless blobs. I once tried to rush it, and my “black cats” looked more like sad, flat pancakes. The ten minutes in the freezer is what gives you those perfect, sharp edges.
Don’t overbake. Because the cookies are black, it’s almost impossible to tell when they’re done by looking for golden edges. Set your timer for 9 minutes and check them. The bottoms should be just set. If you wait until they look “done,” they will be overbaked and dry. A slightly underbaked cookie is always better than an overbaked one.
Use a light-colored baking sheet. Dark metal sheets absorb more heat and can cause the bottoms of your cookies to burn before the centers are set. If you only have dark sheets, reduce your oven temperature by 25°F and keep a close eye on them.
For consistent thickness, use rolling rings. This is my favorite professional tip. Rolling rings are two wooden sticks of the same thickness that you place on either side of your dough. You rest your rolling pin on them, and they guarantee a perfectly even 1/4-inch thickness. No more thick middles and thin edges!
Multitasking is your friend. While your first batch of cats is chilling in the freezer, you can be re-rolling the scraps and cutting out more. This keeps the workflow moving and gets the cookies in the oven faster. Just be sure to keep the dough you’re not working with in the fridge so it stays firm.
Variations & Adaptations
Once you’ve mastered the basic black cat, the possibilities are endless. Here are a few ways to make this recipe your own.
- Spooky Spider Webs: Bake the cookies as plain circles. Once cooled, use white royal icing to pipe a spider web design on top. Place a small chocolate spider candy in the center for a truly creepy treat.
- Gluten-Free Option: As mentioned, swap the all-purpose flour with a 1:1 gluten-free baking blend. I’ve tested this with King Arthur Measure for Measure flour, and the texture was remarkably close to the original. Just be sure your blend contains xanthan gum for structure.
- Different Flavors: This base recipe is a fantastic canvas. For a fun twist, add 1/2 teaspoon of peppermint extract along with the vanilla. You’ll have mint-chocolate black cats! Or, add 1/2 cup of mini chocolate chips to the dough for a little extra chocolatey crunch.
- No-Roll Method: If you’re short on time or patience, you can skip the rolling and cutting altogether. Simply chill the dough for 30 minutes, then roll it into 1-inch balls. Flatten them slightly with the bottom of a glass, and bake. You’ll have perfectly delicious chocolate cookies, just not in a cat shape.
- Spiced Halloween Cats: Add 1 teaspoon of pumpkin pie spice or cinnamon to the dry ingredients. The warm spice notes pair beautifully with the dark chocolate flavor and give the cookies a cozy fall vibe.
My personal favorite variation? I once made a batch and, instead of icing eyes, I pressed a single white candy melt into the dough before baking. They looked like little ghosts with one big, staring eye. It was a happy accident that my kids still talk about.
Serving & Storage Suggestions
These cookies are best served at room temperature, and they look fantastic on a Halloween dessert table. For a spooky presentation, arrange them on a black or orange platter. You can also stack them in a clear jar tied with a black ribbon for a perfect homemade gift.
Storage: Store undecorated cookies in an airtight container at room temperature for up to one week. They stay perfectly crisp. If you’ve already decorated them with royal icing, let the icing harden completely (about 2-4 hours) before stacking them. Place a sheet of parchment paper between layers to prevent the icing from sticking or getting scratched.
Freezing: These cookies freeze beautifully. You can freeze the baked, undecorated cookies in a freezer-safe container for up to three months. Thaw them on the counter for about 30 minutes before decorating. Alternatively, you can freeze the unbaked, cut-out shapes. Place them on a baking sheet in the freezer until solid, then transfer them to a freezer bag. Bake them straight from the freezer, adding 1-2 minutes to the baking time.
Reheating: Honestly, these cookies don’t need reheating. They’re best at room temperature. But if you want a warm, gooey experience, pop one in the microwave for 5-7 seconds. Just be careful not to overdo it, or the icing will melt.
A note on flavor development: Like many cookies, these actually taste even better the day after they’re baked. The flavors meld together, and the texture becomes even more perfectly crisp. So, don’t be afraid to make them a day ahead!
Nutritional Information & Benefits
Let’s be real—these are a treat, not a health food. But that doesn’t mean they can’t have a place in a balanced lifestyle. Here’s a rough estimate of what’s in one undecorated cookie (based on a recipe yielding 24 cookies).
| Nutrient | Amount per Cookie |
|---|---|
| Calories | 145 |
| Fat | 8g |
| Saturated Fat | 5g |
| Carbohydrates | 17g |
| Sugar | 8g |
| Protein | 2g |
From a wellness perspective, the black cocoa powder is a source of antioxidants, similar to what you’d find in dark chocolate. It also has a rich, satisfying flavor that can help curb a sweet tooth with just one or two cookies, rather than a whole bag of candy. The butter provides a source of healthy fats and fat-soluble vitamins. As always, enjoy these in moderation as part of a varied diet. They are a wonderful, homemade alternative to the overly processed treats that flood the market this time of year. For those with dietary restrictions, please note that this recipe contains gluten, dairy, and eggs.
Conclusion
So there you have it—a recipe that started with a stubborn aunt and a smart niece and ended with the best Halloween cookie I’ve ever made. These Easy Black Cat Sugar Cookies are more than just a pretty face. They’re a testament to the idea that sometimes the simplest solution is the best one. The deep, rich chocolate flavor, the satisfyingly crisp texture, and that adorable cat shape make them a guaranteed hit at any Halloween gathering.
I encourage you to make these your own. Use a different cookie cutter, try a new spice blend, or get creative with the icing. The base recipe is so solid that you can’t go wrong. I’d love to hear how they turn out for you! Did your kids have a better idea? Did you discover a new flavor combination? Drop a comment below and share your Halloween baking adventures. And if you snap a picture, tag me on social media—I absolutely love seeing your creations. Happy Halloween, and happy baking!
Frequently Asked Questions
Can I use regular cocoa powder instead of black cocoa?
Yes, you can. The cookies will be a dark brown color instead of black, and the flavor will be more like a standard chocolate cookie rather than the Oreo-like taste of black cocoa. Use the same amount of Dutch-process cocoa powder for the best results.
My dough is too sticky to roll out. What should I do?
If your dough feels overly sticky, it’s likely because the butter was too soft or the kitchen is warm. Pop the dough (before rolling) into the refrigerator for 15-20 minutes to firm it up. You can also lightly dust your work surface and rolling pin with a little extra flour.
How do I get the royal icing to be perfectly smooth?
The key to smooth royal icing is the consistency. It should be thick enough to hold its shape but fluid enough to settle into a smooth surface. Add your liquid (milk or water) one teaspoon at a time until you reach that “slow-flowing” stage. If you drizzle a ribbon of icing back into the bowl, it should disappear into the surface within 10-15 seconds.
Can I make this recipe without a mixer?
Absolutely. You can cream the butter and sugar by hand with a wooden spoon. It will take a little more elbow grease, but it works perfectly fine. Just make sure your butter is very soft to start. You’ll also need to stir in the dry ingredients by hand.
Why did my cookies spread out and lose their shape?
This is almost always due to the dough being too warm when it went into the oven. Make sure your cut-out shapes are thoroughly chilled (10-15 minutes in the freezer is ideal). Also, if your butter was too soft or melted when you started, the dough will be more prone to spreading. Next time, use cooler butter and don’t skip the chilling step.
Pin This Recipe!
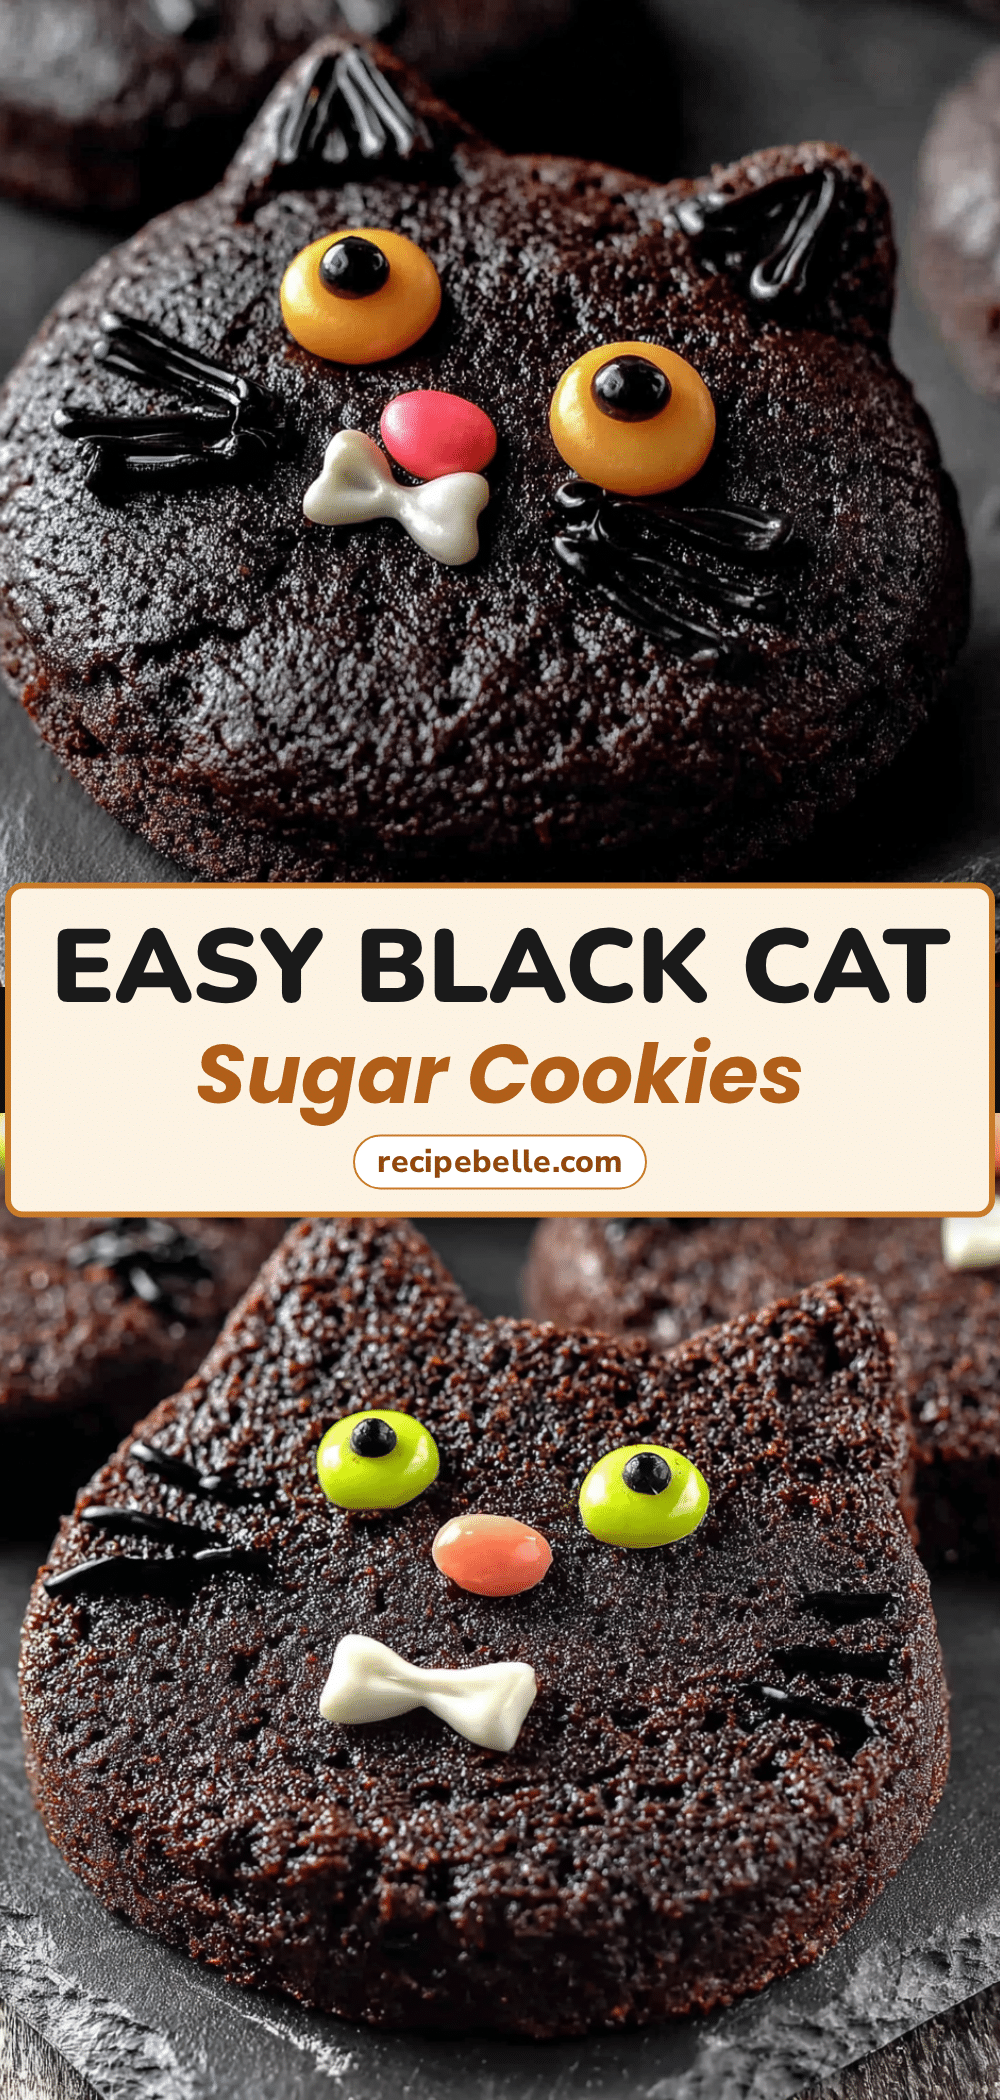
Easy Black Cat Sugar Cookies: Best Halloween Treat

These buttery, deeply chocolatey sugar cookies are perfectly crisp and shaped like adorable black cats. A clever cutting method saves time and delivers sharp edges, making them the ideal Halloween treat.
- Prep Time: 20 minutes
- Cook Time: 10 minutes
- Total Time: 45 minutes
- Yield: 24 servings 1x
- Category: Dessert
- Cuisine: American
Ingredients
- 1 cup (2 sticks, 226g) unsalted butter, softened
- 1 cup (200g) granulated sugar
- 1 large egg, room temperature
- 1 teaspoon vanilla extract
- 2 cups (250g) all-purpose flour
- 1/2 cup (50g) black cocoa powder
- 1/2 teaspoon baking powder
- 1/4 teaspoon salt
- Royal icing or melted white chocolate (for decoration)
- Black or orange sanding sugar (optional)
Instructions
- Cream the butter and sugar. In a large mixing bowl, beat the softened butter and granulated sugar together on medium speed for about 2-3 minutes, until light, fluffy, and pale in color. Scrape down the sides of the bowl once or twice.
- Add the wet ingredients. Beat in the room-temperature egg and vanilla extract until fully incorporated. The mixture might look a little curdled—that’s normal.
- Whisk the dry ingredients. In a separate small bowl, whisk together the all-purpose flour, black cocoa powder, baking powder, and salt.
- Combine wet and dry. With the mixer on low speed, gradually add the dry ingredients to the wet ingredients. Mix just until a soft, cohesive dough forms. Do not overmix.
- Roll and cut. Lightly flour your work surface and rolling pin. Roll the dough out to a 1/4-inch (6mm) thickness. Dip your cat cookie cutter in flour and cut out shapes. Press straight down and lift straight up—no twisting.
- Chill the cut shapes. Using a thin, flexible spatula, transfer the cut-out shapes onto a parchment-lined baking sheet. Place the baking sheet in the freezer for 10-15 minutes. Gather dough scraps, re-roll, and cut more cats.
- Bake. Preheat oven to 350°F (175°C). Bake the chilled cookies for 9-11 minutes, until edges are set and tops look dry. They will not brown.
- Cool completely. Let cookies cool on the baking sheet for 5 minutes, then transfer to a wire cooling rack to cool completely before decorating.
Notes
The key to sharp edges is cutting the shapes before chilling, then freezing for 10-15 minutes before baking. Do not overbake; the cookies are done when edges are set. Use a light-colored baking sheet to prevent burning. For consistent thickness, use rolling rings. Store undecorated cookies in an airtight container at room temperature for up to one week. Freeze baked, undecorated cookies for up to three months.
Nutrition
- Serving Size: 1 cookie
- Calories: 145
- Sugar: 8
- Sodium: 55
- Fat: 8
- Saturated Fat: 5
- Carbohydrates: 17
- Fiber: 1
- Protein: 2
Keywords: black cat cookies, Halloween cookies, sugar cookies, black cocoa, easy cookies, no-chill dough, spooky treats



