The alarm hadn’t even gone off yet, and I was already doing mental math. The school bus came in forty minutes, my youngest needed a costume for “Wacky Hair Day” (found out at 9 PM the night before, naturally), and I had a pile of laundry that looked like it was plotting against me. Somewhere in the middle of this, I needed to get two kids fed, dressed, and out the door with their permission slips signed. Breakfast? That felt like a luxury I couldn’t afford. I remember staring into the open fridge, seeing a block of cheddar cheese and some leftover taco meat from Tuesday, and thinking, “Maybe I can just… roll this up in a tortilla?” Let me tell you, that was the moment everything changed.
I grabbed the tortillas, scrambled a few eggs, threw in that leftover meat, and wrapped it all up. My son took one bite as he was shoving his feet into his sneakers and mumbled, “Mom, this is the best thing you’ve ever made.” High praise from a kid who usually just inhales cereal without looking up. That morning, I made a batch of ten. Then I wrapped them in foil, tossed them in a freezer bag, and discovered I had just solved the biggest problem of my week. These easy freezer breakfast burritos became my secret weapon. Honestly, I don’t think I’d survive a school year without them. They are the ultimate make-ahead meal for busy mornings when you need something hot, filling, and actually delicious—without standing over a stove.
If you’ve ever had one of those mornings where you’re running on fumes, you know the feeling. You grab a granola bar or skip breakfast entirely, and then you’re starving by 10 AM. I’ve been there more times than I care to admit. But these burritos? They change the game. You make them once, and you have breakfast ready for two weeks. It’s the kind of simple win that makes you feel like you’ve got your life together, even when the rest of the house is chaos.
Why You’ll Love This Recipe
I’ve tested this recipe about a dozen times to get it just right. I’ve made them with too much egg (soggy), not enough cheese (dry), and with potatoes that turned into mush. But after all those trials, I landed on a version that freezes perfectly and tastes just as good as the day you made them. Here is why these are the best freezer breakfast burritos you will ever make:
- Quick & Easy: You can assemble a whole batch in about 30 minutes. That means breakfast is ready for the next two weeks with just one small block of time.
- Simple Ingredients: No fancy grocery trips needed. Eggs, cheese, tortillas, and your favorite fillings are probably already in your kitchen.
- Perfect for Busy Mornings: Whether you are rushing to get the kids to school, heading to an early meeting, or just want to sleep in, these burritos are ready in 90 seconds.
- Crowd-Pleaser: My kids love them, my husband loves them, and even my picky neighbor who “doesn’t do leftovers” asked for the recipe.
- Unbelievably Delicious: The secret is in the technique—blotting the ingredients to remove excess moisture so the burrito stays fluffy, not soggy, even after a month in the freezer.
What makes this recipe different from all the others? It’s the little things. I use a specific trick for scrambling the eggs so they stay tender after reheating, and I always let the fillings cool completely before wrapping. That one step prevents the dreaded freezer burn and keeps the tortilla from getting gummy. This isn’t just another version of a breakfast burrito—it is the best version. The kind that makes you close your eyes after the first bite because it tastes like a warm hug on a hectic morning.
What Ingredients You Will Need
This recipe uses simple, wholesome ingredients to deliver big flavor without any fuss. Most of these are pantry staples, making it easy to throw together whenever you have a spare half hour. Here is everything you need:
For the Burrito Filling
- Large eggs (12 eggs) — Use room temperature eggs for fluffier scrambling.
- Whole milk (¼ cup) — Adds richness and keeps the eggs tender. You can use 2% or a dairy-free alternative like oat milk if needed.
- Breakfast sausage (1 pound) — I prefer Johnsonville or Jimmy Dean for consistent flavor. You can also use bacon, ham, or a plant-based crumble.
- Shredded cheddar cheese (2 cups) — Sharp cheddar gives the best flavor. Pre-shredded works, but freshly shredded melts more evenly.
- Frozen diced potatoes (2 cups) — Look for the “O’Brien” style with peppers and onions for extra flavor. Thaw and pat them dry before cooking.
- Salt (½ teaspoon) — For seasoning the eggs.
- Black pepper (¼ teaspoon) — Freshly ground is best.
- Butter (2 tablespoons) — For cooking the eggs and potatoes.
For Assembly
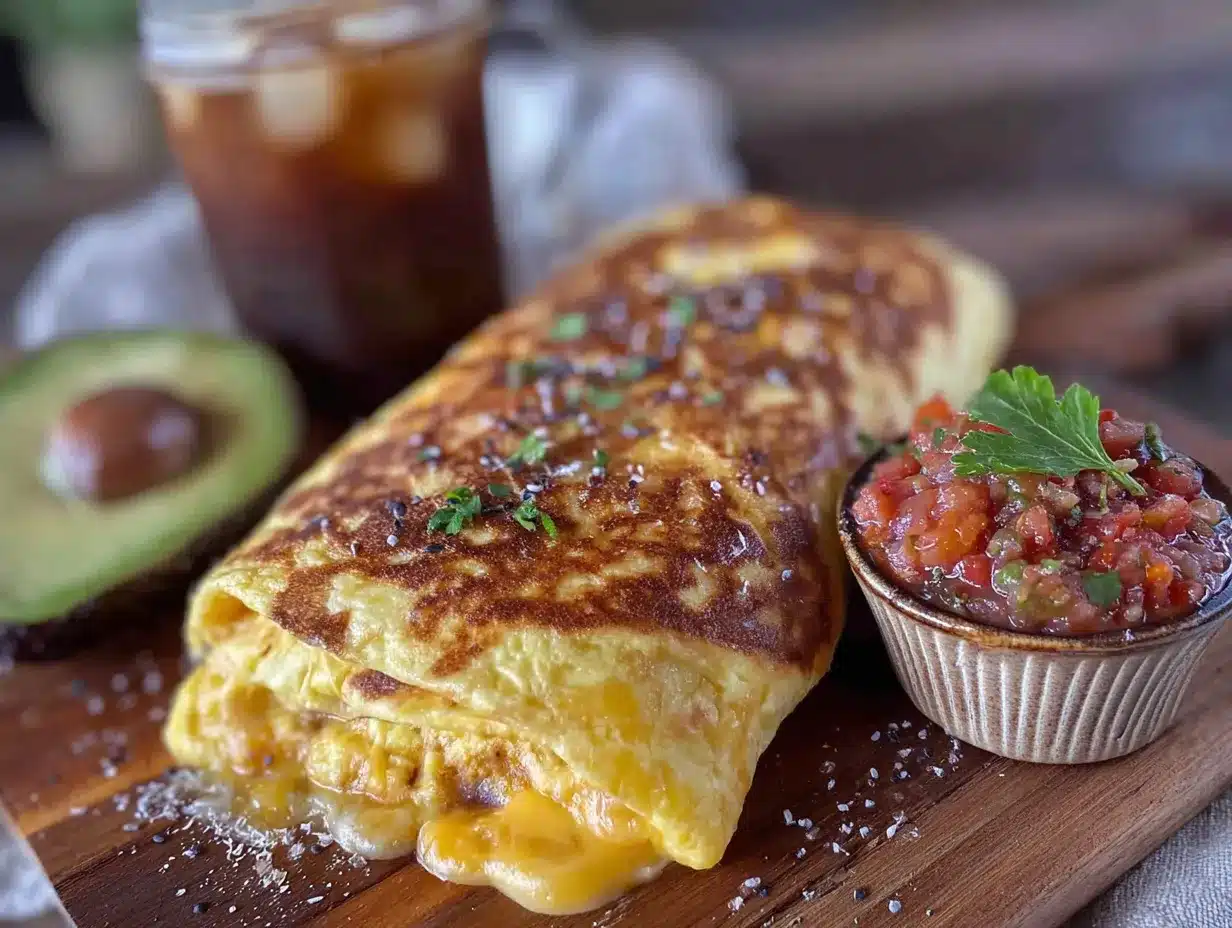
- Flour tortillas (10 large, 10-inch size) — Burrito-sized tortillas are essential. I like Mission brand for their flexibility. Avoid “low-carb” or “thin” tortillas as they tend to crack when frozen.
- Optional add-ins: Salsa verde, diced green chiles, black beans, or chopped cilantro.
Ingredient Selection Tips: For the best texture, use large eggs and full-fat dairy. If you are using frozen potatoes, make sure to thaw them completely and squeeze out any excess water with a paper towel. Wet potatoes lead to soggy burritos, and nobody wants that. For a spicier kick, add a pinch of cayenne pepper to the eggs or use hot breakfast sausage.
Substitution Guidance: Need a vegetarian option? Swap the sausage for black beans and bell peppers. For a gluten-free version, use corn tortillas (just warm them first so they don’t crack) or large gluten-free flour tortillas. You can also swap the cheddar for pepper jack or Monterey Jack cheese for a different flavor profile.
Equipment Needed
You don’t need any fancy gadgets for this recipe, which is part of the beauty. Here is what you will need:
- Large non-stick skillet (12-inch) — Perfect for scrambling eggs and cooking the filling without sticking.
- Mixing bowls (one large, one medium) — For beating the eggs and holding the fillings.
- Whisk — For beating the eggs with milk until frothy.
- Spatula — A silicone spatula works best for gentle egg scrambling.
- Cutting board and knife — For prepping any vegetables or meat.
- Paper towels — Essential for blotting moisture from the fillings.
- Aluminum foil (heavy-duty) — For wrapping each burrito individually. Regular foil tears too easily.
- Freezer-safe zip-top bags (gallon size) — For storing the wrapped burritos.
- Baking sheet (optional) — Useful for flash-freezing the burritos before bagging them.
Budget-Friendly Tip: If you don’t have a large non-stick skillet, a well-seasoned cast iron pan works just as well. Just make sure to use enough butter to prevent sticking. Also, you can skip the baking sheet for flash-freezing and just lay the wrapped burritos directly in the freezer on a flat surface for an hour before bagging them.
Preparation Method
Follow these steps carefully, and you will have a batch of perfect freezer breakfast burritos ready in no time. I’ve included time estimates and sensory cues so you know exactly what to look for at each stage.
Step 1: Cook the Potatoes (10 minutes)
Heat 1 tablespoon of butter in your large skillet over medium-high heat. Add the thawed and dried frozen potatoes in a single layer. Let them cook undisturbed for 3-4 minutes until the bottoms are golden brown. Then stir and cook for another 3-4 minutes until they are crispy on all sides. Sensory cue: You should hear a satisfying sizzle when the potatoes hit the pan. If they steam instead of sizzle, the pan isn’t hot enough. Transfer the cooked potatoes to a plate lined with paper towels to absorb any excess oil.
Step 2: Cook the Sausage (8 minutes)
In the same skillet, add the breakfast sausage. Break it apart with your spatula and cook over medium heat until browned and cooked through, about 6-8 minutes. Sensory cue: The sausage should be fragrant and no longer pink in the center. Use a slotted spoon to transfer it to a bowl lined with paper towels. Blot off any excess grease—this is crucial for preventing soggy burritos later.
Step 3: Scramble the Eggs (5 minutes)
In a medium bowl, whisk together the 12 eggs, ¼ cup milk, ½ teaspoon salt, and ¼ teaspoon pepper until the mixture is pale yellow and slightly frothy. Reduce the heat under the skillet to medium-low and add the remaining 1 tablespoon of butter. Pour in the egg mixture and let it sit for 30 seconds without stirring. Then, using a silicone spatula, gently push the cooked eggs from the edges toward the center. Continue this motion, folding the eggs gently, until they are just set but still soft and glossy. Sensory cue: The eggs should look creamy and slightly undercooked—they will finish cooking when you reheat the burrito. Overcooked eggs turn rubbery after freezing, so pull them off the heat while they still look a little wet. Spread the eggs on a plate to cool completely.
Step 4: Cool All Fillings (15 minutes)
This is the most important step. Spread the cooked potatoes, sausage, and eggs on separate plates or trays. Let them cool at room temperature for at least 15 minutes. Why this matters: If you wrap warm fillings in a tortilla and then freeze them, the steam will create ice crystals inside the burrito. That leads to a soggy, sad breakfast. Trust me, I learned this the hard way after my first batch turned into a mushy mess.
Step 5: Assemble the Burritos (10 minutes)
Lay a large flour tortilla flat on your work surface. Spoon about ⅓ cup of scrambled eggs down the center, leaving a 2-inch border at the top and bottom. Add ¼ cup of sausage, ¼ cup of potatoes, and a generous sprinkle of shredded cheddar cheese (about 3 tablespoons). Do not overfill—less is more here. Fold the sides of the tortilla inward over the filling, then fold the bottom flap up and over the filling, tucking it tightly. Roll the burrito away from you, keeping it snug, until it is completely closed. Pro tip: If the tortilla feels stiff, microwave it for 10 seconds to make it more pliable and prevent cracking.
Step 6: Wrap and Freeze (5 minutes)
Wrap each assembled burrito tightly in a sheet of heavy-duty aluminum foil. Make sure the ends are twisted closed like a candy wrapper. Place the wrapped burritos on a baking sheet in a single layer and freeze for 1-2 hours until solid. Once frozen, transfer them to a gallon-sized freezer bag. Squeeze out as much air as possible before sealing. Label the bag with the date and contents. They will keep for up to 3 months.
Cooking Tips & Techniques
I’ve made more batches of these than I can count, and I’ve picked up a few tricks along the way. Here are the most important things I’ve learned:
Blot, blot, blot. Moisture is the enemy of a good freezer burrito. After cooking the potatoes and sausage, blot them with paper towels to remove any grease or water. Even the eggs should be spread out to release steam before wrapping. This one habit will save you from soggy disappointment.
Don’t overfill the tortillas. I know it’s tempting to pile on the fillings, but too much makes the burrito impossible to roll and prone to bursting in the microwave. Stick to about 1 cup of total filling per burrito. You want a tight, compact roll that holds together when you bite into it.
Use the right tortilla. I’ve tried this with whole wheat, spinach, and low-carb tortillas. None of them freeze as well as a classic white flour tortilla. They are more flexible and less likely to crack. If you must use a different type, warm them in the microwave for 15 seconds before rolling.
Flash-freeze before bagging. This is a game-changer. If you toss warm burritos directly into a bag, they will freeze into a solid block. By flash-freezing them on a baking sheet first, they stay separate, so you can grab just one at a time without thawing the whole batch.
Label everything. I once forgot to label a bag of burritos and spent a week guessing whether they were the sausage ones or the veggie ones. Trust me, write the date and filling on the bag with a permanent marker. Your future self will thank you.
Variations & Adaptations
One of the best things about this recipe is how easy it is to change up. Here are some of my favorite variations:
Vegetarian Black Bean & Pepper
Swap the sausage for one can of drained and rinsed black beans and one diced bell pepper. Sauté the pepper in butter until soft, then mix with the beans. The beans add protein and fiber without any meat. This version is my go-to for Meatless Mondays.
Southwest Style
Add ½ cup of drained canned corn, ¼ cup of diced green chiles, and a few tablespoons of chopped cilantro to the filling. Use pepper jack cheese instead of cheddar for a spicy kick. Serve with a side of salsa verde for dipping.
Low-Carb Wrap
Skip the potatoes and double the eggs and sausage. Use large low-carb tortillas or even lettuce wraps if you are really watching the carbs. The eggs and cheese provide plenty of staying power without the extra starch.
Bacon & Avocado
Cook 8 slices of bacon until crispy, then crumble them. Add the bacon to the filling along with diced avocado (add the avocado fresh when reheating, not before freezing, as it turns brown). This version feels extra indulgent without being complicated.
Personal Variation: My favorite batch was a “kitchen sink” version where I used leftover taco meat, some roasted poblano peppers, and a handful of cotija cheese. It was messy and unplanned, but honestly, it was the best one I’ve ever made. Don’t be afraid to experiment with what you have on hand.
Serving & Storage Suggestions
These burritos are designed for convenience, but a little attention to reheating makes all the difference.
How to Reheat: Remove the foil from a frozen burrito (do not microwave with the foil—sparks are bad). Wrap the burrito in a damp paper towel and microwave on high for 90 seconds to 2 minutes, flipping halfway through. Let it sit for 1 minute before eating—the inside will be molten hot. For a crispier tortilla, unwrap the burrito after microwaving and toast it in a dry skillet for 1 minute per side.
How to Store: Keep the wrapped burritos in a freezer-safe bag for up to 3 months. Do not refrigerate them after freezing—they are designed to go from freezer to microwave. If you thaw them in the fridge, the tortilla can become gummy.
Serving Suggestions: Serve with a side of salsa, sour cream, or hot sauce. I love dipping mine in a mix of Greek yogurt and chipotle hot sauce for a creamy, spicy kick. A handful of fresh fruit on the side rounds out the meal nicely.
Flavor Development: Interestingly, these burritos taste even better after a week in the freezer. The flavors meld together as they sit, so the second burrito is always better than the first. It’s like they marinate in their own deliciousness.
Nutritional Information & Benefits
Here is the approximate nutritional breakdown for one burrito (based on the sausage and cheddar version):
- Calories: 420
- Protein: 24g
- Fat: 22g
- Carbohydrates: 32g
- Fiber: 2g
- Sugar: 3g
Health Benefits: Eggs provide high-quality protein and choline, which supports brain health. The breakfast sausage adds iron and B vitamins, while the potatoes offer potassium and vitamin C. If you use whole-wheat tortillas, you will also get a boost of fiber. This is a balanced meal that keeps you full and focused until lunch.
Dietary Considerations: This recipe is naturally nut-free and can be made gluten-free with appropriate tortillas. For a lower-sodium version, use reduced-sodium sausage and skip the added salt in the eggs. The cheese adds calcium, so don’t skip it if you can tolerate dairy.
Conclusion
Honestly, these easy freezer breakfast burritos have been a lifesaver for me more times than I can count. They turned my chaotic mornings from a frantic scramble into a calm, five-minute routine. I make a batch every other Sunday, and it feels like I am giving my future self a gift. A hot, delicious, homemade breakfast without any effort on a Tuesday morning? That’s magic.
I encourage you to customize these to your taste. Add hot sauce, swap in different cheeses, or load them up with veggies. The beauty of this recipe is that it works with whatever you have. Don’t be afraid to make a mess and experiment—that’s how the best recipes are born.
I would love to hear how your batch turns out. Did you try a fun variation? Did your kids gobble them up? Drop a comment below and let me know. And if you found this helpful, share it with a friend who also has crazy mornings. We all need a little help sometimes.
Happy cooking, and may your mornings be a little less hectic!
Frequently Asked Questions
Can I use egg whites instead of whole eggs?
Yes, you can substitute 12 egg whites for the whole eggs. The texture will be slightly less rich, but they will still freeze well. Just make sure to blot any excess moisture from the cooked egg whites before assembling the burritos.
How long do these burritos last in the freezer?
Properly wrapped and stored in a freezer-safe bag, these burritos will stay fresh for up to 3 months. After that, they are still safe to eat but may develop freezer burn or lose some texture.
Can I use corn tortillas instead of flour?
You can, but corn tortillas are smaller and more prone to cracking when frozen. If you use them, warm them thoroughly before rolling and double-wrap them to prevent breakage. I recommend sticking with large flour tortillas for the best results.
Do I need to thaw the burrito before reheating?
No, these burritos are designed to go straight from the freezer to the microwave. Thawing them first can make the tortilla soggy. Just remove the foil, wrap in a damp paper towel, and microwave directly.
Can I add vegetables like spinach or mushrooms?
Absolutely! Just make sure to cook them first to remove excess moisture. Sauté spinach until wilted and squeeze out the liquid. Mushrooms should be cooked until all their water has evaporated. Wet vegetables will make your burrito soggy.
Pin This Recipe!
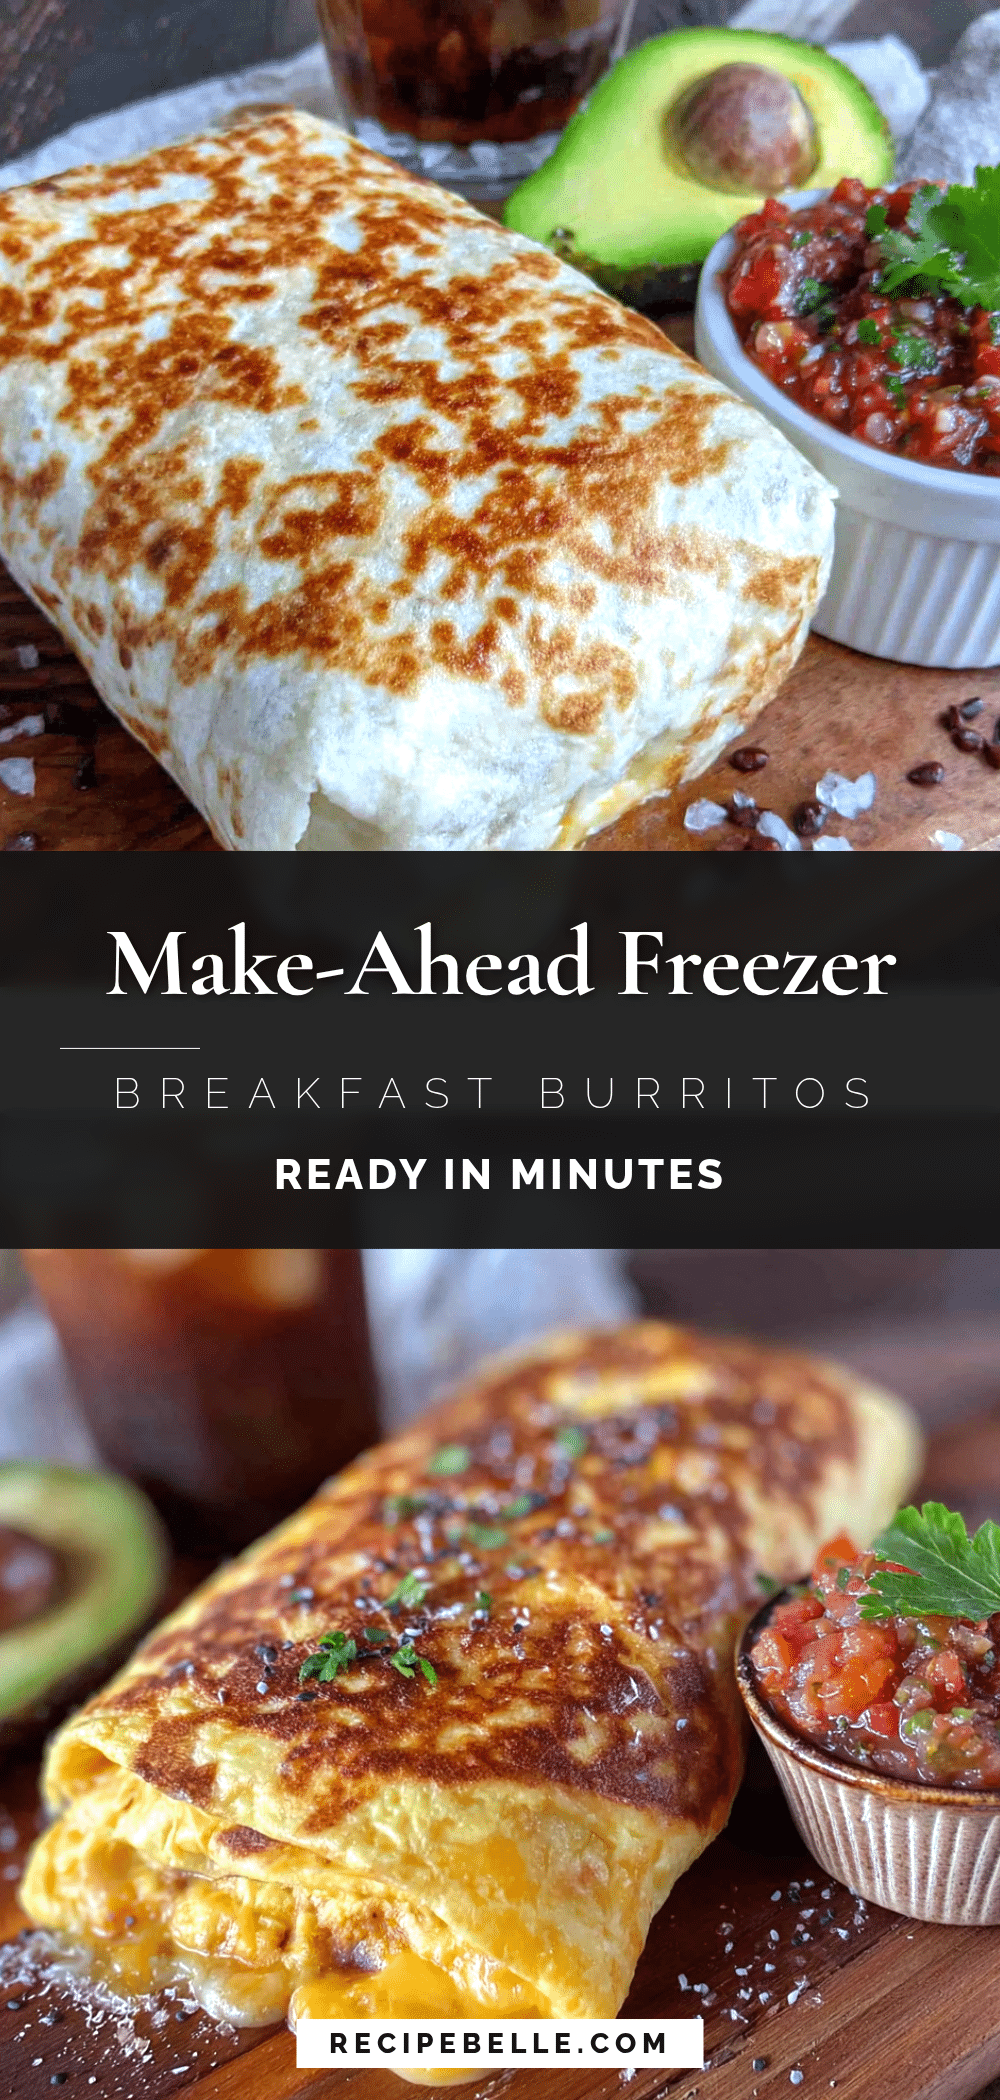
Easy Freezer Breakfast Burritos: Best Make-Ahead Meal
These easy freezer breakfast burritos are the ultimate make-ahead meal for busy mornings. Packed with fluffy eggs, savory sausage, crispy potatoes, and melted cheddar cheese, they reheat in 90 seconds for a hot, delicious breakfast any day of the week.
- Prep Time: 30 minutes
- Cook Time: 23 minutes
- Total Time: 53 minutes
- Yield: 10 servings 1x
- Category: Breakfast
- Cuisine: American
Ingredients
- 12 large eggs, room temperature
- ¼ cup whole milk (or 2% or oat milk)
- 1 pound breakfast sausage (e.g., Johnsonville or Jimmy Dean)
- 2 cups shredded cheddar cheese (sharp preferred)
- 2 cups frozen diced potatoes (O’Brien style with peppers and onions), thawed and patted dry
- ½ teaspoon salt
- ¼ teaspoon black pepper, freshly ground
- 2 tablespoons butter
- 10 large flour tortillas (10-inch, e.g., Mission brand)
- Optional: salsa verde, diced green chiles, black beans, chopped cilantro
Instructions
- Cook the Potatoes: Heat 1 tablespoon butter in a large non-stick skillet over medium-high heat. Add thawed and dried frozen potatoes in a single layer. Cook undisturbed for 3-4 minutes until golden brown on the bottom, then stir and cook another 3-4 minutes until crispy on all sides. Transfer to a plate lined with paper towels to absorb excess oil.
- Cook the Sausage: In the same skillet, add breakfast sausage. Break apart with a spatula and cook over medium heat until browned and cooked through, about 6-8 minutes. Use a slotted spoon to transfer to a bowl lined with paper towels. Blot off excess grease.
- Scramble the Eggs: In a medium bowl, whisk together 12 eggs, ¼ cup milk, ½ teaspoon salt, and ¼ teaspoon pepper until pale yellow and slightly frothy. Reduce heat under skillet to medium-low and add remaining 1 tablespoon butter. Pour in egg mixture and let sit for 30 seconds without stirring. Using a silicone spatula, gently push cooked eggs from edges toward center, folding until just set but still soft and glossy. Spread on a plate to cool completely.
- Cool All Fillings: Spread cooked potatoes, sausage, and eggs on separate plates or trays. Let cool at room temperature for at least 15 minutes. This prevents steam from creating ice crystals and soggy burritos.
- Assemble the Burritos: Lay a large flour tortilla flat. Spoon about ⅓ cup scrambled eggs down the center, leaving a 2-inch border at top and bottom. Add ¼ cup sausage, ¼ cup potatoes, and about 3 tablespoons shredded cheddar cheese. Fold sides inward over filling, then fold bottom flap up and over, tucking tightly. Roll burrito away from you until completely closed. If tortilla is stiff, microwave for 10 seconds to soften.
- Wrap and Freeze: Wrap each assembled burrito tightly in heavy-duty aluminum foil, twisting ends closed like a candy wrapper. Place wrapped burritos on a baking sheet in a single layer and freeze for 1-2 hours until solid. Transfer to a gallon-sized freezer bag, squeeze out air, seal, and label with date and contents. Store for up to 3 months.
Notes
Moisture is the enemy—blot all fillings well. Do not overfill tortillas; use about 1 cup total filling per burrito. Flash-freeze on a baking sheet before bagging to keep burritos separate. For reheating, remove foil, wrap in a damp paper towel, and microwave on high for 90 seconds to 2 minutes, flipping halfway. Let sit 1 minute before eating. For a crispier tortilla, toast in a dry skillet after microwaving.
Nutrition
- Serving Size: 1 burrito
- Calories: 420
- Sugar: 3
- Sodium: 780
- Fat: 22
- Saturated Fat: 10
- Carbohydrates: 32
- Fiber: 2
- Protein: 24
Keywords: freezer breakfast burritos, make-ahead breakfast, easy breakfast recipe, freezer meals, breakfast burritos, meal prep breakfast



