The trifle dishes were empty before anyone even reached for seconds. Again. This was the third summer party in a row where my Easy No-Bake Red White and Blue Cheesecake Trifle vanished faster than I could say “patriotic dessert.” Honestly, I wasn’t sure what made it disappear so quickly — the creamy layers? The fresh berries? The crumbly, buttery crust nestled in between? Probably all of it. Someone texted me the next day asking for the recipe, and that’s when I realized it wasn’t just a lucky hit, but something special worth sharing.
It all started with a last-minute idea. The day before the Fourth of July cookout, I realized I hadn’t planned a dessert. I wanted something festive, simple, and cool — no oven required because, well, summer heat and ovens just don’t mix. I pulled together ingredients I had on hand: cream cheese, whipped topping, crushed graham crackers, and the freshest berries from the farmers’ market. The result was this trifle, a layered masterpiece of red, white, and blue that looked stunning and tasted even better.
What’s funny is how the simplicity of the Easy No-Bake Red White and Blue Cheesecake Trifle caught everyone off guard. It’s not fancy, but it feels special. The creamy cheesecake layer, the juicy berries, and the crunchy crust make a texture-packed treat that’s just right for summer. Over time, this recipe stuck with me because it’s one of those rare desserts that gets compliments from both kids and adults — and I can whip it up in under 20 minutes with zero baking stress. This recipe quietly became my go-to for warm-weather celebrations, and I think it might become yours too.
Why You’ll Love This Recipe
After testing this recipe over several summer parties, I can say it’s a keeper for many reasons. Here’s why my family and friends keep asking for this cheesecake trifle again and again:
- Quick & Easy: Ready in under 20 minutes, no oven needed — perfect for those last-minute party plans or when you want dessert without the fuss.
- Simple Ingredients: You probably have most of these pantry staples and fresh berries lying around already — no specialty store runs required.
- Perfect for Summer Gatherings: It’s refreshing, light, and festive, making it ideal for barbecues, picnics, or holiday celebrations like the Fourth of July.
- Crowd-Pleaser: Kids love the sweet berry layers, and adults appreciate the creamy cheesecake flavor with just the right amount of tang.
- Unbelievably Delicious: The contrast of textures — smooth cheesecake, crunchy crust, juicy berries — makes every spoonful a delight.
This isn’t just another trifle recipe. The no-bake cheesecake layer is whipped to a fluffy, velvety consistency that feels almost like a mousse. I like to use full-fat cream cheese for richness, but you can lighten it up if you prefer. The crushed graham crackers add a buttery crunch, and the fresh strawberries and blueberries bring in that patriotic pop of color and freshness. Honestly, it’s the balance of flavors and textures that makes this recipe stand out — it’s festive but approachable, impressive but effortless.
After making this a few times, I realized it’s the kind of recipe that makes people pause and smile after the first bite. It’s dessert with a little bit of magic, and it’s become a quiet favorite of mine because it brings everyone together around the table without any kitchen chaos.
What Ingredients You Will Need
This recipe uses simple, wholesome ingredients to deliver bold flavor and satisfying texture without the fuss. Most are staples in my kitchen, and the fresh berries add that seasonal brightness that really makes this trifle shine.
- For the Cheesecake Layer:
- 8 oz (225 g) cream cheese, softened (full-fat for best texture)
- 1 cup (240 ml) heavy whipping cream or whipped topping (I use store-bought whipped topping for convenience)
- 1/2 cup (60 g) powdered sugar
- 1 teaspoon vanilla extract
- For the Crust Layer:
- 2 cups (200 g) graham cracker crumbs (I prefer Nabisco for a consistent buttery flavor)
- 1/2 cup (115 g) unsalted butter, melted
- 2 tablespoons granulated sugar (optional, for extra sweetness)
- For the Fruit Layers:
- 1 1/2 cups fresh strawberries, hulled and sliced
- 1 cup fresh blueberries
- 1 cup fresh raspberries (optional, for extra red color and tartness)
- Optional Garnishes:
- Fresh mint leaves
- Extra berries for topping
If you’re short on fresh berries, frozen can work too; just thaw and drain well. For a dairy-free twist, swap cream cheese and whipped topping for coconut-based alternatives. For a gluten-free crust, crushed gluten-free cookies or almond flour mixed with butter works nicely.
Equipment Needed
- Large mixing bowl for the cheesecake filling
- Electric mixer or hand whisk (an electric mixer makes it much quicker and fluffier)
- Medium bowl for mixing graham cracker crust
- Glass trifle bowl or clear serving dish (the layers look amazing through glass)
- Measuring cups and spoons
- Spatula for folding and spreading layers
If you don’t have a trifle bowl, a large glass bowl or even individual clear cups work just fine. I like to use a handheld mixer because it gets the cheesecake layer perfectly smooth and fluffy without tiring my arm. For budget-friendly options, a manual whisk will do the trick — might just take a bit longer.
Preparation Method
- Prepare the Crust: In a medium bowl, combine 2 cups (200 g) graham cracker crumbs with 1/2 cup (115 g) melted butter and 2 tablespoons sugar (if using). Mix until the crumbs look like wet sand. This should take about 2 minutes. Set aside.
- Make the Cheesecake Filling: In a large bowl, beat 8 oz (225 g) softened cream cheese with 1/2 cup (60 g) powdered sugar and 1 teaspoon vanilla extract until smooth and creamy — about 3 to 4 minutes on medium speed. Don’t rush this; a smooth base is key.
- Whip the Cream: In a separate bowl, whip 1 cup (240 ml) heavy cream or use store-bought whipped topping until stiff peaks form. If using heavy cream, this should take about 3 to 5 minutes. Gently fold the whipped cream into the cream cheese mixture until fully combined but still light and airy.
- Layer the Trifle: In your trifle bowl, start with a layer of the crumb mixture, pressing it gently to spread evenly — about 1 inch (2.5 cm) thick. Next, spoon half of the cheesecake filling over the crust layer, smoothing it out.
- Add the Berries: Scatter half of the sliced strawberries, blueberries, and raspberries evenly over the cheesecake layer. The contrast of colors is what makes this trifle so visually appealing.
- Repeat the Layers: Add another layer of graham cracker crumbs (about 1 inch thick), followed by the remaining cheesecake filling, and finish with the rest of the berries on top.
- Chill: Cover the trifle with plastic wrap and refrigerate for at least 4 hours, preferably overnight. This lets the flavors meld and the crust soften slightly without losing its crunch.
- Serve: Just before serving, garnish with fresh mint leaves and a few extra berries if desired. Serve chilled for the best texture and flavor.
Quick tip: If you’re short on time, you can chill for 2 hours, but the flavor and texture improve with longer refrigeration. Also, if your cream cheese isn’t soft enough, pop it in the microwave for 10 seconds to help with mixing.
Cooking Tips & Techniques
Getting this trifle just right comes down to a few simple tricks I learned after a couple of trial runs:
- Softened Cream Cheese Is Key: If the cream cheese isn’t soft, you’ll end up with lumps in your filling. Take it out of the fridge at least 30 minutes ahead or soften quickly in short microwave bursts.
- Whip the Cream Properly: If you over-whip heavy cream, it can turn buttery and grainy. Stop whipping as soon as stiff peaks form, even if it looks a bit soft at first.
- Don’t Overmix the Crust: When combining melted butter and crumbs, mix just until evenly moistened. Overmixing can make the crust soggy instead of crumbly.
- Layering Makes a Difference: Spread layers evenly and don’t press berries too hard or they’ll bleed juice and turn the layers pink instead of keeping that lovely red-white-blue separation.
- Chill Time Matters: The cheesecake filling needs time to set and the crust to soften slightly. I’ve learned that overnight chilling makes the texture ideal, but a minimum of 4 hours works in a pinch.
I once skipped chilling overnight and the crust was a bit too crisp and the cheesecake a little loose — a reminder that patience pays off here. Also, if you want to save time, prepare the crust and cheesecake filling the day before and assemble right before your party. Works every time!
Variations & Adaptations
One of the best things about this trifle is how easy it is to tweak based on what you have or prefer:
- Flavor Twists: Add a swirl of lemon zest or a splash of almond extract to the cheesecake filling for a fresh flavor boost.
- Seasonal Fruit: Swap the berries for peaches and blueberries in late summer, or use frozen mixed berries in cooler months.
- Gluten-Free Option: Use gluten-free graham crackers or crushed gluten-free cookies for the crust.
- Dairy-Free Adaptation: Replace cream cheese and whipped topping with coconut cream and dairy-free cream cheese alternatives.
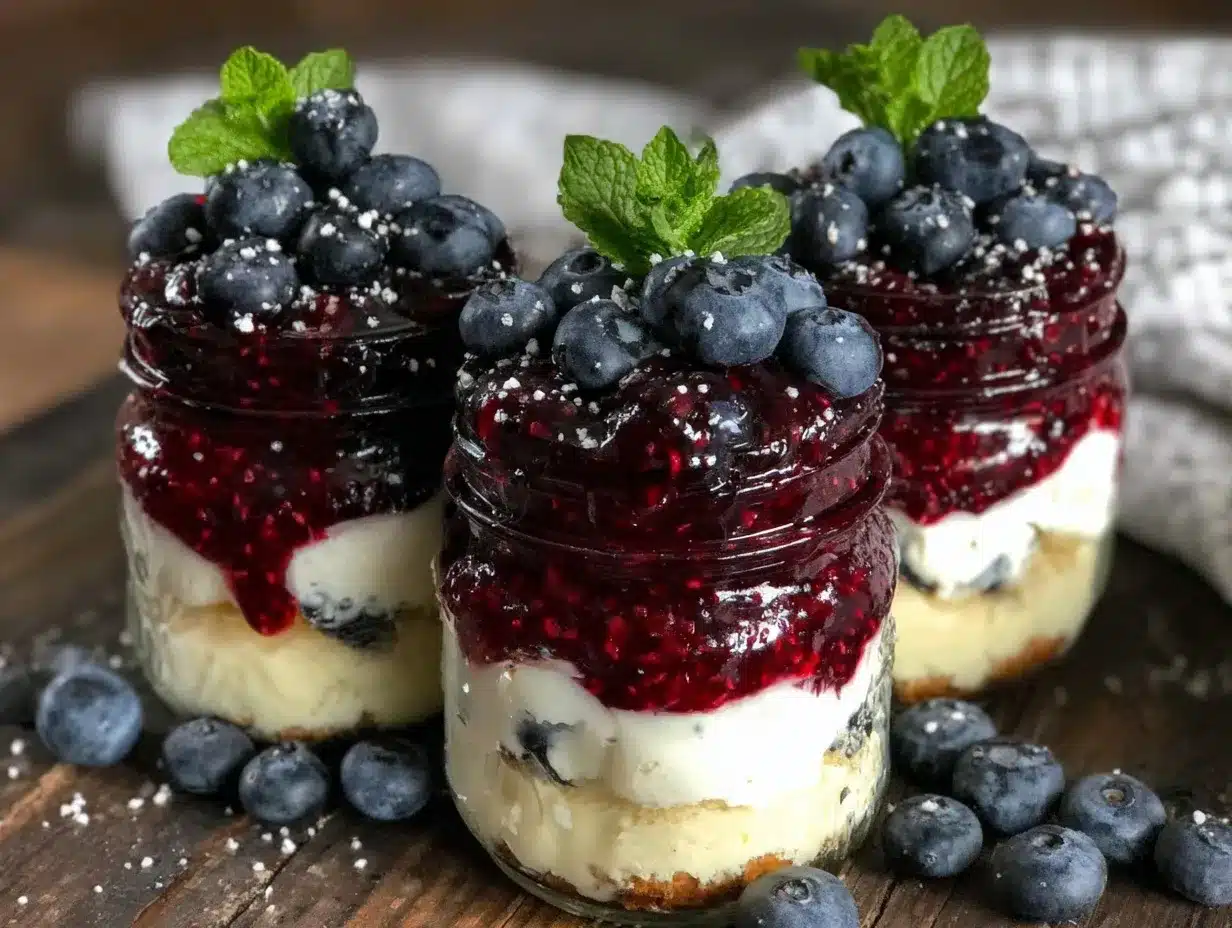
- Mini Trifles: Assemble in individual mason jars for easy serving at picnics or potlucks.
Personally, I’ve tried this with a crushed pretzel crust for a salty-sweet contrast — surprisingly good! And if you’re a fan of chocolate, a thin layer of chocolate ganache between the crust and cheesecake adds another dimension without overpowering the fresh berry flavors.
Serving & Storage Suggestions
Serve your Easy No-Bake Red White and Blue Cheesecake Trifle chilled, straight from the refrigerator. The cool temperature keeps the cheesecake light and the berries fresh. It’s perfect as a centerpiece dessert for summer parties — the colors alone brighten the table.
This trifle pairs wonderfully with iced tea, lemonade (like the Refreshing Fruity Fizzy Lemonade Punch I shared earlier), or even a crisp rosé if you’re hosting adults. For a full summer feast, it complements savory mains like slow cooker BBQ pulled chicken sliders perfectly.
Leftovers? Cover and refrigerate for up to 3 days. The layers meld and flavors deepen, but the crust softens more over time, so it’s best served within the first day or two. For reheating, this dessert is best enjoyed cold, but if you want to serve it slightly less chilled, take it out 20 minutes before serving.
Nutritional Information & Benefits
Each serving of this trifle (about 1 cup or 240 ml) provides roughly:
| Calories | 320 |
|---|---|
| Fat | 22 g |
| Carbohydrates | 28 g |
| Protein | 5 g |
| Sugar | 20 g |
The berries bring antioxidants and vitamin C, while the cream cheese offers calcium and protein. If you’re watching carbs, you can reduce the sugar or use a sugar substitute in the filling. This recipe is naturally gluten-containing due to the graham crackers but easily made gluten-free with substitutions. Be mindful of dairy if you’re sensitive; the dairy-free adaptation works well.
From my perspective, this recipe strikes a nice balance between indulgence and fresh ingredients, making it a treat that doesn’t feel heavy or overly sweet — which is just right for summer.
Conclusion
So, why should you give this Easy No-Bake Red White and Blue Cheesecake Trifle a try? Because it’s a dessert that brings a little celebration to your table without any drama. It’s quick to make, visually stunning, and impresses without hours in the kitchen.
I love how customizable it is — whether you want to keep it classic with fresh berries or add your own creative spin. This recipe quietly holds a place in my summer favorites because it’s an easy way to deliver that creamy, fruity, comforting dessert everyone remembers. If you try it, I’d love to hear how you make it your own.
Frequently Asked Questions
Can I make this trifle ahead of time?
Yes! It’s actually better when made a few hours or overnight in advance. The flavors meld and the crust softens to a perfect texture.
What can I use instead of graham crackers?
Crushed digestive biscuits, vanilla wafers, or gluten-free cookies work great as substitutes for the crust.
Can I use frozen berries for this recipe?
Yes, but be sure to thaw and drain them well to avoid excess moisture that could make the trifle soggy.
Is this recipe suitable for kids?
Absolutely! It’s a family-friendly dessert with familiar flavors and a fun, colorful presentation.
How do I store leftovers?
Cover tightly and refrigerate for up to 3 days. Best enjoyed chilled within the first couple of days for optimal texture.
Pin This Recipe!
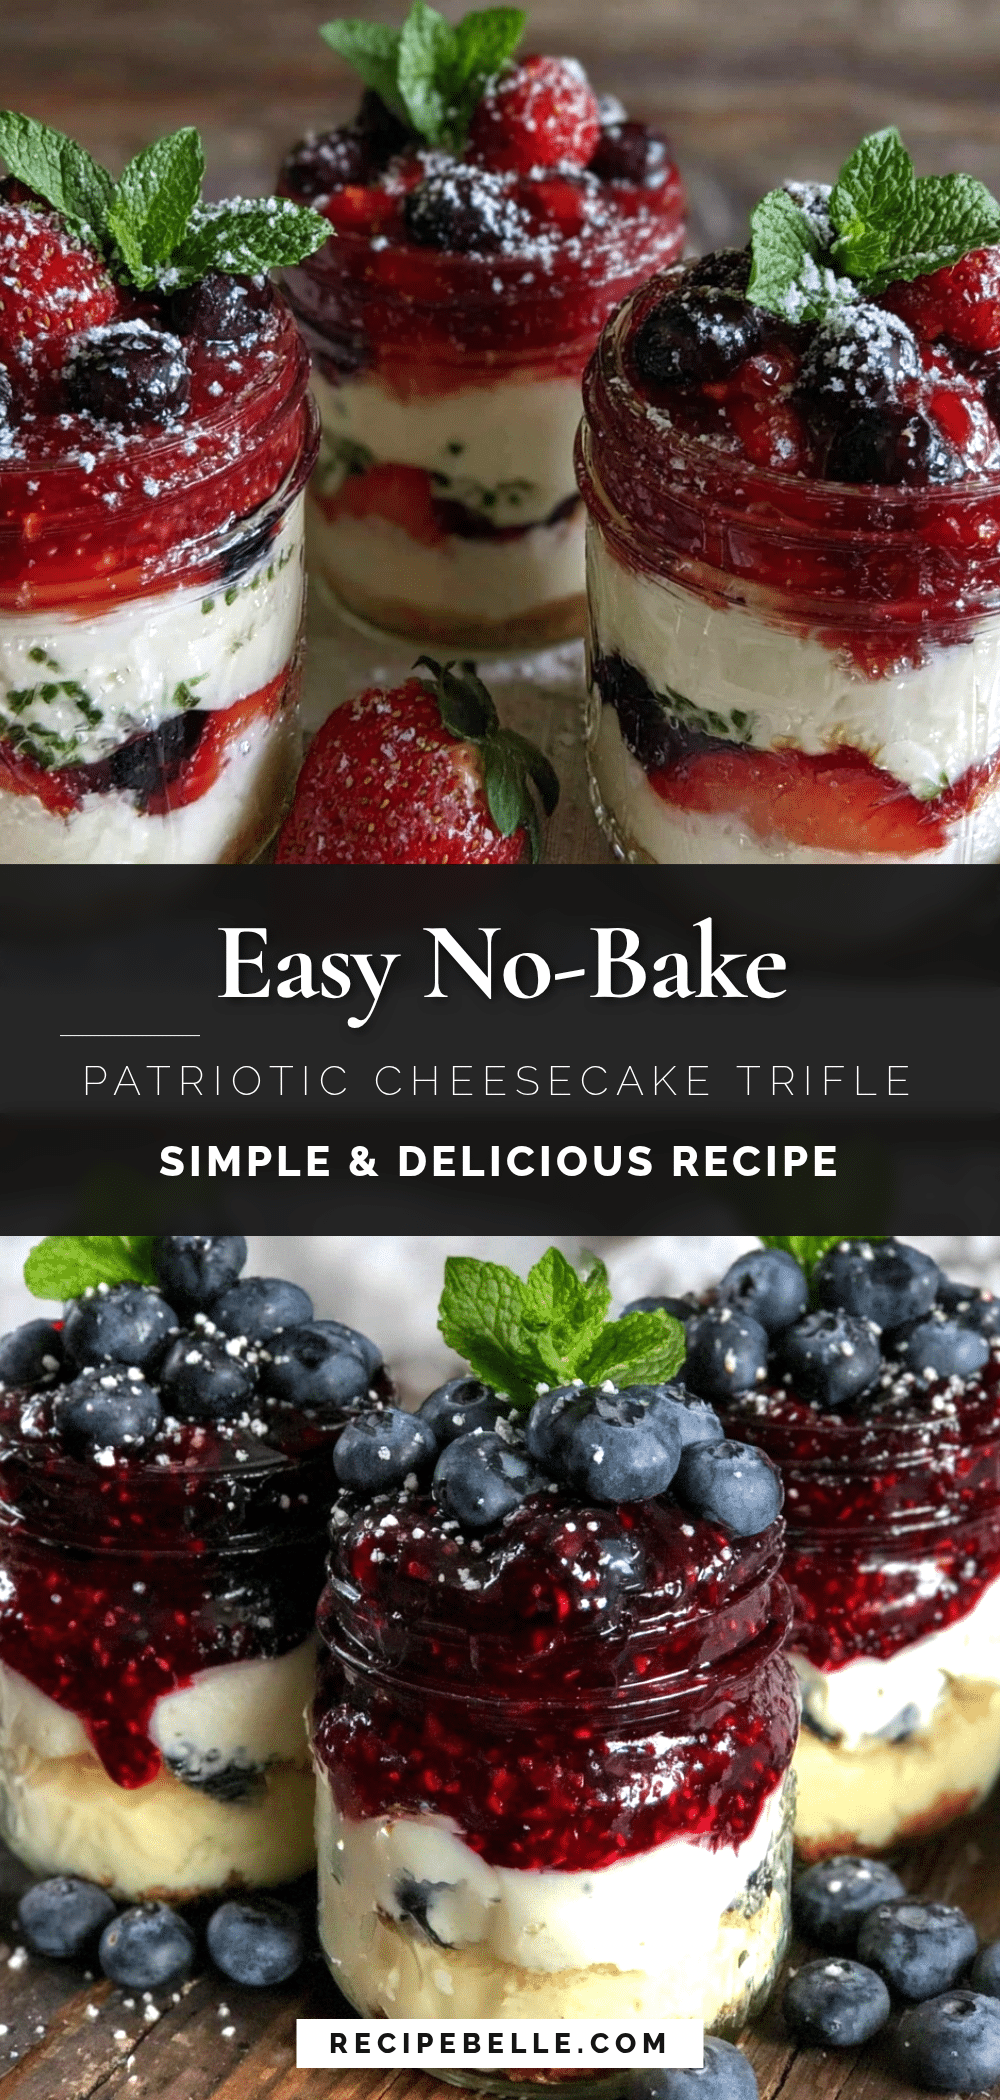
Easy No-Bake Red White and Blue Cheesecake Trifle

A quick and festive no-bake cheesecake trifle layered with creamy cheesecake filling, buttery graham cracker crust, and fresh red, white, and blue berries. Perfect for summer parties and patriotic celebrations.
- Prep Time: 15 minutes
- Cook Time: 0 minutes
- Total Time: 4 hours 15 minutes
- Yield: 8 servings 1x
- Category: Dessert
- Cuisine: American
Ingredients
- 8 oz (225 g) cream cheese, softened (full-fat for best texture)
- 1 cup (240 ml) heavy whipping cream or whipped topping
- 1/2 cup (60 g) powdered sugar
- 1 teaspoon vanilla extract
- 2 cups (200 g) graham cracker crumbs
- 1/2 cup (115 g) unsalted butter, melted
- 2 tablespoons granulated sugar (optional)
- 1 1/2 cups fresh strawberries, hulled and sliced
- 1 cup fresh blueberries
- 1 cup fresh raspberries (optional)
- Fresh mint leaves (optional garnish)
- Extra berries for topping (optional)
Instructions
- Prepare the Crust: In a medium bowl, combine 2 cups graham cracker crumbs with 1/2 cup melted butter and 2 tablespoons sugar (if using). Mix until the crumbs look like wet sand, about 2 minutes. Set aside.
- Make the Cheesecake Filling: In a large bowl, beat 8 oz softened cream cheese with 1/2 cup powdered sugar and 1 teaspoon vanilla extract until smooth and creamy, about 3 to 4 minutes on medium speed.
- Whip the Cream: In a separate bowl, whip 1 cup heavy cream or use store-bought whipped topping until stiff peaks form, about 3 to 5 minutes. Gently fold the whipped cream into the cream cheese mixture until fully combined but still light and airy.
- Layer the Trifle: In your trifle bowl, start with a layer of the crumb mixture, pressing it gently to spread evenly about 1 inch thick. Spoon half of the cheesecake filling over the crust layer, smoothing it out.
- Add the Berries: Scatter half of the sliced strawberries, blueberries, and raspberries evenly over the cheesecake layer.
- Repeat the Layers: Add another layer of graham cracker crumbs about 1 inch thick, followed by the remaining cheesecake filling, and finish with the rest of the berries on top.
- Chill: Cover the trifle with plastic wrap and refrigerate for at least 4 hours, preferably overnight, to let flavors meld and crust soften slightly.
- Serve: Just before serving, garnish with fresh mint leaves and extra berries if desired. Serve chilled.
Notes
Use softened cream cheese for a smooth filling. Do not overwhip the cream to avoid graininess. Mix crust ingredients just until moistened to keep it crumbly. Chill at least 4 hours or overnight for best texture. Frozen berries can be used if thawed and drained well. For dairy-free or gluten-free adaptations, substitute ingredients accordingly.
Nutrition
- Serving Size: 1 cup (240 ml)
- Calories: 320
- Sugar: 20
- Fat: 22
- Carbohydrates: 28
- Protein: 5
Keywords: no-bake cheesecake, trifle, summer dessert, patriotic dessert, red white and blue, easy dessert, berry dessert, no oven dessert