This was supposed to be a stir-fry. I had the beef sliced thin, the veggies chopped, the soy sauce and ginger ready to go. But then my toddler decided 5 PM was the perfect time to practice her new screaming technique, and somewhere between the second ear-piercing shriek and realizing I was out of broccoli, I grabbed the wrong pot. A deep skillet instead of the wok. And instead of the usual stir-fry sauce, I dumped in a can of diced tomatoes I found hiding in the back of the pantry. I was already ten minutes behind schedule, the rice cooker was making ominous clicking sounds, and honestly? I was this close to ordering pizza.
What came out of that pan was nothing like the plan. The beef got a little browned in a way stir-fry beef never does. The tomatoes melted down into this rich, almost gravy-like sauce. I threw in some shredded cheddar because, well, why not? And the rice? I just dumped it in raw and prayed. Twenty-five minutes later, I was staring at a one-pan wonder that made me forget all about that stir-fry. My husband asked for seconds. The toddler actually stopped screaming long enough to eat. I stood at the stove, fork in hand, eating straight from the pan like a gremlin. It was one of those moments where you realize that sometimes the best recipes are the ones that refuse to cooperate.
I’ve made this Easy One-Pan Cheesy Beef Rice at least a dozen times since that chaotic Tuesday. It’s become my go-to for those nights when you need dinner on the table with zero fuss and maximum flavor. Maybe you’ve had one of those nights where everything goes wrong and you just need something to work. Trust me, I get it. This recipe is the culinary equivalent of a deep breath.
Why You’ll Love This Recipe
Let me tell you why this Easy One-Pan Cheesy Beef Rice has earned a permanent spot in my weekly rotation. I’ve tested this recipe more times than I care to admit — adjusting the liquid ratios, playing with cheese types, even accidentally burning a batch (RIP, that poor pan). What I landed on is something special.
- One Pan, Minimal Mess: Everything cooks in a single skillet. That means less dishes, less stress, and more time doing literally anything else. I’ve timed it — from start to table, it’s about 30 minutes, and cleanup takes maybe five.
- Pantry-Friendly Ingredients: Ground beef, rice, canned tomatoes, cheese, and a few seasonings. You probably have most of this stuff already. No fancy trips to specialty stores or hunting down obscure ingredients.
- Perfect for Busy Weeknights: This is the kind of meal you make when you’re tired, hungry, and don’t want to think. It’s forgiving, it’s fast, and it delivers every single time.
- Kid-Approved and Crowd-Pleasing: My niece, who once declared she “doesn’t like anything that’s brown,” ate two helpings. The cheese does something magical — it makes everything comforting and familiar.
- Unbelievably Satisfying: The beef gets tender, the rice absorbs all that savory tomato flavor, and the cheese melts into this creamy, stretchy blanket. It’s the kind of meal that makes you close your eyes after the first bite. I’m not exaggerating.
What makes this different from other one-pan rice dishes? It’s the technique. Instead of cooking the rice separately and mixing it in later, we cook it directly in the beef and tomato mixture. That means every grain of rice gets infused with flavor from the inside out. No bland, separate components here. It’s all one cohesive, delicious mess.
What Ingredients You Will Need
This recipe uses simple, wholesome ingredients that work together to create something way more than the sum of their parts. Most of these are kitchen staples, which is exactly what you want on a busy weeknight.
- Ground Beef (1 lb / 450g): I use 80/20 ground beef for the best flavor. The fat adds richness and keeps the rice from drying out. If you use leaner beef (like 93/7), you might need to add a tablespoon of oil. I’ve tried both, and honestly, the 80/20 just tastes better. Look for fresh ground beef with a bright red color — that’s a good sign it’s fresh.
- Yellow Onion (1 medium, diced): About 1 cup when chopped. Onion adds that savory base flavor that makes everything taste more complex. I prefer yellow onions for their balanced sweetness, but white or sweet onions work fine too.
- Garlic (3 cloves, minced): Fresh garlic is non-negotiable here. The jarred stuff just doesn’t hit the same. I buy those big bags of peeled garlic cloves from Costco and mince them myself — it saves time and money.
- Long-Grain White Rice (1 cup / 200g): This is important — don’t use instant rice or short-grain rice. Long-grain rice (like jasmine or basmati) holds its shape and texture perfectly. I’ve tried basmati and standard long-grain white rice, and both work beautifully. Do not rinse the rice for this recipe — the starch helps thicken the sauce.
- Canned Diced Tomatoes (1 can, 14.5 oz / 411g): I recommend fire-roasted diced tomatoes if you can find them. They add a subtle smoky flavor that takes this dish to another level. Regular diced tomatoes work perfectly too. Don’t drain them — the liquid is part of the cooking liquid.
- Beef Broth (1½ cups / 355ml): Low-sodium is best so you can control the salt level. I’ve used chicken broth in a pinch, and it works, but beef broth gives a deeper, richer flavor. Swanson’s is my go-to brand for consistent quality.
- Shredded Cheddar Cheese (1½ cups / 170g): Sharp cheddar gives the most flavor. I shred my own because pre-shredded cheese has anti-caking agents that prevent it from melting smoothly. It takes an extra two minutes and makes a huge difference. Tillamook or Cabot are excellent choices.
- Tomato Paste (2 tablespoons): This concentrates the tomato flavor and adds depth. I buy the tubes of tomato paste instead of cans — they last forever in the fridge and you can just squeeze out what you need.
- Worcestershire Sauce (1 tablespoon): Adds that savory, umami punch that makes the beef taste beefier. It’s a small ingredient with a big impact.
- Italian Seasoning (1 teaspoon): A blend of dried herbs — oregano, basil, rosemary, thyme. It adds a subtle Mediterranean flavor that complements the tomatoes beautifully. I use McCormick’s, but any brand works.
- Salt and Black Pepper (to taste): Start with ½ teaspoon salt and ¼ teaspoon pepper, then adjust at the end. Remember that the cheese and broth add salt too.
- Optional Garnishes: Fresh parsley or green onions for color, red pepper flakes for heat, extra cheese because why not.
Equipment Needed
You don’t need a fancy kitchen to make this Easy One-Pan Cheesy Beef Rice. Here’s what you’ll need:
- Large Deep Skillet or Dutch Oven (12-inch / 30cm): This is your main vessel. You need something with high sides to hold all the liquid and rice. I use my trusty Lodge 12-inch cast iron skillet — it heats evenly and holds heat beautifully. A non-stick skillet works great too, especially for easy cleanup. If you don’t have a deep skillet, a large pot or Dutch oven works perfectly.
- Wooden Spoon or Silicone Spatula: For breaking up the ground beef and stirring. I prefer a wooden spoon because it’s sturdy and won’t scratch your pan. I’ve been using the same one for years, and it’s got that nice seasoned patina.
- Sharp Knife and Cutting Board: For dicing the onion and mincing garlic. A good chef’s knife makes prep so much faster. I use a Victorinox 8-inch chef’s knife — it’s affordable and stays sharp.
- Measuring Cups and Spoons: Accurate measurements matter for the rice-to-liquid ratio. I have a set of stainless steel measuring cups that I’ve had for over a decade.
- Box Grater or Food Processor: For shredding cheese. I use a box grater for small amounts — it takes two minutes and I don’t have to clean a food processor. For larger batches, the food processor with a shredding disc is a lifesaver.
- Lid for Your Skillet: You’ll need a tight-fitting lid to steam the rice. If your skillet doesn’t have a lid, use a large piece of aluminum foil tightly crimped around the edges. I’ve done this many times and it works perfectly.
Preparation Method
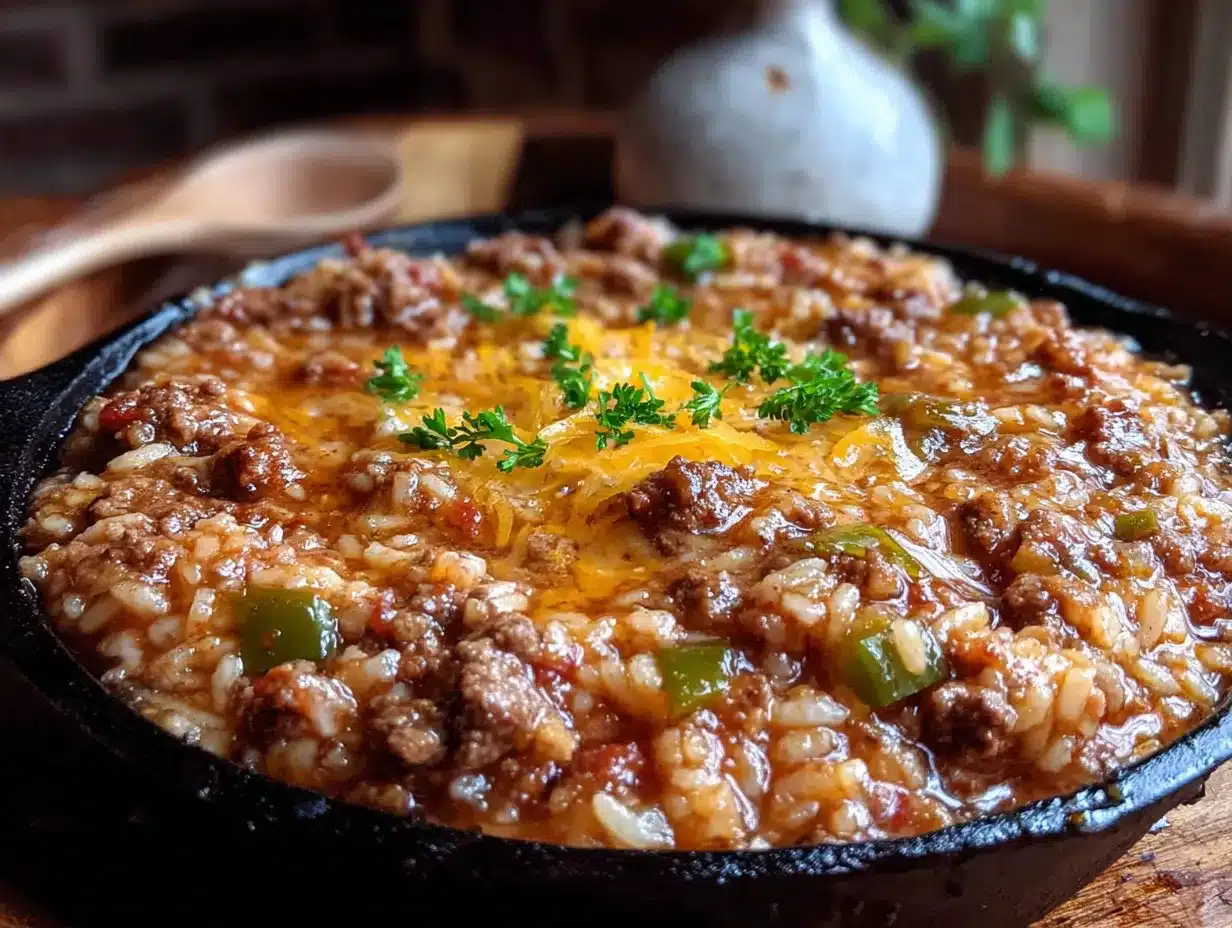
Let me walk you through this step by step. I’ve made this recipe enough times to know exactly where things can go wrong and how to fix them.
- Brown the Beef (5 minutes): Place your skillet over medium-high heat. Add the ground beef and break it apart with your wooden spoon. Let it cook undisturbed for 2-3 minutes to get a nice brown crust — this is where the flavor lives. Then stir and continue cooking until no longer pink, about 3 more minutes. If there’s excess fat (more than about 2 tablespoons), drain it off. Leave a little fat for flavor. Pro tip: Don’t overcrowd the pan. If you’re doubling the recipe, brown the beef in batches.
- Sauté the Aromatics (3 minutes): Reduce heat to medium. Add the diced onion to the skillet with the beef. Cook for 2 minutes, stirring occasionally, until the onion starts to soften and turn translucent. Add the minced garlic and cook for 30 seconds — just until fragrant. Garlic burns fast, so keep stirring. Your kitchen should smell amazing at this point.
- Build the Flavor Base (2 minutes): Add the tomato paste and Worcestershire sauce to the skillet. Stir everything together and cook for 1-2 minutes. The tomato paste will darken slightly and caramelize, which deepens the flavor. This step is easy to skip, but don’t — it makes a real difference.
- Add the Liquids and Rice (1 minute): Pour in the diced tomatoes (with their juices) and beef broth. Add the Italian seasoning, salt, and pepper. Stir to combine, scraping up any browned bits from the bottom of the pan — that’s pure flavor. Add the uncooked rice and stir until everything is evenly distributed. The liquid should be bubbling gently.
- Simmer and Cook (20-25 minutes): Bring the mixture to a boil, then reduce heat to low. Cover the skillet with a tight-fitting lid. Let it simmer gently for 20 minutes. Important: Do not lift the lid during this time! The steam is what cooks the rice. I learned this the hard way when I peeked at 15 minutes and ended up with crunchy rice. After 20 minutes, remove from heat but keep the lid on. Let it rest for 5 minutes off the heat — this allows the rice to finish absorbing the liquid.
- Add the Cheese (2 minutes): Remove the lid. The rice should be tender and the liquid mostly absorbed. If there’s still a lot of liquid, let it sit uncovered for a few minutes. Sprinkle the shredded cheddar cheese evenly over the top. Cover again and let it sit for 2-3 minutes until the cheese is melted and gooey. If you want a golden top, pop the skillet under the broiler for 1-2 minutes — watch it carefully so it doesn’t burn.
- Fluff and Serve: Use a fork to gently fluff the rice and mix in the melted cheese. Taste and adjust seasoning if needed. Garnish with fresh parsley or green onions if you’re feeling fancy. Serve hot straight from the pan.
Cooking Tips & Techniques
I’ve made this Easy One-Pan Cheesy Beef Rice more times than I can count, and I’ve definitely made some mistakes along the way. Here’s what I’ve learned:
Don’t Rush the Browning: That deep brown color on the beef isn’t just for looks — it’s the Maillard reaction, which creates complex, savory flavors. Let the beef sit in the pan without stirring for those first few minutes. I know it’s tempting to poke at it, but patience pays off.
The Lid is Non-Negotiable: I once made this with a slightly warped lid that let steam escape. The rice was crunchy on top and mushy on the bottom. Not good. Make sure your lid fits tightly. If it doesn’t, use aluminum foil crimped around the edges, then weigh it down with a pot lid or heavy plate.
Rice Matters: I mentioned this in the ingredients, but it’s worth repeating — don’t use instant rice or brown rice. Instant rice will turn to mush, and brown rice takes too long to cook and needs more liquid. Long-grain white rice is the sweet spot. Jasmine rice gives a slightly floral aroma, while standard long-grain is more neutral. Both work.
Check Your Heat: Every stove is different. If your simmer is too high, the liquid will evaporate before the rice is cooked. Too low, and the rice will take forever. You want a gentle bubble — little bubbles breaking the surface, not a rolling boil. I set my burner to medium-low and adjust from there.
The Fork Test: After the 20-minute simmer and 5-minute rest, grab a grain of rice and press it between your fingers. It should be tender with no hard white center. If it’s still crunchy, add 2 tablespoons of water, re-cover, and cook for 3 more minutes. Repeat if needed.
Variations & Adaptations
This recipe is incredibly flexible. Here are some variations I’ve tried and loved:
- Spicy Mexican Version: Swap the Italian seasoning for 1 teaspoon of cumin and ½ teaspoon of chili powder. Use pepper jack cheese instead of cheddar. Add a can of drained black beans and some frozen corn when you add the rice. Top with fresh cilantro and a squeeze of lime. My husband requests this version at least twice a month.
- Vegetarian Option: Replace the ground beef with 1½ cups of cooked lentils or a 15-ounce can of drained and rinsed black beans. Use vegetable broth instead of beef broth. The lentils give a similar hearty texture, and they absorb the tomato flavor beautifully.
- Cheesy Broccoli Beef Rice: Add 2 cups of frozen broccoli florets during the last 5 minutes of cooking. Just place them on top of the rice, cover, and let them steam. The broccoli stays bright green and adds a nice crunch. My toddler actually eats broccoli this way.
- Low-Carb Adaptation: Replace the rice with 2 cups of cauliflower rice. Reduce the beef broth to ½ cup and cook for only 10 minutes covered, then add the cheese. The cauliflower rice cooks much faster and doesn’t need as much liquid. It’s not quite the same, but it’s surprisingly good.
- Dairy-Free Version: Use a dairy-free shredded cheese alternative. I’ve tried Daiya and Violife, and both melt reasonably well. You can also skip the cheese entirely and add a tablespoon of nutritional yeast for a cheesy flavor without the dairy.
Serving & Storage Suggestions
This Easy One-Pan Cheesy Beef Rice is best served hot, straight from the skillet. The cheese is at its stretchiest, the rice is perfectly tender, and everything is wonderfully cohesive. I like to serve it with a simple side salad dressed with lemon and olive oil — the acidity cuts through the richness nicely.
For a heartier meal, pair it with roasted vegetables like asparagus or green beans. A slice of crusty bread is great for sopping up any leftover sauce. If you’re feeding a crowd, this recipe doubles easily — just use a larger pot and increase the cooking time by 5 minutes.
Storage: Leftovers keep well in an airtight container in the refrigerator for up to 4 days. The rice will absorb more liquid as it sits, so it’ll be slightly drier on day two. To reheat, add a tablespoon of water or broth per serving and microwave for 1-2 minutes, stirring halfway through. You can also reheat it in a skillet over medium-low heat with a splash of water, covered, for about 5 minutes.
Freezing: This freezes beautifully. Let it cool completely, then portion into freezer-safe containers. It will keep for up to 3 months. Thaw in the refrigerator overnight and reheat as directed above. I often make a double batch and freeze half for those weeks when I know I’ll be too busy to cook.
Flavor Development: Honestly, this dish tastes even better the next day. The flavors have time to meld, and the rice absorbs all that tomato-beef goodness. I’ve been known to make it specifically for leftovers.
Nutritional Information & Benefits
Here’s the approximate nutritional breakdown for one serving (based on 6 servings):
- Calories: 485
- Protein: 32g
- Fat: 22g
- Carbohydrates: 38g
- Fiber: 3g
- Sugar: 6g
- Sodium: 680mg
This meal offers a good balance of protein from the beef, carbohydrates from the rice for energy, and calcium from the cheese for bone health. The tomatoes provide lycopene, a powerful antioxidant linked to heart health. The onions and garlic offer prebiotic fibers that support gut health.
For those watching sodium, use low-sodium broth and reduce the added salt. You can also use lean ground beef to lower the fat content, though you might need to add a little oil for moisture. This recipe is naturally gluten-free as written, but always check your specific ingredient labels if you have celiac disease or gluten sensitivity.
I personally love that this meal keeps me full for hours without feeling heavy. It’s comfort food that actually has some nutritional value — a win in my book.
Conclusion
This Easy One-Pan Cheesy Beef Rice started as a kitchen accident and became a family favorite. It’s proof that sometimes the best things happen when you stop trying so hard and just go with the flow. The beef gets perfectly browned, the rice absorbs all that savory tomato goodness, and the cheese melts into a blanket of pure comfort. It’s weeknight dinner perfection.
I hope you give this recipe a try and make it your own. Add your favorite spices, swap in different vegetables, or double the cheese — there are no rules here. The beauty of a one-pan meal is that it’s forgiving, flexible, and always delicious.
If you make this, I’d love to hear about it. Did you add something unexpected? Did your kids ask for seconds? Drop a comment below and let me know how it turned out. And if you’re looking for more quick weeknight dinners, check out my one-pot chicken and rice or easy ground beef tacos — they’re lifesavers on busy nights.
Happy cooking, friends. Go make something delicious with whatever you’ve got in your pantry. You might just surprise yourself.
Frequently Asked Questions
Can I use brown rice instead of white rice?
You can, but you’ll need to adjust the cooking time and liquid. Brown rice takes about 40-45 minutes to cook and needs about ½ cup more broth. I recommend par-cooking the brown rice first or using quick-cook brown rice to save time.
Why is my rice still crunchy after 20 minutes?
This usually happens if the lid wasn’t tight enough or the heat was too low. Add 2-3 tablespoons of water, cover tightly, and cook for another 5 minutes. If it’s still crunchy, repeat. Also check that your rice isn’t too old — older rice takes longer to cook.
Can I make this in a slow cooker or Instant Pot?
For the Instant Pot, brown the beef using the sauté function, then add all ingredients except the cheese. Cook on high pressure for 5 minutes with a natural release. For a slow cooker, brown the beef first, then cook on low for 4-5 hours. Add the rice during the last hour so it doesn’t get mushy.
How do I prevent the cheese from becoming greasy?
Use freshly shredded cheese instead of pre-shredded. Pre-shredded cheese has anti-caking agents that can make it greasy when melted. Also, don’t overheat the cheese — let it melt gently off the heat with the lid on.
Can I add vegetables to this dish?
Absolutely! Frozen peas, corn, or diced bell peppers work great. Add them during the last 5 minutes of cooking so they don’t overcook. For heartier vegetables like carrots or celery, sauté them with the onion at the beginning.
Pin This Recipe!
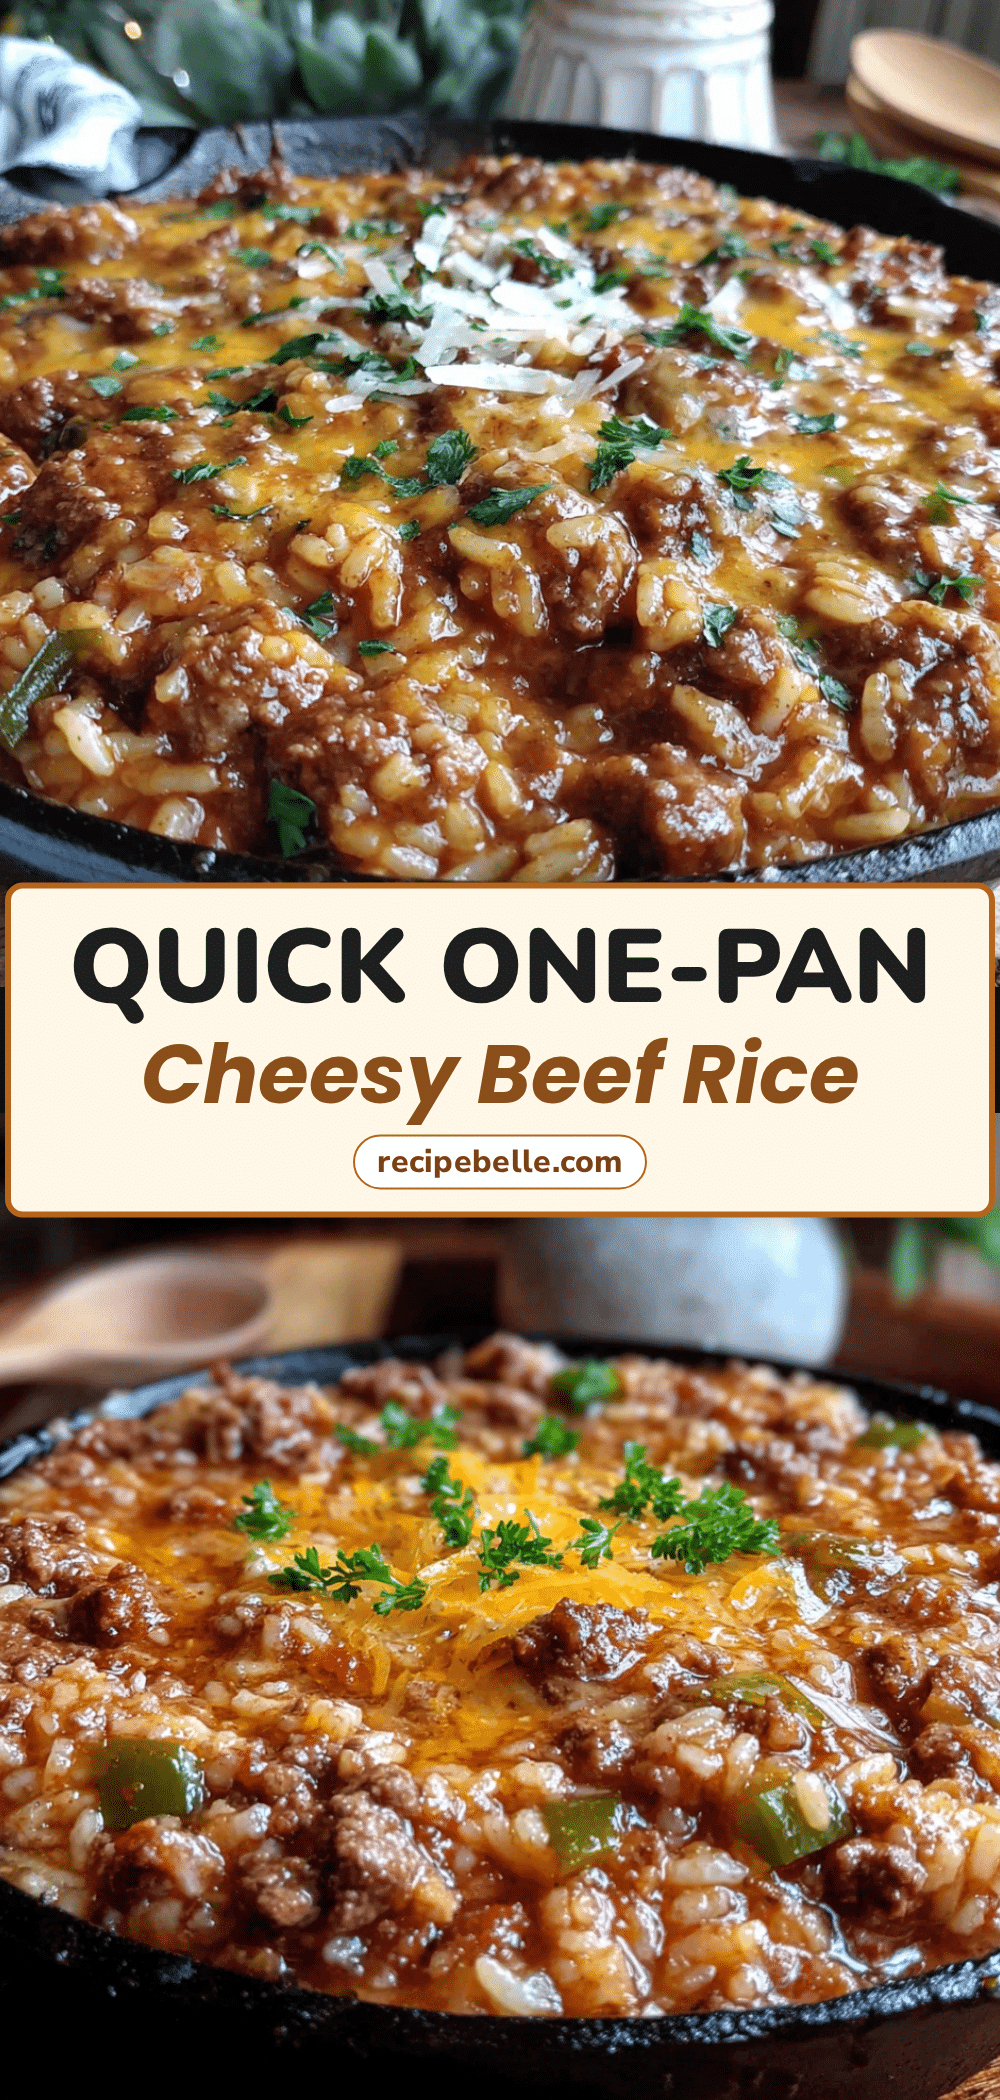
Easy One-Pan Cheesy Beef Rice: Best Weeknight Dinner

A quick and satisfying one-pan meal with ground beef, rice, and melted cheddar cheese, perfect for busy weeknights.
- Prep Time: 10 minutes
- Cook Time: 30 minutes
- Total Time: 40 minutes
- Yield: 6 servings 1x
- Category: Main Course
- Cuisine: American
Ingredients
- 1 lb (450g) ground beef (80/20)
- 1 medium yellow onion, diced
- 3 cloves garlic, minced
- 1 cup (200g) long-grain white rice (do not rinse)
- 1 can (14.5 oz / 411g) diced tomatoes (fire-roasted preferred, undrained)
- 1½ cups (355ml) beef broth (low-sodium)
- 1½ cups (170g) shredded sharp cheddar cheese
- 2 tablespoons tomato paste
- 1 tablespoon Worcestershire sauce
- 1 teaspoon Italian seasoning
- Salt and black pepper to taste
- Optional: fresh parsley or green onions for garnish
Instructions
- Brown the beef: Place a large deep skillet over medium-high heat. Add ground beef and break apart with a wooden spoon. Cook undisturbed for 2-3 minutes to develop a brown crust, then stir and cook until no longer pink, about 3 more minutes. Drain excess fat if needed, leaving about 2 tablespoons for flavor.
- Sauté aromatics: Reduce heat to medium. Add diced onion and cook for 2 minutes until softened. Add minced garlic and cook for 30 seconds until fragrant.
- Build flavor base: Stir in tomato paste and Worcestershire sauce. Cook for 1-2 minutes until tomato paste darkens slightly.
- Add liquids and rice: Pour in diced tomatoes (with juices) and beef broth. Add Italian seasoning, salt, and pepper. Stir, scraping up browned bits from the bottom. Add uncooked rice and stir until evenly distributed.
- Simmer and cook: Bring to a boil, then reduce heat to low. Cover tightly and simmer for 20 minutes. Do not lift the lid. Remove from heat and let rest covered for 5 minutes.
- Add cheese: Remove lid. If rice is tender and liquid mostly absorbed, sprinkle shredded cheddar evenly over the top. Cover and let sit for 2-3 minutes until cheese melts. Optionally, broil for 1-2 minutes for a golden top.
- Fluff and serve: Gently fluff rice with a fork to mix in melted cheese. Adjust seasoning. Garnish with parsley or green onions if desired. Serve hot.
Notes
Do not lift the lid during the 20-minute simmer to ensure rice cooks properly. Use freshly shredded cheese for best melting. For a spicy Mexican version, swap Italian seasoning for cumin and chili powder, and use pepper jack cheese. Leftovers keep in the fridge for up to 4 days and freeze well for up to 3 months.
Nutrition
- Serving Size: 1 serving
- Calories: 485
- Sugar: 6
- Sodium: 680
- Fat: 22
- Saturated Fat: 10
- Carbohydrates: 38
- Fiber: 3
- Protein: 32
Keywords: one-pan meal, cheesy beef rice, weeknight dinner, ground beef recipe, easy dinner



