This was supposed to be a traditional chicken pot pie. I had the whole thing planned out in my head—a buttery, flaky top crust, maybe some lattice work if I was feeling fancy. But then Tuesday happened. You know the kind of Tuesday where the baby decides naps are overrated, the dog needs a walk in the pouring rain, and you realize you forgot to take the butter out to soften. I grabbed the frozen puff pastry from the back of the freezer, told myself it would be fine, and just went for it. Honestly, I was already bracing for a soggy mess.
What came out of the oven was nothing like the plan. The puff pastry puffed up into these gorgeous, golden, shattery layers. The filling underneath was bubbling and thick. My oldest, who usually picks at dinner, actually asked for seconds. I stood there holding the spatula, dripping with pie filling, thinking—how did this even work? Let me tell you, sometimes the best recipes come from the moments you’re sure you’ve messed up. Maybe you’ve been there, staring at a half-thawed sheet of puff pastry, wondering if dinner is a lost cause.
I’ve made this kid-approved crispy chicken pot pie with puff pastry top at least a dozen times since that messy Tuesday. It’s become our go-to for busy weeknights when I need something that feels like a hug in a bowl but doesn’t require hours in the kitchen. The crispy top, the creamy filling, the way the vegetables get soft and sweet—it’s comfort food that actually works for real life. And honestly, it’s better than the original pie I had planned. Way better.
Why You’ll Love This Recipe
This isn’t just another chicken pot pie recipe. I’ve tested this one through burnt edges, runny fillings, and one particularly sad attempt with a soggy bottom. What I’m sharing with you is the version that finally worked—every single time. Here’s why this one stands out:
- Quick & Easy: From start to table in about 45 minutes. No rolling dough, no chilling time. The puff pastry does all the hard work for you.
- Simple Ingredients: You probably have most of these in your pantry right now. Chicken, frozen veggies, cream of mushroom soup, and puff pastry. No fancy grocery store runs needed.
- Perfect for Family Dinners: This is the kind of meal that pleases picky eaters and adults alike. The crispy top is a guaranteed crowd-pleaser.
- Crowd-Pleaser: I’ve brought this to potlucks and watched it disappear before the salad even got touched. Kids ask for it by name at my house.
- Unbelievably Delicious: The contrast between the shattery, buttery puff pastry and the creamy, savory filling is next-level comfort food. It’s the kind of meal that makes you close your eyes after the first bite.
What makes this recipe different is the technique. Instead of a traditional double crust, we’re using a single sheet of puff pastry that sits right on top of the filling. It puffs up into these incredible layers that shatter when you cut into them. The filling stays thick and creamy because we cook it down properly before baking. No watery mess here.
This recipe isn’t just good—it’s the kind that makes you feel like a kitchen hero without the stress. Perfect for those nights when you need to get dinner on the table fast but still want it to feel special.
What Ingredients You Will Need
This recipe uses simple, everyday ingredients to deliver big flavor without the fuss. Most of these are pantry staples, and the ones that aren’t are easy to find at any grocery store. Here’s what you’ll need:
For the Filling
- 2 tablespoons unsalted butter (adds richness and helps sauté the vegetables)
- 1 medium yellow onion, diced (about 1 cup)
- 2 medium carrots, peeled and diced (about 1 cup)
- 2 celery stalks, diced (about 1/2 cup)
- 3 cloves garlic, minced
- 1/3 cup all-purpose flour (thickens the filling)
- 2 cups low-sodium chicken broth (I prefer Swanson’s for consistent flavor)
- 1 cup whole milk (adds creaminess; 2% works too)
- 3 cups cooked chicken, shredded or diced (rotisserie chicken is perfect here)
- 1 cup frozen peas and carrots mix (no need to thaw)
- 1 teaspoon dried thyme
- 1/2 teaspoon dried rosemary
- Salt and black pepper to taste
For the Topping
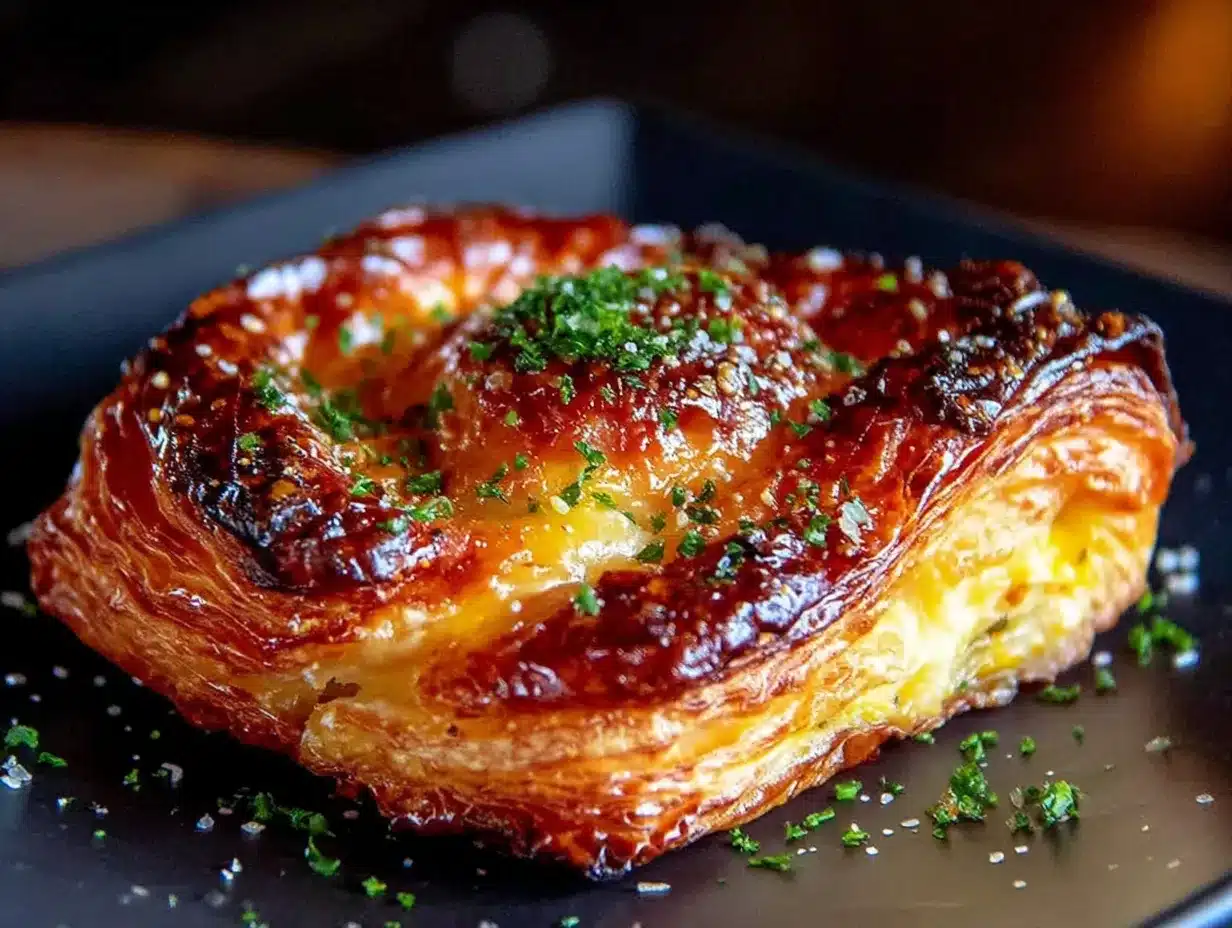
- 1 sheet frozen puff pastry, thawed (Pepperidge Farm is my go-to brand for consistent puffing)
- 1 large egg, beaten (for egg wash)
- 1 tablespoon water
- Flaky sea salt for sprinkling (optional but nice)
Ingredient Tips: For the best texture, make sure your puff pastry is fully thawed but still cold. If it gets too warm, it won’t puff as well. For the chicken, rotisserie chicken saves time and adds flavor. If you’re using raw chicken, poach it first in salted water or broth until cooked through, then shred it. Frozen mixed vegetables work great here—they’re already blanched and will cook perfectly in the filling. Just don’t thaw them first, or they’ll get mushy.
Substitution Guidance: Use gluten-free all-purpose flour blend if needed, and swap the milk for unsweetened almond or oat milk. For a dairy-free version, use olive oil instead of butter and a dairy-free milk alternative. You can also swap the chicken for leftover turkey or even canned chicken in a pinch (drain it well first).
Equipment Needed
You don’t need a lot of fancy equipment for this recipe. Here’s what I use:
- Large oven-safe skillet or Dutch oven (10-12 inches, with a lid). A cast-iron skillet works beautifully here.
- Sharp knife and cutting board for dicing vegetables
- Wooden spoon or silicone spatula for stirring
- Small bowl for the egg wash
- Pastry brush (or just use a spoon if you don’t have one)
- Parchment paper (helps with cleanup)
- Cooling rack (optional, but helps the pastry stay crispy)
If you don’t have an oven-safe skillet, you can cook the filling in a regular pan and transfer it to a 9×13-inch baking dish before adding the pastry. I’ve done it both ways, and the baking dish version actually gives you more surface area for crispy pastry. Win-win.
Budget-Friendly Tip: A good cast-iron skillet is worth the investment—it lasts forever and works for so many recipes. But if you’re just starting out, a regular non-stick skillet and a baking dish will work just fine. I used that setup for years before I got my cast-iron pan.
Preparation Method
Let me walk you through this step by step. I’ve learned a few tricks along the way that make a big difference.
- Preheat your oven to 400°F (200°C). Get it nice and hot—that high heat is what makes the puff pastry puff up into those beautiful layers.
- Melt the butter in your large oven-safe skillet over medium heat. Let it foam up a bit, then add the diced onion, carrots, and celery. Cook for 5-7 minutes, stirring occasionally, until the vegetables start to soften. You’ll smell that sweet, savory aroma—that’s the good stuff.
- Add the minced garlic and cook for 1 minute more. Stir constantly so the garlic doesn’t burn. Trust me, burnt garlic will ruin the whole dish. I learned that the hard way.
- Sprinkle the flour over the vegetables and stir to coat. Cook for 2 minutes, stirring constantly. This cooks out the raw flour taste and helps thicken the filling. The mixture will look a bit pasty and clumpy—that’s normal.
- Slowly pour in the chicken broth while stirring. Keep stirring until the mixture is smooth and starts to thicken. This takes about 2-3 minutes. You’ll see it go from thin to creamy right before your eyes.
- Pour in the milk and stir until combined. Let it simmer for another 2-3 minutes until it’s thick enough to coat the back of a spoon. If it’s too thin, let it cook a bit longer. If it’s too thick, add a splash more broth.
- Stir in the shredded chicken, frozen peas and carrots, thyme, rosemary, salt, and pepper. Taste it here and adjust the seasoning. The filling should be well-seasoned because the puff pastry doesn’t have any salt.
- Remove the skillet from heat. If you’re transferring to a baking dish, do that now. Spread the filling in an even layer.
- Unfold the thawed puff pastry sheet on a lightly floured surface. Gently roll it out just slightly to fit your skillet or baking dish. It should be about 1/8-inch thick. Don’t overwork it—the layers need to stay intact.
- Place the pastry over the filling. Tuck the edges down into the skillet or dish. If you’re using a skillet, the pastry should hang over the edges slightly. That’s okay—it’ll get crispy.
- Cut 4-5 slits in the top of the pastry with a sharp knife. These vents let steam escape so the pastry stays crispy on top. I usually make a little star pattern, but any shape works.
- Whisk the egg and water together to make the egg wash. Brush it all over the pastry. This gives it that beautiful golden color. Sprinkle with flaky sea salt if you’re using it.
- Place the skillet or dish on a baking sheet (to catch any drips) and bake for 25-30 minutes. The pastry should be deep golden brown and puffed up. The filling should be bubbling around the edges.
- Let it rest for 10 minutes before serving. I know it’s hard to wait, but this step is crucial. The filling sets up and won’t be runny. Plus, you won’t burn your mouth.
Visual Cue: The pastry should look like a golden, puffed-up pillow. When you tap it with a spoon, it should sound hollow. The filling should be bubbling up through the vents—that’s how you know it’s hot all the way through.
Cooking Tips & Techniques
I’ve made this recipe enough times to know where things can go wrong. Here are my best tips to help you nail it every time.
Don’t skip the flour step. I know it seems fussy, but cooking the flour with the vegetables for those 2 minutes is what prevents a lumpy, raw-tasting filling. I once rushed this step because the kids were hungry, and the filling was grainy and weird. Never again.
Keep the puff pastry cold. If it gets too warm, the butter in the layers will melt before it hits the oven, and you’ll get a flat, greasy top instead of those gorgeous puffy layers. If your kitchen is warm, pop the pastry in the fridge for 10 minutes while you prep the filling.
Don’t overfill the dish. Leave at least 1/2 inch of space between the filling and the top of the dish. If the filling is too high, it will bubble over and make a mess. Plus, the pastry won’t have room to puff up properly.
Use a sharp knife to cut the vents. A dull knife will drag through the pastry and compress the layers. Sharp cuts mean clean edges and better puffing.
Let it rest. I cannot stress this enough. If you cut into it right away, the filling will be runny and the pastry will be soggy. Ten minutes of patience makes all the difference. Use that time to set the table or pour yourself a glass of wine.
Multitasking Tip: While the filling simmers, you can prep the pastry. Unfold it, roll it out slightly, and cut the vents. That way, everything is ready to go when it’s time to assemble.
Variations & Adaptations
This recipe is super flexible. Here are some ways to make it your own:
Dietary Variations
- Gluten-Free: Use a gluten-free all-purpose flour blend in the filling and a gluten-free puff pastry (like the one from Schar). The filling might be slightly thinner, but it still tastes great.
- Dairy-Free: Swap the butter for olive oil or vegan butter, and use unsweetened almond milk or oat milk in the filling. The texture will be a bit different, but still creamy and delicious.
- Lower Carb: Skip the flour and use 1 tablespoon of cornstarch mixed with 2 tablespoons of cold water to thicken the filling. Use a lower-carb vegetable mix like broccoli and cauliflower instead of peas and carrots.
Flavor Variations
- Herb Lover’s Version: Add 2 tablespoons of fresh chopped parsley and 1 tablespoon of fresh dill at the end. It brightens up the whole dish.
- Cheesy Chicken Pot Pie: Stir in 1/2 cup of shredded cheddar cheese into the filling before adding the pastry. The cheese melts into the sauce and adds a whole new layer of flavor.
- Spicy Kick: Add 1/4 teaspoon of red pepper flakes along with the garlic. It doesn’t make it spicy, just gives it a little warmth.
Method Variations
- Slow Cooker Version: Cook the filling in a slow cooker on low for 4-6 hours. Then transfer to a baking dish, top with pastry, and bake at 400°F for 15-20 minutes until the pastry is golden.
- Individual Pot Pies: Divide the filling among 4-6 oven-safe ramekins. Cut the pastry into circles slightly larger than the ramekins and place on top. Bake for 15-18 minutes. These are perfect for kids—they love having their own little pie.
My Personal Variation: I once added a handful of chopped mushrooms that I had leftover in the fridge. I sautéed them with the onions, and honestly, it was amazing. The mushrooms add an earthy flavor that works so well with the creamy sauce. Now I add them whenever I have them on hand.
Serving & Storage Suggestions
This pot pie is best served warm, straight from the oven. The contrast between the hot, creamy filling and the crispy, cool-ish pastry is pure magic. Here’s how to serve it up:
Serving Temperature: Let it rest for 10 minutes, then serve while it’s still warm. If you let it sit too long, the pastry will start to soften from the steam. I usually serve it right after that resting period.
Presentation: Cut into wedges or squares and serve on a plate with a big spoonful of the filling. Garnish with a sprinkle of fresh parsley or a few cracks of black pepper if you’re feeling fancy. It’s rustic comfort food, so don’t stress about perfection.
What to Serve With It: A simple side salad with a tangy vinaigrette cuts through the richness perfectly. Steamed green beans or roasted broccoli are also great. For the kids, a side of applesauce or carrot sticks works well. And honestly, this pot pie is so satisfying that it can stand on its own as a complete meal.
Storage Instructions: Leftovers can be stored in an airtight container in the refrigerator for up to 3 days. The pastry will soften, but the flavor is still amazing. To reheat, place in a 350°F oven for 10-15 minutes until warmed through. The microwave works in a pinch, but the pastry will be soft. For longer storage, freeze the unbaked pot pie (without the egg wash) for up to 3 months. Bake from frozen, adding 10-15 minutes to the baking time.
Flavor Development: Honestly, this pot pie tastes even better the next day. The flavors meld together overnight, and the filling gets even more delicious. If you’re planning ahead, make it a day in advance and reheat it in the oven. The pastry won’t be as crispy, but the filling will be incredible.
Nutritional Information & Benefits
Here’s the approximate nutritional breakdown for one serving (based on 6 servings):
- Calories: 480
- Protein: 28g
- Fat: 22g
- Carbohydrates: 38g
- Fiber: 4g
- Sugar: 6g
- Sodium: 680mg
Health Benefits: This pot pie is packed with protein from the chicken, which helps keep you full and satisfied. The carrots and peas provide vitamin A and fiber, while the celery adds a bit of crunch and hydration. The puff pastry is definitely a treat, but the overall meal is balanced and filling. For a lighter version, you can reduce the pastry portion or serve it with extra vegetables on the side.
Dietary Considerations: This recipe contains gluten (from the flour and puff pastry) and dairy (from the butter and milk). For gluten-free or dairy-free options, see the variations section above. It’s also nut-free and egg-free (except for the egg wash, which can be omitted or replaced with a milk wash).
Personal Wellness Perspective: I believe in balance. This pot pie is comfort food, meant to be enjoyed without guilt. It’s made with real, whole ingredients, and it’s a meal that brings the family together. That’s good for the soul, and that counts for something.
Conclusion
This kid-approved crispy chicken pot pie with puff pastry top has become a staple in my kitchen for good reason. It’s quick, it’s easy, and it delivers that warm, comforting feeling we all crave after a long day. The crispy, golden pastry. The creamy, savory filling. The way it makes the whole house smell like home. It’s everything a pot pie should be, without the stress of making pastry from scratch.
I hope you give this recipe a try and make it your own. Maybe you’ll add extra vegetables, or a sprinkle of cheese, or a dash of hot sauce. That’s the beauty of cooking—you can tweak and adjust until it’s perfect for your family. And if you do make it, I’d love to hear how it turned out. Drop a comment below and let me know what variations you tried, or tag me in your photos on social media. Seeing your creations is the best part of this job.
Remember, the best recipes come from happy accidents. That Tuesday when everything went wrong turned into one of our favorite dinners. Maybe your Tuesday will too. Happy cooking, friends!
Frequently Asked Questions
Can I use homemade puff pastry instead of store-bought?
Absolutely! If you have the time and skill, homemade puff pastry is amazing. Just make sure it’s rolled to about 1/8-inch thickness and keep it cold until you’re ready to bake. Store-bought is a huge time-saver and works perfectly, so don’t feel like you have to make it from scratch.
Can I make this ahead of time for a party?
Yes! You can assemble the entire pot pie (without the egg wash) up to 24 hours in advance. Keep it covered in the refrigerator. When you’re ready to bake, brush on the egg wash and add 5-10 minutes to the baking time since it’s starting from cold. The pastry might not puff quite as high, but it will still be delicious.
My filling turned out too thin. What did I do wrong?
This usually happens if you didn’t cook the flour long enough or if you added too much liquid. Next time, make sure to cook the flour mixture for at least 2 minutes before adding the broth. If your filling is already thin, you can mix 1 tablespoon of cornstarch with 2 tablespoons of cold water and stir it into the simmering filling. It will thicken up in a minute or two.
Can I use a different protein instead of chicken?
Definitely! Cooked turkey, shredded pork, or even canned tuna (drained) work great. For a vegetarian version, use a mix of mushrooms, chickpeas, and extra vegetables. You might need to adjust the seasoning a bit, but the basic method stays the same.
How do I prevent the puff pastry from getting soggy on the bottom?
The key is making sure the filling is thick enough before adding the pastry. If the filling is too watery, it will steam the pastry from below. Also, make sure your oven is fully preheated to 400°F—that high heat helps the pastry puff quickly before the moisture from the filling can soak in. Letting the pot pie rest for 10 minutes after baking also helps the filling set up, so it doesn’t make the pastry soggy.
Pin This Recipe!
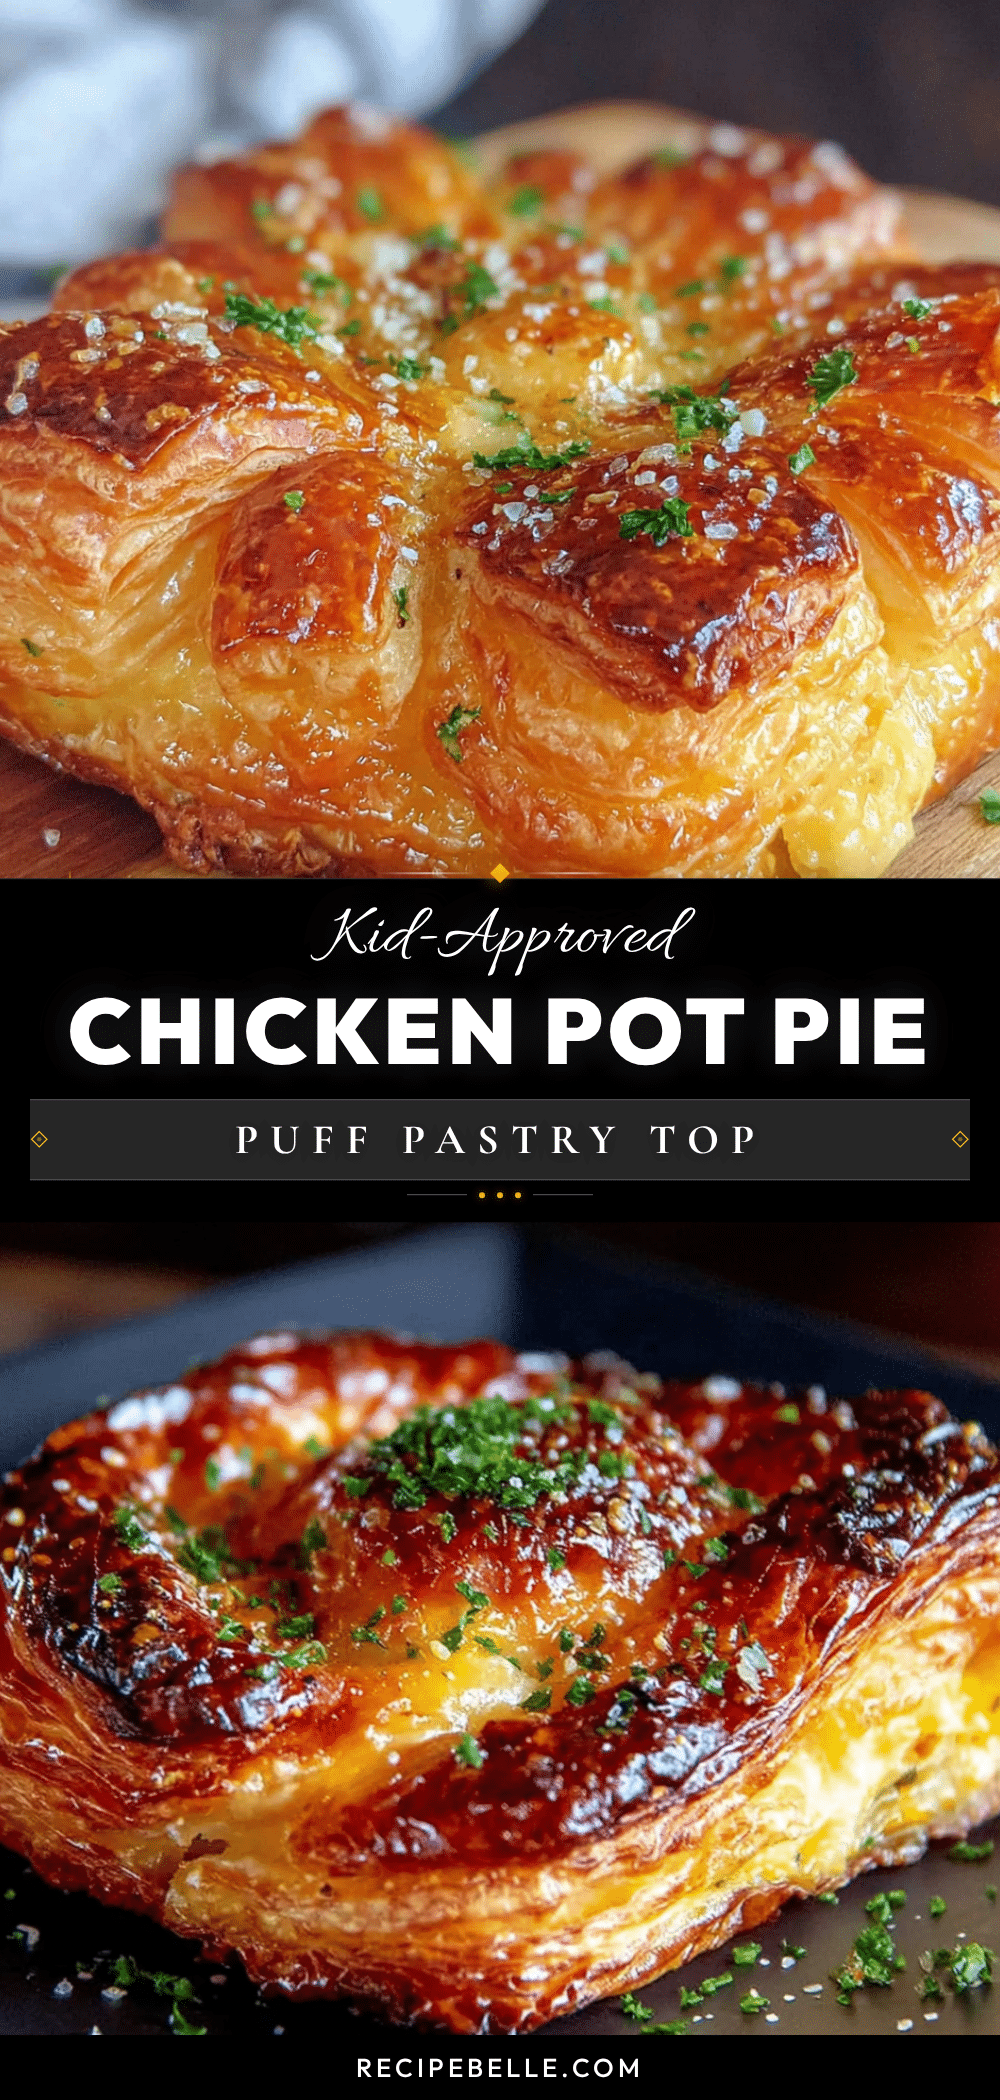
Kid-Approved Crispy Chicken Pot Pie with Puff Pastry Top

A quick and easy chicken pot pie with a golden, shattery puff pastry top and creamy, savory filling. Perfect for busy weeknights, this comfort food classic comes together in about 45 minutes using simple ingredients.
- Prep Time: 15 minutes
- Cook Time: 30 minutes
- Total Time: 45 minutes
- Yield: 6 servings 1x
- Category: Main Course
- Cuisine: American
Ingredients
- 2 tablespoons unsalted butter
- 1 medium yellow onion, diced (about 1 cup)
- 2 medium carrots, peeled and diced (about 1 cup)
- 2 celery stalks, diced (about 1/2 cup)
- 3 cloves garlic, minced
- 1/3 cup all-purpose flour
- 2 cups low-sodium chicken broth
- 1 cup whole milk
- 3 cups cooked chicken, shredded or diced
- 1 cup frozen peas and carrots mix
- 1 teaspoon dried thyme
- 1/2 teaspoon dried rosemary
- Salt and black pepper to taste
- 1 sheet frozen puff pastry, thawed
- 1 large egg, beaten
- 1 tablespoon water
- Flaky sea salt for sprinkling (optional)
Instructions
- Preheat your oven to 400°F (200°C).
- Melt the butter in your large oven-safe skillet over medium heat. Add the diced onion, carrots, and celery. Cook for 5-7 minutes, stirring occasionally, until the vegetables start to soften.
- Add the minced garlic and cook for 1 minute more, stirring constantly.
- Sprinkle the flour over the vegetables and stir to coat. Cook for 2 minutes, stirring constantly.
- Slowly pour in the chicken broth while stirring. Keep stirring until the mixture is smooth and starts to thicken, about 2-3 minutes.
- Pour in the milk and stir until combined. Let it simmer for another 2-3 minutes until it’s thick enough to coat the back of a spoon.
- Stir in the shredded chicken, frozen peas and carrots, thyme, rosemary, salt, and pepper. Taste and adjust seasoning.
- Remove the skillet from heat. If transferring to a baking dish, do that now and spread the filling in an even layer.
- Unfold the thawed puff pastry sheet on a lightly floured surface. Gently roll it out just slightly to fit your skillet or baking dish, about 1/8-inch thick.
- Place the pastry over the filling. Tuck the edges down into the skillet or dish.
- Cut 4-5 slits in the top of the pastry with a sharp knife to allow steam to escape.
- Whisk the egg and water together to make the egg wash. Brush it all over the pastry. Sprinkle with flaky sea salt if using.
- Place the skillet or dish on a baking sheet and bake for 25-30 minutes, until the pastry is deep golden brown and puffed up and the filling is bubbling around the edges.
- Let it rest for 10 minutes before serving.
Notes
For best results, keep puff pastry cold until ready to bake. Let the pot pie rest for 10 minutes after baking to allow the filling to set. Leftovers can be stored in an airtight container in the refrigerator for up to 3 days. Reheat in a 350°F oven for 10-15 minutes.
Nutrition
- Serving Size: 1 serving (1/6 of re
- Calories: 480
- Sugar: 6
- Sodium: 680
- Fat: 22
- Saturated Fat: 8
- Carbohydrates: 38
- Fiber: 4
- Protein: 28
Keywords: chicken pot pie, puff pastry, kid-friendly, easy dinner, comfort food, quick weeknight meal



