My daughter asked why I couldn’t just cook the rice right in the same pan as the beef. I started to explain why that wouldn’t work—something about starches and absorption rates and the risk of turning everything into a gummy mess. Then I stopped. Honestly, I had no good reason other than “that’s how I’ve always done it.” So I shrugged, scraped the raw rice into the sizzling ground beef, added the liquid, and figured we’d order pizza if it bombed.
Twenty minutes later, I was eating my words with a fork. The rice had absorbed all that savory beef flavor, the grains were perfectly tender, and the whole thing came together in a single pan. I mean, I’ve been cooking for over a decade and my eight-year-old just taught me something about efficiency. You know that feeling when you realize you’ve been making extra work for yourself for no reason? That was this moment.
It was a Tuesday night, the fridge was looking sad, and I had a pound of ground beef that needed using. The pantry had rice, a can of diced tomatoes, and some spices that were probably past their prime. This kid-approved ground beef and rice skillet dinner became our emergency weeknight hero. No separate pot for rice, no draining, no extra dishes. Just one pan, some basic ingredients, and a meal that actually made my kids ask for seconds. Let me tell you—that does not happen often in my house. This recipe stayed in my rotation because it proved that sometimes the simplest method is the best one, even if it took a stubborn cook like me a while to figure that out.
Why You’ll Love This Recipe
This isn’t just another ground beef recipe. I’ve tested this specific method about a dozen times to get the rice-to-liquid ratio absolutely perfect. Here’s why this one stands out from the crowd:
- One-Pan Wonder : Everything cooks in a single skillet. No boiling rice separately, no draining pasta, no colander to wash. Dinner is done when the rice is tender, and you’re left with one pan to clean.
- Budget-Friendly : Ground beef and rice are two of the most affordable ingredients in any grocery store. This meal stretches a pound of beef to feed a family of four easily, with leftovers for lunch.
- Picky Eater Approved : My kids are notoriously suspicious of anything that looks like a “casserole.” But this skillet dinner? They eat it without complaint. The familiar flavors of beef and rice make it an easy sell.
- Customizable in Minutes : You can add veggies, swap the protein, or change the seasoning profile. It’s a base recipe that adapts to whatever you have on hand.
- Ready in Under 30 Minutes : From start to finish, this meal comes together in about 25 minutes. That’s faster than takeout in my neighborhood.
This kid-approved ground beef and rice skillet dinner is the kind of meal that makes you feel like you’ve got dinner handled. It’s comforting without being heavy, filling without being expensive, and simple without being boring. Every time I make it, I remember that Tuesday night when my daughter proved me wrong—and I’m grateful she did.
What Ingredients You Will Need
This recipe relies on simple, pantry-friendly ingredients that work together to create a hearty, satisfying meal. Most of these are probably in your kitchen right now, which is exactly the point.
- 1 pound ground beef (80/20 works best for flavor, but lean works too—just add a tablespoon of oil if using very lean beef)
- 1 tablespoon olive oil (only needed if your beef is lean; skip it if using 80/20)
- 1 medium yellow onion, diced (about 1 cup; adds sweetness and depth)
- 2 cloves garlic, minced (fresh is best, but 1 teaspoon garlic powder works in a pinch)
- 1 cup long-grain white rice, uncooked (I prefer Jasmine or basmati for fluffy texture; do not use instant rice)
- 1 can (14.5 ounces) diced tomatoes, undrained (fire-roasted adds nice smoky flavor)
- 1 ¾ cups beef broth (low-sodium preferred so you control the salt)
- 1 teaspoon chili powder (adds warmth without heat for kids)
- ½ teaspoon smoked paprika (regular paprika works fine, but smoked adds a lovely depth)
- ½ teaspoon ground cumin (optional, but I love the earthy note it brings)
- ½ teaspoon salt (adjust to taste, especially if using regular broth)
- ¼ teaspoon black pepper (freshly ground if you have it)
- 1 cup frozen peas and carrots mix (no need to thaw; they cook right in the pan)
- ½ cup shredded cheddar cheese (optional, for topping—my kids insist on this)
I recommend using Swanson’s low-sodium beef broth for consistent results. Their flavor is reliable and not overly salty. For the rice, Mahatma or Carolina long-grain white rice has never let me down—it stays fluffy and doesn’t turn mushy. If you want to swap the beef broth for chicken broth, go ahead; it’ll still taste great, just slightly milder.
For substitutions, ground turkey or chicken works beautifully here. Just add a tablespoon of oil since poultry is leaner. You can also use brown rice, but you’ll need to increase the cooking time to about 40-45 minutes and add an extra ½ cup of broth. More on that in the variations section.
Equipment Needed
You don’t need fancy equipment for this one. Here’s what you’ll need:
- Large skillet with a lid (12-inch is ideal; a deep 10-inch works too. Cast iron, stainless steel, or nonstick all work—just make sure it has a tight-fitting lid)
- Wooden spoon or spatula (for breaking up the ground beef)
- Sharp knife and cutting board (for dicing the onion and mincing garlic)
- Measuring cups and spoons (you can eyeball the spices, but measure the liquid and rice precisely)
- Can opener (unless you buy the pull-tab cans)
If you don’t have a lid that fits your skillet, use a sheet of aluminum foil tightly crimped around the edges. I’ve done this more times than I care to admit, and it works perfectly. A $15 nonstick skillet from a discount store will work just as well as an expensive one here—I started with a basic Farberware pan, and it served me for years.
One tip: wash your skillet by hand after cooking this. The rice can leave a stubborn residue that doesn’t always come off in the dishwasher. A quick soak with warm soapy water and a non-scratch sponge does the trick.
Preparation Method
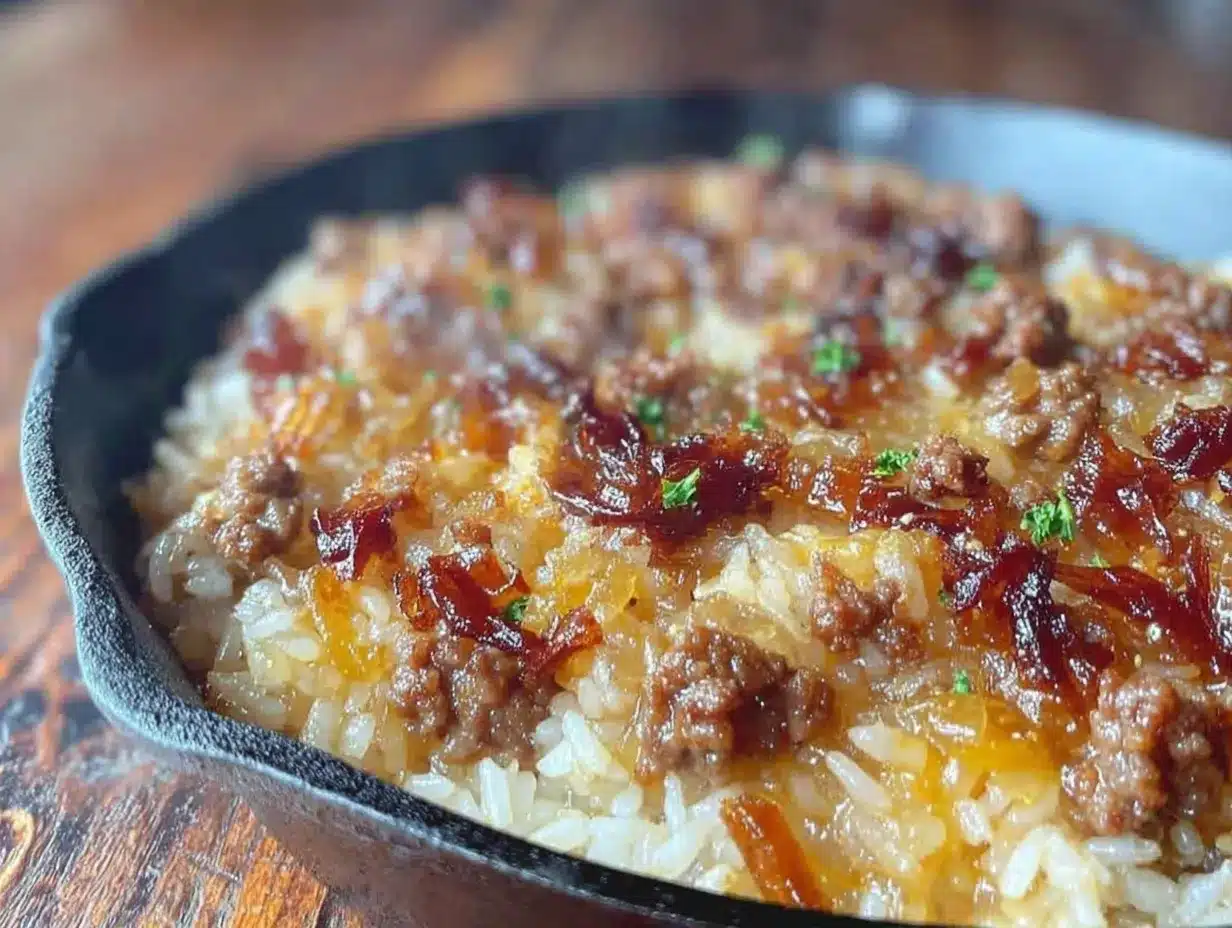
Let me walk you through this step by step. Trust the process—especially the part where you don’t lift the lid while the rice cooks. I know it’s tempting. Don’t do it.
- Sauté the aromatics. Heat your skillet over medium-high heat. If using 80/20 ground beef, add it directly to the dry pan. If using lean beef or a substitute, add the olive oil first. Cook the beef, breaking it apart with your spoon, until it’s browned and no longer pink—about 5-6 minutes. Don’t drain the fat completely; leave about a tablespoon in the pan for flavor. Add the diced onion and cook for 2-3 minutes until it softens, then add the minced garlic and cook for 30 seconds until fragrant. Your kitchen should smell amazing at this point.
- Add the rice and seasonings. Sprinkle the uncooked rice evenly over the beef mixture. Add the chili powder, smoked paprika, cumin, salt, and pepper. Stir everything together for about a minute. This toasts the rice slightly and coats it in all those flavors. You’ll notice the rice grains starting to look translucent at the edges—that’s good.
- Pour in the liquids. Add the undrained diced tomatoes and the beef broth. Stir gently to combine, making sure to scrape up any browned bits from the bottom of the pan. Those bits are pure flavor. Bring the mixture to a boil—you should see bubbles breaking the surface all over, not just at the edges.
- Cover and simmer. Once boiling, reduce the heat to low, put the lid on tightly, and set a timer for 18 minutes. Here’s the hard part: do not lift the lid. I know you want to check it. I know you’re worried it’s burning. Trust the science. The steam trapped inside is what cooks the rice evenly. Every time you lift that lid, you release steam and extend the cooking time.
- Add the frozen vegetables. After 18 minutes, turn off the heat but leave the lid on for 2 more minutes. Then remove the lid carefully—steam will rush out. Fluff the rice with a fork. You should see tender, separate grains. Add the frozen peas and carrots right on top. Don’t stir them in yet. Put the lid back on for 3-4 minutes. The residual heat will thaw and warm the vegetables without turning them to mush.
- Final stir and serve. Remove the lid, stir the vegetables through the rice and beef mixture. Taste and adjust salt if needed. If you’re using cheese, sprinkle it on top, replace the lid for a minute to melt it, then serve directly from the skillet. The whole process takes about 25-28 minutes from start to finish.
One thing I learned the hard way: if your rice looks done but there’s still liquid pooled at the bottom, don’t panic. Let it sit off the heat with the lid slightly ajar for 5 more minutes. The rice will absorb that extra liquid as it rests. If you stir it too soon, you’ll get a gummy texture.
Cooking Tips & Techniques
I’ve made this recipe enough times to have a few tricks up my sleeve. Some of these came from failures—like the time I used instant rice and ended up with a bowl of mush.
Don’t use instant rice or parboiled rice. They cook too quickly and will turn into paste before the liquid is absorbed. Stick with standard long-grain white rice. Basmati and Jasmine are my favorites because they stay fluffy and separate.
If you’re doubling the recipe, use a larger pan (14-inch if you have one) and increase the simmer time by 5-7 minutes. A crowded pan takes longer to come to temperature and longer to cook through. I learned this when I tried to feed a crowd and ended up with undercooked rice. Not my finest moment.
For extra flavor, brown the beef in batches if your pan is small. Crowding the pan steams the meat instead of browning it, and you lose that deep, savory flavor. I know it’s an extra step, but it makes a noticeable difference.
Multitasking trick: While the rice simmers, use those 18 minutes to set the table, make a quick salad, or pour drinks. This meal practically cooks itself once the lid goes on. I usually wash the cutting board and knife during that time, so cleanup is minimal when dinner’s done.
If the rice is still crunchy after 20 minutes, add ¼ cup more broth or water, replace the lid, and cook for another 5 minutes. This happens sometimes if your stove runs cool or your lid doesn’t seal perfectly. Don’t add too much liquid at once—you can always add more, but you can’t take it out.
One mistake I still make: forgetting to check the salt level before serving. The beef broth and canned tomatoes both contain salt, and the amount varies by brand. Always taste before adding extra salt at the table. You can always add more, but you can’t undo it.
Variations & Adaptations
This recipe is a blank canvas. Here are some ways I’ve adapted it over the years:
Mexican-Style Skillet: Replace the chili powder and cumin with a packet of taco seasoning. Add a can of drained black beans and a cup of corn kernels (frozen or canned). Top with shredded Mexican blend cheese and a dollop of sour cream. My family calls this Taco Tuesday Skillet, and it’s a regular request.
Italian-Inspired Version: Swap the chili powder and cumin for 1 teaspoon dried oregano and 1 teaspoon dried basil. Use Italian-seasoned diced tomatoes instead of plain. Add a handful of fresh spinach right at the end and let it wilt. Top with Parmesan cheese instead of cheddar. This version freezes beautifully.
Brown Rice Adaptation: Use 1 cup brown rice and increase the broth to 2 ¼ cups. Simmer for 40-45 minutes instead of 18. Check at 40 minutes; brown rice can vary by brand. The texture will be chewier and nuttier, which some people prefer.
Vegetarian Version: Replace the ground beef with 1 ½ cups cooked lentils or a 15-ounce can of black beans (rinsed and drained). Use vegetable broth instead of beef broth. The cooking time stays the same since the lentils are already cooked. This version is surprisingly hearty and my vegetarian friends love it.
Low-Carb Option: Replace the rice with 2 cups of riced cauliflower (fresh or frozen). Reduce the broth to 1 cup and simmer for only 8-10 minutes. The cauliflower absorbs the flavors without the carbs. My sister-in-law swears by this version and says it’s the only way she’ll eat cauliflower.
I once made a Greek-inspired version with ground lamb, oregano, and a sprinkle of feta cheese on top. It was fantastic, though my kids were suspicious of the lamb. Adults at the dinner party loved it.
Serving & Storage Suggestions
Serve this skillet dinner hot, straight from the pan. The cheese on top should be melted and gooey. I like to garnish with a sprinkle of fresh parsley or chopped green onions for color, but that’s purely optional—my kids couldn’t care less about garnish.
What to serve alongside: This is a complete meal on its own, but if you want to stretch it further, a simple green salad with vinaigrette balances the richness. Crusty bread for sopping up any juices is never a bad idea. My family likes it with a side of steamed broccoli or roasted green beans.
Storage instructions: Let the skillet cool completely, then transfer leftovers to an airtight container. It keeps in the refrigerator for up to 4 days. The rice will absorb more liquid overnight, so don’t be alarmed if it seems drier the next day—that’s normal.
Reheating methods: The best way to reheat is in a skillet over medium-low heat with a splash of water or broth. Cover and cook for 5-7 minutes, stirring occasionally. The microwave works in a pinch—cover the bowl with a damp paper towel and heat in 60-second bursts, stirring between each. Add a tablespoon of water if it seems dry.
Freezing instructions: This freezes well for up to 3 months. Portion into freezer-safe containers or zip-top bags. Thaw overnight in the refrigerator before reheating. I like to freeze individual portions for my husband’s lunch—he just grabs one in the morning and reheats it at work.
The flavors actually develop overnight. Leftovers often taste better than the first serving because the seasonings have had time to meld. My daughter actually prefers this dish the next day, cold, straight from the fridge. I don’t judge.
Nutritional Information & Benefits
This recipe provides a balanced meal with protein, carbohydrates, and vegetables all in one dish. Here’s an approximate breakdown per serving (based on 4 servings, without cheese topping):
| Nutrient | Amount Per Serving |
|---|---|
| Calories | 415 |
| Protein | 28g |
| Carbohydrates | 45g |
| Fiber | 4g |
| Fat | 14g |
| Saturated Fat | 5g |
| Sodium | 680mg |
| Iron | 4mg |
Ground beef is an excellent source of iron and B vitamins, which support energy levels and healthy blood. Rice provides easily digestible carbohydrates for sustained energy—perfect for active kids. The peas and carrots add fiber, vitamin A, and antioxidants without any extra effort on your part.
This recipe is naturally dairy-free if you skip the cheese topping. It’s also nut-free and egg-free, making it safe for common school allergies. If you need it gluten-free, double-check your beef broth label—most brands are gluten-free, but some contain wheat-derived ingredients.
I’m not a nutritionist, but I’ve learned that meals like this—balanced, filling, and made from real ingredients—keep my family satisfied without the sugar crashes that come from processed convenience foods. That’s a win in my book.
Conclusion
This kid-approved ground beef and rice skillet dinner is proof that the best recipes often come from the simplest ideas. It’s affordable, fast, and flexible enough to adapt to whatever you have in your pantry. More importantly, it’s the kind of meal that brings everyone to the table without complaints—and that’s no small feat in my house.
I hope you give this recipe a try, and I hope it becomes a regular in your weeknight rotation like it has in mine. Maybe you’ll even surprise yourself with a tweak that makes it your own. That’s the beauty of a simple skillet dinner—it leaves room for your creativity.
If you make this, I’d love to hear how it turned out. Drop a comment below and let me know if your kids approved, what variations you tried, or if you discovered a trick I haven’t thought of yet. And if you’re looking for another easy weeknight meal, you might enjoy our easy chicken and rice casserole—it uses the same one-pan concept.
Until next time, happy cooking—and don’t be afraid to let your kids teach you something in the kitchen. You never know what you might learn.
Frequently Asked Questions
Can I use ground turkey instead of beef?
Absolutely. Ground turkey or chicken works perfectly. Just add a tablespoon of olive oil since poultry is leaner than beef. The cooking time remains the same.
Why is my rice still crunchy after 20 minutes?
This usually happens if your lid doesn’t seal tightly or your stove runs cool. Add ¼ cup more broth or water, replace the lid, and cook for another 5 minutes. Check again and repeat if needed.
Can I make this in a slow cooker?
I don’t recommend it for this recipe. Rice tends to turn mushy in a slow cooker, and you lose the one-pan efficiency. Stick to the stovetop method for best texture.
How do I prevent the rice from sticking to the pan?
Make sure you don’t lift the lid during simmering—that steam is essential. Also, use a heavy-bottomed pan that distributes heat evenly. If sticking is a recurring issue, try a nonstick skillet.
Can I add more vegetables to this recipe?
Yes! Diced bell peppers, zucchini, or mushrooms can be added with the onion in step one. Frozen corn or green beans can go in with the peas and carrots. Just don’t overload the pan—keep the total vegetable additions to about 1 ½ cups.
Pin This Recipe!
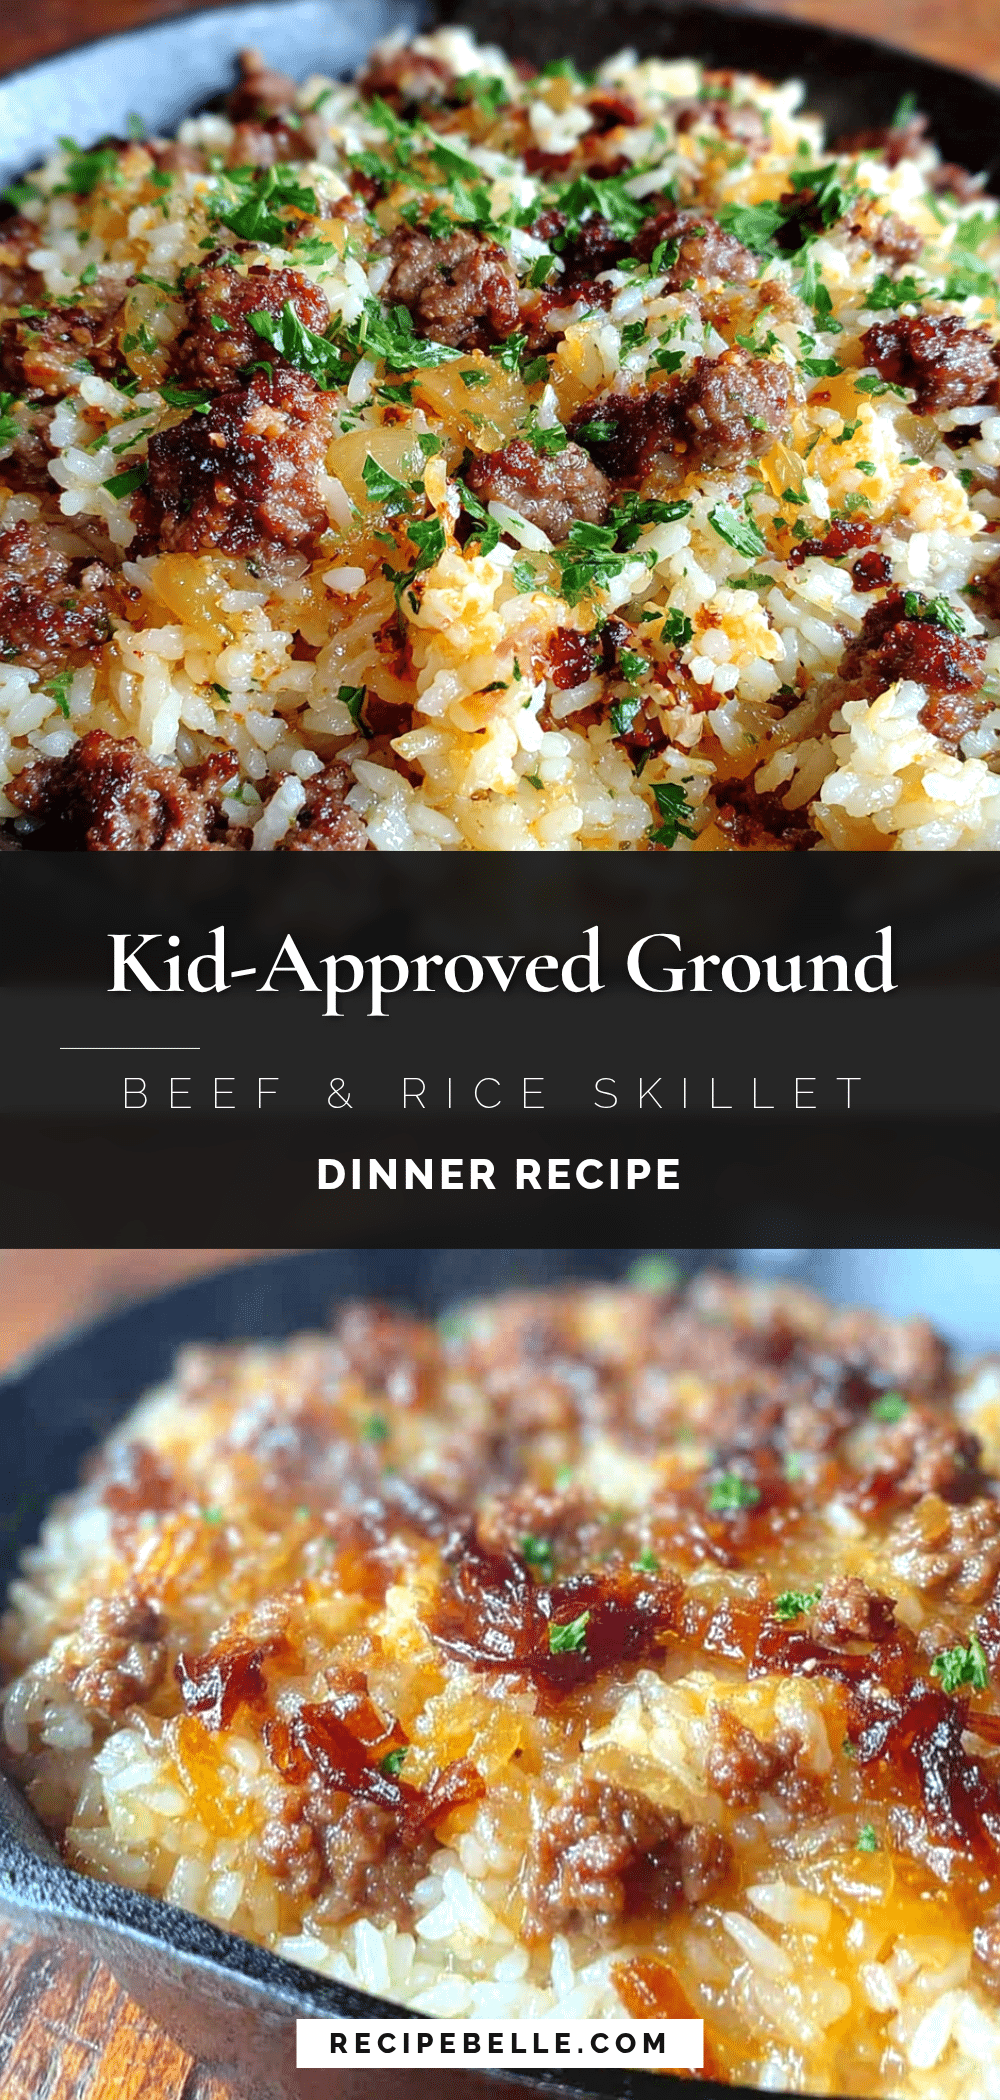
Kid-Approved Ground Beef and Rice Skillet Dinner: An Easy One-Pan Meal

A quick and easy one-pan meal featuring ground beef and rice cooked together in a single skillet. Perfect for busy weeknights, this budget-friendly recipe is picky eater approved and ready in under 30 minutes.
- Prep Time: 10 minutes
- Cook Time: 18 minutes
- Total Time: 28 minutes
- Yield: 4 servings 1x
- Category: Main Course
- Cuisine: American
Ingredients
- 1 pound ground beef (80/20 works best for flavor, but lean works too—just add a tablespoon of oil if using very lean beef)
- 1 tablespoon olive oil (only needed if your beef is lean; skip it if using 80/20)
- 1 medium yellow onion, diced (about 1 cup)
- 2 cloves garlic, minced (or 1 teaspoon garlic powder)
- 1 cup long-grain white rice, uncooked (Jasmine or basmati preferred; do not use instant rice)
- 1 can (14.5 ounces) diced tomatoes, undrained (fire-roasted adds nice smoky flavor)
- 1 ¾ cups beef broth (low-sodium preferred)
- 1 teaspoon chili powder
- ½ teaspoon smoked paprika (regular paprika works fine)
- ½ teaspoon ground cumin (optional)
- ½ teaspoon salt (adjust to taste)
- ¼ teaspoon black pepper (freshly ground if you have it)
- 1 cup frozen peas and carrots mix (no need to thaw)
- ½ cup shredded cheddar cheese (optional, for topping)
Instructions
- Sauté the aromatics. Heat your skillet over medium-high heat. If using 80/20 ground beef, add it directly to the dry pan. If using lean beef or a substitute, add the olive oil first. Cook the beef, breaking it apart with your spoon, until it’s browned and no longer pink—about 5-6 minutes. Don’t drain the fat completely; leave about a tablespoon in the pan for flavor. Add the diced onion and cook for 2-3 minutes until it softens, then add the minced garlic and cook for 30 seconds until fragrant.
- Add the rice and seasonings. Sprinkle the uncooked rice evenly over the beef mixture. Add the chili powder, smoked paprika, cumin, salt, and pepper. Stir everything together for about a minute. This toasts the rice slightly and coats it in all those flavors.
- Pour in the liquids. Add the undrained diced tomatoes and the beef broth. Stir gently to combine, making sure to scrape up any browned bits from the bottom of the pan. Bring the mixture to a boil.
- Cover and simmer. Once boiling, reduce the heat to low, put the lid on tightly, and set a timer for 18 minutes. Do not lift the lid.
- Add the frozen vegetables. After 18 minutes, turn off the heat but leave the lid on for 2 more minutes. Then remove the lid carefully. Fluff the rice with a fork. Add the frozen peas and carrots right on top. Don’t stir them in yet. Put the lid back on for 3-4 minutes.
- Final stir and serve. Remove the lid, stir the vegetables through the rice and beef mixture. Taste and adjust salt if needed. If using cheese, sprinkle it on top, replace the lid for a minute to melt it, then serve directly from the skillet.
Notes
Do not use instant rice or parboiled rice. If rice is still crunchy after 20 minutes, add ¼ cup more broth or water, replace the lid, and cook for another 5 minutes. For extra flavor, brown the beef in batches if your pan is small. Leftovers keep in the refrigerator for up to 4 days and freeze well for up to 3 months.
Nutrition
- Serving Size: 1 serving (about 1.5
- Calories: 415
- Sugar: 6
- Sodium: 680
- Fat: 14
- Saturated Fat: 5
- Carbohydrates: 45
- Fiber: 4
- Protein: 28
Keywords: ground beef, rice, one-pan, skillet dinner, weeknight meal, kid-friendly, budget-friendly



