There used to be a tiny bakery on the corner of Elm and 3rd in my old neighborhood—a place called The Whisk & Whimsy—that made the most incredible black cat sugar cookies every October. When they closed their doors three years ago, I actually stood outside staring at the “For Lease” sign for a solid five minutes. I’m not kidding. I felt like I’d lost a friend. After twelve attempts—some burnt, some blobby, one that looked more like a raccoon than a cat—I finally cracked the code. These Perfect Halloween Black Cat Sugar Cookies are my love letter to that little bakery.
The first batch I made was a disaster. The dough was too sticky, the cats came out looking like they’d been in a fight, and my kitchen looked like a flour bomb went off. Honestly, I almost gave up. But then I remembered that first bite of the Whisk & Whimsy cookie—that perfect snap when you break it, the way the vanilla and almond flavors just danced together. I mean, you know that feeling when a recipe just haunts you until you get it right?
So I went back to basics. I tested different flour ratios, chilled the dough longer, and figured out the secret to keeping those cute little cat shapes intact. Let me tell you, the moment I pulled a perfect tray of black cat cookies out of the oven, I actually squealed. My neighbor probably thinks I’m crazy, but who cares? These cookies are everything I wanted them to be—crisp, buttery, and just spooky enough for Halloween without being scary. Maybe you’ve been there, chasing a ghost of a recipe from a place that doesn’t exist anymore. This one’s for you.
Why You’ll Love This Recipe
Let’s be real for a second—Halloween baking can be a nightmare. Between sticky frosting, crumbling cookies, and designs that look nothing like the Pinterest photo, it’s easy to get frustrated. But these Perfect Halloween Black Cat Sugar Cookies are different. They’re designed to actually work for real people in real kitchens.
- Quick & Easy: From start to finish, you’re looking at about 30 minutes of active time. The dough comes together in one bowl, and there’s no complicated chilling or rolling required if you use my shortcut method.
- Simple Ingredients: You probably have everything in your pantry right now. Butter, sugar, flour, eggs, vanilla—that’s it. No specialty stores, no weird extracts you’ll never use again.
- Perfect for Halloween Parties: These cookies are the star of any Halloween spread. Kids love them, adults sneak them, and they look way more impressive than they actually are to make.
- Crowd-Pleaser: I’ve brought these to three different Halloween gatherings now, and every single time, someone asks for the recipe. They have that addictive quality—you can’t eat just one.
- Unbelievably Delicious: The texture is where these cookies shine. They’re crisp on the edges, slightly soft in the center, and have that perfect buttery flavor that sugar cookies are famous for. The black cocoa powder gives them a rich, almost Oreo-like taste without being too sweet.
What makes this recipe different from the rest? It’s the technique. Most sugar cookie recipes spread too much, turning your carefully shaped cats into puddles. I’ve cracked the code with a specific flour-to-butter ratio and a chilling trick that keeps those cat silhouettes sharp. This isn’t just another Halloween cookie recipe—it’s the one you’ll come back to year after year.
What Ingredients You Will Need
This recipe uses simple, wholesome ingredients to deliver bold flavor and satisfying texture without the fuss. Most of these are pantry staples, so you probably don’t even need to go shopping.
- Unsalted butter, softened – 1 cup (2 sticks). I prefer using unsalted so I can control the salt level. Make sure it’s truly softened—leave it out for about an hour before starting. Cold butter will give you crumbly dough that’s hard to work with.
- Granulated sugar – 1 cup. Regular white sugar works perfectly here. It gives the cookies that classic sweet flavor and helps with browning.
- Large egg – 1, room temperature. A room-temperature egg incorporates better into the creamed butter and sugar, giving you a smoother dough. If you forgot to take it out early, place it in a bowl of warm water for 5 minutes.
- Vanilla extract – 1 teaspoon. Pure vanilla extract makes a difference here. I recommend Nielsen-Massey for the best flavor, but any good brand works. Skip the imitation stuff—your cookies deserve better.
- Almond extract – ½ teaspoon. This is the secret ingredient that makes these cookies taste bakery-quality. It adds a subtle nutty undertone that complements the vanilla beautifully. Trust me on this one.
- All-purpose flour – 2 cups, plus more for dusting. Spoon and level your flour—don’t scoop directly from the bag or you’ll end up with too much and dry cookies.
- Black cocoa powder – ¼ cup. This is what gives the cookies their deep, dark color. Regular cocoa powder won’t cut it—it’ll turn your cats gray instead of black. I use King Arthur Flour’s black cocoa powder, which is available online and in some specialty stores.
- Baking powder – ½ teaspoon. Helps the cookies puff up just slightly without spreading too much.
- Salt – ¼ teaspoon. Balances the sweetness and enhances all the flavors.
- Powdered sugar – 1 cup, for the royal icing. Optional but highly recommended for decorating.
- Meringue powder – 2 tablespoons, for royal icing. This stabilizes the icing and gives it that perfect glossy finish. You can use an egg white instead, but meringue powder is more reliable.
- Water – 3-4 tablespoons, for royal icing. Add slowly—you want the icing to be thick enough to hold its shape but thin enough to pipe smoothly.
- Orange or green gel food coloring – For the eyes. I use Americolor brand gels—they’re concentrated and won’t thin out your icing.
- Black sanding sugar or edible glitter – Optional, for extra sparkle. Because Halloween deserves a little glam.
Equipment Needed
You don’t need a professional bakery setup for these cookies, but having the right tools makes everything easier.
- Cat-shaped cookie cutter – This is non-negotiable. I found mine on Amazon for about $8 in a set of Halloween shapes. Look for one with a simple silhouette—too many details (like legs or tails) make the cookies fragile and prone to breaking.
- Baking sheets – Two large, rimmed baking sheets. I prefer Nordic Ware or USA Pan for even baking without hot spots.
- Parchment paper – Line your baking sheets. Silicone mats work too, but parchment gives slightly crisper bottoms.
- Electric mixer – A stand mixer with paddle attachment is ideal, but a hand mixer works perfectly fine. You just need to cream the butter and sugar until fluffy.
- Rolling pin – A standard rolling pin works, but I love my adjustable rolling pin with thickness rings. It guarantees even dough thickness every time.
- Cooling rack – Wire cooling racks are essential for letting cookies cool completely before decorating. Stacking warm cookies leads to soggy bottoms.
- Piping bags and tips – Small piping bags and a #2 or #3 round tip for the royal icing. If you don’t have piping bags, a zip-top bag with a tiny corner snipped off works in a pinch.
- Small offset spatula – Great for spreading icing smoothly, though a butter knife works too.
Preparation Method
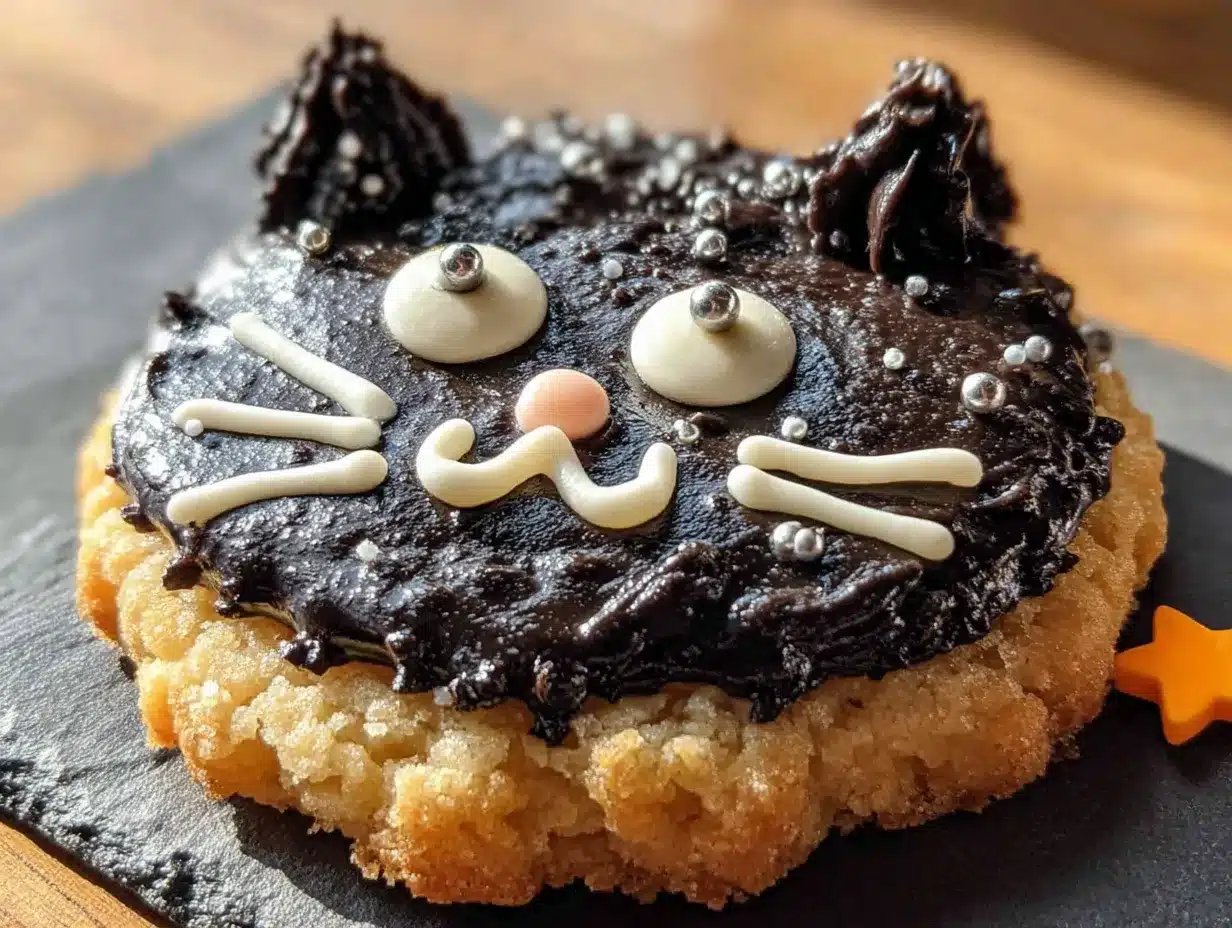
- Cream the butter and sugar. In a large mixing bowl, beat the softened butter and granulated sugar together on medium speed until light and fluffy—about 3 minutes. Scrape down the sides of the bowl halfway through. You want the mixture to look pale and airy. This step is crucial for tender cookies, so don’t rush it.
- Add the wet ingredients. Beat in the egg, vanilla extract, and almond extract until fully combined. The mixture might look slightly curdled at this point—that’s normal, especially if your egg was cold. Don’t panic, it’ll come together when you add the dry ingredients.
- Mix the dry ingredients separately. In a medium bowl, whisk together the all-purpose flour, black cocoa powder, baking powder, and salt. Whisking ensures the cocoa powder is evenly distributed—if you skip this, you’ll end up with streaky cookies.
- Combine wet and dry. Gradually add the dry ingredients to the wet mixture, mixing on low speed until just combined. Stop as soon as you don’t see any more streaks of flour. Overmixing develops gluten and makes tough cookies. Trust me, I learned this the hard way after a batch of hockey puck cats.
- Chill the dough. This is the most important step. Wrap the dough in plastic wrap and flatten it into a disc. Refrigerate for at least 30 minutes, or up to 3 days. Chilling solidifies the butter, which prevents the cookies from spreading too much in the oven. If you skip this, your cats will look like blobs.
- Preheat the oven. Set your oven to 350°F (175°C). Line two baking sheets with parchment paper.
- Roll and cut. Lightly flour your work surface and rolling pin. Roll the chilled dough to about ¼-inch thickness. If the dough cracks at the edges, let it sit at room temperature for 5 minutes to warm up slightly. Cut out your cat shapes and transfer them to the prepared baking sheets, spacing them about 2 inches apart.
- Chill again. Pop the cut-out cookies into the refrigerator for 10 minutes before baking. This second chill ensures those sharp edges stay put. I know it’s tedious, but it makes a huge difference.
- Bake. Bake for 8-10 minutes, rotating the pans halfway through. The cookies are done when the edges look set and the tops are slightly puffed. They won’t look fully baked—that’s okay. They’ll continue cooking on the hot pan. Let them cool on the baking sheet for 5 minutes, then transfer to a wire rack to cool completely.
- Make the royal icing. While the cookies cool, whisk together the powdered sugar, meringue powder, and 3 tablespoons of water. Beat on medium speed until stiff peaks form—about 5 minutes. Add more water, one teaspoon at a time, until the icing reaches a consistency that holds its shape but slowly flattens when you stop mixing. Divide the icing: keep most of it black (add black gel food coloring), and tint a small portion orange or green for the eyes.
- Decorate. Transfer the black icing to a piping bag fitted with a #2 tip. Outline each cat cookie, then flood the center with more icing. Use a toothpick to spread the icing into the corners. Tap the cookie gently on the counter to smooth the surface. While the icing is still wet, pipe a tiny dot of orange or green icing for each eye. Let the cookies dry completely—this takes about 2 hours, or overnight for best results.
Cooking Tips & Techniques
I’ve made these cookies more times than I care to admit, and I’ve collected some hard-won wisdom along the way.
Don’t overwork the dough. When you’re rolling and cutting, try to handle the dough as little as possible. The warmth from your hands can melt the butter, which leads to spreading. If the dough gets too soft, pop it back in the fridge for 10 minutes.
Use a ruler for even thickness. I’m not kidding—grab a ruler and check your dough thickness. Cookies that are thicker in the middle and thinner at the edges will bake unevenly. Using rolling pin rings or even two stacked wooden spoons as guides helps keep things consistent.
Watch the baking time like a hawk. These cookies go from perfect to overdone in about 60 seconds. I set my timer for 8 minutes and check them. If the edges look dry and the centers are just barely set, they’re done. Remember, they’ll continue baking on the hot pan for those 5 minutes.
My biggest failure? I once tried to double the batch and forgot to adjust the baking powder. The cookies rose like biscuits and looked like mutant cats. Always stick to the recipe ratios—baking is chemistry, not art.
For crispier cookies, roll the dough slightly thinner (about ⅛ inch) and bake for an extra minute. For softer, cakier cookies, roll thicker and underbake by 30 seconds. It’s all about personal preference.
Multitasking strategy: While the dough chills, clean up your workspace and prepare your piping bags. While the cookies bake, make the royal icing. This way, everything is ready to go when it’s time to decorate.
Variations & Adaptations
One of the best things about this recipe is how flexible it is. Here are some variations I’ve tried and loved.
Gluten-Free Version: Substitute the all-purpose flour with a 1-to-1 gluten-free baking flour blend. I’ve had great results with King Arthur Flour’s Measure for Measure blend. Add an extra tablespoon of flour to compensate for the lack of gluten structure. The cookies will be slightly more delicate, so handle them gently.
Vegan Adaptation: Use vegan butter (I like Miyoko’s) and a flax egg (1 tablespoon ground flaxseed mixed with 3 tablespoons water, let sit for 5 minutes). The texture will be slightly different—a bit more crumbly—but the flavor is still fantastic. For the royal icing, use aquafaba (chickpea water) instead of meringue powder.
Spooky Flavor Twist: Add ½ teaspoon of cinnamon and ¼ teaspoon of cayenne pepper to the dry ingredients. The warmth of the spices pairs beautifully with the black cocoa and gives the cookies a subtle heat that’s perfect for Halloween. I tried this on a whim last year and it was a hit at my costume party.
Different Shapes: This dough works with any Halloween cookie cutter—pumpkins, ghosts, bats, you name it. Just adjust the baking time slightly for different sizes. Smaller shapes need about 7 minutes, larger ones might need 10-11.
No-Icing Option: If you’re short on time, skip the royal icing entirely. After baking, dust the cookies with powdered sugar for a “ghostly” look, or dip them halfway in melted dark chocolate and let them set. It’s quicker and still looks impressive.
Serving & Storage Suggestions
These cookies are best served at room temperature, which lets the royal icing set completely and gives you that perfect snap when you bite into them. Arrange them on a Halloween-themed platter or cake stand for maximum visual impact. I like to pair them with a glass of cold milk or a warm mug of spiced apple cider.
For a Halloween party spread, these cookies look amazing alongside other treats like pumpkin cupcakes or caramel apples. The contrast of the dark cookies against bright orange and white decorations is really striking.
Storage: Store undecorated cookies in an airtight container at room temperature for up to 1 week. If you’ve already decorated them with royal icing, layer them between sheets of parchment paper to prevent the icing from sticking. Do not refrigerate—the moisture in the fridge can make the cookies soft and the icing sticky.
Freezer Instructions: You can freeze the unbaked cookie dough for up to 3 months. Wrap it tightly in plastic wrap and then foil. When you’re ready to bake, thaw the dough in the refrigerator overnight, then proceed with rolling and cutting. Baked, undecorated cookies also freeze well for up to 2 months. Just thaw at room temperature before decorating.
Flavor Development: Here’s a little secret—these cookies actually taste better the day after baking. The flavors meld together and the texture becomes perfectly crisp. So don’t stress about baking them at the last minute. Make them a day ahead and you’ll be rewarded.
Nutritional Information & Benefits
Let’s be honest—these are sugar cookies, not health food. But here’s the estimated nutritional breakdown per cookie (based on 24 cookies, including royal icing):
- Calories: 145
- Total Fat: 7g
- Saturated Fat: 4g
- Carbohydrates: 20g
- Sugar: 12g
- Protein: 2g
On the bright side, black cocoa powder is rich in antioxidants called flavonoids, which are known to support heart health. It also contains magnesium and iron. The almond extract adds a touch of vitamin E. And hey, everything in moderation, right? These cookies are meant to be a treat—something to enjoy on a crisp October evening with good company.
If you’re watching your sugar intake, you can reduce the sugar in the dough by ¼ cup without significantly affecting the texture. Just know that the cookies won’t be quite as tender. For a lower-carb option, use a sugar substitute like Swerve in the dough, but skip the royal icing or use a sugar-free version.
These cookies contain dairy (butter), eggs, and gluten (flour). For allergen-friendly versions, check out the variations section above.
Conclusion
These Perfect Halloween Black Cat Sugar Cookies are more than just a recipe—they’re a little piece of bakery magic you can recreate in your own kitchen. They’re the cookies that make people stop and say, “Wait, you made these?” They’re the ones that disappear first from the dessert table, the ones that get requested year after year.
I love this recipe because it’s forgiving enough for beginners but special enough to impress even the pickiest bakers. The black cocoa gives it that dramatic Halloween look, while the almond extract adds that “something special” that makes people think you spent hours in the kitchen. And honestly, the way the kitchen smells when these are baking? Pure October heaven.
So go ahead—preheat that oven, dust off your cookie cutters, and make some memories. Whether you’re baking with your kids, bringing treats to a party, or just treating yourself, these cookies are worth every minute. And when you make them, I’d love to hear how they turned out. Drop a comment below, share a photo, or tell me your favorite Halloween baking tradition. Happy Halloween, friends!
Frequently Asked Questions
Can I use regular cocoa powder instead of black cocoa powder?
You can, but your cookies will turn out a dark brown instead of black. The flavor will also be less rich and slightly more bitter. If you can’t find black cocoa powder, add a teaspoon of instant espresso powder to the dough to deepen the color and flavor.
Why did my cookies spread so much?
This usually happens for one of three reasons: the dough wasn’t chilled long enough, the butter was too soft, or the baking sheet was too warm. Make sure you chill the dough for at least 30 minutes and use cool baking sheets. If your kitchen is warm, pop the cut-out cookies in the fridge for 10 minutes before baking.
How do I get the royal icing perfectly smooth?
The key is getting the consistency right. The icing should be thick enough to hold a ribbon when you lift the spoon, but thin enough to slowly flatten out. When flooding the cookies, use a toothpick to gently guide the icing into the corners and pop any air bubbles. A light tap on the counter helps level everything out.
Can I make these cookies ahead of time?
Absolutely! You can make the dough up to 3 days in advance and keep it in the refrigerator. Baked, undecorated cookies stay fresh for up to a week in an airtight container. Decorated cookies are best within 3-4 days, as the icing can start to soften the cookie over time.
My cookies came out too hard. What went wrong?
Overbaking is the most common culprit. These cookies are done when the edges are set but the centers still look slightly underdone. They’ll firm up as they cool. You might also have added too much flour—remember to spoon and level it rather than scooping directly from the bag.
Pin This Recipe!
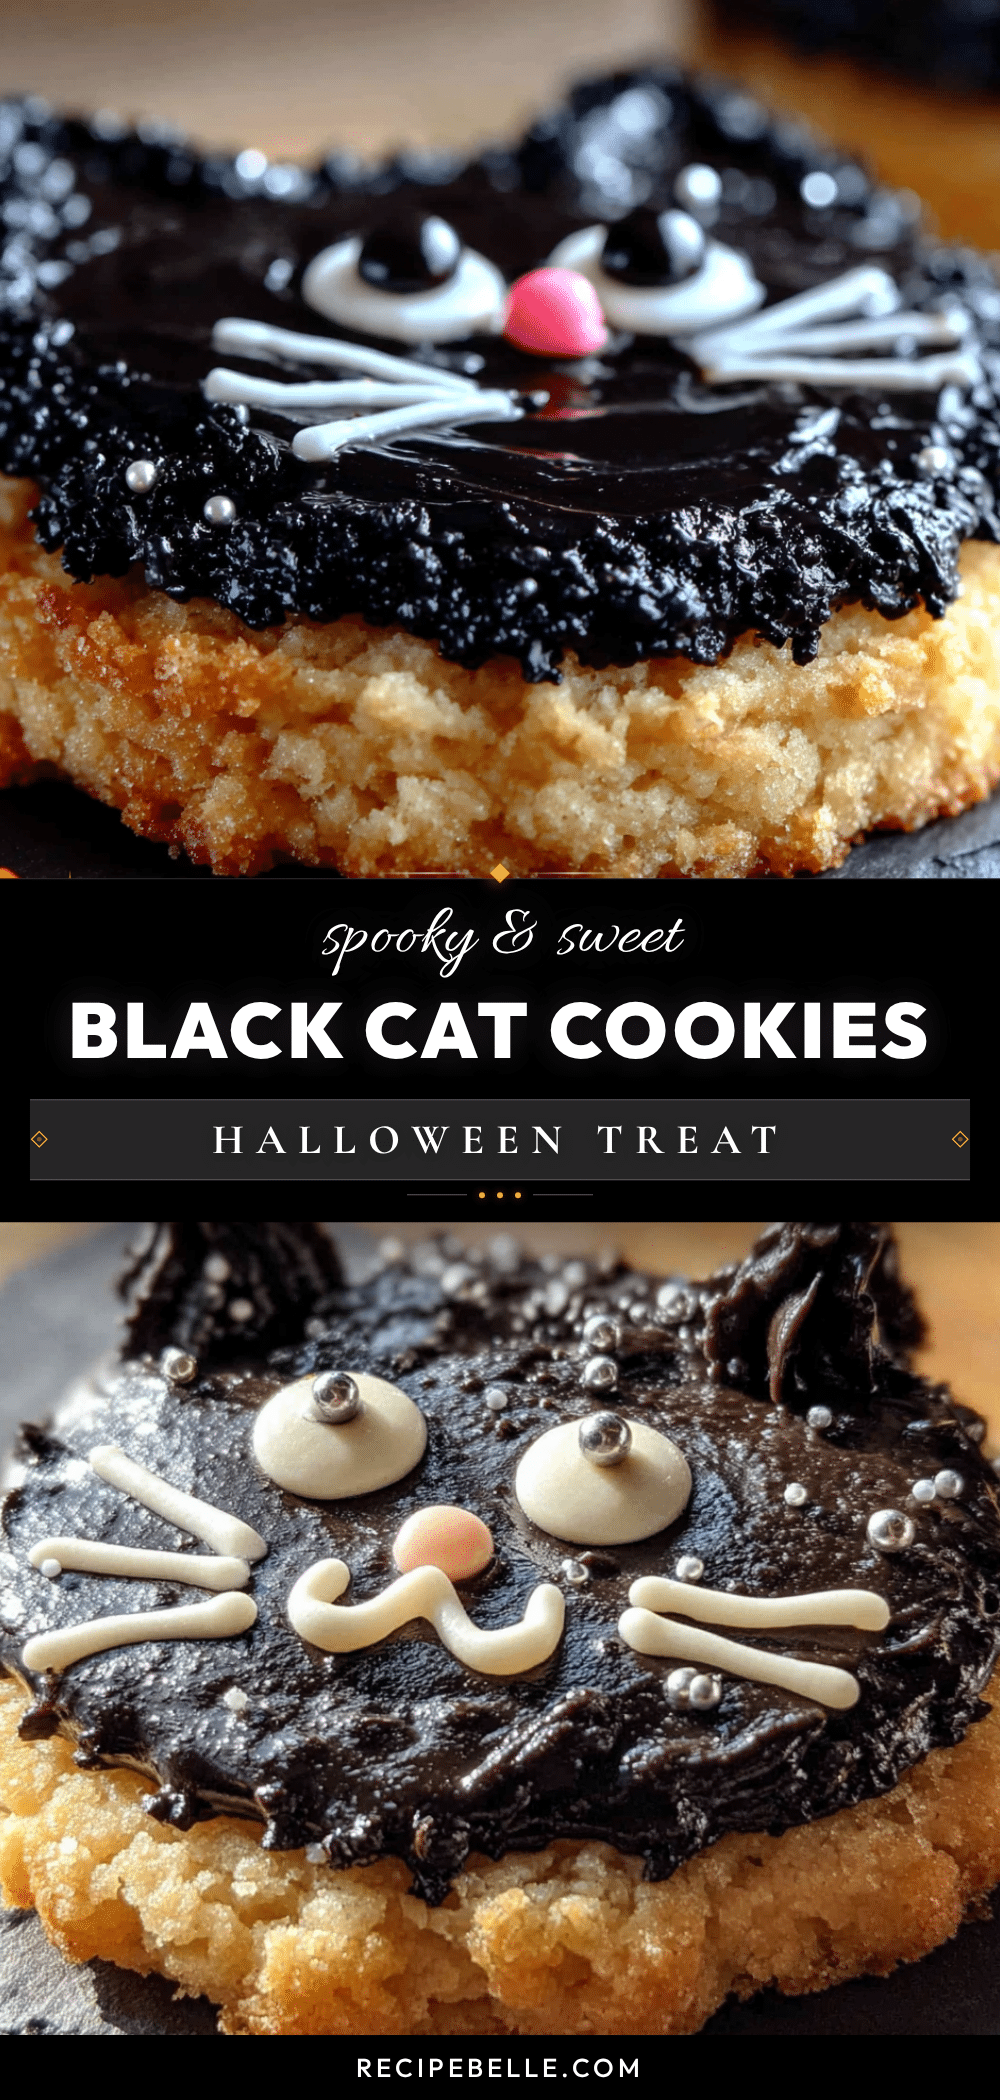
Perfect Halloween Black Cat Sugar Cookies: Easy 30-Minute Recipe

These Perfect Halloween Black Cat Sugar Cookies are crisp, buttery, and just spooky enough for Halloween without being scary. They’re designed to actually work for real people in real kitchens, with simple ingredients and a quick 30-minute active time.
- Prep Time: 30 minutes
- Cook Time: 10 minutes
- Total Time: 45 minutes
- Yield: 24 servings 1x
- Category: Dessert
- Cuisine: American
Ingredients
- 1 cup (2 sticks) unsalted butter, softened
- 1 cup granulated sugar
- 1 large egg, room temperature
- 1 teaspoon vanilla extract
- ½ teaspoon almond extract
- 2 cups all-purpose flour, plus more for dusting
- ¼ cup black cocoa powder
- ½ teaspoon baking powder
- ¼ teaspoon salt
- 1 cup powdered sugar (for royal icing)
- 2 tablespoons meringue powder (for royal icing)
- 3–4 tablespoons water (for royal icing)
- Orange or green gel food coloring (for eyes)
- Black sanding sugar or edible glitter (optional)
Instructions
- Cream the butter and sugar: In a large mixing bowl, beat the softened butter and granulated sugar together on medium speed until light and fluffy—about 3 minutes. Scrape down the sides of the bowl halfway through.
- Add the wet ingredients: Beat in the egg, vanilla extract, and almond extract until fully combined.
- Mix the dry ingredients separately: In a medium bowl, whisk together the all-purpose flour, black cocoa powder, baking powder, and salt.
- Combine wet and dry: Gradually add the dry ingredients to the wet mixture, mixing on low speed until just combined. Stop as soon as you don’t see any more streaks of flour.
- Chill the dough: Wrap the dough in plastic wrap and flatten it into a disc. Refrigerate for at least 30 minutes, or up to 3 days.
- Preheat the oven: Set your oven to 350°F (175°C). Line two baking sheets with parchment paper.
- Roll and cut: Lightly flour your work surface and rolling pin. Roll the chilled dough to about ¼-inch thickness. Cut out cat shapes and transfer to prepared baking sheets, spacing about 2 inches apart.
- Chill again: Refrigerate the cut-out cookies for 10 minutes before baking.
- Bake: Bake for 8-10 minutes, rotating the pans halfway through. Let cool on the baking sheet for 5 minutes, then transfer to a wire rack to cool completely.
- Make the royal icing: Whisk together powdered sugar, meringue powder, and 3 tablespoons of water. Beat on medium speed until stiff peaks form—about 5 minutes. Add more water as needed. Divide icing and tint most black, with a small portion orange or green for eyes.
- Decorate: Transfer black icing to a piping bag with a #2 tip. Outline each cookie, then flood with icing. Use a toothpick to spread. While wet, pipe a dot of colored icing for each eye. Let dry completely (about 2 hours or overnight).
Notes
Chilling the dough is crucial to prevent spreading. For crispier cookies, roll thinner (⅛ inch) and bake an extra minute. For softer cookies, roll thicker and underbake slightly. Cookies taste even better the day after baking. Store undecorated cookies in an airtight container at room temperature for up to 1 week. Freeze unbaked dough for up to 3 months.
Nutrition
- Serving Size: 1 cookie
- Calories: 145
- Sugar: 12
- Sodium: 50
- Fat: 7
- Saturated Fat: 4
- Carbohydrates: 20
- Protein: 2
Keywords: Halloween cookies, black cat cookies, sugar cookies, easy Halloween recipe, black cocoa cookies, spooky cookies, holiday baking



