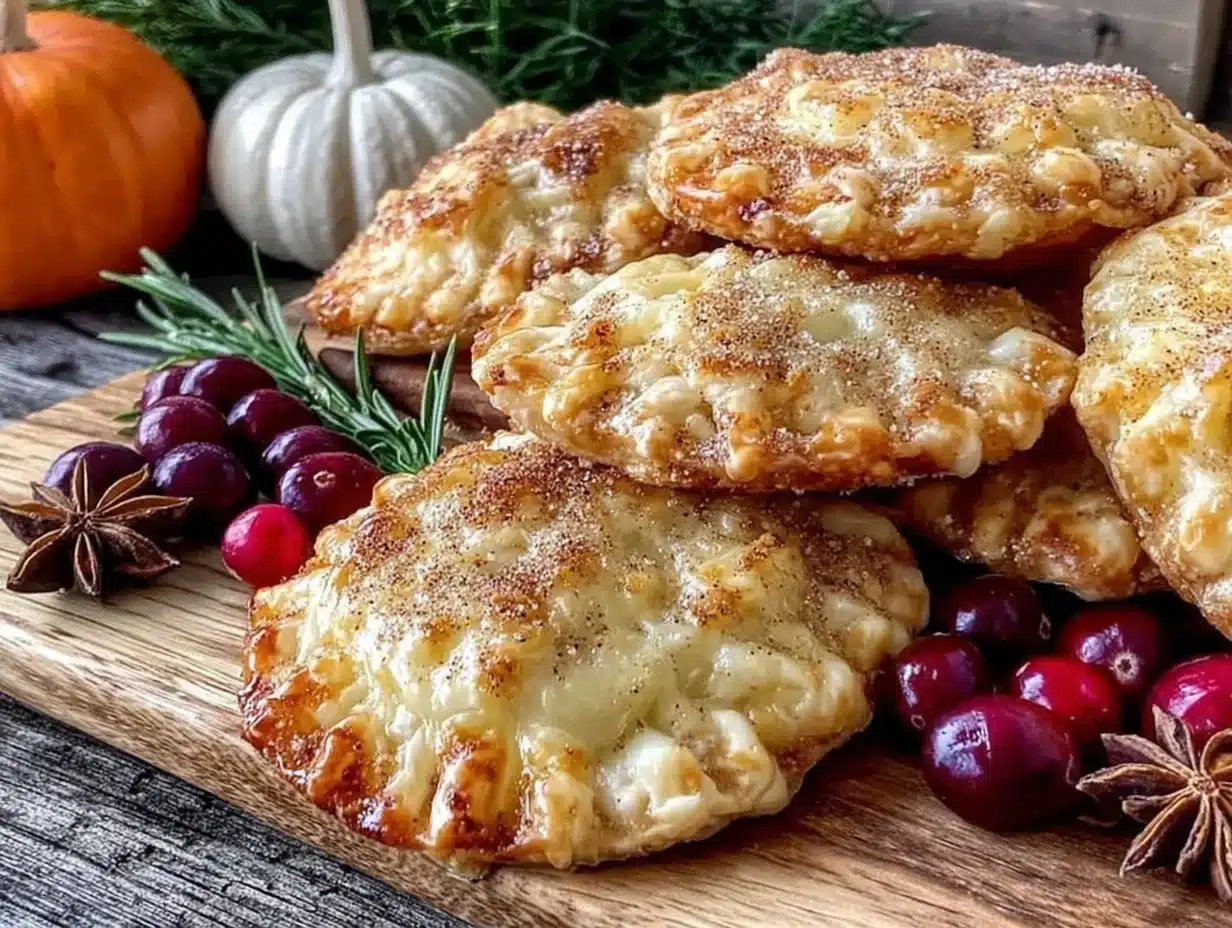
My neighbor, a retired pastry chef named Eleanor who grows pumpkins in her front yard like some people grow marigolds, watched me struggle with a soggy-bottomed pie crust one October afternoon. She didn’t say anything at first. Then she handed me a warm, flaky little pastry over the fence, wrapped in a napkin, and said, “Try these for your Halloween thing. They don’t cry.” That was five years ago, and I haven’t made a full-sized pumpkin pie for a Halloween party since. These mini pumpkin hand pies are everything you want in a fall dessert—portable, perfectly spiced, and completely impossible to mess up. The first time I made them, I forgot to chill the dough and they still turned out beautifully flaky. Honestly, if Eleanor can grow pumpkins in suburban clay soil and still produce pastries this good, you can absolutely pull these off for your Halloween spread. Maybe you’ve been there, standing over a too-warm kitchen, wondering why your pie crust is sticking to everything. These hand pies solve that problem completely. They’re forgiving, they’re adorable, and they taste like autumn in a single, perfect bite. I keep making them because they disappear faster than anything else at the party, and because Eleanor’s quiet wisdom—that good food doesn’t need to be fancy, just thoughtful—stays with me every time I roll out the dough.
Why You’ll Love This Recipe
These mini pumpkin hand pies are the kind of recipe that makes you look like a kitchen hero without the stress. I’ve tested this version at least a dozen times, tweaking the spice blend and the dough hydration until everything worked perfectly for busy home cooks. Here’s why this recipe stands out from the million other pumpkin dessert options out there:
- Quick & Easy: From start to finish, these come together in about 45 minutes. No chilling the dough overnight, no complicated lattice tops. Just mix, fill, fold, and bake.
- Simple Ingredients: You probably have most of these in your pantry right now. The pumpkin puree and pie spice are the only “special” items, and both are easy to find this time of year.
- Perfect for Halloween Parties: They’re handheld, which means no plates or forks needed. Guests can grab one, mingle, and not worry about dripping filling on their costume. Total crowd-pleaser situation.
- Crowd-Pleaser: Kids love the cute little pie shape, and adults appreciate the grown-up spice level. I’ve brought these to three different Halloween parties and never brought a single one home.
- Unbelievably Delicious: The secret is browning the butter for the filling. It adds this nutty, almost caramelized depth that makes the pumpkin taste richer and more complex than any standard pie.
What makes this recipe different from every other pumpkin hand pie out there is the technique. Instead of using a wet, loose filling that soaks into the pastry, I cook the pumpkin filling on the stovetop first to concentrate the flavor and remove excess moisture. This means your crust stays flaky and crisp, not soggy. It’s a small step that makes a huge difference. Honestly, this recipe isn’t just good—it’s the kind that makes you close your eyes after the first bite. It’s comfort food reimagined for a party setting, with the same soul-soothing satisfaction of a full pie but way more fun to eat.
What Ingredients You Will Need
This recipe uses simple, wholesome ingredients to deliver bold flavor and satisfying texture without the fuss. Most of these are pantry staples, especially if you’ve done any fall baking this season. The key is using quality pumpkin puree and getting the spice balance right.
For the Dough
- 2 ½ cups all-purpose flour (I prefer King Arthur for consistent results)
- 1 teaspoon salt
- 1 tablespoon granulated sugar
- 1 cup cold unsalted butter, cut into small cubes (freeze it for 10 minutes before using—trust me on this)
- 6-8 tablespoons ice water (you might not need all of it)
For the Pumpkin Filling
- 1 cup pumpkin puree (not pumpkin pie filling—look for 100% pure pumpkin, I like Libby’s)
- ¼ cup brown sugar, packed (light or dark both work; dark gives deeper flavor)
- 2 tablespoons unsalted butter
- 1 teaspoon pumpkin pie spice (or make your own with ½ tsp cinnamon, ¼ tsp ginger, ¼ tsp nutmeg, pinch of cloves)
- ¼ teaspoon salt
- 1 teaspoon vanilla extract
- 1 large egg yolk (adds richness and helps bind the filling)
For the Egg Wash and Topping
- 1 large egg, beaten with 1 tablespoon water
- Turbinado sugar or coarse sparkling sugar for sprinkling (adds that wonderful crunch)
A few notes on ingredients: If you’re using homemade pumpkin puree, make sure to strain it through cheesecloth or a clean kitchen towel to remove excess water. Store-bought puree is usually thicker, but I still give it a quick press with paper towels. For the butter, European-style butter like Plugra or Kerrygold has less water content, which makes for an even flakier crust. And if you don’t have pumpkin pie spice, don’t run to the store—just mix cinnamon, ginger, nutmeg, and a tiny pinch of cloves. It’ll taste even better because you made it yourself.
Equipment Needed
You don’t need a lot of fancy tools for these hand pies, which is part of why I love this recipe. Here’s what you’ll need:
- Large mixing bowl for the dough
- Pastry cutter or two forks for cutting butter into flour (I’ve used my hands in a pinch, but try not to—warmth melts the butter)
- Rolling pin (a wine bottle works if you’re desperate, but a proper rolling pin makes life easier)
- 3-inch round cookie cutter or a drinking glass with a thin rim
- Baking sheet lined with parchment paper
- Small saucepan for cooking the filling
- Pastry brush for egg wash (a silicone one is cheap and doesn’t shed bristles)
- Fork for crimping the edges
- Wire cooling rack
If you don’t have a pastry cutter, honestly, just use your fingertips. The key is working quickly so the butter stays cold. I’ve made these with a $2 thrift store rolling pin and a jelly jar as a cutter, and they turned out perfectly. Don’t let equipment stop you.
Preparation Method
Let me walk you through this step by step. I’ve made these so many times that I’ve got the rhythm down, and I’ll share all the little tricks I’ve learned along the way.
Step 1: Make the Dough
In your large mixing bowl, whisk together the flour, salt, and sugar. Add the cold butter cubes. Using your pastry cutter or fingertips, work the butter into the flour until the mixture looks like coarse meal with some pea-sized butter pieces remaining. You want those visible butter bits—they create the flaky layers. Drizzle 6 tablespoons of ice water over the mixture and stir with a fork until the dough just comes together. If it seems dry, add the remaining water, one tablespoon at a time. The dough should look shaggy, not smooth. Turn it out onto a floured surface, bring it together into a disc, wrap in plastic, and refrigerate for at least 30 minutes. This rest is non-negotiable—it relaxes the gluten and keeps the crust tender.
Step 2: Make the Filling
While the dough chills, make the filling. In a small saucepan over medium heat, melt the 2 tablespoons of butter. Let it cook, swirling occasionally, until it turns golden brown and smells nutty—about 3-4 minutes. Watch it carefully; burnt butter is a tragedy. Add the pumpkin puree, brown sugar, pumpkin pie spice, and salt. Stir constantly for 3-4 minutes until the mixture thickens and starts to pull away from the sides of the pan. Remove from heat and stir in the vanilla and egg yolk. The filling should be thick, like a firm pudding. Let it cool completely—pop it in the fridge if you’re in a hurry.
Step 3: Assemble the Hand Pies
Preheat your oven to 375°F (190°C). Line your baking sheet with parchment paper. On a floured surface, roll out the chilled dough to about ⅛-inch thickness. Cut out circles with your 3-inch cutter. Gather the scraps, gently press them together, and reroll once—don’t overwork the dough or it’ll get tough. Place half the circles on the prepared baking sheet, spacing them about 2 inches apart. Spoon about 1 tablespoon of the cooled filling onto the center of each circle, leaving a ½-inch border around the edges. Top with the remaining circles. Press the edges to seal, then crimp with a fork. Cut 2-3 small slits on top of each pie for steam to escape—I forgot this once and had a filling explosion in my oven. Learn from my mistake.
Step 4: Bake
Brush each hand pie with the egg wash and sprinkle generously with turbinado sugar. Bake for 18-22 minutes, until the tops are deep golden brown and you can see the filling bubbling slightly through the slits. Let them cool on the baking sheet for 5 minutes, then transfer to a wire rack. The filling will be lava-hot, so resist the urge to bite into one immediately. I may or may not have burned my tongue testing this advice.
Cooking Tips & Techniques
After making these hand pies more times than I can count, I’ve collected a few tricks that make the process smoother and the results better. First, temperature control is everything. Cold butter, cold water, chilled dough—this is the holy trinity of flaky pastry. If your kitchen is warm, pop your baking sheet with the assembled pies in the fridge for 10 minutes before baking. That little rest ensures the butter doesn’t melt prematurely.
One mistake I made early on was overfilling the pies. I thought more filling meant more flavor, but it just meant filling leaking out onto the baking sheet and burning. A tablespoon is plenty. Trust the process.
For the most even browning, rotate your baking sheet halfway through baking. My oven has a hot spot in the back right corner, so this step is essential for me. Also, if you notice the edges browning too quickly, tent the pies loosely with foil for the last 5 minutes.
Here’s a pro tip from Eleanor herself: brush the edges of the dough with a little water before sealing. It acts like glue and prevents the pies from popping open during baking. I do this every time now, and my sealing game has never been stronger.
Variations & Adaptations
These hand pies are wonderfully adaptable. Here are some variations I’ve tried and loved:
- Gluten-Free Version: Substitute the all-purpose flour with a 1:1 gluten-free baking flour blend. Add ½ teaspoon xanthan gum if your blend doesn’t include it. The dough will be a bit more fragile, so handle it gently.
- Vegan Option: Use cold vegan butter (I like Miyoko’s) in the dough and a flax egg (1 tablespoon ground flaxseed mixed with 3 tablespoons water) instead of the egg yolk in the filling. For the egg wash, brush with a little plant-based milk.
- Savory Twist: Skip the sugar in the dough and filling. Instead, add ½ cup grated sharp cheddar cheese to the dough and fill with a mixture of pumpkin, sage, garlic, and Parmesan. These are amazing as appetizers.
- Chocolate Pumpkin: Add 2 tablespoons of cocoa powder to the dough and stir ¼ cup mini chocolate chips into the cooled filling. The chocolate and pumpkin combo is surprisingly perfect.
- Air Fryer Method: Cook at 350°F for 10-12 minutes, flipping halfway. They’ll be slightly less golden but still delicious and quicker.
I personally love the chocolate pumpkin variation for a Halloween party—it feels extra festive and indulgent.
Serving & Storage Suggestions
These hand pies are best served slightly warm or at room temperature. If you’re serving them at a party, arrange them on a platter with a dusting of powdered sugar and maybe a few cinnamon sticks for decoration. They’re wonderful on their own, but you can also serve them with a dollop of whipped cream or a scoop of vanilla ice cream if you want to go full dessert mode.
For storage, keep them in an airtight container at room temperature for up to 2 days. After that, the crust starts to soften. You can refrigerate them for up to 5 days, but let them come to room temperature before serving. To reheat, pop them in a 350°F oven for 5 minutes—this restores the flakiness. The microwave works in a pinch but will make the crust chewy.
These also freeze beautifully. Place the baked and cooled pies in a single layer on a baking sheet and freeze until solid, then transfer to a freezer bag. They’ll keep for up to 3 months. Reheat directly from frozen in a 350°F oven for 10-12 minutes. The flavors actually seem to deepen after freezing, which is a nice bonus.
Nutritional Information & Benefits
Each mini hand pie (based on 12 servings) contains approximately:
- Calories: 210
- Fat: 12g
- Carbohydrates: 24g
- Fiber: 2g
- Sugar: 8g
- Protein: 3g
Pumpkin is packed with vitamin A, which supports eye health, and fiber, which aids digestion. The butter provides some vitamin A and healthy fats. While these are definitely a treat, they’re a more wholesome option than many Halloween desserts. If you’re watching your sugar intake, you can reduce the brown sugar to 3 tablespoons without sacrificing too much flavor. For a lower-carb version, use almond flour in the dough and a sugar substitute like monk fruit in the filling—just note the texture will be different.
Conclusion
These perfect mini pumpkin hand pies are the Halloween party dessert you didn’t know you needed. They’re easy enough for a weeknight baking project, impressive enough to steal the show at any gathering, and endlessly customizable to suit your taste. I love them because they capture everything wonderful about fall—the warm spices, the cozy feeling, the joy of sharing food with people you care about—in a little handheld package. Whether you stick with the classic version or try one of the variations, I promise you’ll be glad you made them. So grab your rolling pin, crank up some spooky music, and get baking. And when you do, I’d love to hear about it—drop a comment below telling me which variation you tried, or tag me in your photos. Happy Halloween, and happy baking!
Frequently Asked Questions
Can I use store-bought pie crust instead of making my own?
Absolutely. If you’re short on time, refrigerated pie crust from the store works fine. Just roll it out slightly thinner than it comes and follow the assembly instructions. The texture won’t be quite as flaky as homemade, but it’ll still taste great.
Why did my hand pies leak filling in the oven?
This usually happens for one of three reasons: the filling was too wet (make sure you cook it until thick), the edges weren’t sealed properly (use water and press firmly), or you overfilled them (stick to 1 tablespoon per pie). Also, don’t skip the steam vents—they prevent pressure buildup.
Can I make these ahead of time?
Yes! You can assemble the hand pies up to 24 hours in advance and keep them covered in the refrigerator. Bake them just before serving for the best texture. You can also bake them fully and reheat as described in the storage section.
What if I don’t have pumpkin pie spice?
No problem. Mix together ½ teaspoon cinnamon, ¼ teaspoon ground ginger, ¼ teaspoon nutmeg, and a pinch of ground cloves. That’s exactly what’s in pumpkin pie spice, and it’ll taste just as good—maybe better since it’s fresher.
Can I use canned pumpkin pie filling instead of pure pumpkin?
I don’t recommend it. Pumpkin pie filling already has sugar and spices added, which will make your filling too sweet and throw off the texture. Stick with 100% pure pumpkin puree and add your own seasonings. You’ll have much more control over the final flavor.
Pin This Recipe!
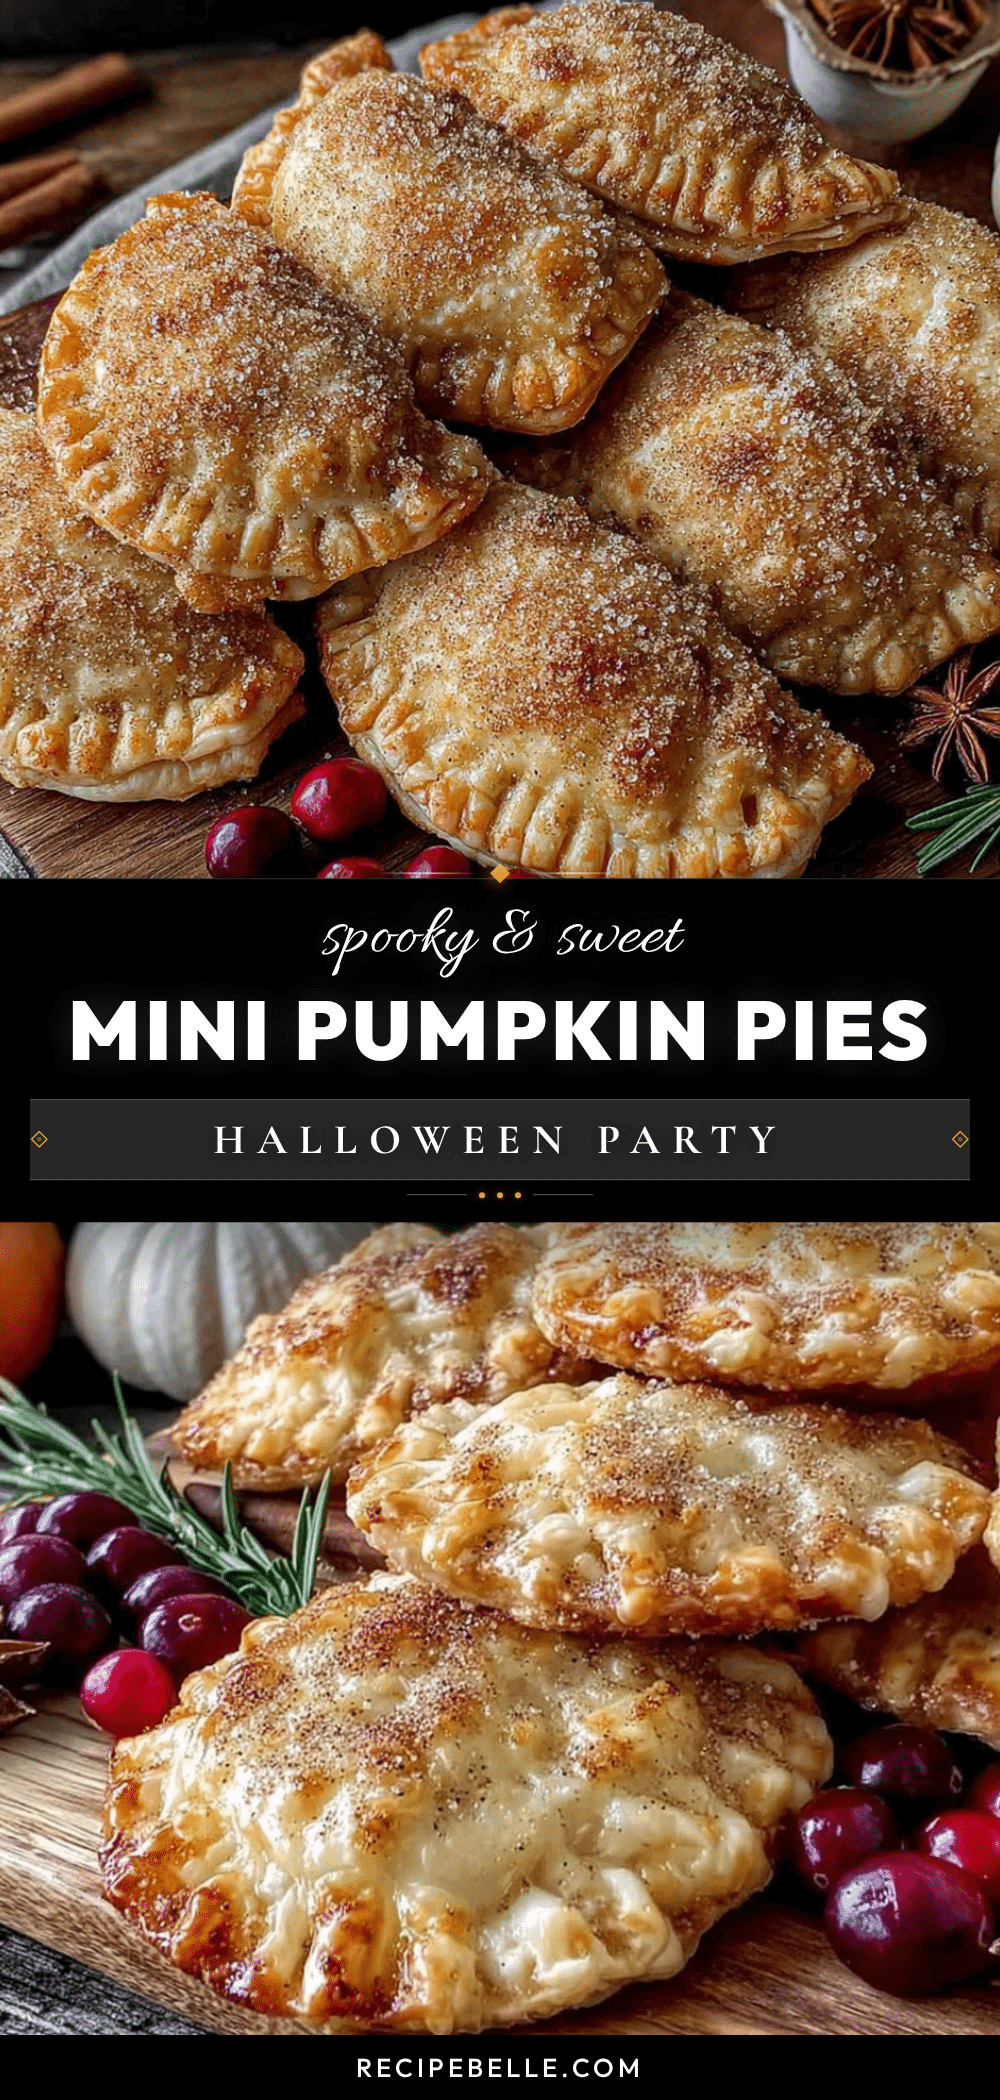
Perfect Mini Pumpkin Hand Pies for Your Halloween Party
These mini pumpkin hand pies are everything you want in a fall dessert—portable, perfectly spiced, and completely impossible to mess up. They’re forgiving, adorable, and taste like autumn in a single, perfect bite.
- Prep Time: 15 minutes
- Cook Time: 20 minutes
- Total Time: 45 minutes
- Yield: 12 servings 1x
- Category: Dessert
- Cuisine: American
Ingredients
- 2 ½ cups all-purpose flour
- 1 teaspoon salt
- 1 tablespoon granulated sugar
- 1 cup cold unsalted butter, cut into small cubes
- 6–8 tablespoons ice water
- 1 cup pumpkin puree (not pumpkin pie filling)
- ¼ cup brown sugar, packed
- 2 tablespoons unsalted butter
- 1 teaspoon pumpkin pie spice
- ¼ teaspoon salt
- 1 teaspoon vanilla extract
- 1 large egg yolk
- 1 large egg, beaten with 1 tablespoon water (for egg wash)
- Turbinado sugar or coarse sparkling sugar for sprinkling
Instructions
- Make the dough: In a large mixing bowl, whisk together flour, salt, and sugar. Add cold butter cubes. Using a pastry cutter or fingertips, work the butter into the flour until the mixture looks like coarse meal with some pea-sized butter pieces remaining. Drizzle 6 tablespoons of ice water over the mixture and stir with a fork until the dough just comes together. If dry, add remaining water one tablespoon at a time. Turn out onto a floured surface, bring together into a disc, wrap in plastic, an…
- Make the filling: While dough chills, in a small saucepan over medium heat, melt 2 tablespoons of butter. Let it cook, swirling occasionally, until golden brown and nutty (about 3-4 minutes). Add pumpkin puree, brown sugar, pumpkin pie spice, and salt. Stir constantly for 3-4 minutes until thickened and pulling away from sides. Remove from heat and stir in vanilla and egg yolk. Let cool completely.
- Assemble the hand pies: Preheat oven to 375°F (190°C). Line a baking sheet with parchment paper. On a floured surface, roll out chilled dough to about ⅛-inch thickness. Cut out circles with a 3-inch cutter. Place half the circles on the prepared baking sheet, spacing 2 inches apart. Spoon about 1 tablespoon of cooled filling onto the center of each circle, leaving a ½-inch border. Top with remaining circles. Press edges to seal, then crimp with a fork. Cut 2-3 small slits on top for steam to esc…
- Bake: Brush each hand pie with egg wash and sprinkle generously with turbinado sugar. Bake for 18-22 minutes, until tops are deep golden brown and filling bubbles slightly through slits. Cool on baking sheet for 5 minutes, then transfer to a wire rack.
Notes
Temperature control is everything: cold butter, cold water, chilled dough. If your kitchen is warm, pop the assembled pies in the fridge for 10 minutes before baking. Don’t overfill—1 tablespoon per pie is plenty. Brush edges with water before sealing to prevent leaks. Rotate baking sheet halfway through for even browning. For gluten-free, use a 1:1 gluten-free flour blend with ½ teaspoon xanthan gum. For vegan, use cold vegan butter and a flax egg. Hand pies can be frozen for up to 3 months.
Nutrition
- Serving Size: 1 hand pie
- Calories: 210
- Sugar: 8
- Sodium: 180
- Fat: 12
- Saturated Fat: 7
- Carbohydrates: 24
- Fiber: 2
- Protein: 3
Keywords: mini pumpkin hand pies, Halloween dessert, pumpkin hand pies, fall dessert, hand pies, pumpkin pie, Halloween party food



