My husband had claimed to hate pumpkin bread for our entire marriage. Eight years. Every fall, while I’d get excited about the first chill in the air and start pulling out my baking pans, he’d make this little face. You know the one. Like he’d just bitten into something unexpected and not in a good way. “It’s just too… pumpkin-y,” he’d say, which drove me crazy because what does that even mean? It’s pumpkin bread, isn’t the whole point the pumpkin part?
Then last October, I was making a batch for a school bake sale and needed something the kids could help with. My three-year-old was having a clingy day, my older one was bouncing off the walls, and I just didn’t have the energy for a complicated recipe with multiple bowls and sifting and folding and all the fuss. So I grabbed one bowl, dumped everything in, and figured if it turned out a little dense or a little flat, the kids at the sale probably wouldn’t care anyway. Honestly, I was just trying to survive until naptime.
I stirred in a handful of chocolate chips at the end, mostly because my daughter was begging for them and I needed a bribe. The loaf came out of the oven looking golden and smelling like the best kind of fall day. And then my husband walked through the kitchen, grabbed the knife I’d left on the counter, and cut himself a slice while it was still warm. He ate it standing up. Then he cut another one. “What’s in this?” he asked, and I just smiled. I let him figure it out. This bread, with its simple ingredients and one-bowl method, had done what eight years of my patient persuasion could not. It made him a convert. And honestly, I’ve been making it every week since, because it’s the kind of recipe that proves you don’t need fancy techniques to create something unforgettable.
Why You’ll Love This Recipe
This isn’t just another pumpkin bread recipe. It’s the one that will save your sanity on a busy morning and make your kitchen smell like a cozy fall bakery. Let me tell you why it’s become a staple in our house.
- One Bowl, No Fuss: Everything comes together in a single mixing bowl. No sifting, no creaming butter and sugar separately, no extra dishes to wash. You mix the wet ingredients, stir in the dry ones, and you’re done in about ten minutes of active work.
- Kid-Friendly & Fun to Make: The measuring and stirring are simple enough for little hands to help with. My kids love dumping in the chocolate chips and watching them disappear into the batter. It’s a great way to get them comfortable in the kitchen without the stress of complicated steps.
- Budget-Friendly Ingredients: You probably already have most of what you need in your pantry. Canned pumpkin is affordable year-round, and the rest are basic baking staples. No expensive specialty flours or exotic extracts required.
- Perfect for Lunchboxes & Snacks: This bread freezes beautifully, so you can make a double batch and have snacks ready for weeks. It’s sturdy enough to pack in lunchboxes without falling apart, and it satisfies that afternoon sweet craving without being over-the-top sugary.
- Unbelievably Moist & Tender: The pumpkin keeps this bread incredibly soft for days. It’s not dry or crumbly like some quick breads can be. Every slice is tender and packed with flavor, with little pockets of melted chocolate in every bite.
This recipe is different because it focuses on simplicity without sacrificing flavor. The combination of warm pumpkin spice and rich chocolate chips is a crowd-pleaser that even self-proclaimed pumpkin haters (like my husband) end up loving. It’s comfort food that makes you feel good, and it’s flexible enough to adapt to whatever you have on hand.
What Ingredients You Will Need
This recipe uses simple, wholesome ingredients to deliver bold flavor and satisfying texture without the fuss. Most of these are pantry staples, so you can whip up a loaf whenever the mood strikes.
- Canned Pumpkin Purée (1 cup / 240g): Make sure you’re using 100% pumpkin purée, not pumpkin pie filling. The pie filling has added sugar and spices that will throw off the balance of the recipe. I usually go with Libby’s, but any brand of pure pumpkin works well.
- Granulated Sugar (1/2 cup / 100g): This provides sweetness and helps keep the bread tender. You can reduce it slightly if you prefer a less sweet loaf, but I wouldn’t go below 1/3 cup.
- Brown Sugar (1/2 cup / 100g, packed): Light or dark brown sugar both work. The molasses in brown sugar adds depth of flavor and extra moisture. Pack it firmly into your measuring cup for the right amount.
- Vegetable Oil (1/3 cup / 80ml): Oil keeps the bread moist and tender. Canola or any neutral-flavored oil works perfectly. You could substitute melted coconut oil for a slightly different flavor profile.
- Large Eggs (2): Eggs provide structure and richness. Let them come to room temperature for about 15 minutes before using, which helps them incorporate more smoothly into the batter.
- Vanilla Extract (1 teaspoon): A good quality vanilla enhances all the other flavors. Pure vanilla extract is ideal, but imitation works fine for baking.
- All-Purpose Flour (1 3/4 cups / 220g): Spoon the flour into your measuring cup and level it off with a knife. Scooping directly from the bag can pack the flour and lead to a dry, dense bread.
- Baking Soda (1 teaspoon): This is the leavening agent that helps the bread rise. Make sure it’s fresh (not expired) for the best results.
- Pumpkin Pie Spice (1 1/2 teaspoons): You can use store-bought or make your own with a mix of cinnamon, nutmeg, ginger, and cloves. This is where the warm, cozy flavor comes from.
- Cinnamon (1/2 teaspoon): I like to add a little extra cinnamon on top of the pumpkin pie spice. It just makes everything taste more like fall.
- Salt (1/4 teaspoon): Salt balances the sweetness and enhances all the other flavors. Don’t skip it, even if you’re using salted butter.
- Semi-Sweet Chocolate Chips (3/4 cup / 130g): Semi-sweet is my go-to because it’s not too sweet and it balances the warm spices beautifully. Milk chocolate chips work too if you want a sweeter loaf. Dark chocolate chips are great for a more intense chocolate flavor.
Substitution Guidance: For a gluten-free version, use a 1:1 gluten-free all-purpose flour blend. For a dairy-free option, most chocolate chips are naturally dairy-free, but double-check the label. You can also swap the eggs for flax eggs (1 tablespoon ground flaxseed mixed with 3 tablespoons water per egg) for a vegan version, though the texture will be slightly denser.
Equipment Needed
The beauty of this recipe is that it doesn’t require a ton of fancy equipment. Here’s what you’ll need:
- A Large Mixing Bowl: Any bowl will do, but a wide one makes stirring easier, especially if little hands are helping.
- A Whisk or Wooden Spoon: A whisk works great for mixing the wet ingredients, and a sturdy wooden spoon or silicone spatula is perfect for folding in the flour and chocolate chips.
- Measuring Cups and Spoons: You’ll need both dry and liquid measuring cups for accuracy.
- A 9×5-Inch Loaf Pan: This is the standard size for this recipe. If you use an 8×4-inch pan, you’ll need to bake it a bit longer. If you use a smaller pan, the batter might overflow.
- Parchment Paper or Cooking Spray: Lining the pan with parchment paper makes it easy to lift the bread out after baking. Cooking spray works, but the parchment is more reliable for clean slices.
- Cooling Rack: A wire rack allows air to circulate around the bread so it cools evenly and doesn’t get soggy on the bottom.
I’ve made this bread with a cheap dollar store loaf pan and an expensive non-stick one, and honestly, it turned out great both times. Don’t overthink the equipment. If you have a bowl and a pan, you’re good to go.
Preparation Method
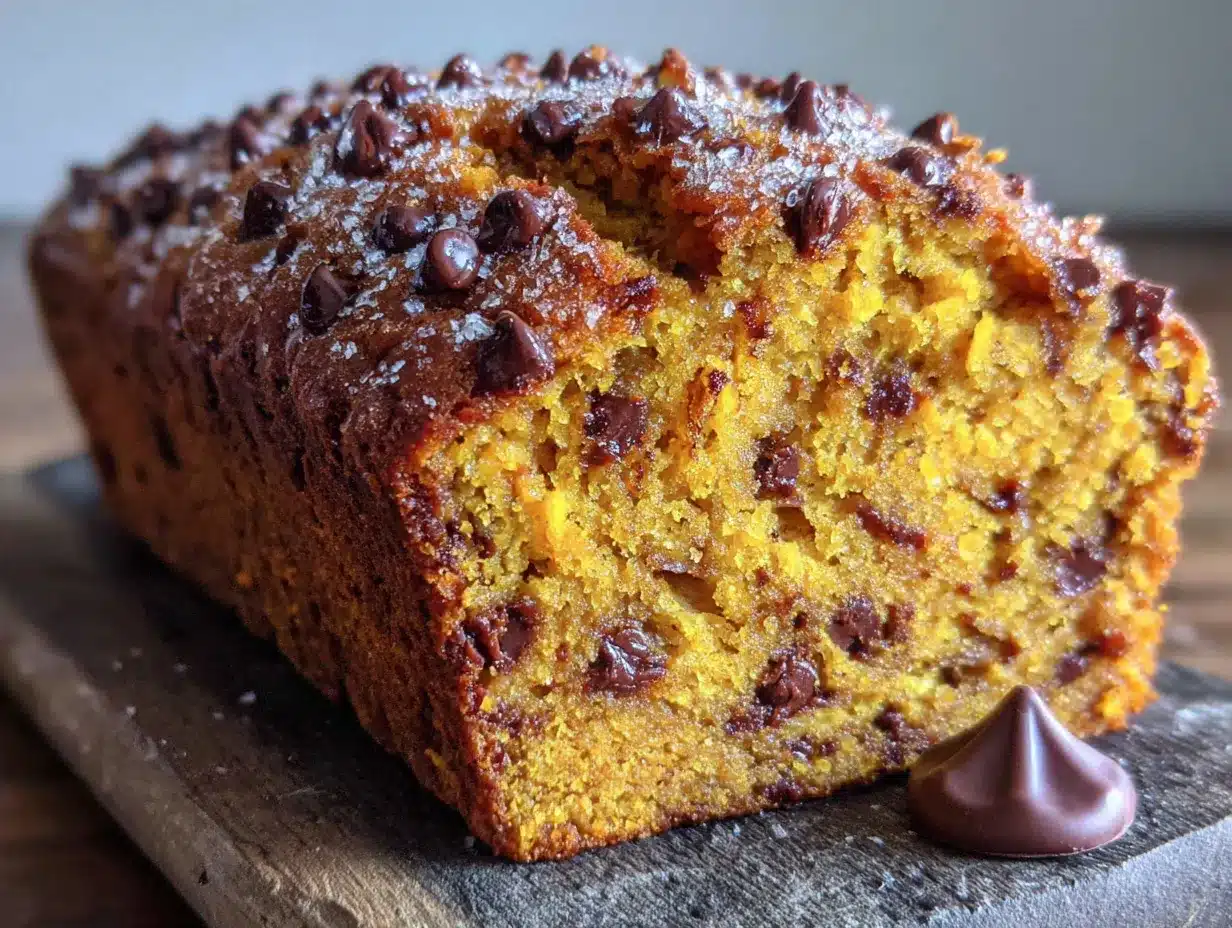
Let’s get baking! This method is straightforward, but I’ve included some little tips I’ve learned along the way to make sure your bread turns out perfect every time.
- Preheat your oven to 350°F (175°C). Grease a 9×5-inch loaf pan with cooking spray or line it with parchment paper, leaving some overhang on the long sides to use as handles later. Getting the oven hot before you start mixing is important because the batter uses baking soda, which starts reacting as soon as it gets wet. You want to get it in the oven quickly for the best rise.
- In your large mixing bowl, combine the wet ingredients. Add the pumpkin purée, granulated sugar, brown sugar, vegetable oil, eggs, and vanilla extract. Whisk everything together until it’s smooth and well combined. It should look like a thick, glossy orange batter. Don’t worry about lumps at this stage; they’ll work themselves out when you add the flour.
- Add the dry ingredients right on top. Sprinkle the flour, baking soda, pumpkin pie spice, cinnamon, and salt over the wet mixture. Don’t stir yet! This little trick helps keep the baking soda from clumping. I learned this the hard way when I bit into a pocket of baking soda in a batch of muffins once. Not fun.
- Stir until just combined. Use a wooden spoon or silicone spatula to fold the dry ingredients into the wet ones. Stir gently, scraping the bottom of the bowl to make sure everything is incorporated. Stop as soon as you don’t see any more streaks of flour. Overmixing will develop the gluten and make your bread tough and dense. It’s okay if there are a few tiny lumps.
- Fold in the chocolate chips. Reserve about a tablespoon of chocolate chips to sprinkle on top of the batter before baking. Gently fold the rest into the batter with a few quick strokes. The batter will be thick, which is exactly what you want.
- Pour the batter into the prepared loaf pan. Use your spatula to spread it evenly into the corners. Sprinkle the reserved chocolate chips on top. This makes the loaf look pretty and gives you a little chocolate in every slice, even the end pieces.
- Bake for 50-60 minutes. Place the pan on the middle rack of your oven. The bread is done when a toothpick inserted into the center comes out clean or with just a few moist crumbs attached. If the top is browning too quickly but the center isn’t done yet, loosely tent a piece of aluminum foil over the top for the last 15 minutes of baking.
- Cool in the pan for 10 minutes. Set the pan on a wire rack. Letting it rest in the pan for a bit helps the bread set and makes it easier to remove without falling apart.
- Transfer to a wire rack to cool completely. Use the parchment paper handles to lift the bread out of the pan. Peel off the parchment and let the loaf cool completely on the rack before slicing. I know it’s tempting to cut into it while it’s warm (and honestly, warm slices are amazing), but the bread will be very tender and might crumble if you slice it too soon.
Pro tip: If you want a perfectly domed top, let the batter rest in the pan for about 10 minutes while the oven finishes preheating. This gives the baking soda a head start and creates a beautiful crackly top crust.
Cooking Tips & Techniques
After making this bread more times than I can count, I’ve picked up a few tricks that make a real difference. Here are my best tips for pumpkin bread success.
Don’t overmix the batter. This is the number one mistake I see home bakers make. Once you add the flour to the wet ingredients, stir only until the flour disappears. Overmixing develops gluten, which makes the bread tough and dense instead of tender and soft. A few small lumps are totally fine. They’ll bake out in the oven.
Use room temperature ingredients. Cold eggs and cold pumpkin can make the batter seize up and lead to uneven baking. Let your eggs sit on the counter for 15 minutes before you start, and if your pumpkin purée is straight from the fridge, give it a quick stir to loosen it up. It’s a small step that makes a big difference in the final texture.
Check for doneness with a toothpick. Ovens can be finicky, and baking times are just guidelines. Start checking your bread at the 50-minute mark. Insert a toothpick into the thickest part of the loaf. If it comes out clean or with just a few moist crumbs attached, it’s done. If it’s still wet with batter, give it another 5 minutes and check again.
Let it cool completely for clean slices. I learned this one the messy way. Warm pumpkin bread is incredibly tender, and slicing it too soon will give you crumbly, ragged pieces. If you can’t wait (and I totally understand), use a serrated knife and a gentle sawing motion. But for the best results, let it cool completely on a wire rack. This also allows the flavors to meld and develop.
Toast leftover slices for a treat. Day-old pumpkin bread is still delicious, but it gets even better when you toast it. Pop a slice in the toaster or under the broiler for a minute or two. The edges get slightly crispy, the chocolate chips get melty again, and the whole thing tastes like it just came out of the oven.
Variations & Adaptations
One of the best things about this recipe is how easy it is to adapt. Here are some of my favorite variations to keep things interesting.
Chocolate Chip Pumpkin Muffins: This batter makes incredible muffins. Divide it among a 12-cup muffin tin lined with paper cups and bake at 350°F (175°C) for 18-22 minutes. They’re perfect for grab-and-go breakfasts or lunchbox treats. My kids love finding a muffin in their lunch instead of a granola bar.
Nutty Pumpkin Bread: Fold in 1/2 cup of chopped walnuts or pecans along with the chocolate chips. The nuts add a lovely crunch and a toasty flavor that pairs beautifully with the pumpkin and spices. Toast the nuts lightly in a dry pan before adding them to the batter for even more flavor.
Spiced Pumpkin Bread with Cream Cheese Swirl: For a fancier version, make a cream cheese swirl. Beat together 4 ounces of softened cream cheese, 2 tablespoons of sugar, and 1 egg yolk. Pour half the pumpkin batter into the pan, dollop the cream cheese mixture on top, then cover with the remaining batter. Use a knife to gently swirl the two together. It’s a showstopper for holiday brunches.
Gluten-Free Pumpkin Bread: Substitute the all-purpose flour with a 1:1 gluten-free baking flour blend. I’ve had great results with Bob’s Red Mill and King Arthur brands. The texture will be slightly more tender, but the flavor is spot on. Make sure your chocolate chips are certified gluten-free if needed.
Vegan Pumpkin Bread: Replace the eggs with flax eggs (2 tablespoons ground flaxseed mixed with 6 tablespoons water, let sit for 5 minutes to thicken). Use a plant-based milk instead of water if the batter seems too thick. The bread will be a bit denser but still delicious and moist.
Serving & Storage Suggestions
This pumpkin chocolate chip bread is incredibly versatile. Here’s how to serve it and keep it fresh.
Serving: This bread is delicious at room temperature, slightly warm, or even toasted. For a simple breakfast, serve a slice with a pat of butter and a cup of coffee or tea. For dessert, try it warm with a scoop of vanilla ice cream or a drizzle of caramel sauce. It’s also fantastic as an afternoon snack with a glass of cold milk. My kids love it spread with a thin layer of cream cheese frosting for an extra-special treat.
Storage: Store the bread tightly wrapped in plastic wrap or aluminum foil at room temperature for up to 4 days. It stays remarkably moist thanks to the pumpkin. If you live in a humid climate, you might want to store it in the fridge to prevent mold, but let it come to room temperature before serving for the best flavor and texture.
Freezing: This bread freezes like a dream. Let the loaf cool completely, then wrap it tightly in plastic wrap, followed by a layer of aluminum foil. Freeze for up to 3 months. To thaw, unwrap the bread and let it sit at room temperature for a few hours. You can also freeze individual slices for easy grab-and-go snacks. Just pop a frozen slice in the toaster or microwave for a quick treat.
Reheating: For a just-baked experience, warm individual slices in the microwave for 10-15 seconds. For a crispier exterior, toast them in a toaster or under the broiler for a minute or two. The chocolate chips will get melty and delicious again.
Nutritional Information & Benefits
While this is definitely a treat, it does have some redeeming qualities. Here’s a quick look at the nutritional profile per slice (based on 10 slices).
| Nutrient | Amount per Slice |
|---|---|
| Calories | ~320 |
| Total Fat | ~14g |
| Carbohydrates | ~45g |
| Fiber | ~3g |
| Sugar | ~28g |
| Protein | ~5g |
Health Benefits: Pumpkin is packed with vitamin A, which is great for eye health and immune function. It’s also a good source of fiber, which helps keep you full and supports healthy digestion. The chocolate chips provide a little dose of antioxidants, especially if you use dark chocolate. And the eggs add protein, making this a more balanced snack than your average store-bought pastry.
Dietary Considerations: This recipe can be adapted for gluten-free and vegan diets (see variations above). It contains eggs, wheat, and dairy (in the chocolate chips, though many brands are dairy-free). Always check labels if you’re serving someone with allergies.
Personal Wellness Perspective: I believe in balance. This bread isn’t a health food, but it’s made with real ingredients and it brings joy to the table. That counts for something. I’d rather my kids have a slice of homemade pumpkin bread than a packaged snack with a list of ingredients I can’t pronounce. Enjoy it as part of a balanced diet, and don’t feel guilty about it.
Conclusion
This kid-friendly one-bowl pumpkin chocolate chip bread has become a fall tradition in our house, and I have a feeling it will become one in yours too. It’s the recipe I turn to when I want something delicious without the stress. It’s forgiving enough for beginner bakers, simple enough for kids to help with, and impressive enough to share with friends and neighbors.
What I love most about this bread is how it brings people together. It’s the smell that draws everyone into the kitchen. It’s the warm slice shared over a cup of coffee. It’s the look on my husband’s face when he realizes he’s eating pumpkin bread and actually enjoying it. It’s a small, simple pleasure that makes ordinary days feel a little bit special.
I’d love to hear how this recipe turns out for you. Did you try any of the variations? Did your kids help make it? Did you convert a pumpkin hater in your own life? Drop a comment below and let me know. And if you loved it, share this recipe with someone who could use a little homemade comfort. Happy baking!
Frequently Asked Questions
Can I use fresh pumpkin instead of canned?
Yes, you can! Roast a small sugar pumpkin until tender, scoop out the flesh, and purée it in a food processor until smooth. You’ll need to drain off some of the excess liquid because fresh pumpkin can be more watery than canned. Pat it dry with paper towels before measuring. Canned pumpkin is more consistent, but fresh works wonderfully too.
Why did my bread sink in the middle?
A sunken middle usually means the bread was underbaked or the oven temperature was too low. Make sure your oven is fully preheated to 350°F (175°C) before you put the bread in. Also, avoid opening the oven door too often during baking, as the temperature fluctuation can cause the bread to collapse. Check for doneness with a toothpick before you take it out.
Can I reduce the sugar in this recipe?
You can reduce the sugar by about 1/4 cup without drastically affecting the texture. The sugar does more than just sweeten; it also helps keep the bread moist and tender. If you cut it too much, the bread might be drier and less flavorful. I’d recommend starting with the full amount and adjusting to your taste next time.
How do I prevent the chocolate chips from sinking to the bottom?
This is a common issue with quick breads. The trick is to toss the chocolate chips in a tablespoon of flour before folding them into the batter. The flour coating helps suspend the chips in the batter so they stay evenly distributed throughout the loaf. It’s a simple step that makes a big difference.
Can I make this recipe into mini loaves?
Absolutely! Divide the batter among 3-4 mini loaf pans (about 5×3 inches each). Reduce the baking time to 25-35 minutes, checking for doneness with a toothpick. Mini loaves make great gifts and are perfect for portion control. They also freeze beautifully, so you can pull out one at a time as needed.
Pin This Recipe!
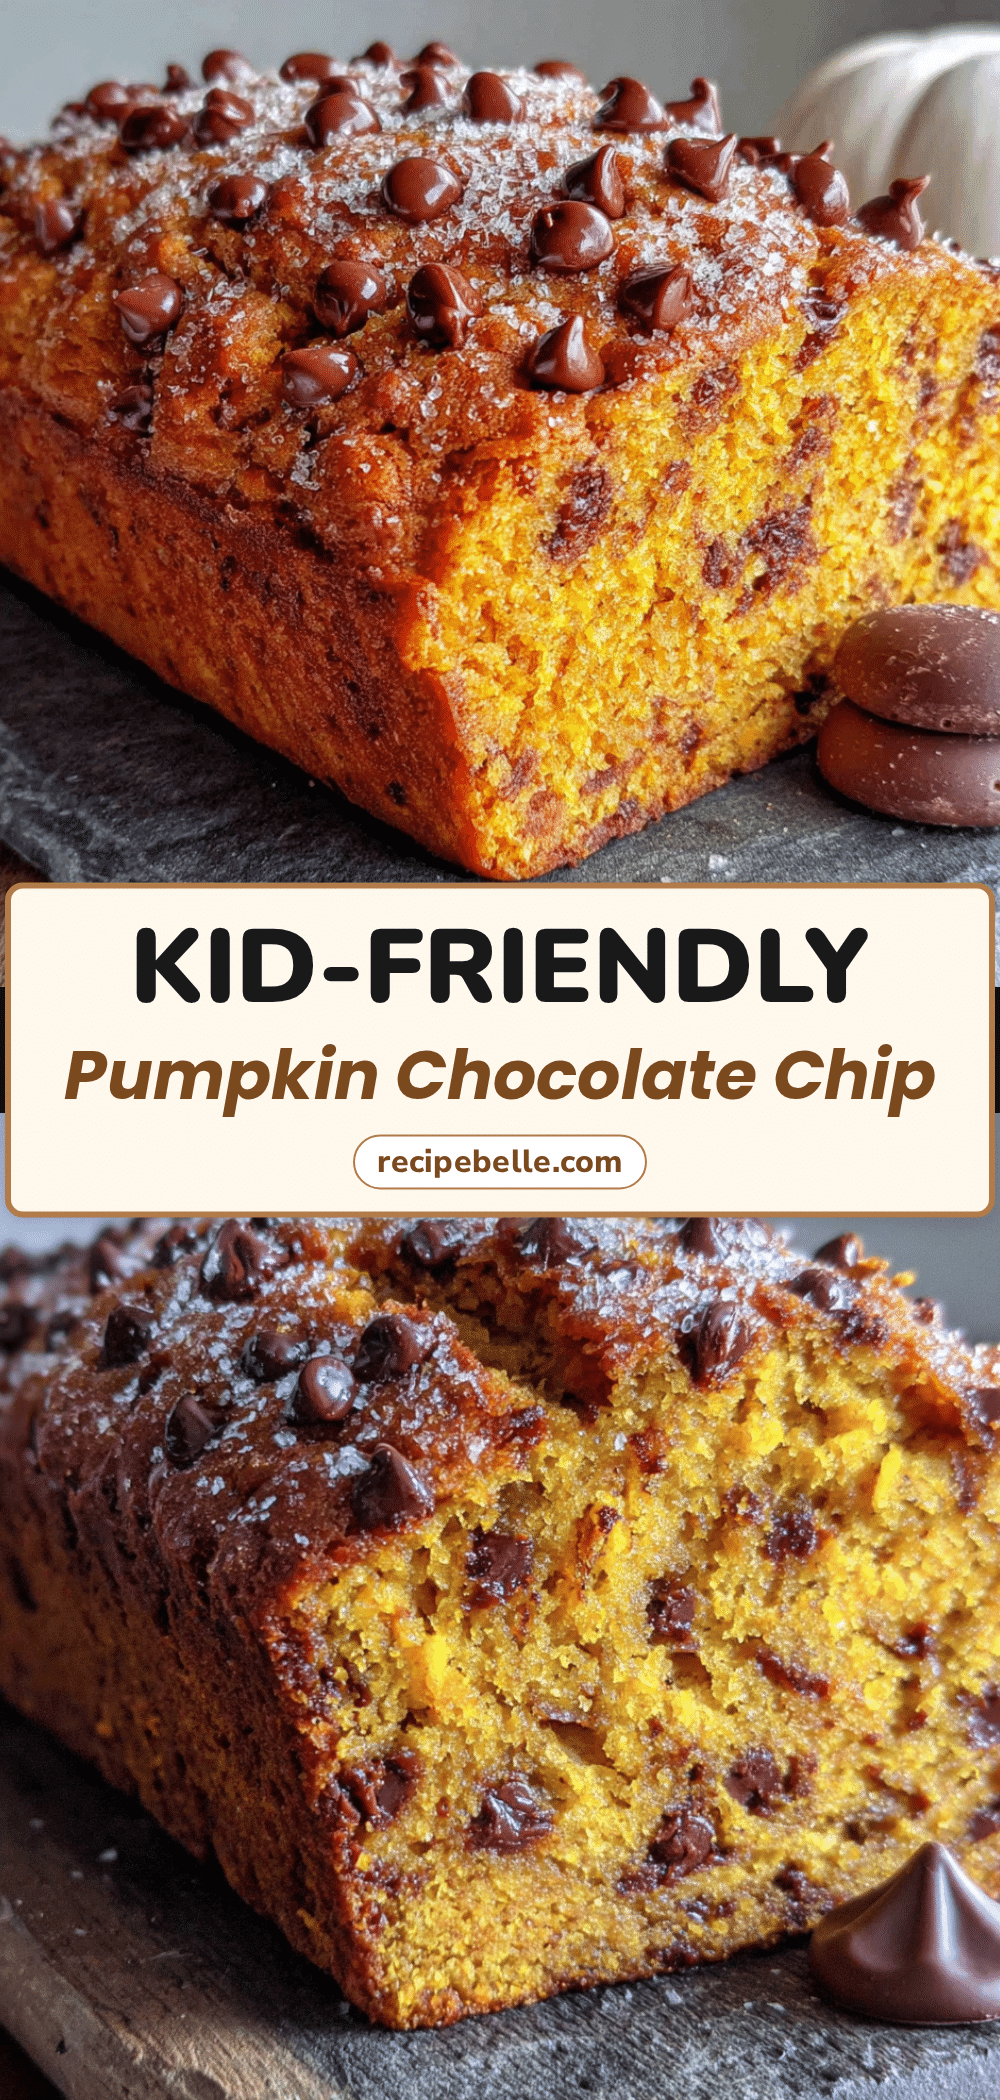
Pumpkin Chocolate Chip Bread: Easy One-Bowl Recipe
This one-bowl pumpkin chocolate chip bread is incredibly moist, tender, and packed with warm fall spices and melty chocolate chips. It’s a simple, kid-friendly recipe that even self-proclaimed pumpkin haters will love.
- Prep Time: 10 minutes
- Cook Time: 55 minutes
- Total Time: 1 hour 5 minutes
- Yield: 10 servings 1x
- Category: Dessert
- Cuisine: American
Ingredients
- 1 cup (240g) canned pumpkin purée (100% pumpkin, not pie filling)
- 1/2 cup (100g) granulated sugar
- 1/2 cup (100g) packed brown sugar (light or dark)
- 1/3 cup (80ml) vegetable oil (or other neutral oil)
- 2 large eggs, room temperature
- 1 teaspoon vanilla extract
- 1 3/4 cups (220g) all-purpose flour, spooned and leveled
- 1 teaspoon baking soda
- 1 1/2 teaspoons pumpkin pie spice
- 1/2 teaspoon ground cinnamon
- 1/4 teaspoon salt
- 3/4 cup (130g) semi-sweet chocolate chips
Instructions
- Preheat oven to 350°F (175°C). Grease a 9×5-inch loaf pan with cooking spray or line with parchment paper, leaving overhang on the long sides.
- In a large mixing bowl, whisk together pumpkin purée, granulated sugar, brown sugar, vegetable oil, eggs, and vanilla extract until smooth and well combined.
- Sprinkle flour, baking soda, pumpkin pie spice, cinnamon, and salt over the wet mixture. Do not stir yet.
- Using a wooden spoon or silicone spatula, fold dry ingredients into wet until just combined. Do not overmix; a few small lumps are fine.
- Reserve about 1 tablespoon of chocolate chips for topping. Gently fold remaining chocolate chips into the batter.
- Pour batter into prepared loaf pan and spread evenly. Sprinkle reserved chocolate chips on top.
- Bake for 50-60 minutes, until a toothpick inserted in the center comes out clean or with a few moist crumbs. If top browns too quickly, tent loosely with foil for the last 15 minutes.
- Cool in pan on a wire rack for 10 minutes. Then lift bread out using parchment handles and transfer to rack to cool completely before slicing.
Notes
For a perfectly domed top, let batter rest in pan for 10 minutes while oven finishes preheating. To prevent chocolate chips from sinking, toss them in 1 tablespoon of flour before folding into batter. For gluten-free, use a 1:1 gluten-free all-purpose flour blend. For vegan, replace eggs with flax eggs (2 tablespoons ground flaxseed mixed with 6 tablespoons water).
Nutrition
- Serving Size: 1 slice
- Calories: 320
- Sugar: 28
- Sodium: 220
- Fat: 14
- Saturated Fat: 4
- Carbohydrates: 45
- Fiber: 3
- Protein: 5
Keywords: pumpkin bread, chocolate chip, one-bowl, easy, fall, quick bread, kid-friendly



