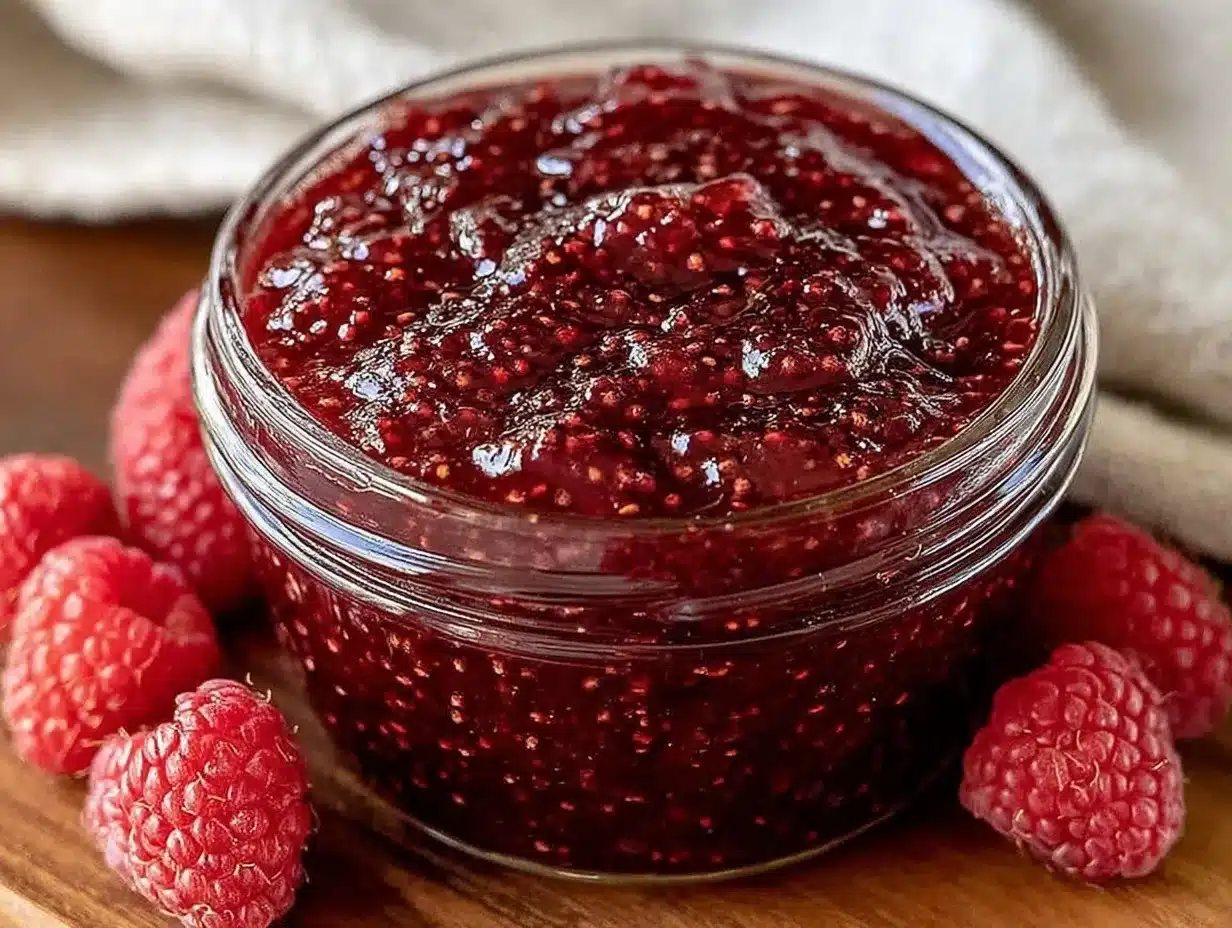
I remember hearing that from my neighbor as she handed me a jar of her homemade freezer jam last summer. Honestly, I’d always thought making jam meant hours of boiling, stirring, and standing over a hot stove, but this raspberry freezer jam with only 3 ingredients shattered all my jam-making illusions. The moment I tasted that sweet, tangy, fresh-from-late-summer raspberries spread, I realized I’d been missing out on a ridiculously simple way to bottle sunshine.
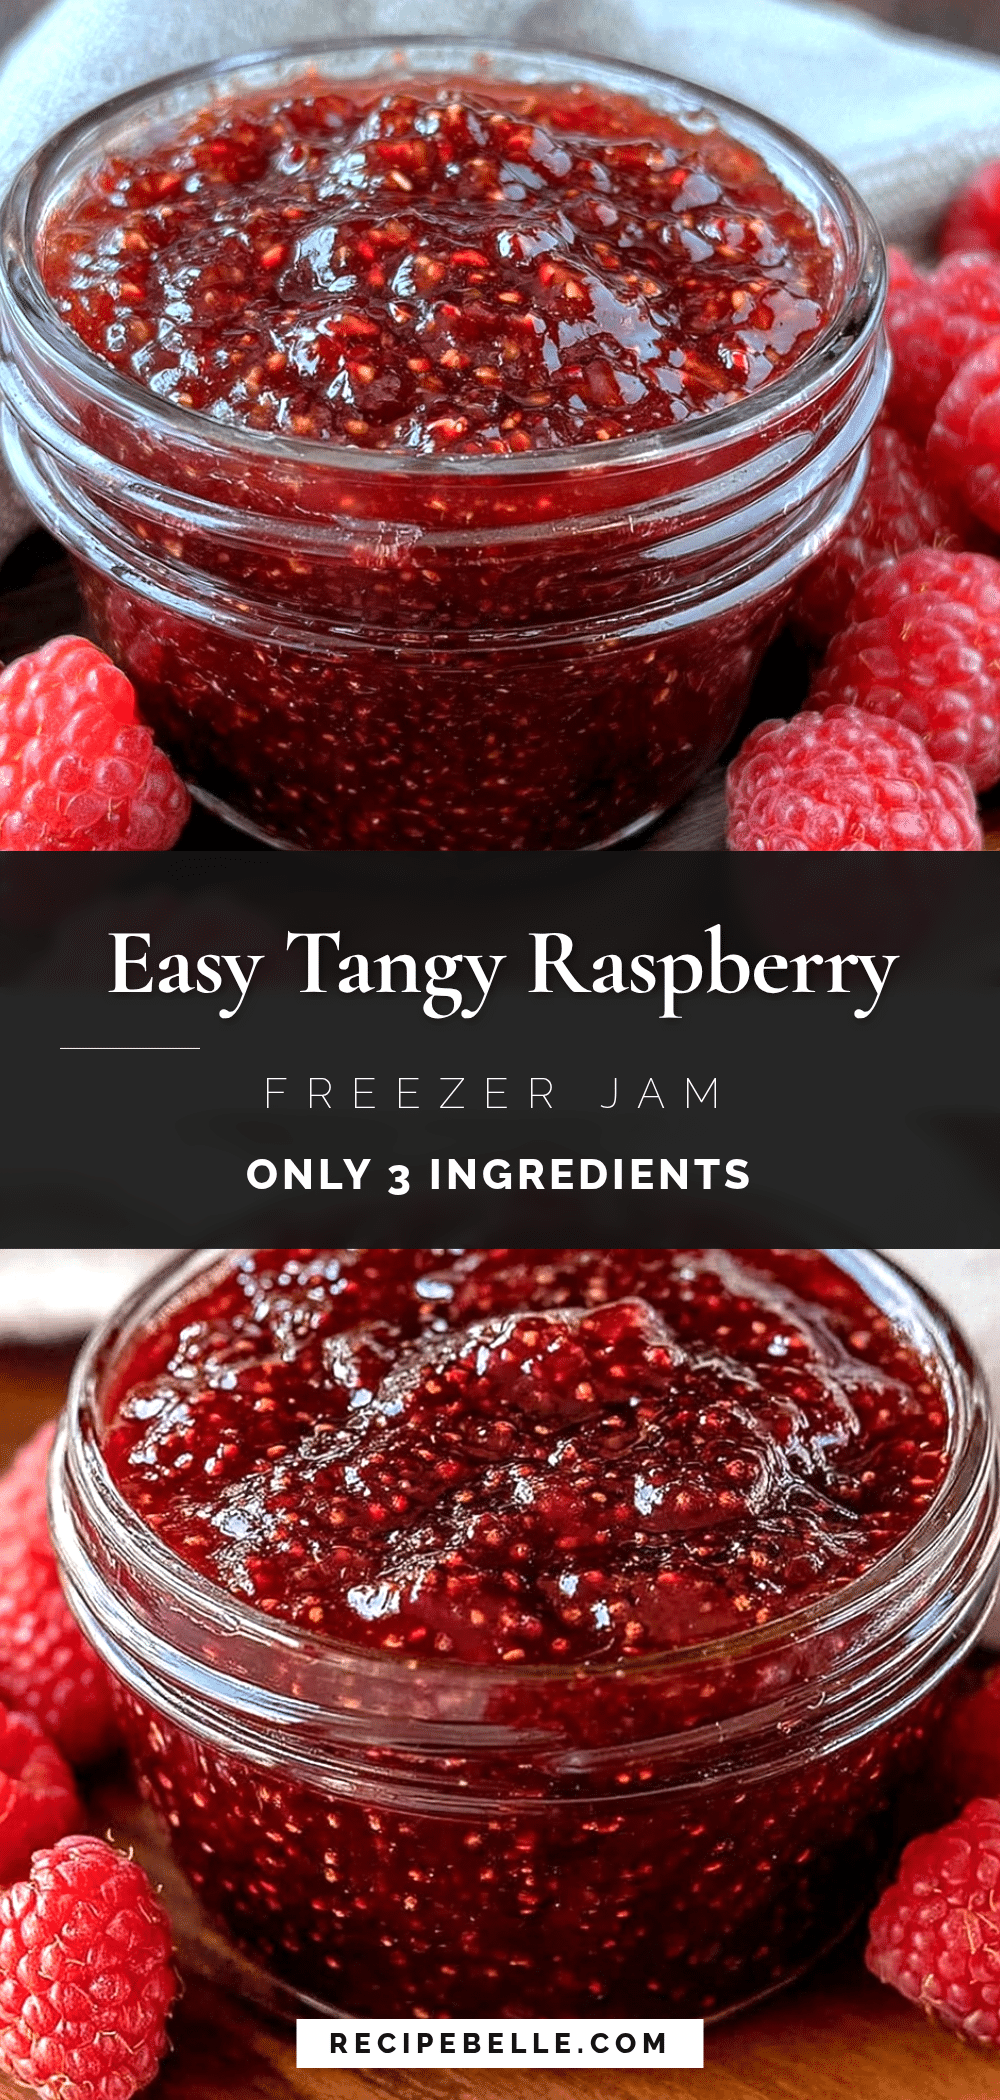
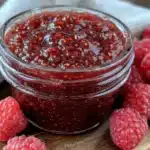
What’s wild is how just a handful of ingredients—raspberries, sugar, and a packet of pectin—come together to create this luscious jam that’s ready to eat in under 24 hours (no canning required!). The texture is soft but still holds its shape, and the flavor is pure raspberry goodness, like summer in a jar. Plus, the bright red color is so inviting it practically begs to be slathered on toast or dolloped over yogurt.
What stuck with me most was how approachable this recipe felt. No fancy equipment, no intimidating steps—just fresh fruit and a little patience. It’s the kind of recipe I reach for when I want something homemade without the fuss. And honestly, it’s been a game changer for my weekend breakfasts and even for small gifts to friends. That simple conversation about jam turned into a new tradition in my kitchen, and I have a feeling this easy raspberry freezer jam will find a cozy spot in yours, too.
Why You’ll Love This Recipe
After making this easy raspberry freezer jam countless times, I’m convinced it’s one of the most satisfying kitchen wins you can get with minimal effort. Here’s why it’s become a staple:
- Quick & Easy: You can whip this jam up in about 15 minutes, and it sets overnight—perfect for those spontaneous berry hauls or last-minute brunch plans.
- Simple Ingredients: Just fresh raspberries, sugar, and freezer pectin—no extra additives or preservatives. You probably already have these in your pantry or fridge.
- Perfect for Gifting or Sharing: The bright, fresh flavor makes it a hit at summer picnics, holiday breakfasts, or as a thoughtful homemade gift when packaged in cute jars.
- Flexible and Foolproof: Unlike cooked jams, freezer jam preserves that fresh berry flavor, and you don’t have to worry about stirring or scorching.
- Great for Beginners: If you’ve never made jam before, this recipe is a no-stress way to get started and enjoy the fruits of your labor quickly.
- Versatile Use: Toss it on pancakes, swirl into oatmeal, or even add a spoonful to dress up plain yogurt—this jam brightens up everyday eats effortlessly.
What makes this freezer jam different from traditional recipes is how it keeps the raspberries’ natural vibrancy intact, thanks to the no-cook method. Plus, using freezer pectin means you get that perfect gel without the hours of boiling. It’s basically summer’s best gift in a jar, and once you try it, you’ll see why it’s so addictive.
What Ingredients You Will Need
This recipe calls for just three straightforward ingredients, each playing a key role in the jam’s flavor and texture. No fancy extras, just honest ingredients that come together beautifully.
- Fresh Raspberries (about 4 cups / 600 grams): Choose ripe, bright red raspberries with no signs of mold or mushiness. I recommend sourcing from local farmers’ markets when possible for the best flavor. Frozen raspberries can work in a pinch, but fresh really makes a difference.
- Granulated Sugar (2 cups / 400 grams): Regular white sugar balances the tartness and helps with preservation. If you prefer, you can use organic cane sugar, but avoid substitutes like honey here because it affects the gel setting.
- Freezer Pectin (1 packet, typically 1.75 oz / 50 grams): This special pectin is designed for no-cook jams that you store in the freezer or fridge. It’s the magic that helps your jam set without boiling. I usually pick trusted brands like Sure-Jell for consistent results.
If you’re looking for a gluten-free or vegan jam, this recipe naturally fits the bill! For a twist, you can swap out half the sugar for a low-calorie sweetener designed for jams, but keep the pectin amount the same. And if you prefer a less sweet jam, try reducing the sugar slightly, though it might make the jam softer.
Equipment Needed
One of the best things about this raspberry freezer jam is how little equipment you need. Here’s what I use:
- Large Mixing Bowl: To mash the raspberries and mix with sugar and pectin. A glass or stainless steel bowl works best to avoid any flavor transfer.
- Potato Masher or Fork: For gently mashing the berries. I find a potato masher makes the process quick and even, but a fork works fine if that’s what you have.
- Measuring Cups and Spoons: Accurate measurements help the jam set properly.
- Spatula or Spoon: For mixing everything together thoroughly.
- Clean Jars or Containers: Wide-mouth jelly jars or small airtight containers work well for storing your jam in the freezer or fridge.
If you don’t own a potato masher, no worries—just use the back of a sturdy spoon or a fork. I also recommend sterilizing your jars by washing them in hot, soapy water and letting them air dry to keep the jam fresh longer. For budget-friendly storage, I sometimes use BPA-free plastic containers instead of glass.
Preparation Method
- Wash and Prepare the Raspberries (5 minutes): Rinse about 4 cups (600 grams) of fresh raspberries gently under cold water. Drain well and remove any stems or damaged berries. Drying them slightly with paper towels helps reduce excess moisture.
- Crush the Berries (5 minutes): Place the raspberries in a large mixing bowl. Using a potato masher or fork, gently crush the berries until mostly broken down but still chunky. You want a mix of smooth and small berry pieces for texture.
- Add Sugar and Mix (3 minutes): Stir in 2 cups (400 grams) of granulated sugar with the mashed raspberries. Mix thoroughly until the sugar is evenly distributed and the mixture looks juicy.
- Let the Mixture Macerate (10 minutes): Let the sugar and raspberries sit for about 10 minutes. This step helps draw out the juice and dissolve the sugar, creating that fresh jam flavor.
- Sprinkle in Freezer Pectin (2 minutes): Gradually add 1 packet (1.75 oz / 50 grams) of freezer pectin to the berry mixture, stirring continuously to avoid lumps. The pectin activates the gel formation.
- Beat the Mixture (3-4 minutes): Using a hand mixer or whisk, beat the mixture on medium speed for about 3 to 4 minutes. This helps dissolve the pectin and sugar completely and aerates the jam, making it glossy.
- Fill Your Storage Jars (5 minutes): Spoon the jam into clean, airtight containers or jars, leaving about ½-inch headspace. Seal tightly.
- Refrigerate or Freeze (24 hours to set): Let your jam chill in the refrigerator for at least 24 hours to fully set. For longer storage, place it in the freezer.
Watch for the jam’s texture as it sets—it should be spreadable but firm enough not to run. If it seems too loose after chilling, you can beat it again with a bit more pectin or simply enjoy it as a fresh fruit spread. I once forgot to beat the pectin in well and ended up with a grainy texture—lesson learned!
Cooking Tips & Techniques
Jam making sounds fancy, but this recipe keeps it straightforward. Still, a few tips from my kitchen experience can help you nail it every time:
- Don’t Skip the Beating: Beating the mixture after adding pectin ensures it mixes fully, which is key to avoiding lumps or grainy spots.
- Use Fresh, Ripe Berries: The flavor depends heavily on the fruit quality. Overripe or underripe raspberries can throw off the taste and texture.
- Cleaning Jars Is Crucial: Even though this jam isn’t canned, storing it in clean containers prolongs freshness and prevents spoilage.
- Timing Matters: Beat the pectin mixture right away after adding; waiting too long can affect the gel.
- Don’t Over-mash: Keep some berry chunks for texture. Over-mashing turns the jam into a puree, which some might prefer but it’s not traditional freezer jam texture.
Once, I tried skipping the maceration step and the sugar didn’t dissolve well, leading to a grainy finish. Trust me, letting it sit for those 10 minutes makes a huge difference. Also, multitasking helps—while the jam sets, you can prep a quick snack like my cheesy mini pizza bites for a cozy kitchen session.
Variations & Adaptations
This raspberry freezer jam is a great base for fun variations and can be adapted for different tastes and dietary needs:
- Mixed Berry Jam: Substitute half the raspberries with blackberries or blueberries for a colorful and flavorful twist.
- Low-Sugar Version: Use a low-sugar freezer pectin and reduce sugar by up to 25%, but keep in mind the texture may be softer.
- Herbal Infusion: Add a tablespoon of finely chopped fresh mint or basil during the maceration step for a subtle herbal note that pairs beautifully with raspberry.
- Spiced Jam: Mix in a pinch of cinnamon or ground ginger to give your jam a warm, cozy flavor—perfect for holiday mornings.
- Allergen-Friendly: Naturally gluten-free and vegan, but if you want to avoid added sugar, try swapping for natural sweeteners designed for jams, like erythritol blends, adjusting the pectin accordingly.
One time, I tried adding a splash of fresh lemon juice during the pectin stage, which gave the jam a brighter zing—totally worth experimenting with. For a completely different approach, check out my quick crispy zucchini noodle stir fry for a savory counterpoint to your sweet spreads.
Serving & Storage Suggestions
This raspberry freezer jam shines when served fresh and chilled but can be enjoyed in so many ways:
- Serving Temperature: Best served cold or at room temperature. Let it sit out 10 minutes before spreading if straight from the fridge for easier spreading.
- Pairings: Slather on warm toast, swirl into morning oatmeal or yogurt, or use as a topping for ice cream or cheesecake. It’s also fantastic spooned onto pancakes or waffles.
- Storage: Store jam in the refrigerator for up to 3 weeks. For longer storage, freeze in airtight containers for up to 6 months. Thaw overnight in the fridge before using.
- Reheating: If the jam becomes too firm after freezing, gently warm it in a microwave-safe bowl for 10-15 seconds to soften.
- Flavor Development: The jam’s flavor intensifies as it sits, so a day or two in the fridge often brings out deeper berry notes.
For a refreshing summer drink to accompany your jam-brightened breakfast, you might enjoy the fruity sparkle of my fruity fizzy lemonade punch—it pairs surprisingly well!
Nutritional Information & Benefits
Here’s a quick look at what you’re getting in a serving (about 1 tablespoon): approximately 50 calories, 13 grams of carbohydrates (mostly natural sugars), and negligible fat or protein. It’s a light, sweet boost without heavy calories.
Raspberries are a powerhouse of antioxidants, vitamins C and K, and dietary fiber, which support digestion and immunity. Using fresh fruit keeps the nutrients intact, and the minimal added sugar keeps it balanced.
This jam is naturally gluten-free, vegan, and free from artificial preservatives, making it a wholesome choice for many dietary needs. It’s a simple way to enjoy fruit benefits year-round, especially when fresh raspberries are out of season.
Conclusion
This easy raspberry freezer jam with only 3 ingredients is proof that homemade treats don’t have to be complicated to be wonderful. It’s a recipe that fits into busy lives yet rewards you with fresh, vibrant flavor that store-bought jams can’t match.
I love how customizable it is—whether you’re after a classic spread or a little herbal twist, it’s forgiving and fun to make. Plus, there’s something quietly satisfying about knowing you made it yourself, especially when it turns breakfast into a special moment.
Give this recipe a try and see how simple it is to bring a jar of summer into your kitchen. And if you experiment with your own version, I’d love to hear about it in the comments below!
Frequently Asked Questions
- Can I use frozen raspberries for this jam?
Yes, frozen raspberries work, but fresh berries give a better texture and flavor. Thaw and drain excess liquid before using frozen fruit. - How long does raspberry freezer jam last?
Stored in the refrigerator, it lasts about 3 weeks. In the freezer, it can keep for up to 6 months. - Do I need to sterilize jars for freezer jam?
While not mandatory, washing jars in hot, soapy water and drying completely helps keep your jam fresh and safe. - What’s the difference between freezer pectin and regular pectin?
Freezer pectin is specially formulated to gel at refrigerator temperatures without cooking, unlike regular pectin which requires boiling. - Can I reduce the sugar in this recipe?
You can reduce sugar slightly or use low-sugar pectin, but it may affect the jam’s set and shelf life.
Pin This Recipe!
Easy Raspberry Freezer Jam Recipe with 3 Simple Ingredients to Try Today
A quick and easy raspberry freezer jam made with just fresh raspberries, sugar, and freezer pectin. Ready to eat in under 24 hours without any cooking or canning.
- Prep Time: 15 minutes
- Cook Time: 0 minutes
- Total Time: 24 hours (including setting time)
- Yield: About 4 cups (approximately 16 servings of 1 tablespoon each) 1x
- Category: Preserves
- Cuisine: American
Ingredients
- 4 cups fresh raspberries (about 600 grams)
- 2 cups granulated sugar (about 400 grams)
- 1 packet freezer pectin (1.75 oz / 50 grams)
Instructions
- Wash and prepare the raspberries by rinsing gently under cold water, draining well, and removing any stems or damaged berries. Dry slightly with paper towels.
- Place the raspberries in a large mixing bowl and gently crush them with a potato masher or fork until mostly broken down but still chunky.
- Stir in the granulated sugar with the mashed raspberries until evenly distributed and the mixture looks juicy.
- Let the sugar and raspberries sit for about 10 minutes to macerate and draw out the juice.
- Gradually add the freezer pectin to the berry mixture, stirring continuously to avoid lumps.
- Beat the mixture on medium speed with a hand mixer or whisk for 3 to 4 minutes to dissolve the pectin and sugar completely and aerate the jam.
- Spoon the jam into clean, airtight containers or jars, leaving about ½-inch headspace, and seal tightly.
- Refrigerate the jam for at least 24 hours to fully set. For longer storage, freeze the jam.
Notes
Do not skip the beating step after adding pectin to avoid lumps or grainy texture. Use fresh, ripe raspberries for best flavor and texture. Sterilize jars by washing in hot, soapy water and air drying to prolong freshness. If jam is too loose after chilling, beat again with a bit more pectin or enjoy as a fresh fruit spread. Frozen raspberries can be used but thaw and drain excess liquid first.
Nutrition
- Serving Size: 1 tablespoon
- Calories: 50
- Sugar: 12
- Carbohydrates: 13
- Fiber: 1.5
Keywords: raspberry jam, freezer jam, easy jam recipe, no-cook jam, homemade jam, raspberry freezer jam, simple jam recipe