It was 11:47 PM on a wet Wednesday in March, and I had a very specific, almost aggressive craving for a warm chocolate chip cookie. You know that feeling when only one thing will do, and it has to be right now? I didn’t have the patience for a full batch, and honestly, I didn’t have the willpower to have two dozen cookies staring at me from the counter. I also didn’t have the time for the usual “chill the dough for at least an hour” rule that every serious baker swears by. But I had a half-stick of butter softening on the counter, a single egg, and a wild, slightly unhinged idea: what if I just… skipped the chilling part entirely?
I mean, I was tired. It had been a long day of recipe testing, and my kitchen looked like a flour bomb had gone off. I was wearing pajama pants with a hole in the knee. This was not the moment for culinary perfection. But let me tell you, sometimes the best things happen when you stop following the rules so closely. I mixed the dough, scooped it onto a pan, and slid it into the oven with a kind of reckless hope. Twenty minutes later, I was holding a cookie that was crisp around the edges, soft in the middle, and absolutely perfect. It wasn’t just good—it was the kind of cookie that makes you close your eyes and forget about the rain outside. That’s the recipe I’m sharing with you today. It’s the one you make when you need a cookie, and you need it now.
Why You’ll Love This Recipe
Let me tell you why this is the only chocolate chip cookie recipe you’ll ever need for a small batch. I’ve tested this more times than I care to admit, tweaking the butter temperature and the sugar ratio until it was just right. This isn’t just another cookie recipe—it’s your new secret weapon for instant gratification.
- No Chilling Required: Seriously, zero wait time. From craving to cookie in under 25 minutes. This is a game-changer for those late-night baking sessions or when you need a quick dessert for unexpected guests.
- Perfect for a Crowd (or Just You): This recipe makes exactly six perfect cookies. It’s ideal for a small dinner party, a cozy night in, or when you want a treat without committing to a massive batch. It’s also perfect for practicing your hosting skills without the pressure of a huge mess.
- Simple Pantry Ingredients: You probably have everything you need already. Butter, sugar, an egg, flour, and chocolate chips. No fancy extracts or specialty flours required. It’s the kind of recipe you can make on a whim.
- Impressive Presentation: These cookies look stunning. They spread just the right amount, have those beautiful crinkled tops, and a texture that feels professional. Your guests will think you slaved away for hours.
- Unbelievably Delicious: The texture is the star here. The edges are perfectly golden and crispy, while the center stays soft, chewy, and almost gooey. It’s the kind of cookie that disappears from the plate in minutes.
What makes this recipe different from the rest is the technique. By using melted butter and a specific ratio of brown to white sugar, we get that perfect texture without needing to chill the dough. It’s not just another version of a chocolate chip cookie—it’s your best version, designed for real life.
What Ingredients You Will Need
This recipe uses simple, wholesome ingredients to deliver bold flavor and satisfying texture without the fuss. Most of these are pantry staples, which makes this the perfect spontaneous baking project. Here’s what you’ll need and why each ingredient matters.
- Unsalted Butter (4 tablespoons, melted and slightly cooled): Using melted butter is the secret to the no-chill method. It creates a denser, chewier cookie because it coats the flour proteins differently than creamed butter. I recommend using a good quality butter like Kerrygold for the best flavor. If you only have salted butter, just reduce the added salt by a pinch.
- Light Brown Sugar (¼ cup, packed): This is your moisture and chewiness agent. The molasses in brown sugar adds a deep, caramel-like flavor and keeps the cookies soft in the center. Make sure it’s packed firmly into the measuring cup for the right texture.
- Granulated Sugar (2 tablespoons): This adds the crispiness to the edges. The white sugar helps the cookies spread and creates that beautiful golden-brown color. It balances the moisture from the brown sugar perfectly.
- Large Egg Yolk (1): Using just the yolk instead of the whole egg is a pro tip. It adds richness and tenderness without the extra moisture that would make the cookies cakey. Save the egg white for your breakfast omelet or freeze it for later.
- Vanilla Extract (½ teaspoon): Pure vanilla extract is non-negotiable here. It enhances the chocolate flavor and adds a warm, aromatic depth. Avoid imitation vanilla if you can—it makes a noticeable difference in a small batch.
- All-Purpose Flour (⅓ cup plus 1 tablespoon, spooned and leveled): This is about 50 grams of flour. Spooning and leveling is crucial—if you scoop directly from the bag, you’ll pack in too much flour and end up with dry, cakey cookies. Use a spoon to fluff the flour, then spoon it into your measuring cup and level it off with a knife.
- Baking Soda (¼ teaspoon): This is our leavening agent. It helps the cookies spread and rise slightly. Make sure it’s fresh—old baking soda won’t give you the same lift.
- Salt (¼ teaspoon): Salt is not just for flavor—it balances the sweetness and enhances the chocolate. I use fine sea salt. If you’re using kosher salt, you might need a little more.
- Semi-Sweet Chocolate Chips (⅓ cup): I prefer Ghirardelli or Guittard semi-sweet chips for their balance of sweetness and rich cocoa flavor. You can also chop up a chocolate bar for those beautiful pools of melted chocolate. Dark chocolate, milk chocolate, or even white chocolate chips all work here.
For substitution guidance: You can use coconut oil in place of butter for a dairy-free option, though the texture will be slightly different. Use a gluten-free all-purpose flour blend if needed, but add an extra tablespoon of flour to compensate for the lack of gluten structure.
Equipment Needed
You don’t need a fancy kitchen to make these cookies. Here’s what you’ll need:
- Mixing Bowls: One medium bowl for the wet ingredients and one small bowl for the dry ingredients. I love my set of Pyrex glass bowls—they’re sturdy and easy to clean.
- Whisk and Rubber Spatula: A whisk for combining the wet ingredients and a spatula for folding in the flour and chocolate chips. A wooden spoon works great too.
- Measuring Cups and Spoons: Accurate measurements are key here. Use dry measuring cups for the flour and sugar, and liquid measuring cups for nothing in this recipe—it’s all dry ingredients and the egg yolk.
- Baking Sheet: A standard half-sheet pan works perfectly. Line it with parchment paper or a silicone baking mat for easy cleanup and even baking.
- Cookie Scoop (Optional): A 1.5-tablespoon cookie scoop makes perfectly uniform cookies. If you don’t have one, just use a spoon and your hands to form even balls of dough.
- Cooling Rack: This helps the cookies cool evenly and prevents the bottoms from getting soggy. If you don’t have one, just let them cool on the baking sheet for a few extra minutes.
I remember the first time I made these, I used a fork to mix everything because my whisk was in the dishwasher. It worked fine, honestly. Don’t let a lack of fancy tools stop you.
Preparation Method
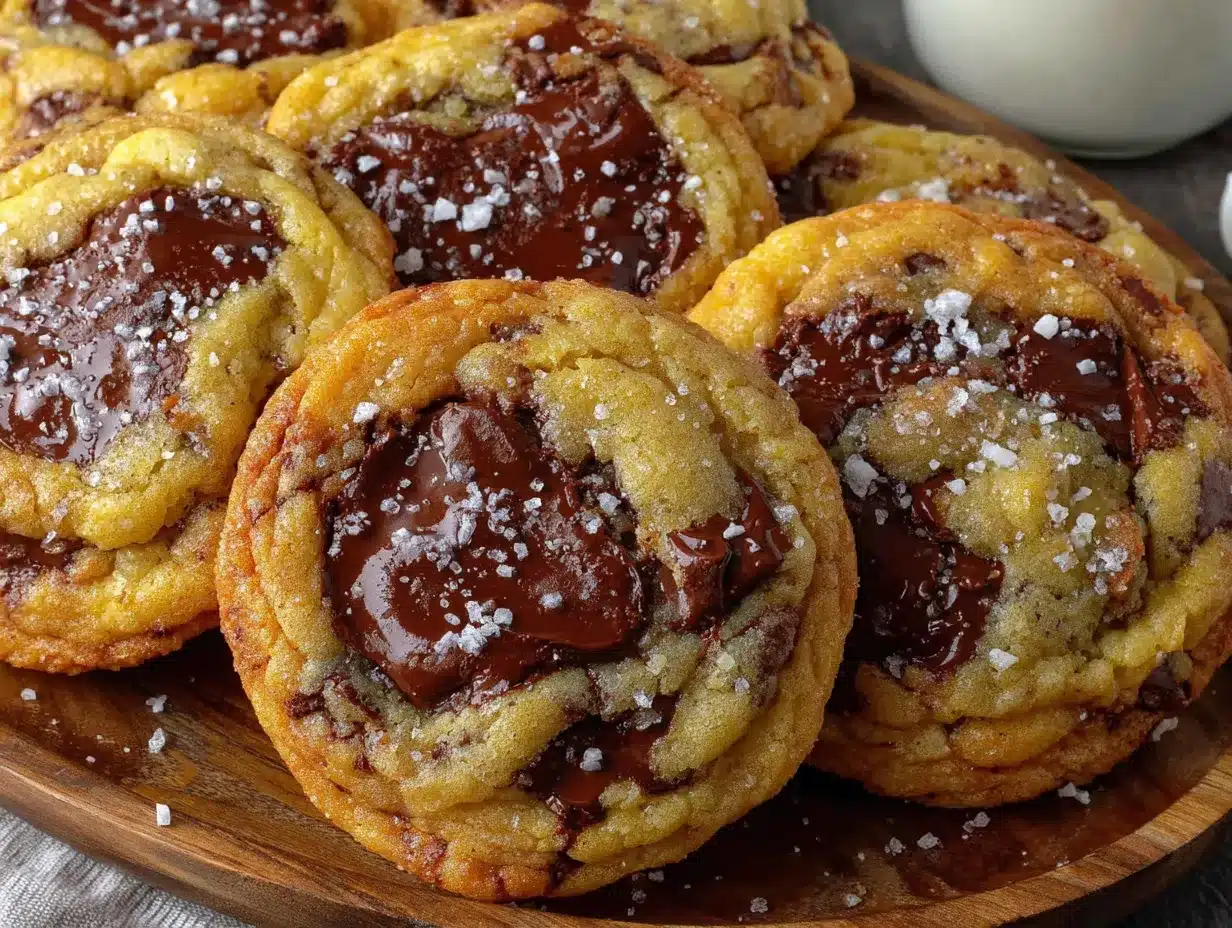
Alright, let’s get baking. This whole process takes about 20 minutes from start to finish, so preheat your oven to 350°F (175°C) right now. Line your baking sheet with parchment paper and set it aside.
- Melt the Butter (2 minutes): Place the 4 tablespoons of unsalted butter in a microwave-safe bowl. Microwave in 20-second bursts until just melted. You don’t want it boiling hot—just melted and slightly warm to the touch. Set it aside to cool for a minute while you gather your other ingredients.
- Combine the Wet Ingredients (2 minutes): In a medium mixing bowl, whisk together the melted butter, ¼ cup packed light brown sugar, and 2 tablespoons of granulated sugar. Whisk vigorously for about 30 seconds until the mixture looks smooth and slightly thickened. The sugar should start to dissolve into the butter. Add the egg yolk and ½ teaspoon of vanilla extract, and whisk again until everything is well combined and glossy.
- Mix the Dry Ingredients (1 minute): In a small separate bowl, whisk together ⅓ cup plus 1 tablespoon of all-purpose flour, ¼ teaspoon of baking soda, and ¼ teaspoon of salt. This ensures the baking soda and salt are evenly distributed throughout the flour.
- Combine Wet and Dry (1 minute): Pour the dry ingredients into the wet ingredients. Use your rubber spatula to fold everything together gently. Stir just until you see no more streaks of flour—overmixing will develop gluten and make your cookies tough. The dough will be soft and slightly sticky, which is exactly what we want.
- Add the Chocolate Chips (1 minute): Fold in the ⅓ cup of semi-sweet chocolate chips. Reserve a few chips to press onto the tops of the dough balls right before baking—this makes them look bakery-style pretty. The dough might feel a bit greasy at this point, but don’t worry, that’s the melted butter doing its job.
- Scoop and Shape (2 minutes): Using a 1.5-tablespoon cookie scoop or a spoon, divide the dough into 6 equal portions. Roll each portion into a ball and place them on the prepared baking sheet, spacing them about 2 inches apart. They will spread, so give them room. Press a few of the reserved chocolate chips onto the tops of each dough ball.
- Bake (10-12 minutes): Bake at 350°F (175°C) for 10 to 12 minutes. At 10 minutes, the edges should be golden brown and set, while the centers will still look slightly puffy and soft. This is the sweet spot for a chewy cookie. If you prefer crispier cookies, bake for the full 12 minutes. Your kitchen will smell incredible at this point.
- Cool (5 minutes): Remove the baking sheet from the oven and let the cookies cool on the sheet for 5 minutes. This allows them to set up properly. After 5 minutes, transfer them to a cooling rack to cool completely, or eat one warm because you deserve it. I won’t judge.
A quick tip: If your cookies spread too much, your butter was too warm. Next time, let it cool for a few extra minutes before mixing. If they didn’t spread enough, your flour measurement was likely too heavy.
Cooking Tips & Techniques
I’ve made this recipe so many times that I’ve learned a few things the hard way. Here are my best tips for perfect cookies every time.
Don’t Overmix the Dough. I know it’s tempting to keep stirring until everything is perfectly smooth, but stop as soon as the flour disappears. Overmixing develops gluten, which leads to tough, cakey cookies instead of the soft, chewy ones we’re after. I learned this lesson after a batch of what I called “hockey puck cookies” back in my early baking days.
Use a Kitchen Scale for the Flour. If you have one, weigh your flour. 50 grams is the magic number for this recipe. Measuring flour by volume can be inconsistent—a packed cup can have 20% more flour than a spooned and leveled one. This single change made my cookies infinitely more reliable.
Let the Butter Cool. This is huge. If your melted butter is too hot when you add the egg yolk, you’ll end up with scrambled eggs in your cookie dough. Let it cool for at least 2-3 minutes after melting. It should feel warm to the touch, not hot.
Press Chips on Top. This is a little trick I picked up from a bakery in Portland. After scooping the dough balls, press a few extra chocolate chips onto the tops. This ensures every cookie has visible, melty chocolate on the surface, making them look incredibly appetizing. It’s a small step that makes a big visual difference.
Bake One Test Cookie First. If you’re unsure about your oven or your measurements, bake just one cookie first. This way you can check the spread and adjust the next batch if needed. It’s a foolproof way to avoid ruining an entire batch.
Variations & Adaptations
This recipe is a fantastic base for experimentation. Here are some of my favorite variations that I’ve tried over the years.
Double Chocolate Chip: Replace 1 tablespoon of the flour with 1 tablespoon of unsweetened cocoa powder. Use dark chocolate chips instead of semi-sweet. The result is a rich, fudgy cookie that feels incredibly decadent. I made these for a friend’s birthday party and they were gone in minutes.
Sea Salt & Toffee: After baking, sprinkle a pinch of flaky sea salt (like Maldon) on top of each warm cookie. Replace half the chocolate chips with chopped toffee bits. The salty-sweet combination is absolutely addictive. This is my go-to when I want to impress guests without extra effort.
Gluten-Free Option: Use a 1:1 gluten-free all-purpose flour blend that contains xanthan gum. Add an extra tablespoon of the blend to the recipe. The texture will be slightly more tender, but the flavor is still fantastic. I tested this for a friend with celiac disease and she couldn’t tell the difference.
Vegan Adaptation: Replace the butter with melted coconut oil or vegan butter. Use a flax egg (1 tablespoon ground flaxseed mixed with 3 tablespoons water, let sit for 5 minutes) instead of the egg yolk. The cookies will be a bit more delicate, so handle them gently. They’re still delicious and perfect for plant-based hosting.
Add-In Swaps: Feel free to swap the chocolate chips for white chocolate chips and dried cranberries, or peanut butter chips and chopped peanuts. You can also add ¼ cup of chopped walnuts or pecans for extra crunch. The possibilities are endless.
Serving & Storage Suggestions
These cookies are best served warm, straight from the oven. That moment when the chocolate is still melty and the edges are perfectly crisp is pure magic. For a dinner party, serve them on a beautiful platter with a glass of cold milk or a scoop of vanilla ice cream on the side. They also pair beautifully with a strong cup of coffee or a dessert wine like a late-harvest Riesling.
If you have leftovers (which is rare in my house), store them in an airtight container at room temperature for up to 3 days. To keep them soft, add a slice of bread to the container—the bread absorbs excess moisture and keeps the cookies chewy. I learned this trick from my grandmother, and it works like a charm.
For longer storage, you can freeze the baked cookies for up to 3 months. Place them in a single layer in a freezer-safe bag or container. To reheat, pop a frozen cookie in a 300°F (150°C) oven for 5 minutes, or microwave for 15 seconds. They’ll taste almost as good as fresh.
You can also freeze the unbaked dough balls. Scoop them onto a baking sheet, freeze until solid, then transfer to a freezer bag. Bake directly from frozen, adding 2-3 minutes to the baking time. This is perfect for when a cookie craving strikes unexpectedly.
Nutritional Information & Benefits
Here are the approximate nutritional values per cookie (based on 6 cookies):
| Nutrient | Amount |
|---|---|
| Calories | 220 |
| Total Fat | 12g |
| Saturated Fat | 7g |
| Cholesterol | 45mg |
| Sodium | 150mg |
| Total Carbohydrates | 28g |
| Dietary Fiber | 1g |
| Sugars | 18g |
| Protein | 3g |
While these are definitely a treat, there are some bright spots. The dark chocolate chips provide antioxidants called flavonoids, which are good for heart health. The butter contains vitamin A and healthy fats. And honestly, there’s a huge mental health benefit to taking 20 minutes to bake something for yourself or the people you love. I firmly believe that a homemade cookie shared with friends is good for the soul.
If you’re watching your sugar intake, you can reduce the brown sugar to 3 tablespoons, though the texture will be slightly less chewy. For a lower-fat option, you can replace half the butter with unsweetened applesauce, but the cookies will be more cake-like.
Conclusion
So there you have it—my perfect small-batch chocolate chip cookies that require zero chilling and deliver maximum satisfaction. This recipe came from a late-night craving and a willingness to break the rules, and it’s been a staple in my kitchen ever since. It’s the kind of recipe that proves you don’t need fancy techniques or hours of planning to create something truly delicious.
I love this recipe because it’s forgiving, it’s fast, and it always delivers. Whether you’re baking for a crowd or just for yourself on a quiet Tuesday night, these cookies are guaranteed to make everything feel a little better. Don’t be afraid to play with the variations and make it your own. That’s the beauty of a simple recipe—it’s a canvas for your creativity.
Now I want to hear from you! Have you tried these cookies? Did you make any fun substitutions? Drop a comment below and let me know how they turned out. And if you loved this recipe, share it with a friend who needs a good cookie in their life. Happy baking, friends!
Frequently Asked Questions
Can I use salted butter instead of unsalted?
Yes, you can. Just reduce the added salt in the recipe to a pinch (about ⅛ teaspoon). The cookies will still be delicious, but the salt level will be more balanced.
Why did my cookies turn out flat?
Flat cookies usually mean the butter was too warm or the dough was overmixed. Make sure your melted butter is only slightly warm, not hot, and mix just until the flour disappears. Also, check that your baking soda is fresh.
Can I double this recipe?
Absolutely! Simply double all the ingredients. The baking time and temperature remain the same. This is perfect for when you want a full dozen cookies for a bigger gathering.
Can I use whole wheat flour instead of all-purpose?
You can substitute up to half the all-purpose flour with whole wheat flour for a nuttier flavor. Using 100% whole wheat will result in denser, less tender cookies. Add an extra tablespoon of milk or water if the dough seems too dry.
How do I know when the cookies are done baking?
The edges should be golden brown and set, while the centers will look slightly puffy and soft. They will continue to cook on the hot baking sheet after you remove them from the oven. For chewy cookies, err on the side of under-baking slightly.
Pin This Recipe!
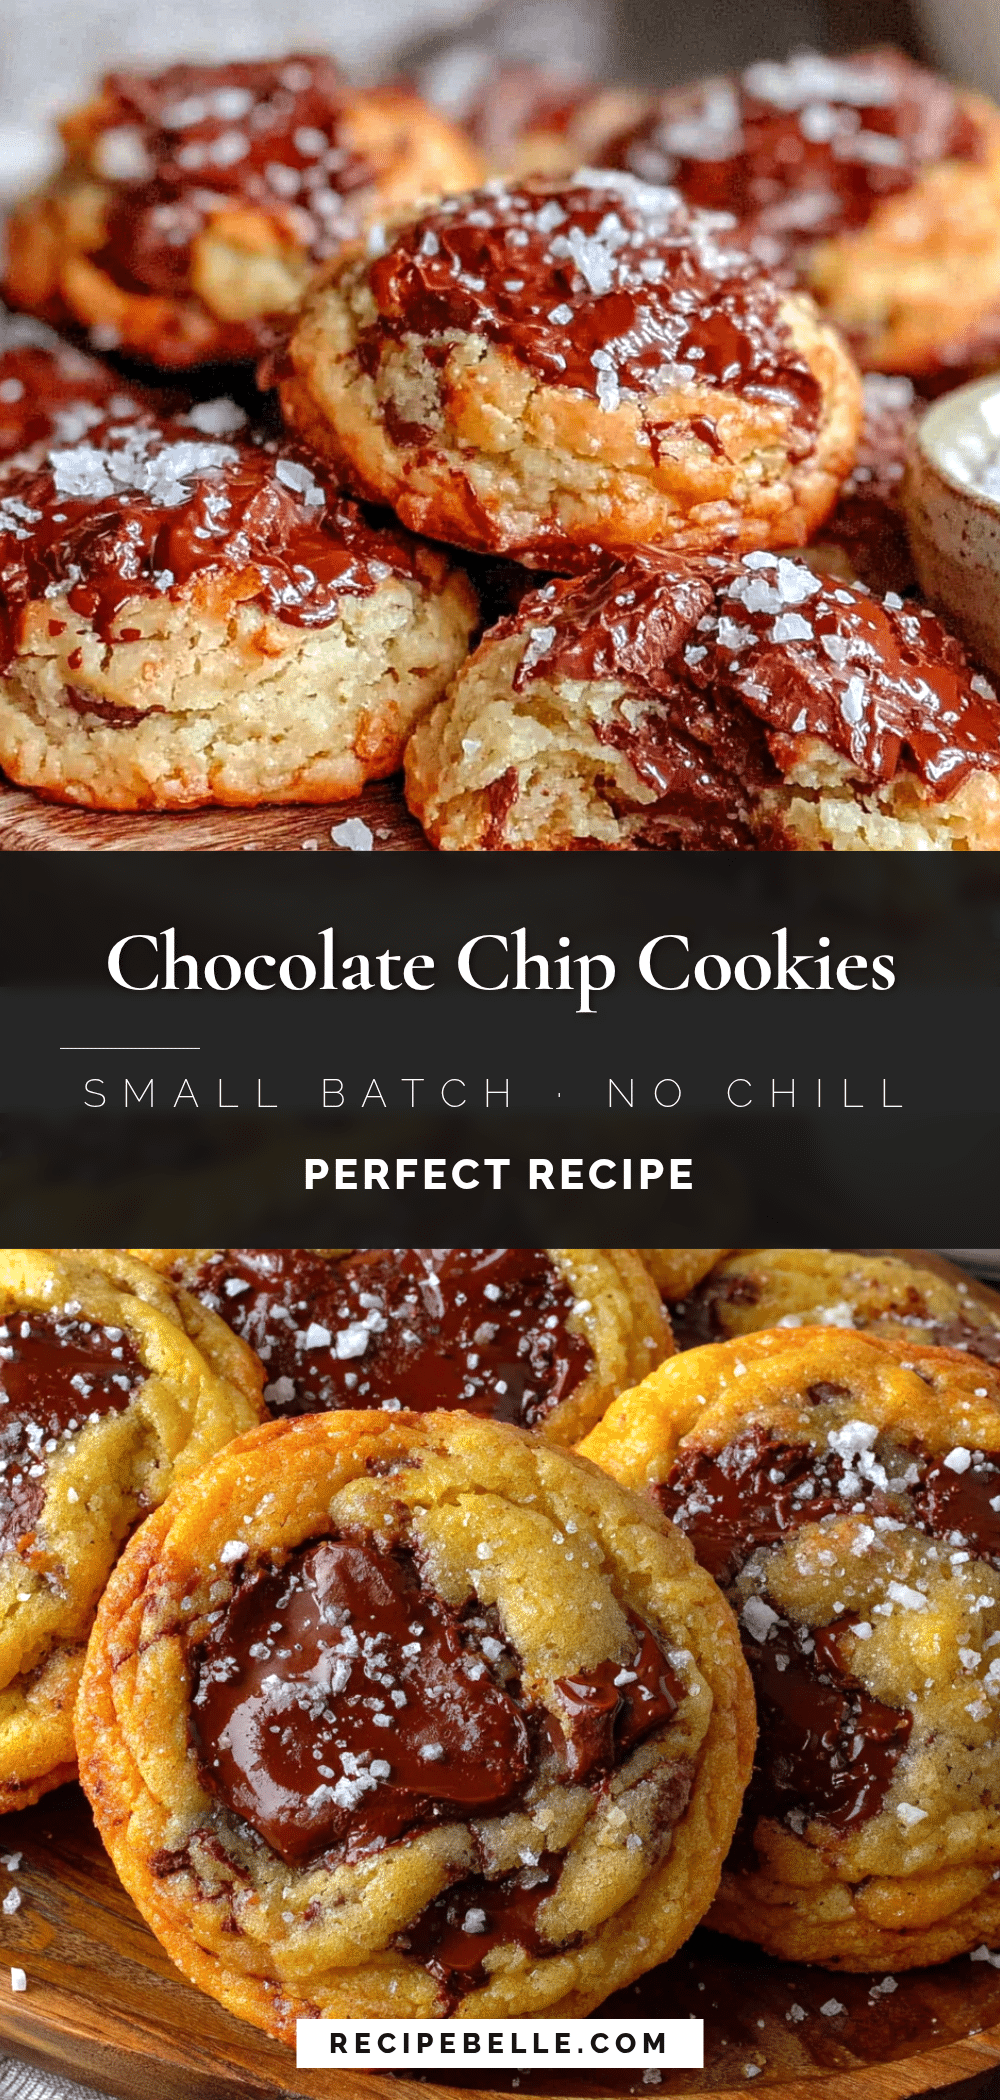
Perfect Small-Batch Chocolate Chip Cookies: Easy No-Chill Recipe

This recipe delivers six perfect chocolate chip cookies with crisp edges and soft, chewy centers, all without any chilling time. It’s the ultimate solution for late-night cravings or quick desserts.
- Prep Time: 10 minutes
- Cook Time: 12 minutes
- Total Time: 22 minutes
- Yield: 6 cookies 1x
- Category: Dessert
- Cuisine: American
Ingredients
- 4 tablespoons unsalted butter, melted and slightly cooled
- ¼ cup packed light brown sugar
- 2 tablespoons granulated sugar
- 1 large egg yolk
- ½ teaspoon vanilla extract
- ⅓ cup plus 1 tablespoon all-purpose flour, spooned and leveled
- ¼ teaspoon baking soda
- ¼ teaspoon salt
- ⅓ cup semi-sweet chocolate chips
Instructions
- Preheat oven to 350°F (175°C). Line a baking sheet with parchment paper.
- Melt the butter in a microwave-safe bowl in 20-second bursts until just melted. Set aside to cool slightly.
- In a medium bowl, whisk together the melted butter, brown sugar, and granulated sugar until smooth and slightly thickened, about 30 seconds.
- Add the egg yolk and vanilla extract, whisk until well combined and glossy.
- In a small bowl, whisk together the flour, baking soda, and salt.
- Pour the dry ingredients into the wet ingredients. Fold with a rubber spatula until just combined—do not overmix.
- Fold in the chocolate chips. Reserve a few chips to press onto the tops of the dough balls.
- Scoop the dough into 6 equal portions (about 1.5 tablespoons each). Roll into balls and place on the prepared baking sheet, spacing 2 inches apart. Press reserved chocolate chips onto the tops.
- Bake for 10-12 minutes, until edges are golden brown and centers are still slightly puffy and soft.
- Let cookies cool on the baking sheet for 5 minutes, then transfer to a cooling rack. Serve warm or at room temperature.
Notes
For best results, use a kitchen scale to measure flour (50 grams). Let melted butter cool for 2-3 minutes before adding egg yolk to avoid scrambling. If cookies spread too much, butter was too warm; if they don’t spread enough, flour was over-measured. Store in an airtight container at room temperature for up to 3 days. Freeze baked cookies for up to 3 months or unbaked dough balls for up to 3 months.
Nutrition
- Serving Size: 1 cookie
- Calories: 220
- Sugar: 18
- Sodium: 150
- Fat: 12
- Saturated Fat: 7
- Carbohydrates: 28
- Fiber: 1
- Protein: 3
Keywords: small batch chocolate chip cookies, no chill cookies, easy cookie recipe, quick cookies, late night cookies



